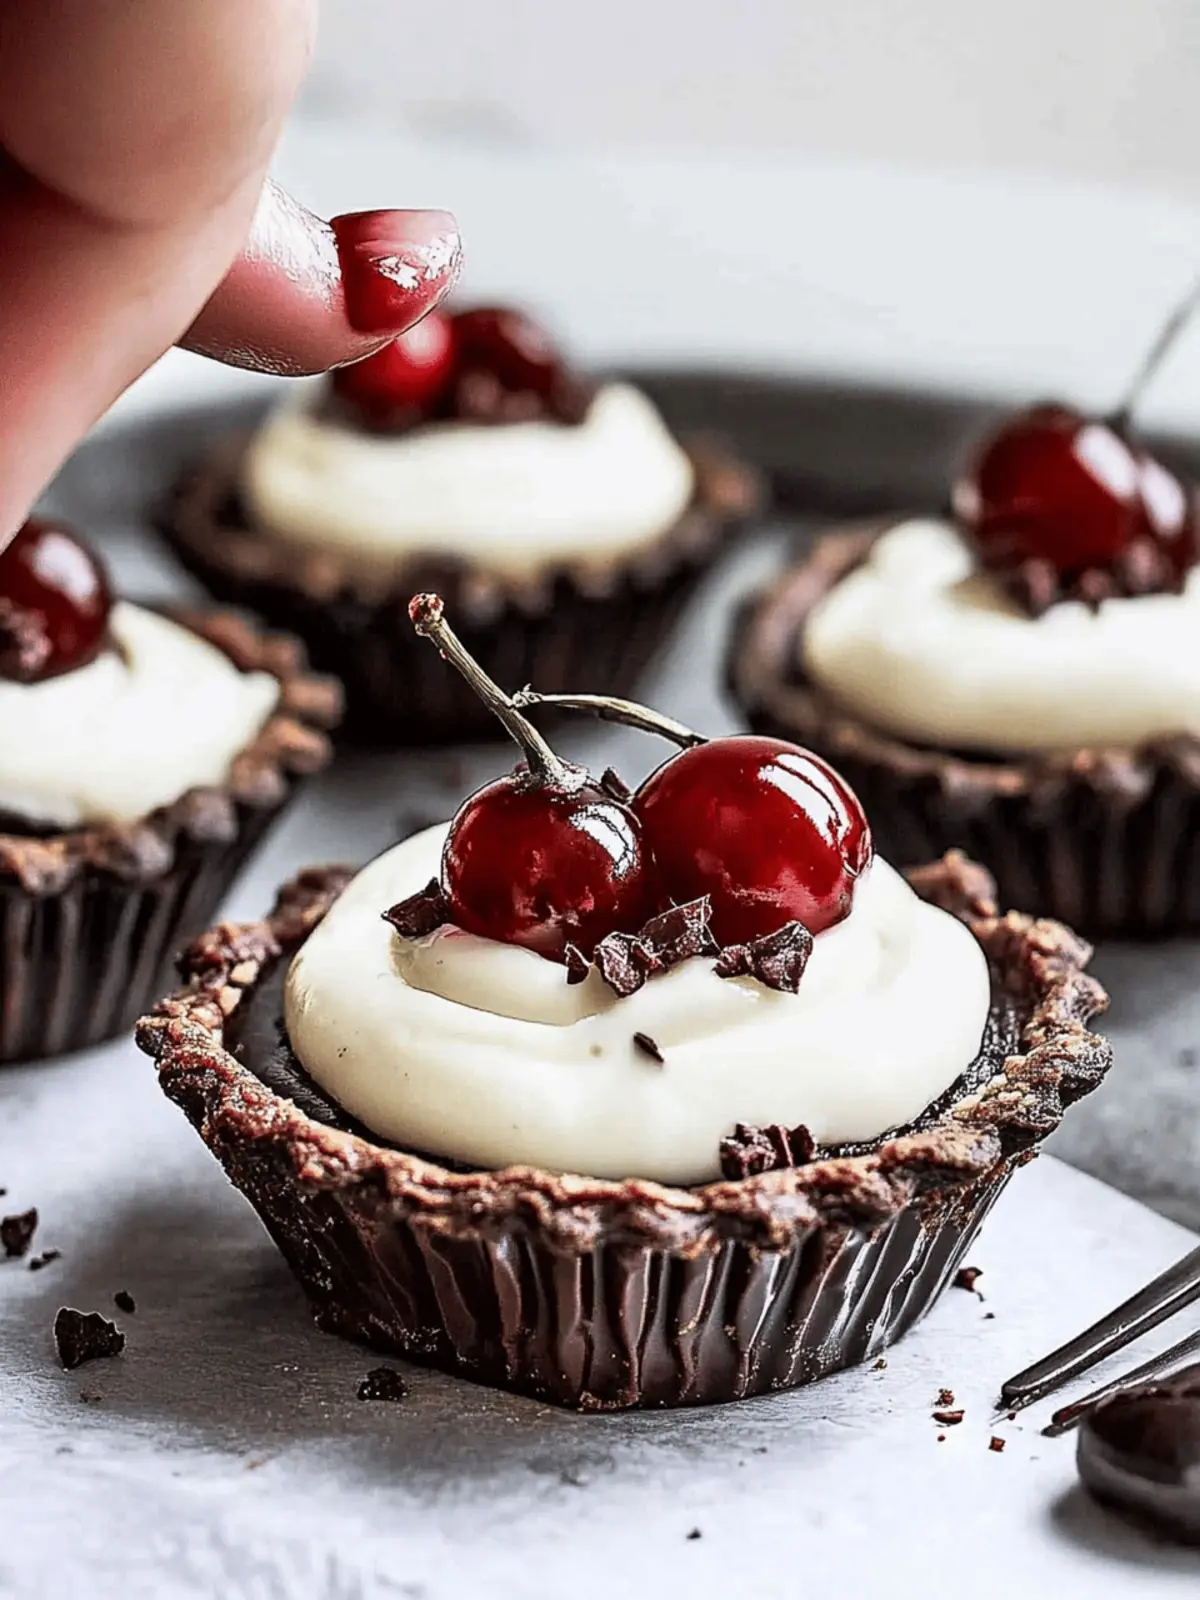
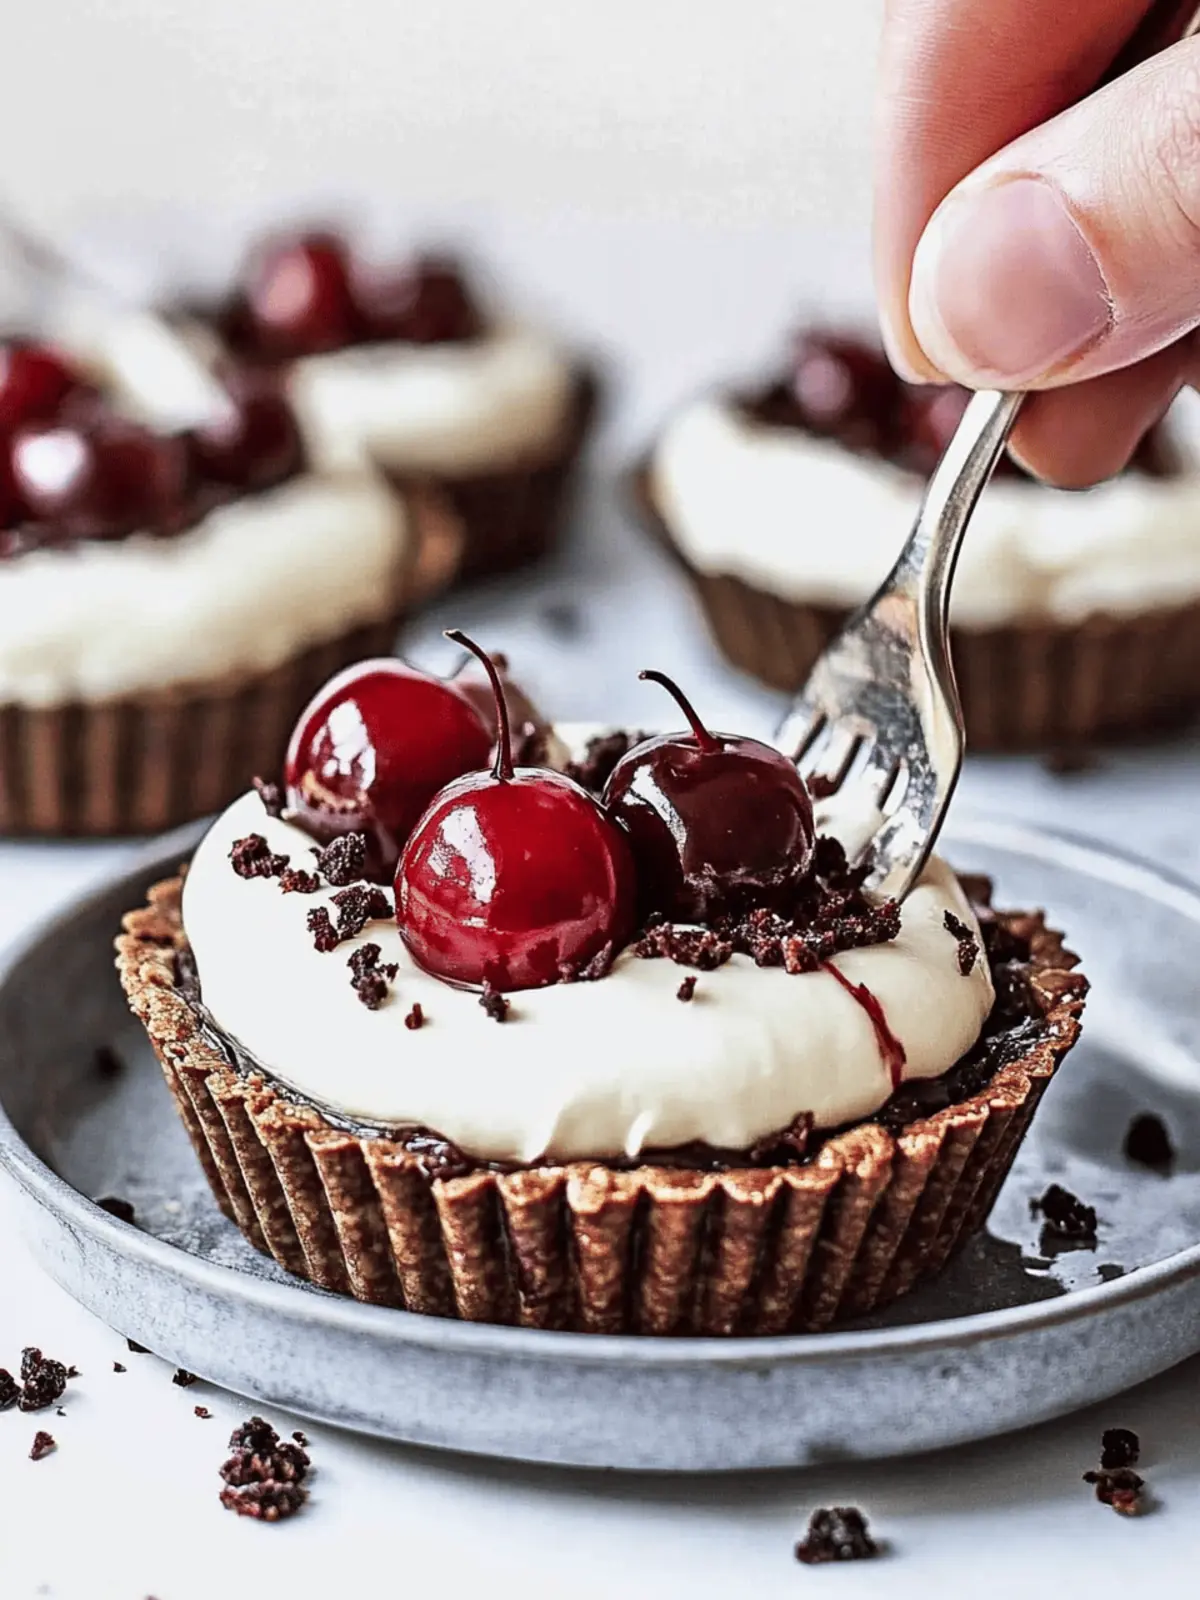
There’s a special joy that comes from crafting intricate desserts, and these Black Forest Tarts are no exception. Picture the moment you pull that golden-brown chocolate crust from the oven, the rich aroma still lingering in the air as you fill it with luscious cherries and a swirl of creamy goodness. This recipe is a delightful ode to the classic dessert, simplified into individual tarts that are surprisingly easy to make yet decadent enough to impress your guests.
After a long day, there’s nothing quite like indulging in a treat that feels special, yet doesn’t demand hours in the kitchen. The combination of fresh cherries and raspberry jam adds a tangy burst to each bite, perfectly complemented by whipped cream that elevates the whole experience. Whether you’re looking to impress at your next gathering or treat yourself to something extraordinary, these tarts will definitely satisfy. Let’s dive into the deliciousness of homemade Black Forest Tarts—you won’t regret it!
Why are Black Forest Tarts a must-try?
Irresistible Flavor: The tartness of fresh cherries and raspberry jam creates a delightful contrast against the sweet, rich chocolate crust.
Effortlessly Elegant: These tarts not only look stunning but also boast a sophisticated taste that can elevate any occasion.
Easy to Make: With just a few simple steps, you can whip up these treats that will wow your family or guests without spending hours in the kitchen.
Perfect for Sharing: Each individual tart makes portion control easy and allows everyone to enjoy their own delicious dessert.
Versatile Base: Feel free to swap out the cherries for your favorite fruits or even incorporate different jams to make it your own!
Indulge in the joy of homemade pastries with your own twist on these delightful desserts.
Black Forest Tarts Ingredients
For the Chocolate Crust
- 1 ¼ cups all-purpose flour – This forms the backbone of your tart, giving it structure.
- 2 tablespoons unsweetened cocoa powder – Adds a rich chocolate flavor to the crust.
- Pinch of salt – Enhances the sweetness and balances flavors.
- ⅓ cup powdered sugar – Sweetens the crust, making it delicate and melt-in-your-mouth.
- ½ cup unsalted butter, cold and in small pieces – Ensures a flaky texture; use cold for best results.
- 1 egg yolk – Provides richness and helps bind the crust together.
- ½ teaspoon vanilla extract – A touch of vanilla elevates the overall flavor.
- Ice water (as needed) – Use to bring the dough together without over mixing.
For the Filling
- 8 tablespoons raspberry jam – The perfect tart complement to sweet cherries; feel free to use your favorite jam for variation.
- 2 to 3 cups fresh cherries, pitted and cut in half or fourths – Fresh is best; they add delightful juiciness.
For the Whipped Cream
- 1 ½ cups heavy cream – Forms the base for your luscious whipped topping.
- 2 tablespoons sour cream or cream cheese – Adds a slight tanginess to the whipped cream.
- 3 to 4 tablespoons powdered sugar – Sweetens the whipped cream; adjust to taste.
For Decoration
- Whole cherries – Use them to crown your tarts for an elegant finish.
- Chocolate shavings – A stunning garnish that adds a touch of decadence.
With these Black Forest Tarts ingredients, you’re one step closer to crafting an unforgettable dessert experience!
How to Make Black Forest Tarts
-
Combine Ingredients: In a food processor, mix together the flour, cocoa powder, salt, and powdered sugar. Pulse a few times until fully combined, creating a dry mixture perfect for your crust.
-
Add Butter: Next, add the cold butter pieces to the dry mix. Pulse until the mixture resembles small peas, ensuring a flaky texture in your crust.
-
Mix in Wet Ingredients: Now, add the egg yolk and vanilla extract. Pulse until the dough becomes moist and starts to stick together.
-
Knead by Hand (Optional): If you prefer mixing by hand, combine the dry ingredients in a bowl, then incorporate the cold butter with your fingers. Add in the egg yolk and vanilla until combined.
-
Form the Dough: Gently gather the dough into a ball, adding ice water as necessary. This helps achieve the perfect consistency without overworking the dough.
-
Chill the Dough: Wrap the dough ball in plastic wrap and refrigerate for at least 1 hour. This step is crucial for a crisp crust.
-
Shape the Tartlets: Roll out the chilled dough and line either 8 individual 4-inch tartlet pans or one large 9-inch pie pan. Prick the surface with a fork and freeze for 10 minutes.
-
Preheat the Oven: While the tarts are freezing, preheat your oven to 350°F (180°C).
-
Blind Bake the Crusts: Cover the crusts with aluminum foil and add weights. Bake for 10-12 minutes, then remove weights and bake for another 10 minutes until the crust is dry.
-
Cool the Crusts: Let the baked tart shells cool completely on a wire rack. This cooling process ensures they hold their shape.
-
Assemble the Tarts: Spoon 1 tablespoon of raspberry jam into each cooled tart shell. Top each with cherry halves for that fresh burst of flavor.
-
Make the Whipped Cream: In a mixing bowl, beat the heavy cream, sour cream or cream cheese, and powdered sugar until medium peaks form. This creamy topping will add indulgence to your tarts.
-
Top with Whipped Cream: Generously dollop the whipped cream over the cherries in each tart. Refrigerate for half an hour to set.
-
Decorate and Serve: Finally, decorate with whole cherries and chocolate shavings. Serve chilled for a beautiful presentation!
Optional: Drizzle with chocolate sauce for an extra decadent touch.
Exact quantities are listed in the recipe card below.
Make Ahead Options
These Black Forest Tarts are perfect for meal prep enthusiasts! You can prepare the chocolate tart crust up to 24 hours in advance; just wrap it tightly in plastic wrap and refrigerate after chilling. The tart shells can also be blind baked and stored at room temperature for up to 3 days. To keep the integrity of the flavors, assemble the tarts only a few hours before serving. Simply layer in the raspberry jam, fresh cherry halves, and whipped cream when ready to indulge. This approach allows you to enjoy a delightful dessert with minimal last-minute effort, making your busy weeknights a little sweeter!
Expert Tips for Black Forest Tarts
-
Chill the Dough: Always refrigerate the dough for at least an hour. This helps prevent shrinking and ensures a flaky crust.
-
Quality Ingredients: Use fresh cherries and quality cocoa powder for the best flavor. Don’t skip on the unsalted butter, as it brings a rich taste to the crust.
-
Perfect Whipped Cream: When whipping the cream, avoid over-beating. Stop when medium peaks form, which yields a light and airy topping that complements the tarts perfectly.
-
Blind Baking: Ensure you blind bake until dry. This step is essential for keeping the crust from becoming soggy once the filling is added.
-
Assembly Tip: Assemble your tarts just before serving to maintain their freshness. Refrigerate only after topping with whipped cream to prevent sogginess.
Transform your gatherings with these exquisite Black Forest Tarts that are sure to impress!
What to Serve with Black Forest Tarts?
Indulging in these luscious desserts brings joy, but pairing them right can elevate your entire meal experience.
-
Rich Espresso: The bold flavor of espresso cuts through the sweetness, adding depth to each bite of the tart.
-
Vanilla Ice Cream: A scoop of creamy vanilla ice cream complements the chocolate and cherry beautifully, providing a delightful temperature contrast.
-
Fresh Fruit Salad: A refreshing mix of berries and citrus balances the indulgent tarts, bringing a vibrant burst of flavor.
-
Sparkling Water with Lime: A sparkling drink cleanses the palate between bites, enhancing the sweetness of the tarts without overshadowing them.
-
Chocolate-Covered Strawberries: Double the chocolate pleasure! These treats offer a delightful texture and flavor pairing with the rich tarts.
-
Whipped Cream Toppings: For those who adore extra creaminess, serve additional whipped cream on the side for drizzling and dipping.
These pairings will surely turn your dessert into a delicious moment to remember!
Black Forest Tarts Variations
Feel free to explore these delightful twists that can take your Black Forest Tarts to the next level!
- Gluten-Free: Substitute all-purpose flour with a 1:1 gluten-free flour blend for a blissfully crumbly crust.
- Sugary Delight: Swap out powdered sugar for brown sugar in the crust for a hint of caramel flavor that truly sings.
- Fruit Fusion: Try using blueberries or raspberries instead of cherries for a fresh take on this dessert. The vibrant colors will also make your tarts pop!
- Zesty Twist: Add a tablespoon of orange zest to your whipped cream for a bright citrus note that balances the richness beautifully.
- Lighter Cream: Use Greek yogurt in place of sour cream or cream cheese for a lighter twist on the whipped topping, bringing in extra protein.
- Nutty Crust: Incorporate finely chopped nuts, like almonds or hazelnuts, into the crust for added texture and a savory contrast to the sweetness.
- Spicy Kick: Add a pinch of cinnamon or nutmeg to the chocolate crust for a warm, aromatic flavor that elevates this classic dessert.
- Decadent Chocolate: Instead of just chocolate shavings, consider drizzling melted dark chocolate over your whipped cream for a luxurious finish.
With these variations, your Black Forest Tarts will become a personal canvas for endless delicious creativity!
How to Store and Freeze Black Forest Tarts
Fridge: Store leftover Black Forest Tarts in an airtight container in the refrigerator for up to 3 days. This keeps the flavors fresh and the texture intact.
Freezer: For longer storage, wrap individual tarts tightly in plastic wrap and then in foil. They can be stored in the freezer for up to 1 month.
Reheating: When ready to enjoy, thaw in the fridge overnight and bring to room temperature before serving.
Assembling Fresh: If possible, assemble with whipped cream just before serving to maintain tarts’ delightful texture and taste.
Black Forest Tarts Recipe FAQs
How do I choose ripe cherries for my Black Forest Tarts?
Absolutely! When selecting cherries, look for firm, plump fruits with a deep, vibrant color. Avoid any that have dark spots or are overly soft, as these may be overripe. If you can, taste a few before buying—the sweeter, the better for your tarts!
How should I store my Black Forest Tarts?
I recommend storing leftover Black Forest Tarts in an airtight container in the refrigerator. They’ll stay fresh for up to 3 days. If using a container, make sure it’s not too compressed to avoid crushing the whipped cream topping!
Can I freeze Black Forest Tarts?
Yes, you can! To freeze, wrap each individual tart tightly in plastic wrap, and then in aluminum foil. This helps prevent freezer burn. They can be stored in the freezer for up to 1 month. When ready to enjoy, simply thaw them overnight in the fridge and bring them to room temperature before serving.
What if my tart crust is too crumbly?
Very! If your crust is crumbly, it might need more moisture. Gradually add ice water, one tablespoon at a time, while mixing until you can form a cohesive ball. If you’ve already baked it and it crumbled, consider serving the filling in a parfait style instead!
Are Black Forest Tarts suitable for people with allergies?
When it comes to dietary considerations, these tarts contain dairy and gluten, so they’re not suitable for those with lactose intolerance or gluten allergies. However, you can substitute gluten-free flour for the crust and use coconut cream or a dairy-free whipped topping for a delicious alternative!
How long does it take to make Black Forest Tarts from start to finish?
Making these delightful tarts typically takes about 2 hours and 30 minutes in total. This includes the time for chilling the dough and allowing the whipped cream to set. With a little planning, you can enjoy homemade tarts in no time!

Decadent Black Forest Tarts: Your New Favorite Dessert Delight
Ingredients
Equipment
Method
- In a food processor, mix together the flour, cocoa powder, salt, and powdered sugar. Pulse a few times until fully combined, creating a dry mixture perfect for your crust.
- Next, add the cold butter pieces to the dry mix. Pulse until the mixture resembles small peas, ensuring a flaky texture in your crust.
- Now, add the egg yolk and vanilla extract. Pulse until the dough becomes moist and starts to stick together.
- If you prefer mixing by hand, combine the dry ingredients in a bowl, then incorporate the cold butter with your fingers. Add in the egg yolk and vanilla until combined.
- Gently gather the dough into a ball, adding ice water as necessary. This helps achieve the perfect consistency without overworking the dough.
- Wrap the dough ball in plastic wrap and refrigerate for at least 1 hour. This step is crucial for a crisp crust.
- Roll out the chilled dough and line either 8 individual 4-inch tartlet pans or one large 9-inch pie pan. Prick the surface with a fork and freeze for 10 minutes.
- While the tarts are freezing, preheat your oven to 350°F (180°C).
- Cover the crusts with aluminum foil and add weights. Bake for 10-12 minutes, then remove weights and bake for another 10 minutes until the crust is dry.
- Let the baked tart shells cool completely on a wire rack. This cooling process ensures they hold their shape.
- Spoon 1 tablespoon of raspberry jam into each cooled tart shell. Top each with cherry halves for that fresh burst of flavor.
- In a mixing bowl, beat the heavy cream, sour cream or cream cheese, and powdered sugar until medium peaks form. This creamy topping will add indulgence to your tarts.
- Generously dollop the whipped cream over the cherries in each tart. Refrigerate for half an hour to set.
- Finally, decorate with whole cherries and chocolate shavings. Serve chilled for a beautiful presentation!


