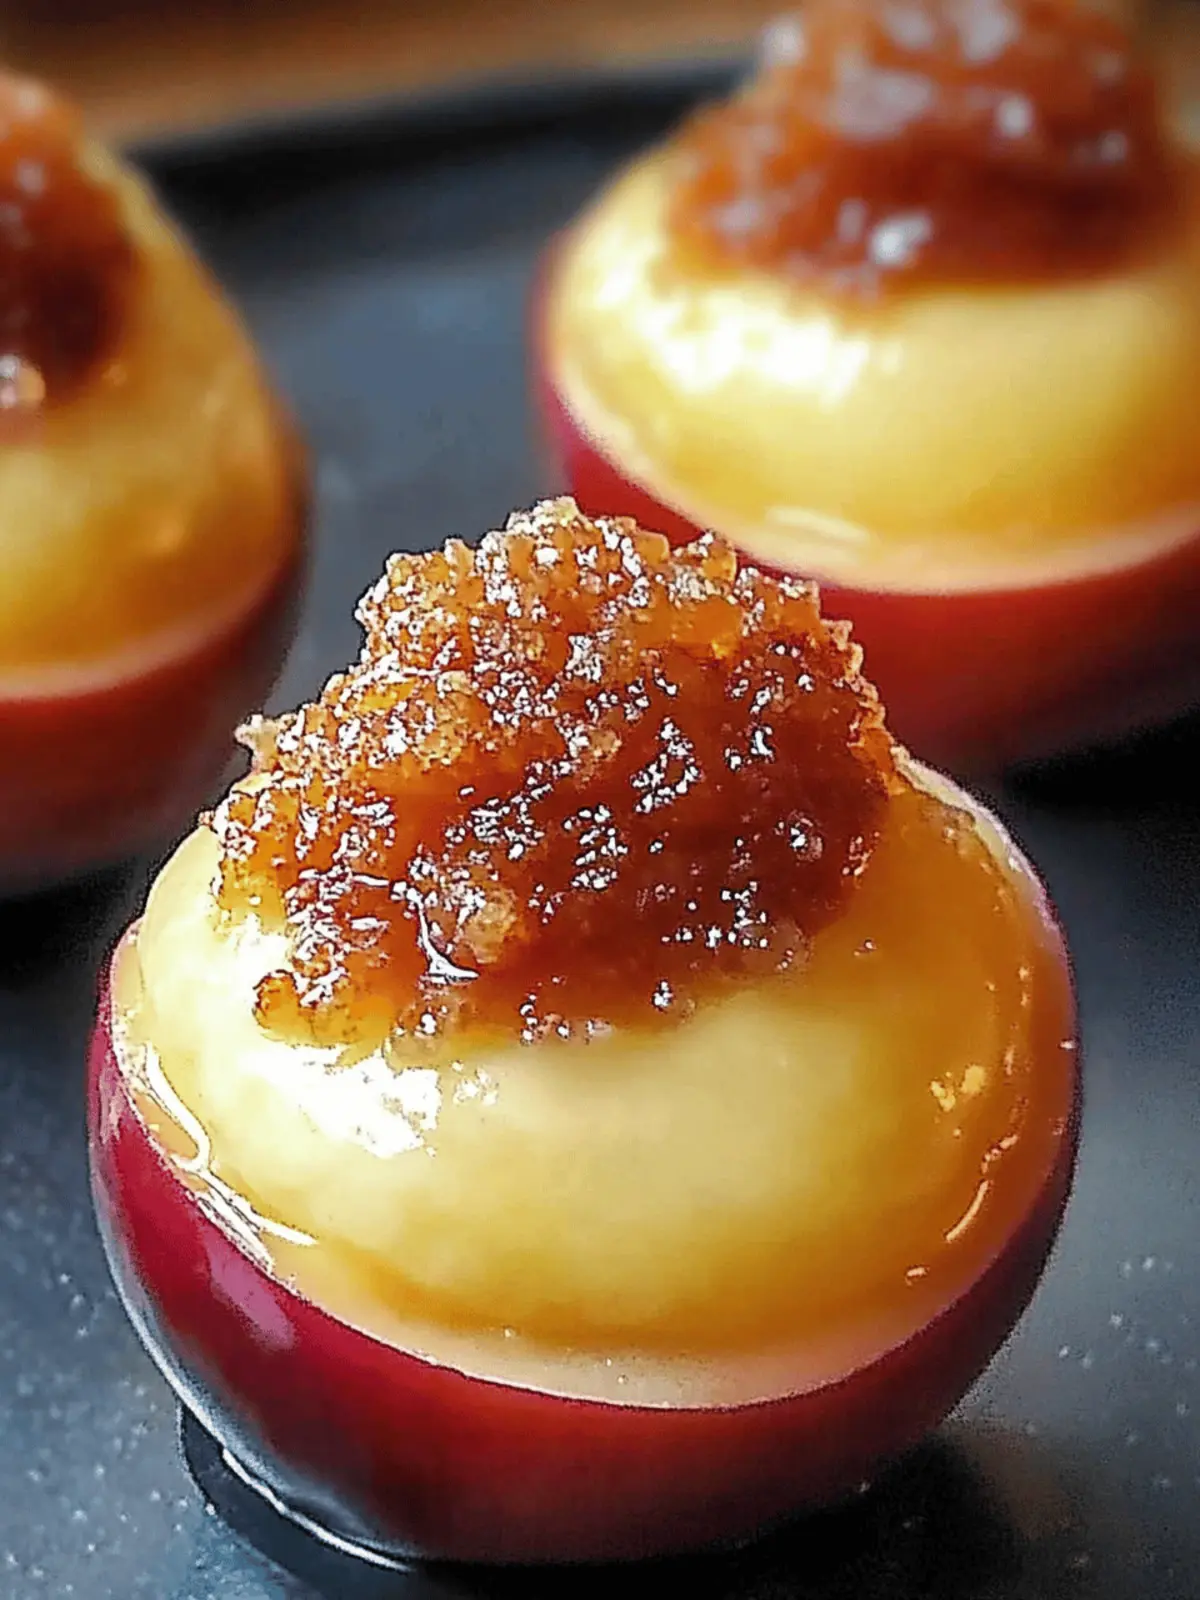
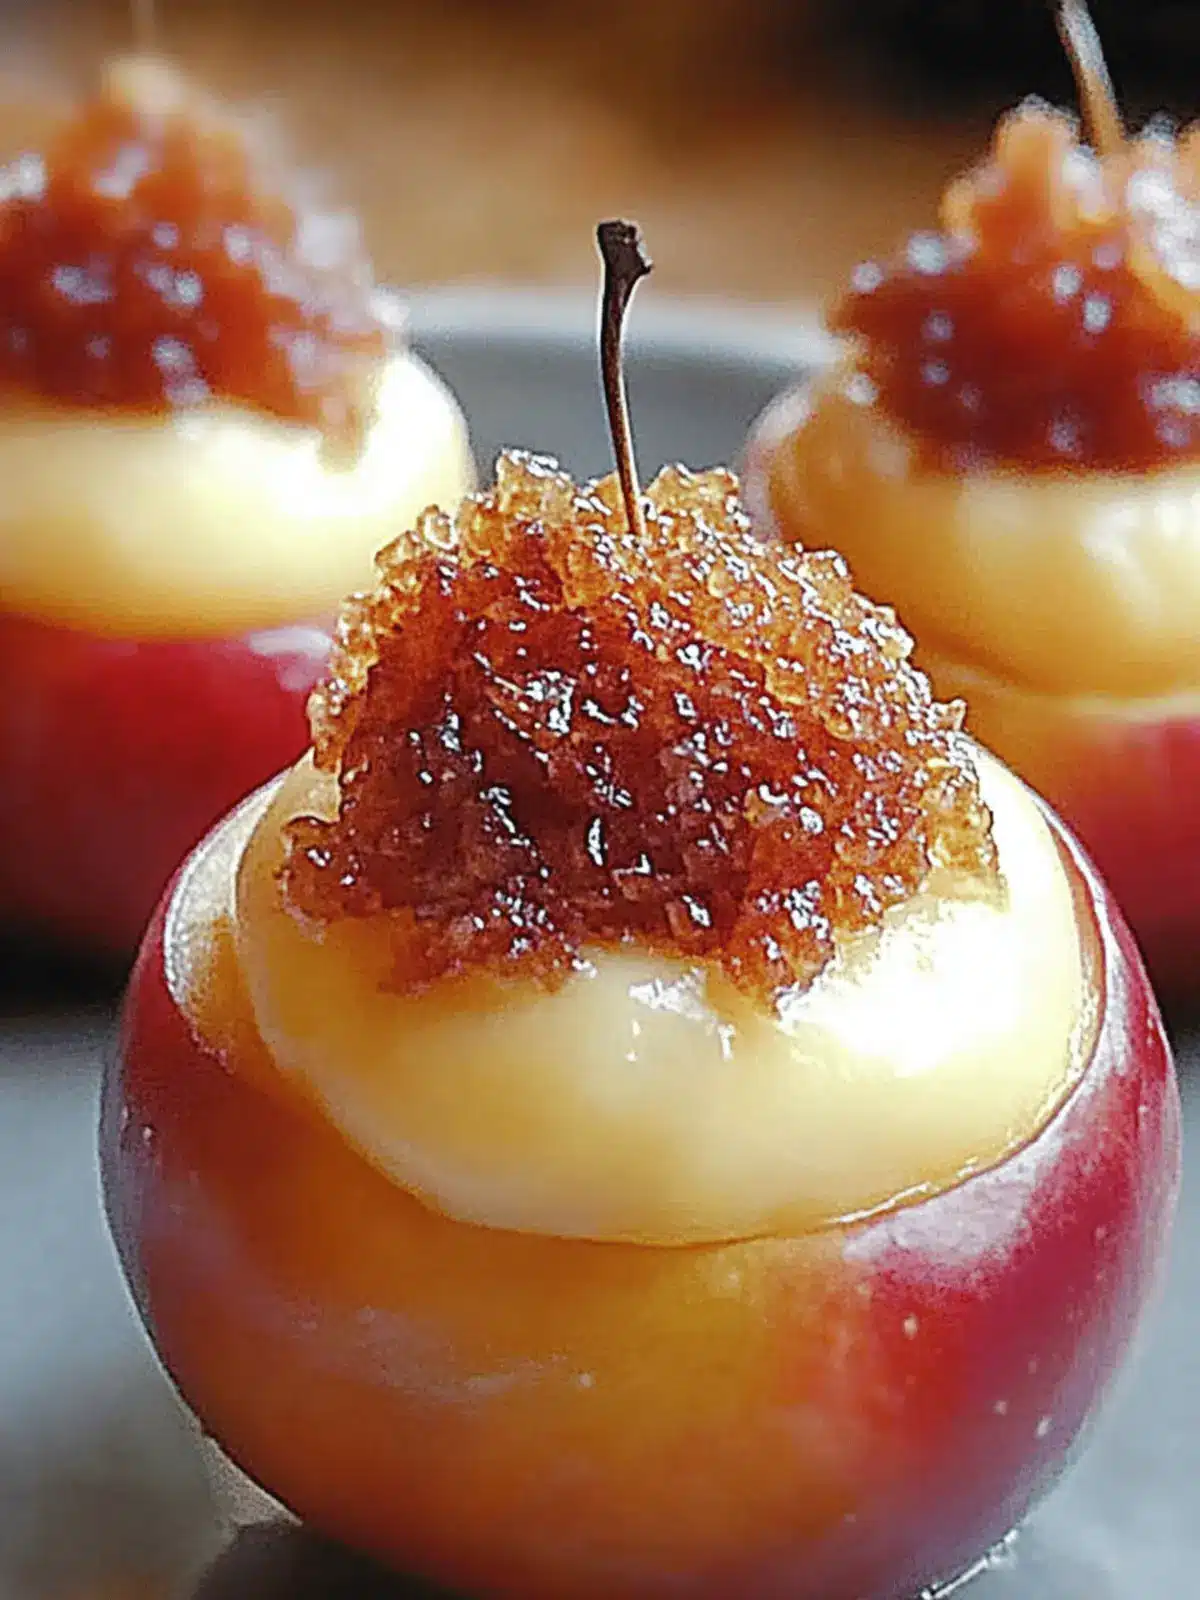
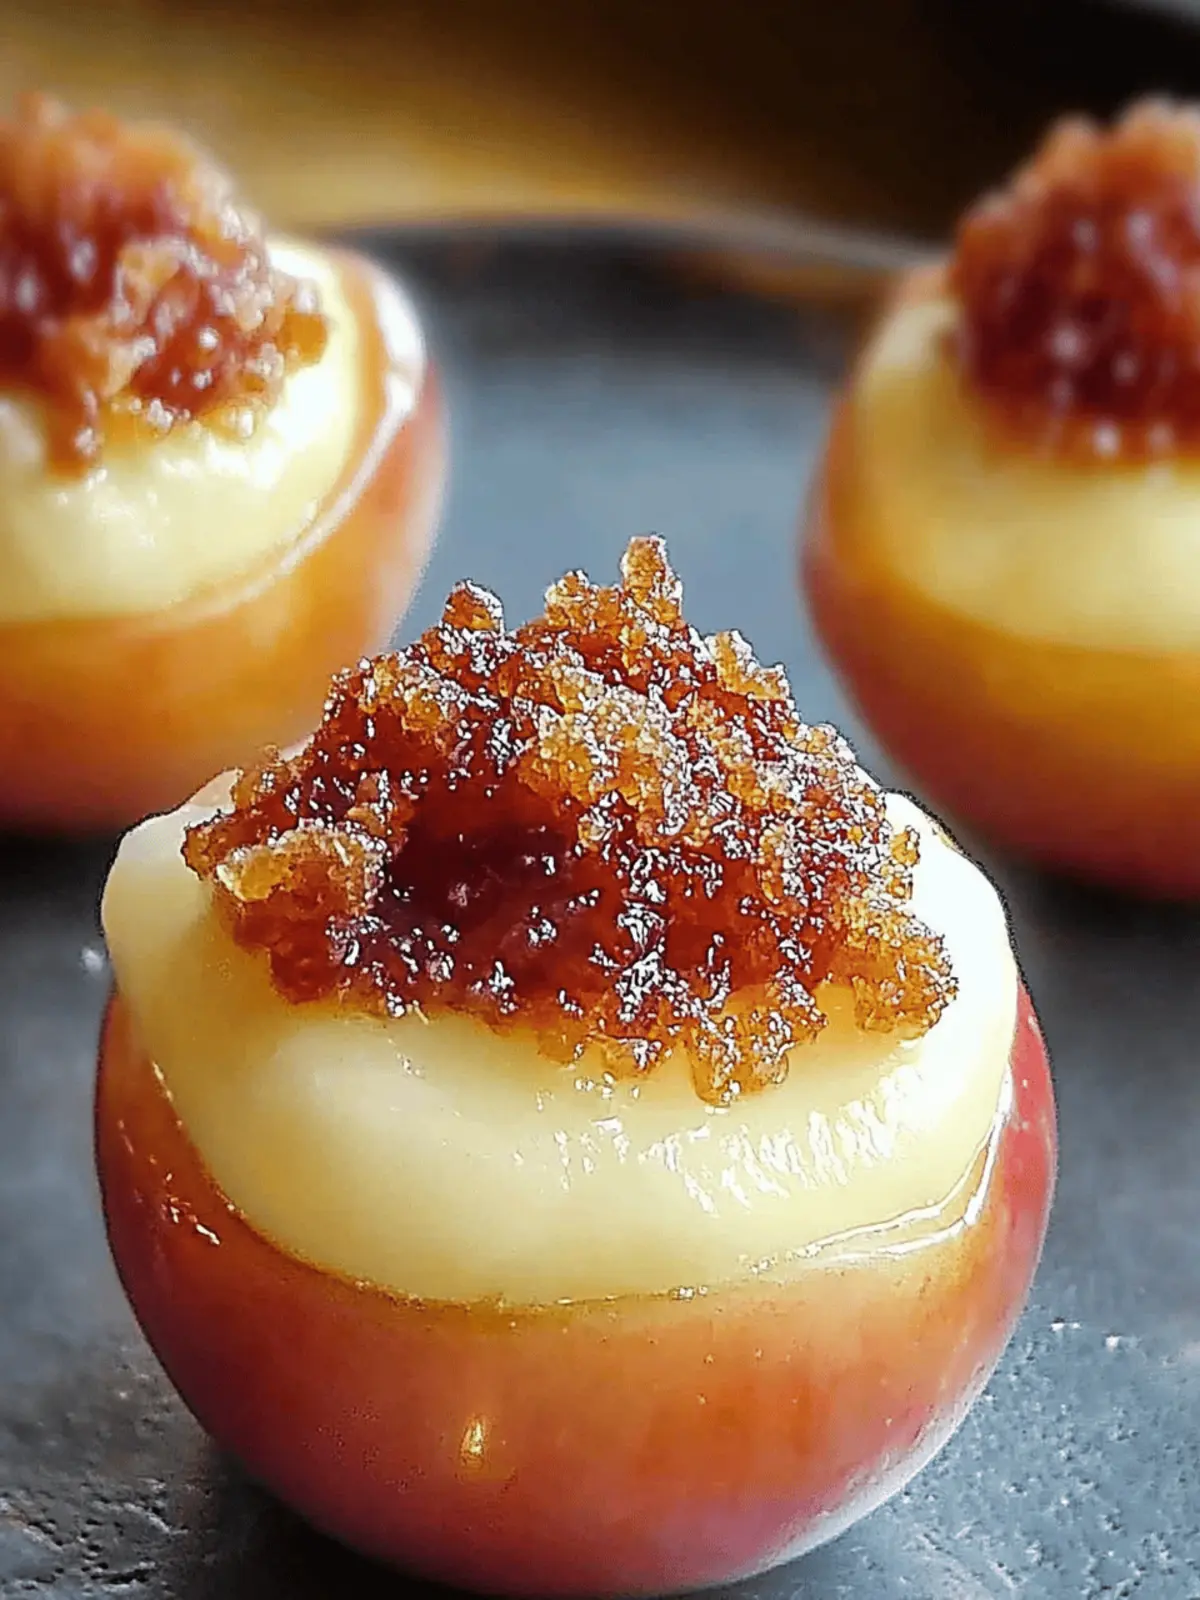
As the crisp autumn air settles in and the leaves begin to change, my cravings for cozy desserts reach their peak. One evening in particular, with the aroma of cinnamon wafting through the kitchen, I discovered a whimsical twist on two classic favorites—cheesecake and apples! Enter Cheesecake Stuffed Apples, a recipe that marries the creamy indulgence of cheesecake with the natural sweetness of baked fruit.
These delightful little morsels not only offer a comforting way to end a meal, but they also bring back cherished memories of family gatherings filled with laughter and warmth. With just a handful of ingredients and minimal preparation, I can whip up a batch of these stunning desserts that are sure to impress guests at dinner parties and cozy weeknight dinners alike. Join me in transforming ordinary apples into an elegant yet simple treat that promises to delight everyone at the table!
Why are Cheesecake Stuffed Apples a must-try?
Comforting Satisfaction: These Cheesecake Stuffed Apples deliver a cozy dessert experience that wraps you in warmth, perfect for chilly evenings.
Impressive Presentation: They look stunning on any table and are sure to wow your guests with their delightful appearance.
Easy Preparation: With just a few steps, you can have this delicious treat ready to bake, making it a hassle-free option for busy nights.
Flavor Harmony: The combination of sweet apples and creamy cheesecake provides a heavenly contrast that satisfies any sweet tooth.
Nostalgic Essence: Each bite brings back fond memories, making it a heartwarming addition to family gatherings.
Versatile Delight: Feel free to customize the filling or toppings, ensuring that this recipe can adapt to your family’s preferences.
Cheesecake Stuffed Apples Ingredients
For the Apples
• Apples – A tender, baked base; use Granny Smith for tartness or Honeycrisp for sweetness.
• Lemon Juice – Prevents browning and adds a hint of tartness.
For the Cheesecake Filling
• Cream Cheese – Ensure it’s softened for easy mixing.
• Granulated Sugar – Sweetens the cheesecake filling for balanced flavor.
• Brown Sugar – Contributes richness and depth to the sweetness.
• Vanilla Extract – Enhances the overall flavor profile.
• Ground Cinnamon – Adds warmth and autumnal spice.
• Salt – Balances sweetness and enhances overall flavor.
• Sour Cream – Creates a smooth, rich texture in the filling.
For the Crunch
• Crushed Graham Crackers – Adds crunch and replicates the crust of traditional cheesecake.
• Chopped Nuts (optional) – Provides additional texture and flavor; walnuts or pecans are excellent choices.
For Baking and Topping
• Butter – Greasing agent to prevent sticking in the baking dish.
• Caramel Sauce – Drizzling gives an indulgent sweetness; use for an extra treat!
Enjoy these Cheesecake Stuffed Apples as a warming comfort dessert that highlights the flavors of autumn!
How to Make Cheesecake Stuffed Apples
-
Preheat your oven: Start by setting your oven to 350°F (175°C). This ensures it’s nice and hot for baking those delightful apples.
-
Prepare the apples: Wash and dry your apples thoroughly, then carefully remove the cores without piercing the bottoms. Drizzle with lemon juice to keep them vibrant and fresh.
-
Grease the baking dish: Generously butter a baking dish to prevent sticking and arrange the apples upright, making sure they’re ready for their delicious filling.
-
Mix the cheesecake filling: In a large bowl, beat the softened cream cheese and granulated sugar until smooth and creamy. Then blend in the brown sugar, vanilla extract, ground cinnamon, and salt until well combined.
-
Incorporate the sour cream: Gently mix in the sour cream until it’s fully incorporated. Then, fold in the crushed graham crackers and any chopped nuts you’re using for that delightful crunch.
-
Stuff the apples: Scoop the cheesecake mixture and generously stuff each apple. Create a lovely mound on top to hold all that creamy goodness in.
-
Bake covered: Cover the baking dish with foil and bake for 25-30 minutes until the apples are tender. Then, uncover and bake for an additional 10-15 minutes until the tops are beautifully golden brown.
-
Cooling time: Once done, let the apples cool for about 10 minutes before serving. This helps set the filling and makes them easier to enjoy.
Optional: Serve drizzled with warm caramel sauce for an extra layer of indulgence!
Exact quantities are listed in the recipe card below.
How to Store and Freeze Cheesecake Stuffed Apples
Fridge: Keep leftover Cheesecake Stuffed Apples in an airtight container for up to 3 days, ensuring they remain fresh and flavorful.
Freezer: For longer storage, place the cooled stuffed apples in a freezer-safe container. They can be frozen for up to 2 months but are best enjoyed fresh.
Reheating: To reheat, place the apples in a preheated oven at 350°F (175°C) for about 10-15 minutes or until warmed through to preserve their texture.
Room Temperature: Cheesecake Stuffed Apples are best served warm, but if left out, consume within 2 hours for safety and optimal taste.
Helpful Tricks for Cheesecake Stuffed Apples
Perfect Apple Choice: Select firm apples like Granny Smith or Honeycrisp to ensure they hold their shape while baking.
Avoid Overstuffing: Stuff each apple generously, but leave some space at the top to prevent spillage during baking.
Check Doneness: Baking times may vary; test apple tenderness with a fork. They should be soft but not mushy.
Cool Before Serving: Allow apples to cool for 10 minutes; this helps the filling to set and enhances flavors.
Creative Toppings: Experiment with toppings like whipped cream or extra caramel sauce to elevate your cheesecake stuffed apples.
Cheesecake Stuffed Apples Variations
Feel free to let your creativity shine by customizing these delectable desserts to suit your family’s tastes!
-
Spiced Up: Add a pinch of nutmeg or ginger for an extra layer of warmth and spice in the filling. The fragrant aroma will transport you straight to autumn.
-
Nut-Free: Omit the chopped nuts entirely for a smoother texture, making them perfect for those with nut allergies while still keeping the crunch from the graham crackers.
-
Boozy Twist: A splash of bourbon or rum in the filling can elevate the flavor profile, creating a cozy, festive vibe. Just remember, a little goes a long way!
-
Fruit Fusion: Substitute half of the apples with pears for a delightful twist, adding a unique flavor that pairs beautifully with cream cheese.
-
Cheesecake Variety: Try flavored cream cheese such as strawberry or pumpkin spice to add a seasonal flair and rich, fruity notes to your filling.
-
Sugar Swap: For a healthier option, use honey or maple syrup in place of granulated sugar; it adds natural sweetness while keeping everything deliciously comforting.
-
Topping Upgrade: Top with crushed cookies or toffee bits for added crunch and sweetness, delighting both the eyes and taste buds with each bite.
-
Chocolate Lovers: Drizzle melted chocolate over the apples just before serving for a decadent finish that chocolate aficionados will absolutely adore.
Each of these variations can bring a new twist to your Cheesecake Stuffed Apples while maintaining the heartwarming essence of this cozy dessert!
What to Serve with Cheesecake Stuffed Apples?
As you prepare to indulge in this delightful dessert, consider pairing it with a few complementary dishes to create an unforgettable meal.
-
Cinnamon Vanilla Ice Cream: The creamy texture and sweet warmth elevate the flavors, making each bite a luxurious experience. Imagine a scoop melting over the warm apples – pure bliss!
-
Savory Roast Chicken: A perfectly seasoned roast adds a comforting contrast to the sweetness of the apples, creating a balanced dinner that satisfies every palate.
-
Nutty Quinoa Salad: The earthy elements of a quinoa salad with toasted nuts and cranberries provide a fresh, crunchy element, enhancing the overall meal. The bright flavors keep your taste buds dancing!
-
Homemade Caramel Sauce: Drizzling extra warm caramel over your cheesecake stuffed apples amplifies their sweetness while adding a luscious touch. It’s an indulgent finishing touch.
-
Warm Spiced Cider: Sip on a cozy mug of spiced apple cider while enjoying your dessert. The cinnamon and apple notes create a harmonious theme throughout the meal.
-
Chocolate Chip Cookies: These classic treats are a delightful contrast to the softness of the cheesecake stuffed apples, offering a comforting crunch and rich chocolatey goodness to end your evening.
-
Pecan Pie: For the ultimate comfort dessert experience, serve them alongside a slice of pecan pie. The nutty, caramel flavors of the pie complement the fruity cheesecake perfectly.
-
Fresh Fruit Salad: A refreshing mix of seasonal fruits balances the richness of the stuffed apples and cleanses the palate beautifully. It adds brightness and fresh flavor to your dessert table.
-
Sweet Red Wine: A glass of medium-bodied sweet red wine pairs wonderfully with the flavors, enhancing both the apples and the creamy filling. It’s a luxurious twist!
Make Ahead Options
These Cheesecake Stuffed Apples are perfect for meal prep enthusiasts! You can prepare the filling up to 24 hours in advance; simply mix the cream cheese, sugars, vanilla, cinnamon, salt, and sour cream, then fold in the graham crackers and nuts. Store the filling in an airtight container in the refrigerator, ensuring it remains fresh and ready to use. The apples can also be cored and drizzled with lemon juice to prevent browning, then refrigerated for up to 3 days. When you’re ready to enjoy your dessert, stuff the apples with the chilled filling, bake as instructed, and delight in a warm, comforting dessert with minimal effort!
Cheesecake Stuffed Apples Recipe FAQs
How do I choose the best apples for Cheesecake Stuffed Apples?
Selecting the right apples is crucial! I recommend using firm varieties like Granny Smith for a tart flavor or Honeycrisp for a sweeter taste. Look for apples without dark spots and firm skins, ensuring they hold up well during baking.
How should I store leftover Cheesecake Stuffed Apples?
You can keep leftover Cheesecake Stuffed Apples in an airtight container in the fridge for up to 3 days. This helps retain their flavor and moisture. Before enjoying them, reheat gently in a 350°F (175°C) oven for about 10-15 minutes to restore their delightful warmth.
Can I freeze Cheesecake Stuffed Apples?
Absolutely! To freeze, ensure the apples have cooled completely. Place them in a freezer-safe container and store for up to 2 months. When you’re ready to enjoy, thaw them overnight in the fridge and reheat in the oven until warmed through.
What should I do if the cheesecake filling spills out while baking?
If you overstuff the apples, it’s best to scoop a bit of filling out before baking. But if it spills over, don’t worry! Just keep an eye on it as it bakes; you can scrape any delicious bits off the baking dish to serve alongside the apples.
Are Cheesecake Stuffed Apples safe for pets?
While apples themselves are safe for humans to enjoy, they can be a choking hazard for pets. Always remove the core and seeds before offering any apple to your furry friends, and consult your vet about safe food options.
What dietary substitutions can I make for this recipe?
For a lighter version, consider using light cream cheese or Greek yogurt in place of sour cream. You can also reduce the sugar amount or use a sugar substitute like Stevia for a healthier option. Just remember to adjust the sweetness to your taste!
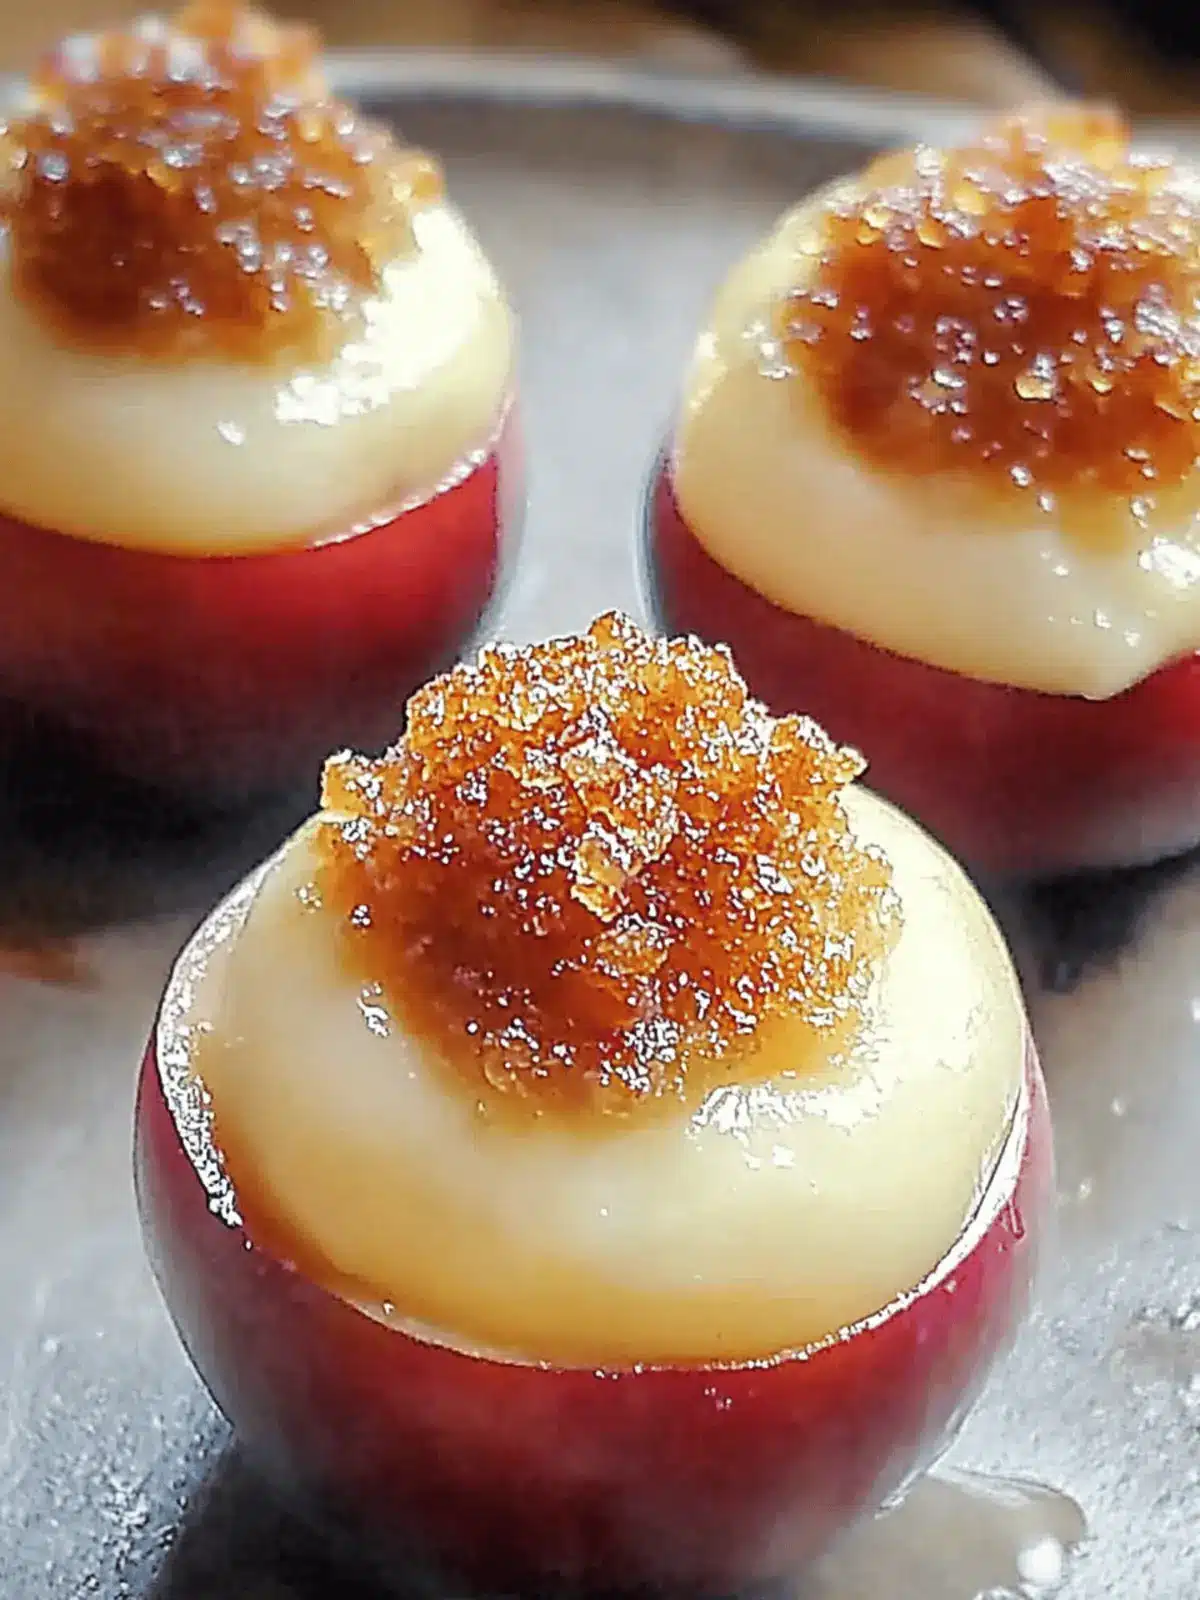
Cheesecake Stuffed Apples: A Cozy Dessert Delight
Ingredients
Equipment
Method
- Preheat your oven to 350°F (175°C).
- Wash and dry the apples, then remove the cores without piercing the bottoms. Drizzle with lemon juice.
- Grease the baking dish with butter and arrange the apples upright.
- In a bowl, beat cream cheese and granulated sugar until smooth. Blend in brown sugar, vanilla, cinnamon, and salt.
- Gently mix in the sour cream, then fold in the crushed graham crackers and optional nuts.
- Stuff each apple with the cheesecake mixture, making a mound on top.
- Cover with foil and bake for 25-30 minutes until tender, then uncover and bake for another 10-15 minutes until golden.
- Let the apples cool for about 10 minutes before serving.

