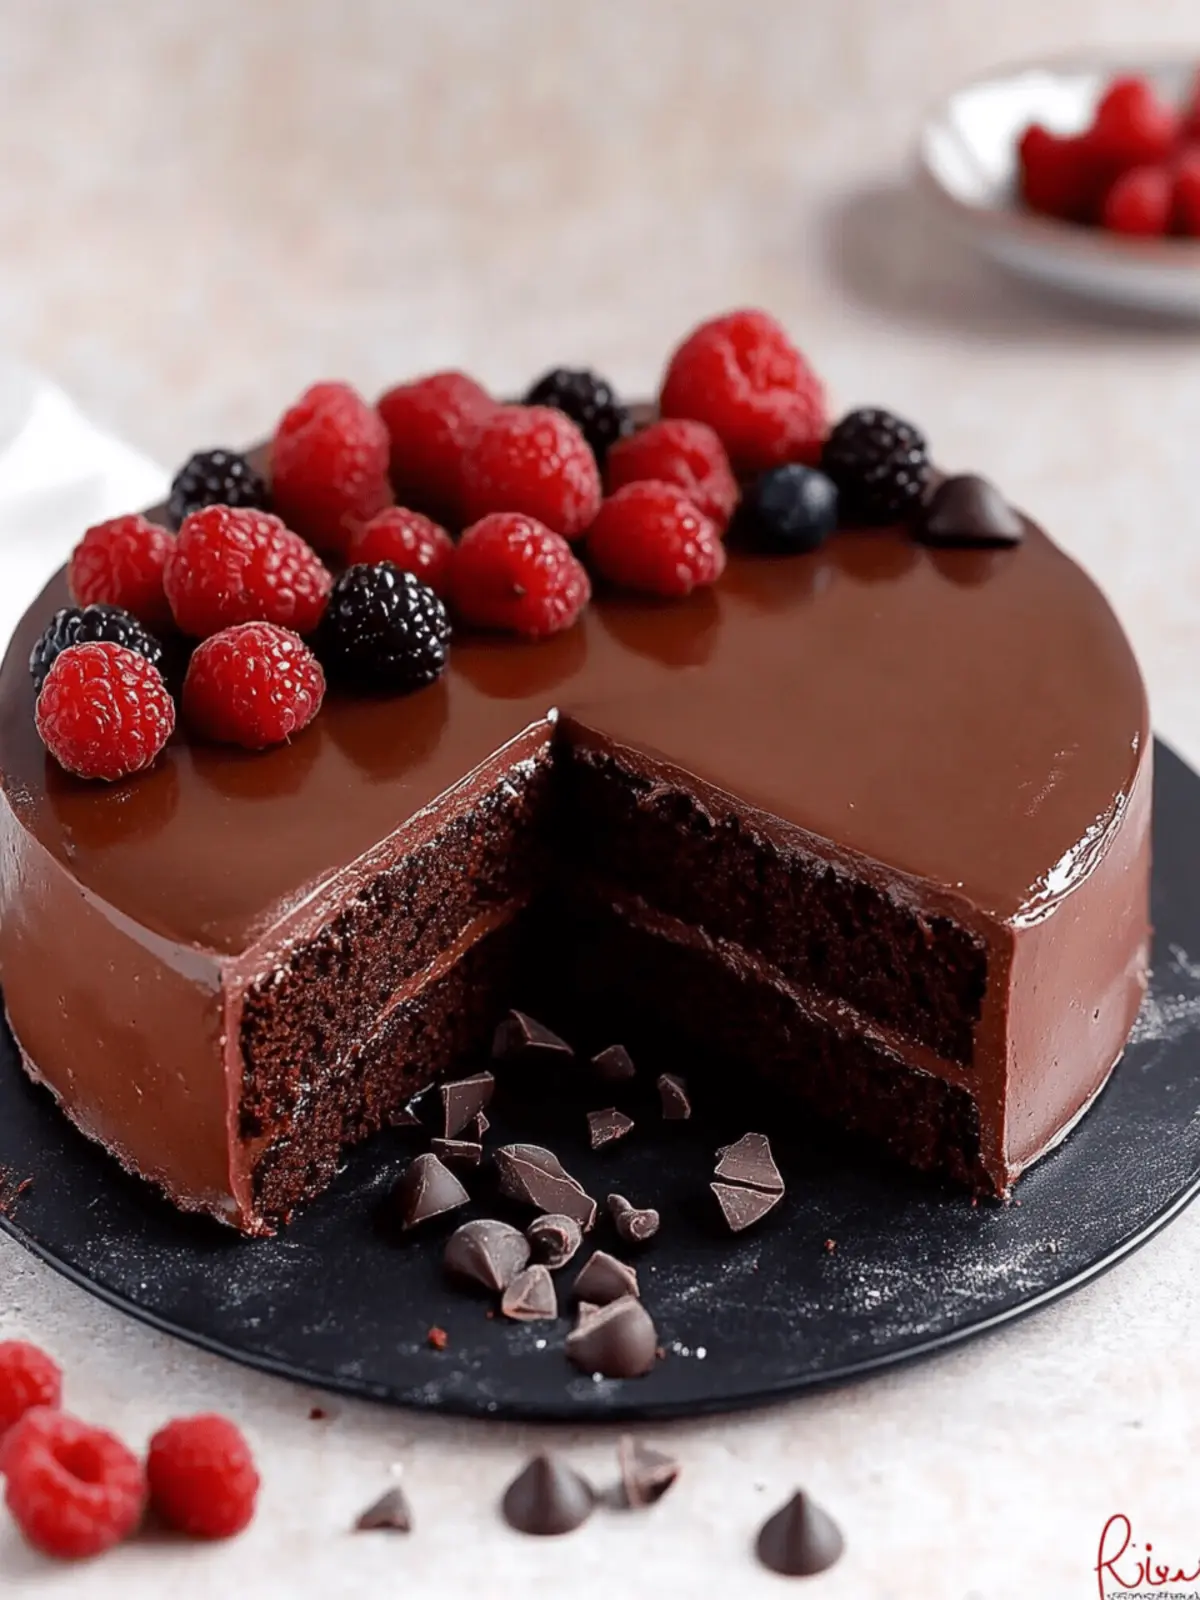
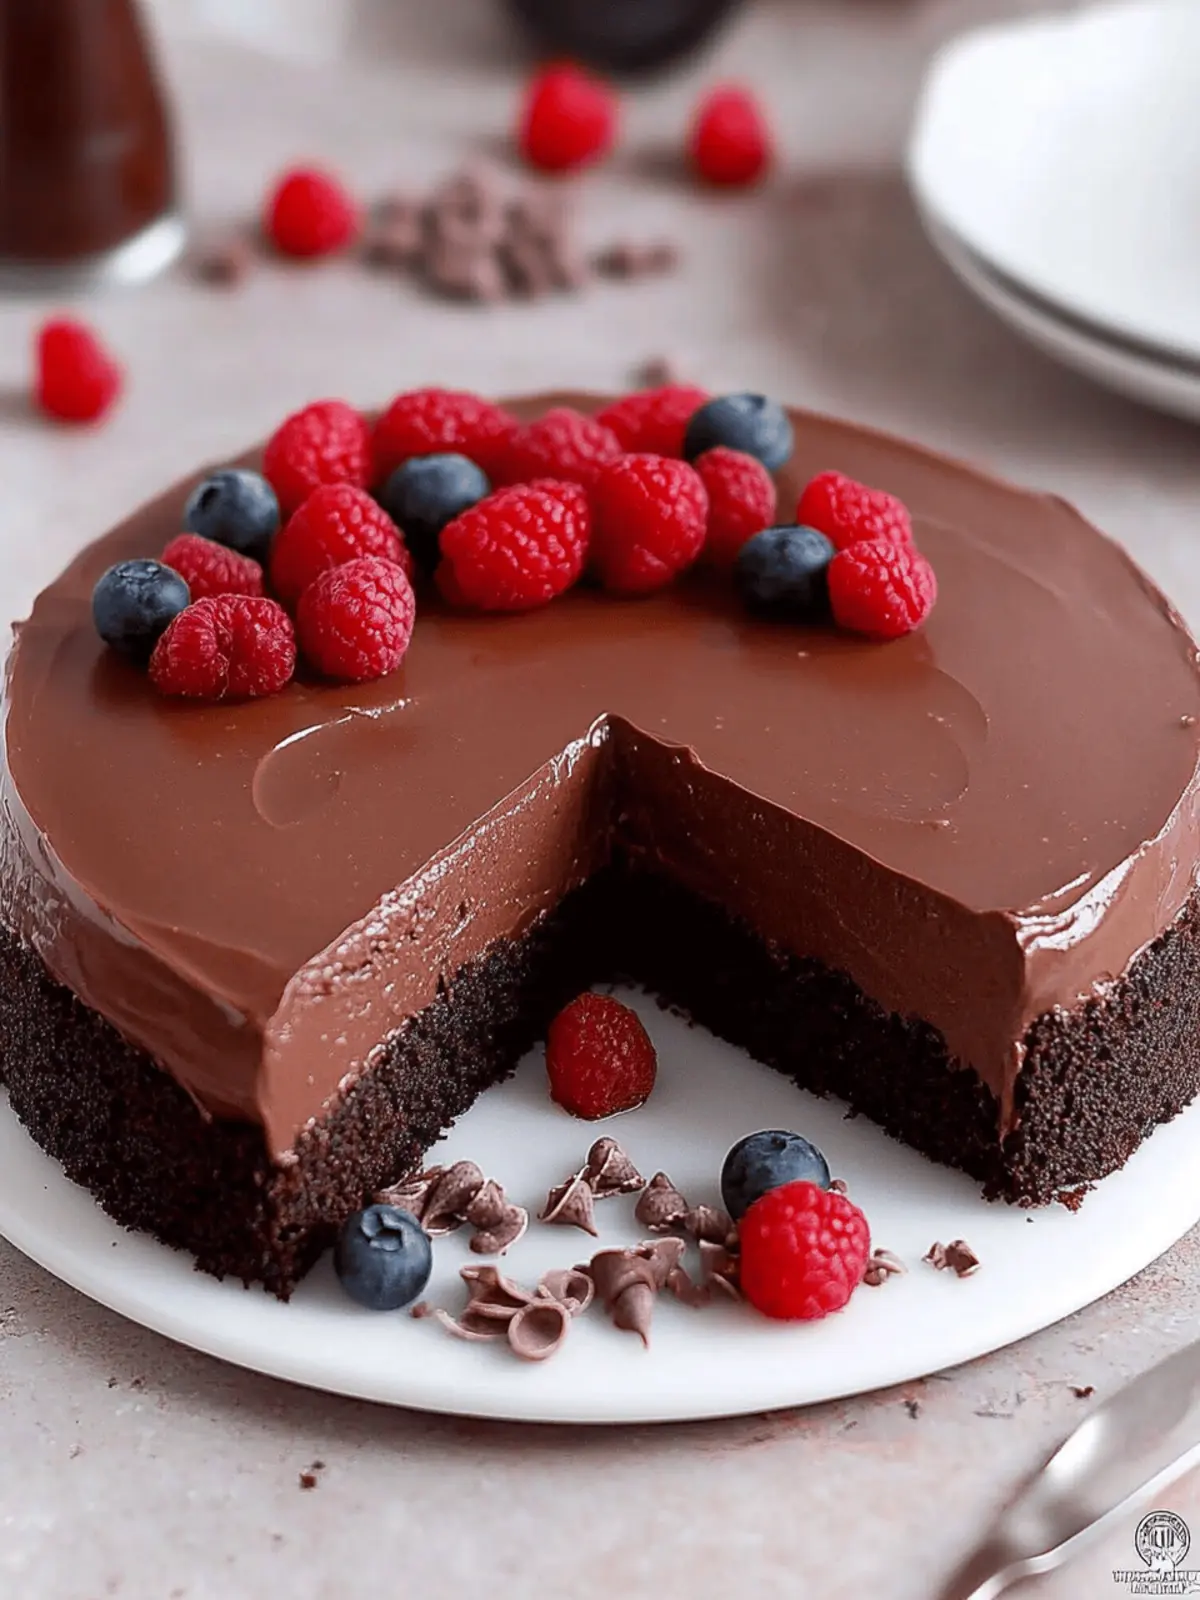
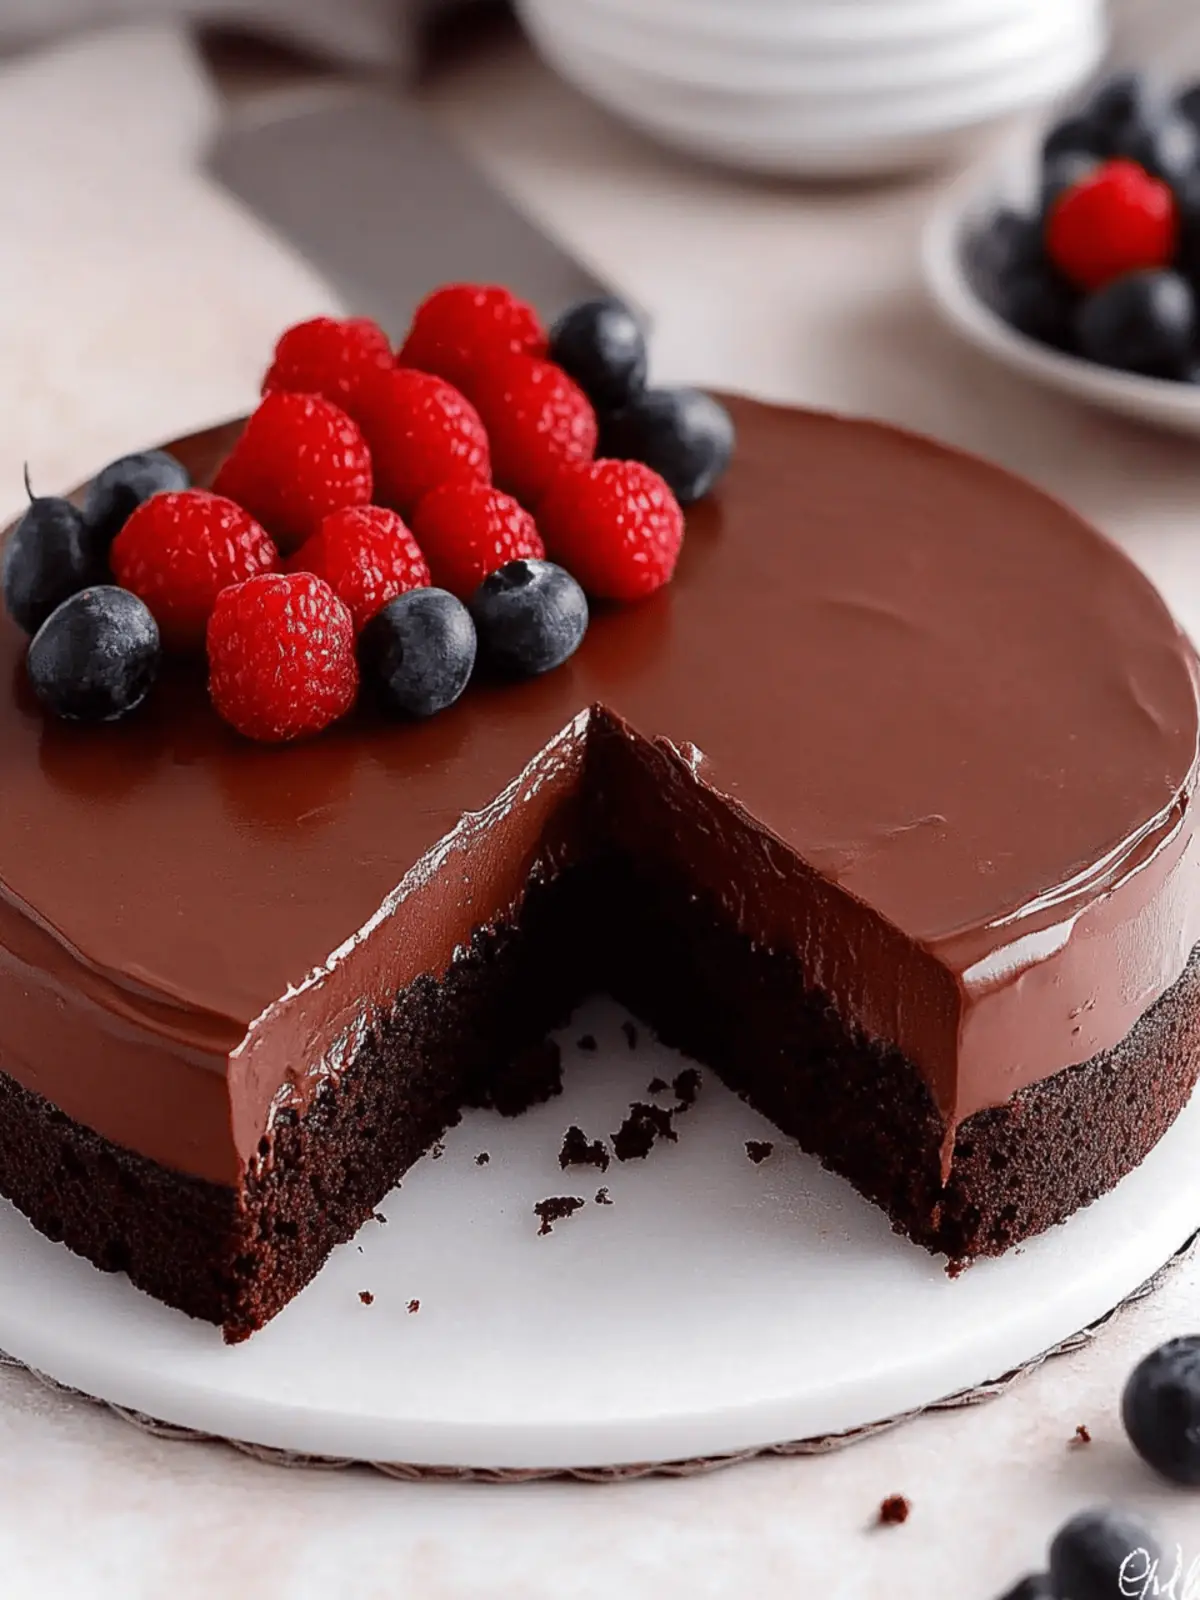
There’s a certain magic that fills the air when chocolate meets cream, and that’s exactly what you’ll experience with this Easy Chocolate Mousse Cake. Imagine walking into your kitchen, the warm scent of freshly baked chocolate cake enveloping you, whispering promises of indulgence and comfort. This isn’t just any dessert; it’s a delightful blend of three luscious layers—moist chocolate cake, airy mousse, and a glossy ganache—each aspect designed to tantalize your taste buds.
Whether you’re celebrating a special occasion or simply need a pick-me-up from the chaos of daily life, this cake is your answer. Its elegant presentation will surely impress guests, yet its simplicity ensures you won’t be spending all day in the kitchen. Embrace the joy of creating a dessert that everyone will adore, even if you’re new to baking. So grab your apron and let’s dive into this chocolate lover’s dream!
Why is Chocolate Mousse Cake a Must-Try?
Indulgence at its Finest: This chocolate mousse cake features a rich combination of three delightful layers, satisfying every chocolate craving.
Effortless Elegance: Perfect for impressing guests, it looks like a professional creation yet is simple enough for any home baker.
Versatile Serving Options: Garnish with fresh raspberries for a pop of color or enjoy it plain—it’s delicious either way!
Make-Ahead Magic: With the ability to prepare components ahead of time, you can save precious minutes on special occasions.
Crowd-Pleasing Delight: Whether for birthdays, holidays, or just a cozy night in, this cake is sure to be the star of the show!
Chocolate Mousse Cake Ingredients
For the Cake
• All-Purpose Flour – Provides structure; substitute with a gluten-free blend for a gluten-free version.
• Granulated Sugar – Adds sweetness; can swap for brown sugar for a deeper flavor.
• Unsweetened Cocoa Powder – Delivers rich chocolate flavor; opt for Dutch-process cocoa for a smoother taste.
• Baking Soda & Baking Powder – Essential leavening agents for a fluffy texture.
• Salt – Enhances all other flavors; fine sea salt works best.
• Vegetable Oil – Keeps the cake moist; melted butter is a great substitute.
• Large Egg – Acts as a binder; use a flax egg for vegan-friendly options.
• Vanilla Extract – Infuses lovely depth; pure vanilla extract is preferable.
• Buttermilk – Ensures a tender crumb; make DIY buttermilk by adding vinegar to milk.
• Hot Coffee/Water – Intensifies chocolate flavor; brewed coffee is ideal for added richness.
For the Mousse & Ganache
• Semi-Sweet Chocolate Chips – Basis for both mousse and ganache; dark chocolate enhances richness if desired.
• Heavy Whipping Cream – Vital for creaminess; substitute coconut cream for a dairy-free option.
• Powdered Sugar – Sweetens the mousse; adjust to taste for a customized sweetness level.
• Vanilla for Mousse – Boosts flavor; pure extract is best.
• Optional Instant Coffee/Espresso Powder – Magnifies the chocolate flavor; omit if a milder taste is preferred.
For Garnishing
• Fresh Raspberries – Adds vibrant color and tartness, perfect visual appeal!
• Chocolate Covered Espresso Beans – Offers texture contrast and a delightful crunch; optional but lovely.
How to Make Easy Chocolate Mousse Cake
-
Preheat Oven: Begin by setting your oven to 350°F (177°C). Don’t forget to prepare a 9-inch springform pan by greasing it lightly to prevent sticking.
-
Make Cake Batter: In a large mixing bowl, whisk together the dry ingredients—flour, sugar, cocoa powder, baking soda, baking powder, and salt. Then, blend in the wet ingredients: oil, egg, vanilla, buttermilk, and hot coffee, mixing until smooth and well combined. Pour the batter into the prepared pan.
-
Bake: Slide the cake into the preheated oven and bake for 25-30 minutes. It’s ready when a toothpick inserted into the center comes out clean. Once baked, allow the cake to cool completely in the pan on a wire rack.
-
Prepare Mousse: While the cake cools, heat 1 cup of heavy cream in a saucepan over medium heat until it simmers. Pour this hot cream over the chocolate chips in a bowl and let it sit for a few minutes to melt. Stir until smooth, then set aside to cool.
-
Whip Cream: In a separate bowl, whip the remaining heavy cream with powdered sugar and vanilla until stiff peaks form. Gently fold this whipped cream into the cooled chocolate ganache until fully combined, creating a luscious mousse.
-
Assemble Cake: Once the cake has cooled, level the top if needed. Wrap the cooled cake with an acetate collar and pour the prepared mousse over it. Refrigerate the cake for at least 6 hours, or overnight, to achieve a firm set.
-
Make Ganache Topping: For the ganache, combine the remaining chocolate chips and heavy cream in a saucepan over low heat. Stir until smooth and glossy. Allow the ganache to cool to room temperature before carefully pouring it over the set mousse layer.
-
Garnish: Before serving, consider decorating the top with fresh raspberries and chocolate-covered espresso beans for an appealing finish.
Optional: Drizzle with extra ganache for an indulgent touch.
Exact quantities are listed in the recipe card below.
Chocolate Mousse Cake Variations
Feel free to let your creativity shine with these delightful twists on the classic chocolate mousse cake.
-
Dark Chocolate: Swap semi-sweet chocolate for dark chocolate to deepen the flavor, creating a rich and decadent experience.
-
Fruit-Infused Ganache: Add a splash of raspberry or orange liqueur to your ganache for a fruity kick that elevates its elegance.
-
Nutty Crunch: Stir in finely chopped hazelnuts or walnuts into the mousse for added texture and an enticing nutty flavor.
-
Coffee Lovers’ Delight: Incorporate espresso powder into the mousse mixture for a coffee-infused dessert that complements the chocolate beautifully.
-
Minty Freshness: Infuse the heavy cream with mint leaves while heating for a refreshing mint chocolate variation.
-
Gluten-Free Option: Replace all-purpose flour with a gluten-free flour blend, ensuring everyone can enjoy this indulgent treat.
-
Vegan Twist: Use flax eggs and coconut cream in the mousse for a vegan version that still offers the same rich delight.
-
Decorative Layers: Alternate layers of mousse and cake for a stunning presentation that will impress at any gathering.
What to Serve with Chocolate Mousse Cake?
Picture this: a beautifully layered chocolate mousse cake gracing your table, and now you’re wondering what could possibly enhance your experience even further. Let’s create a memorable meal that perfectly complements this decadent dessert.
-
Fresh Berries: The tartness of strawberries or raspberries provides a refreshing contrast, brightening the rich flavors of the cake. Their juicy bursts make each bite more exciting.
-
Vanilla Ice Cream: This classic pairing adds a creamy element that balances the richness of the mousse while bringing a comforting warmth to every slice.
-
Chocolate Sauce: A drizzle of chocolate sauce amplifies your dessert’s indulgence and speaks directly to the hearts of chocolate lovers. It’s an inviting touch that elevates the experience.
-
Espresso or Coffee: A warm cup of espresso enhances the chocolate flavor and completes the indulgent ambiance. The slight bitterness of coffee pairs beautifully, awakening your palate.
-
Whipped Cream: An airy dollop of freshly whipped cream adds lightness to each bite. It harmonizes wonderfully with the rich, creamy elements of the mousse cake.
-
Cheese Platter: A selection of soft cheeses like brie or mascarpone provides a savory contrast to the cake. This subtle saltiness rounds out the meal, making it more sophisticated.
-
Sparkling Wine: Celebrate with a glass of bubbly that complements the dessert without overshadowing it. The effervescence cleanses the palate, preparing you for the next decadent bite.
-
Chocolate-Covered Fruits: Finish with a taste of chocolate-covered strawberries or oranges as a playful, delicious addition. They’re a delectable treat that ties back to the main attraction, leaving your guests craving more.
Each of these suggestions works to surround your chocolate mousse cake with delightful contrasts and joyful complements, ensuring your dessert steals the show!
Make Ahead Options
These Easy Chocolate Mousse Cakes are fantastic for meal prep enthusiasts looking to save time on busy occasions! You can prepare the chocolate cake up to 3 days in advance; just make sure to allow it to cool completely and store it wrapped tightly in plastic wrap in the fridge to maintain its moisture. The mousse can also be whipped up up to 24 hours ahead, ensuring it stays airy by folding it gently and refrigerating it until it’s time to assemble. When you’re ready to serve, simply pour the mousse over the cooled cake, chill for at least 6 hours (or overnight), and finish with the ganache topping. This way, you’ll achieve a delicious, elegant dessert with minimal stress!
How to Store and Freeze Chocolate Mousse Cake
Fridge: Store the assembled chocolate mousse cake in an airtight container or cover it with plastic wrap. It will stay fresh for up to 5 days in the refrigerator.
Freezer: If you need to freeze the cake, wrap it tightly in plastic wrap and then in aluminum foil. It can be frozen for up to 1 month—just remember to let it thaw in the fridge overnight before serving.
Reheating: This dessert is best served chilled, so there’s no reheating necessary! Simply slice and enjoy straight from the fridge.
Make-Ahead Tips: You can prepare the cake layers and mousse ahead of time, then assemble them on the day you plan to serve, ensuring optimal freshness and flavor.
Expert Tips for Chocolate Mousse Cake
-
Chill Your Tools: Use chilled mixing bowls and beaters when whipping cream for the mousse. This helps achieve those perfect, fluffy peaks and a light texture.
-
Cool Completely: Ensure the chocolate cake is entirely cooled before adding the mousse; this prevents melting and maintains beautiful layers in your chocolate mousse cake.
-
Layer With Care: When pouring the mousse over the cake, do it slowly to ensure an even layer without disturbing the cake underneath.
-
Acetate Collar Use: Wrapping the cake with an acetate collar allows for a clean edge and keeps the mousse intact while it sets in the fridge.
-
Temperature Matters: Serve your finished cake chilled but not too cold; allowing it to sit at room temperature for a few minutes before serving enhances the flavors and texture.
Easy Chocolate Mousse Cake Recipe FAQs
How do I select the best ingredients for my chocolate mousse cake?
Absolutely! When choosing ingredients, ensure your chocolate is of high quality, as it greatly affects the flavor. Look for cocoa powder that is rich and aromatic with a deep color and check that your heavy whipping cream is fresh for the best volume when whipped. Use eggs that are at room temperature for a smoother batter and better emulsification, and consult your flour for any signs of being clumpy or stale.
What’s the best way to store my chocolate mousse cake?
Very important! Store the assembled cake in an airtight container or cover it with plastic wrap to prevent drying. It will stay fresh in the refrigerator for up to 5 days. If the cake is cut, you may want to use a cake dome to maintain freshness.
Can I freeze chocolate mousse cake?
Yes, you can! To freeze, wrap the entire cake tightly in plastic wrap. Follow with a layer of aluminum foil to prevent freezer burn. The cake can be frozen for up to 1 month. When ready to enjoy, thaw it overnight in the refrigerator for the best texture and flavor.
What if my mousse isn’t setting properly?
Don’t worry! If your mousse isn’t setting, it might be because the chocolate mixture was too warm when combined with the whipped cream or not enough cream was whipped to stiff peaks. Make sure to let the ganache cool to room temperature before folding in cooled whipped cream. If it still doesn’t set, consider adding a bit of gelatin (1 teaspoon dissolved in water) to help stabilize it.
Is this chocolate mousse cake suitable for people with allergies?
Absolutely! If you’re concerned about allergies, consider substituting ingredients as needed. Use gluten-free flour for a gluten-free version and replace heavy cream with coconut cream for a dairy-free option. Always check labels for allergens, particularly on chocolate products, as they can sometimes contain traces of nuts or other allergens.
Can my chocolate mousse cake be made ahead of time?
Definitely! You can prepare individual components, like the cake and mousse, up to 2 days in advance. Just ensure the cake is completely cooled before wrapping it tightly, and the mousse can be made and refrigerated. Assemble the cake on the day you plan to serve it, or simply refrigerate the layers separately to maintain freshness.
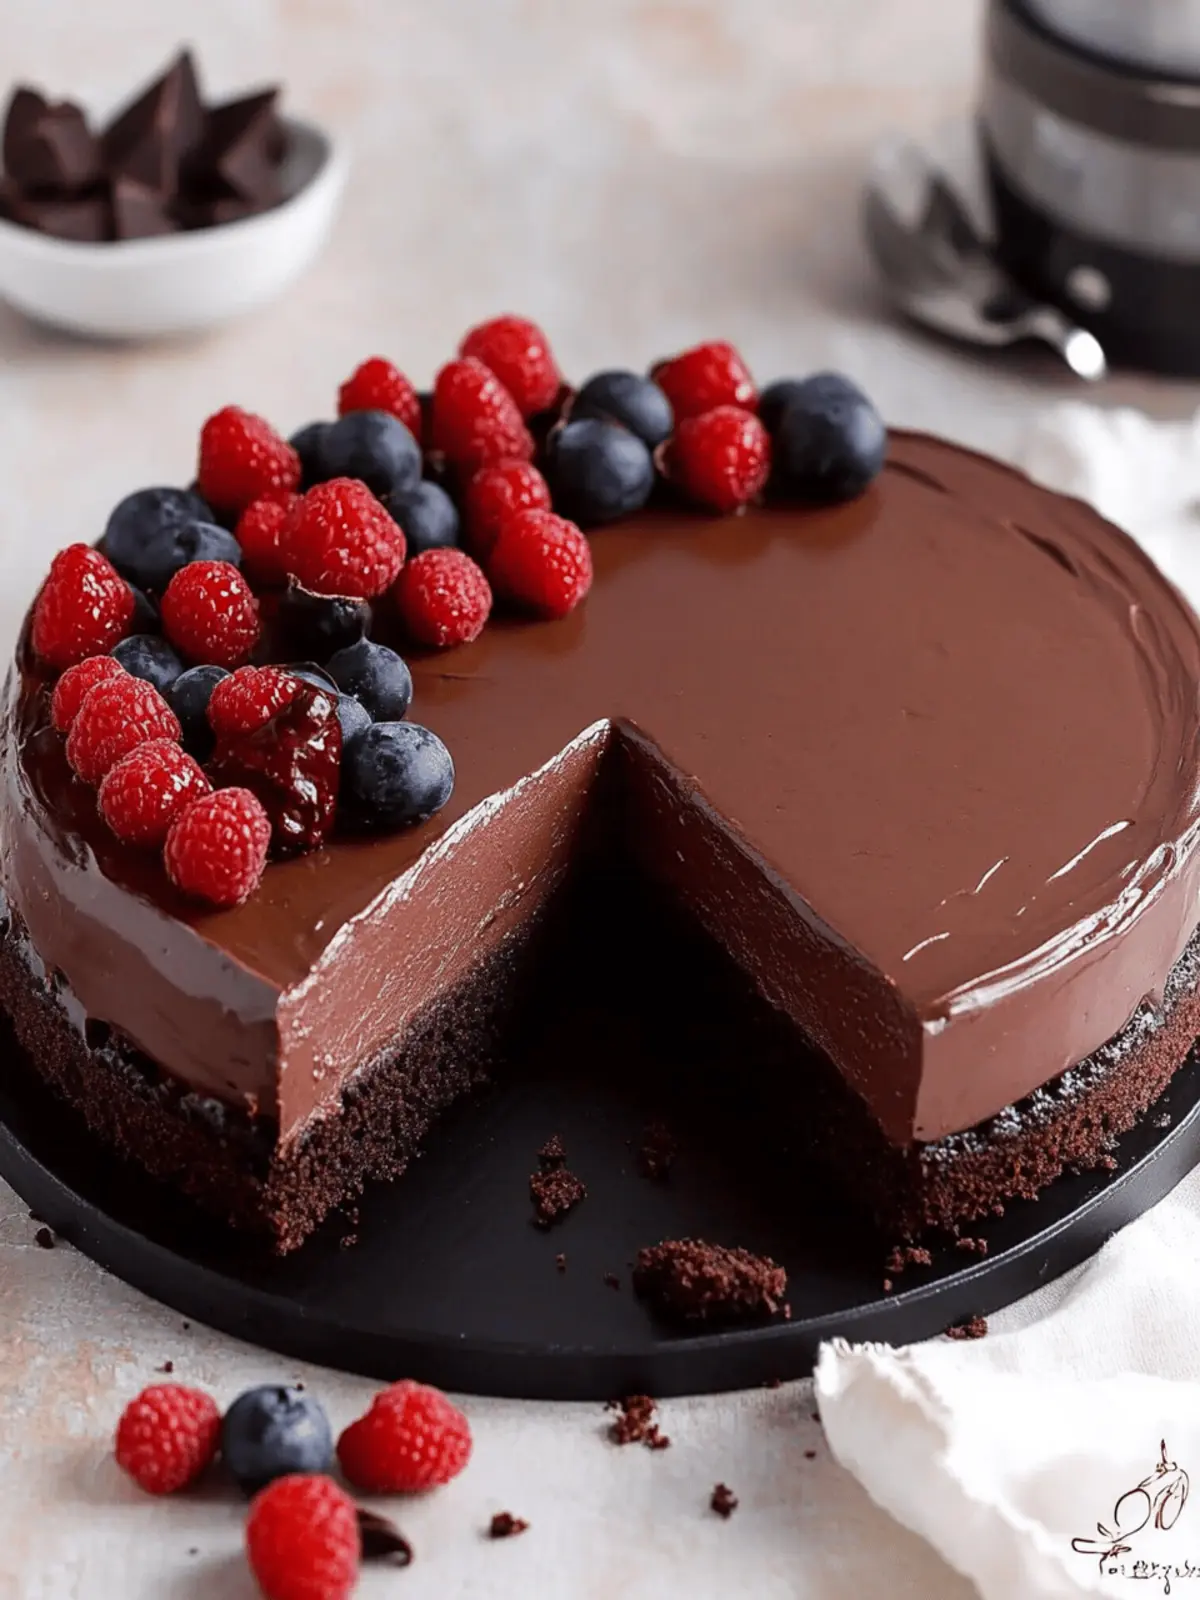
Irresistible Chocolate Mousse Cake That Will Wow Your Guests
Ingredients
Equipment
Method
- Preheat Oven: Set your oven to 350°F (177°C). Prepare a 9-inch springform pan by greasing it lightly to prevent sticking.
- Make Cake Batter: In a large bowl, whisk together flour, sugar, cocoa powder, baking soda, baking powder, and salt. Blend in oil, egg, vanilla, buttermilk, and hot coffee until smooth. Pour into the prepared pan.
- Bake: Bake for 25-30 minutes until a toothpick inserted comes out clean. Cool completely in the pan on a wire rack.
- Prepare Mousse: Heat 1 cup heavy cream in a saucepan until simmering. Pour over chocolate chips and let melt. Stir until smooth and cool.
- Whip Cream: In another bowl, whip remaining cream with powdered sugar and vanilla until stiff peaks form. Fold into cooled ganache.
- Assemble Cake: Wrap cooled cake with acetate collar, pour mousse over it. Refrigerate for at least 6 hours to set.
- Make Ganache Topping: Combine chocolate chips and cream in a saucepan over low heat until smooth. Cool to room temperature and pour over the mousse.
- Garnish: Decorate with fresh raspberries and chocolate-covered espresso beans before serving.

