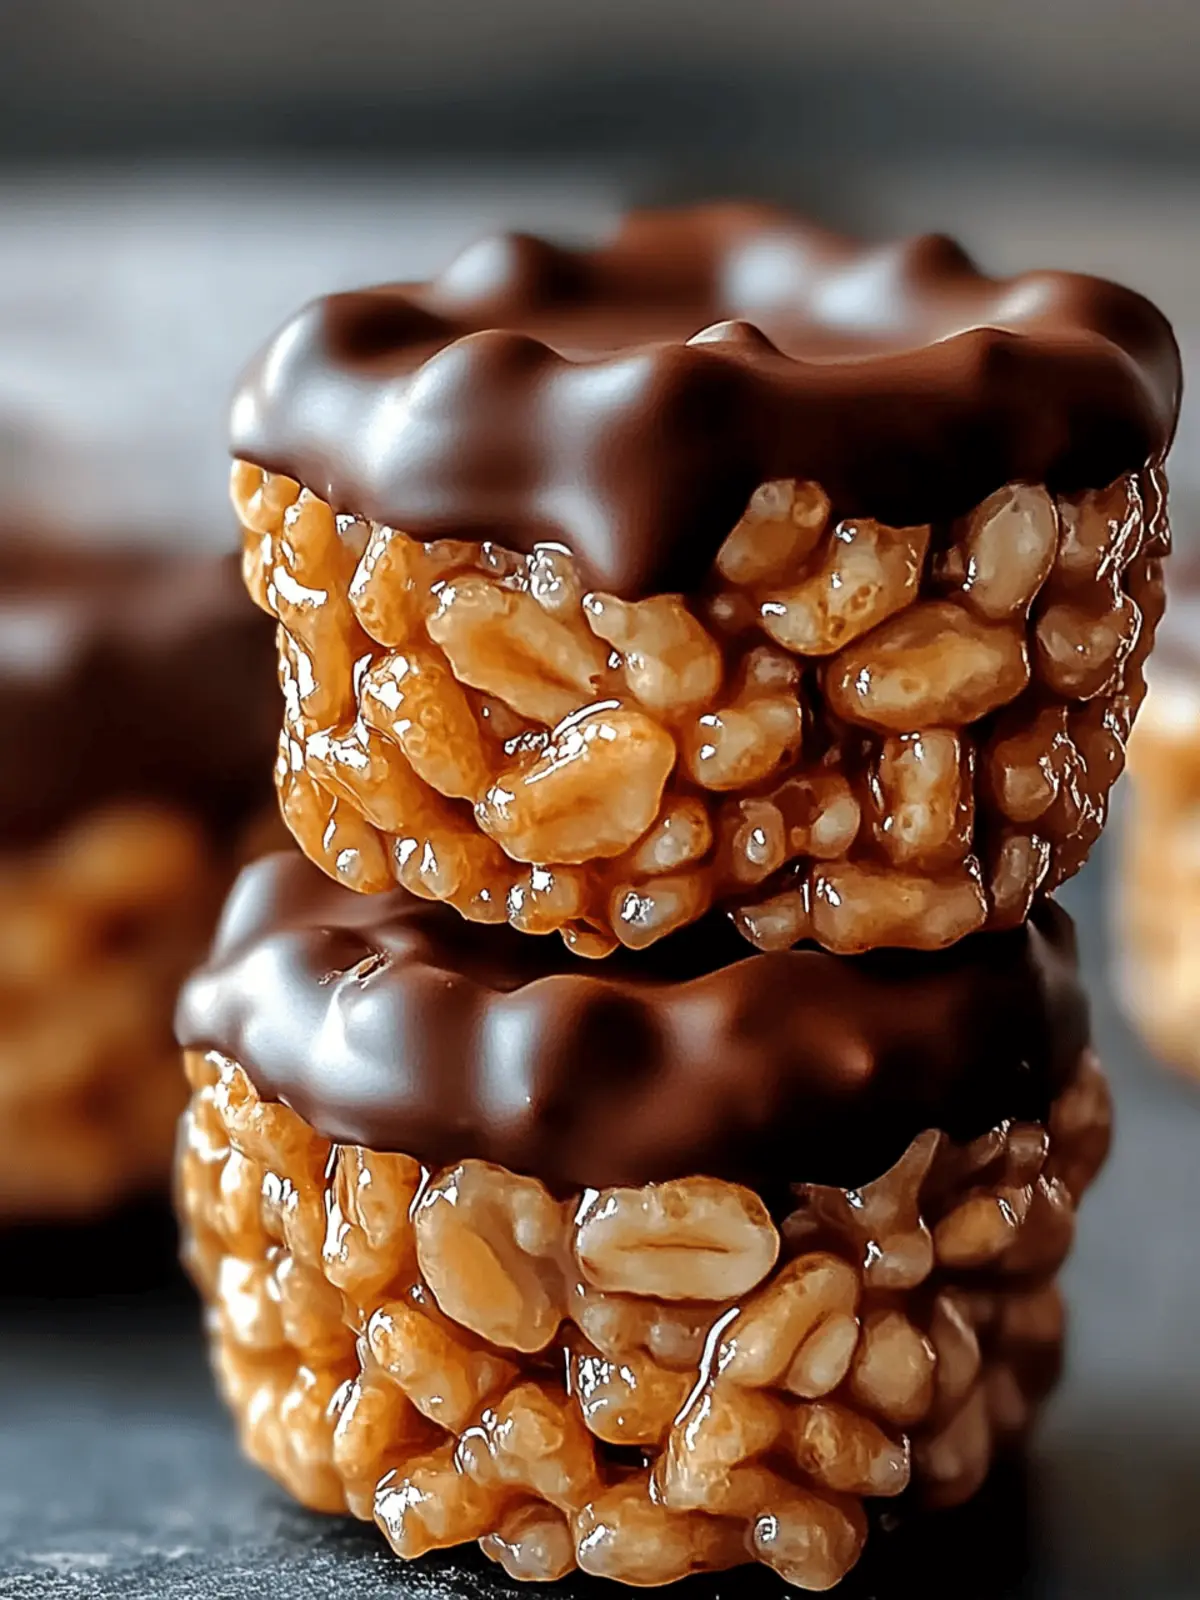
There’s something undeniably comforting about the sound of Rice Krispies crackling as you fold them into a sweet mixture of chocolate and peanut butter. On a bustling weeknight or a lazy weekend, these No-Bake Chocolate Peanut Butter Rice Krispie Cups emerge as the perfect solution for a quick, satisfying dessert. In just 15 minutes, you can create tasty little bites that marry the oozing richness of chocolate with the creamy goodness of peanut butter, all wrapped up with the delightful crunch of cereal.
Whether you’re whipping them up for a family snack, a last-minute treat for a gathering, or simply to indulge your sweet tooth, these cups promise to delight both kids and adults alike. Easy to make with pantry staples, they also offer endless variations to keep your creations fresh. So let’s dive in and create a simple yet delectable treat that becomes a crowd favorite—no baking required!
Why are Chocolate Peanut Butter Rice Krispie Cups a Must-Try?
Quick and Easy: You only need 15 minutes to whip up these delightful treats, making them perfect for busy days.
Kid-Friendly: Kids will love helping out, turning this recipe into a fun family activity!
Rich, Decadent Flavor: The combination of chocolate and peanut butter offers a taste sensation that’s hard to resist.
Versatile Options: Substitute peanut butter for almond or sunflower seed butter to cater to different dietary needs.
Perfect for Sharing: These bite-sized treats are great for parties, lunchboxes, or casual gatherings, sure to impress guests.
Make it even more exciting by trying unique additions or flavors as you explore the endless possibilities with this recipe!
Chocolate Peanut Butter Rice Krispie Cups Ingredients
For the Base
• Rice Krispies – Adds crunch and texture; substitute with other puffed cereals for a different flavor profile.
• Chocolate Chips – Provides sweetness and richness; use semi-sweet or milk chocolate for varied sweetness.
• Creamy Peanut Butter – Binds the mixture and contributes to the creamy texture; natural peanut butter works best when oil is drained for improved consistency.
• Powdered Sugar – Sweetens the mixture and helps with structure; can be substituted with a sugar alternative to fit low-sugar diets.
• Vanilla Extract – Enhances flavors; no substitution necessary, although vanilla essence can provide a slightly different taste.
• Salt – Balances sweetness and enhances flavor; opt for kosher salt if you prefer a coarser texture.
For Optional Toppings
• Extra Chocolate Chips – Perfect for a richer topping; omit for a more straightforward cup or substitute with other nuts or chocolate for variety.
• Chopped Peanuts – Great for adding an extra crunch; these can be swapped with seeds or different nuts for your dietary preferences.
Enjoy your delightful Chocolate Peanut Butter Rice Krispie Cups and consider trying various variations to keep things exciting!
How to Make Chocolate Peanut Butter Rice Krispie Cups
-
Prep Containers: Line a mini muffin tin with paper liners or lightly spray silicone cups. This ensures your treats come out easily once set!
-
Melt Chocolate: In a microwave-safe bowl, heat chocolate chips in 30-second intervals, stirring until smooth and glossy; let it cool briefly before mixing with other ingredients.
-
Mix Peanut Butter: In a larger bowl, combine creamy peanut butter and powdered sugar until smooth and velvety. This will create a fantastic base for your treats—don’t rush it!
-
Combine Mixtures: Stir the melted chocolate into the peanut butter mixture until everything is well-blended and dreamy. You’ll see that luscious chocolate color come through!
-
Fold in Cereal: Gently fold in the Rice Krispies until they are fully coated, being careful not to overmix so you can maintain that wonderful crunch.
-
Fill Containers: Spoon the mixture into your prepared cups, filling them about ¾ full. Press gently to compact the mixture without packing it too tightly.
-
Chill: Refrigerate your cups for about 30 minutes until they are firm. For firmer cups, feel free to chill them for up to an hour.
Optional: Sprinkle extra chocolate chips or chopped peanuts on top before chilling for an added crunch!
Exact quantities are listed in the recipe card below.
Make Ahead Options
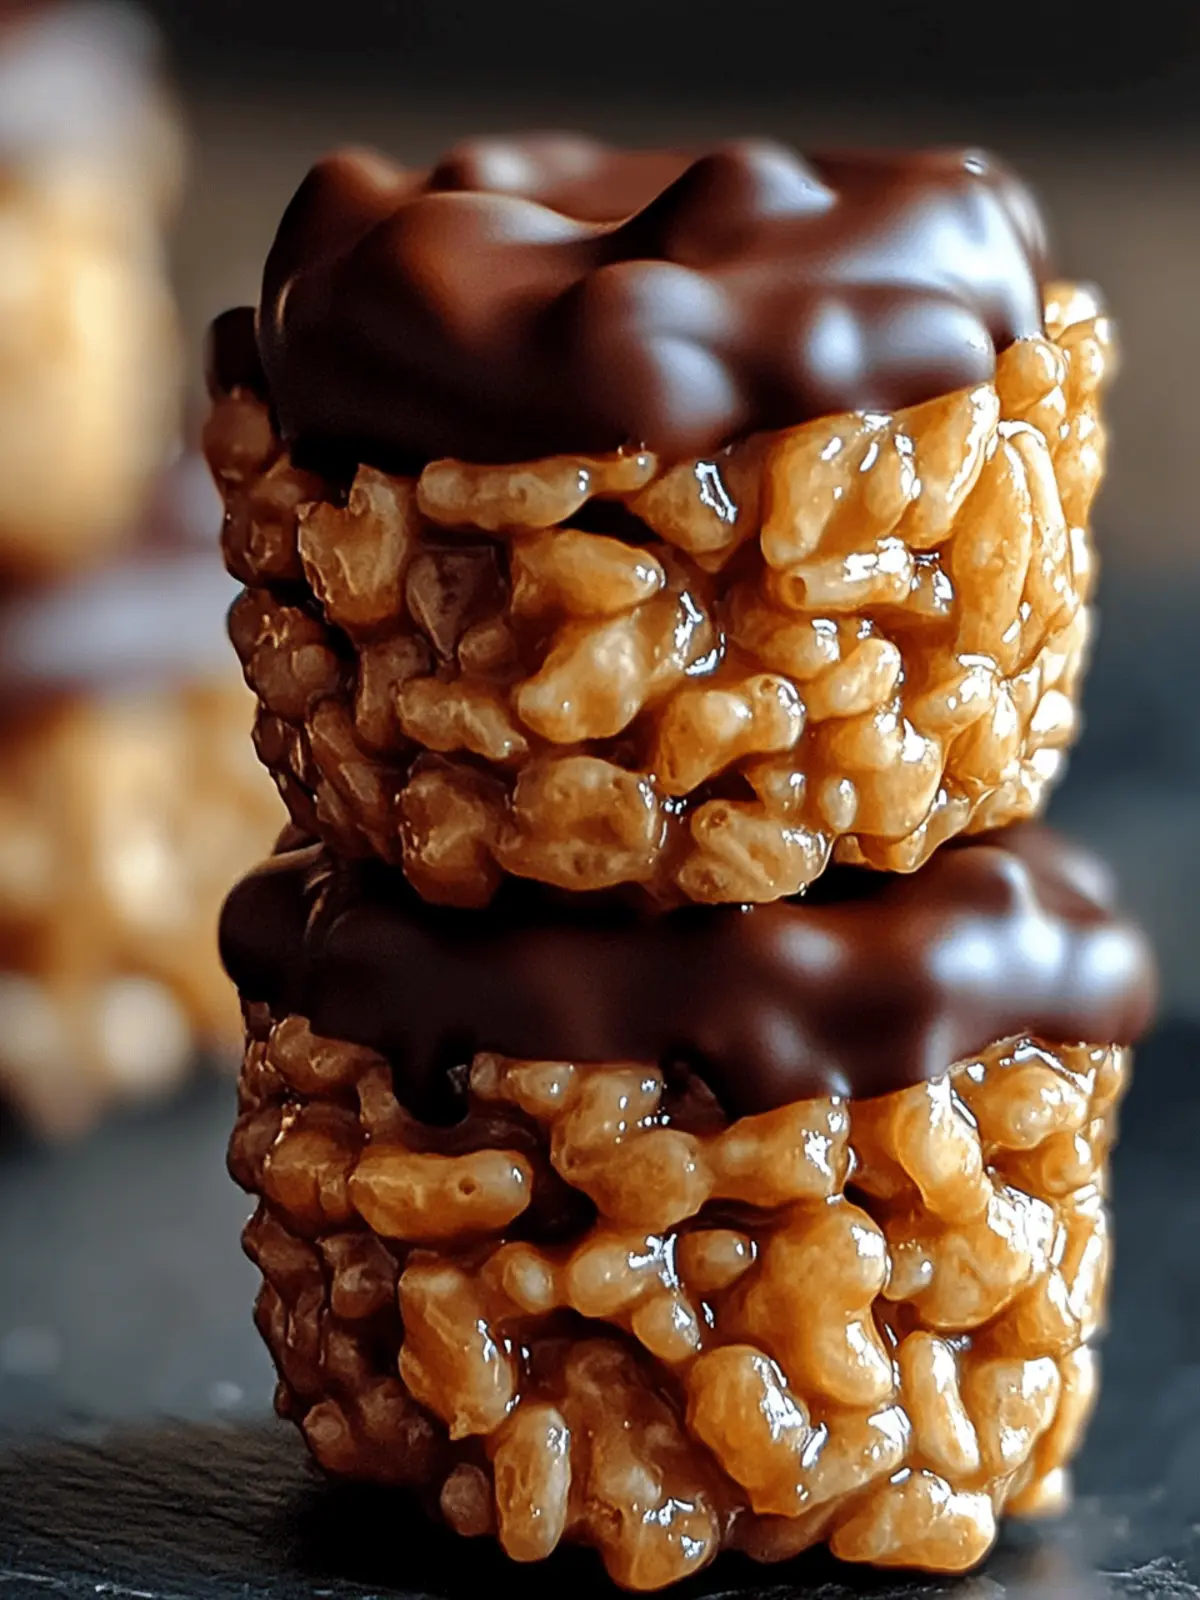
These Chocolate Peanut Butter Rice Krispie Cups are perfect for meal prep, saving you time on busy days! You can mix the chocolate and peanut butter base and fold in the Rice Krispies up to 24 hours in advance; simply refrigerate the mixture in an airtight container until you’re ready to fill the cups. To maintain that wonderful crunch, avoid overmixing when you fold in the cereal and press the mixture lightly into the cups. When you’re ready to serve, just scoop the prepared mixture into your lined muffin tin and refrigerate for about 30 minutes to firm up. With this make-ahead strategy, you’ll have decadent treats ready whenever the craving strikes!
How to Store and Freeze Chocolate Peanut Butter Rice Krispie Cups
Room Temperature: Store in an airtight container for up to 3 days; this keeps them fresh and delicious for easy snacking.
Fridge: These treats can last in the refrigerator for up to a week; use an airtight container to prevent moisture from affecting their crunch.
Freezer: For longer storage, freeze for up to a month in a freezer-safe container; to enjoy, let them thaw in the fridge or at room temperature.
Reheating: There’s no need to reheat as these Chocolate Peanut Butter Rice Krispie Cups are meant to be enjoyed cold, providing a delightful contrast of textures!
Expert Tips for Chocolate Peanut Butter Rice Krispie Cups
-
Don’t Overmix: Gently fold the Rice Krispies into the mixture to maintain crunchiness. Overmixing can lead to soggy cups.
-
Use Quality Peanut Butter: Choose firm, well-stirred natural peanut butter. Separating oil affects texture; make sure it’s mixed well before using.
-
Chill Time Matters: Allow your cups to chill properly. Insufficient chilling can result in soft, difficult-to-handle treats.
-
Perfect Portioning: Fill the cups about ¾ full and press moderately; packing too tightly can lead to dense cups that lose their lightness.
-
Experiment with Variations: Feel free to substitute ingredients or add extra flavors to your Chocolate Peanut Butter Rice Krispie Cups—the options are endless!
What to Serve with Chocolate Peanut Butter Rice Krispie Cups?
Creating the perfect dessert experience doesn’t end with these delightful cups; it’s all about building a meal that sings in harmony.
- Cold Milk: Nothing beats a tall glass of cold milk alongside these treats, balancing their sweet richness beautifully.
- Hot Coffee: For the grown-ups, a cup of robust coffee complements the peanut buttery sweetness while balancing flavors perfectly.
- Fresh Berries: Juicy strawberries or raspberries add a bright burst of freshness that cuts through the richness of the cups, creating a delicious contrast.
- Creamy Ice Cream: Scoop some vanilla or chocolate ice cream alongside your treats for an indulgent and decadent dessert experience.
- Nutty Granola: Serve with a sprinkle of crunchy granola to introduce an extra layer of texture while keeping things wholesome.
- Fruit Salad: A refreshing fruit salad offers a light counterpoint to the dense sweetness, making it an ideal alongside treat for summer gatherings.
- Chocolate Milkshake: Blend up a chocolate milkshake for an ultimate nostalgic pairing—kids will love this combo!
- Chocolate-Covered Pretzels: These add a delightful salty crunch, enhancing the overall flavor profile and making your dessert table even more appealing.
Chocolate Peanut Butter Rice Krispie Cups Variations
Embrace the opportunity to make this delightful treat your own with some fun and flavorful twists!
-
Nut-Free: Swap peanut butter for almond or sunflower seed butter to accommodate nut allergies while keeping the creamy texture intact.
-
Chocolate Swap: Use dark chocolate chips instead of semi-sweet for a richer, more intense flavor that chocolate lovers will adore.
-
Added Crunch: Incorporate chopped pretzels or crispy rice cereal for an unexpected salty crunch that complements the sweetness beautifully.
-
Spiced Delight: Sprinkle a dash of cinnamon or a hint of nutmeg into the mixture for a warm and comforting flavor that invites cozy feelings.
-
Mini Marshmallow Magic: Fold in mini marshmallows for a delightful chewy texture and added sweetness that kids will reach for again and again.
-
Dried Fruit Twist: Add raisins, cranberries, or chopped dried apricots to the mix for a chewy component, enhancing both flavor and nutrition.
-
Decadent Toppings: Drizzle melted white chocolate over the top to elevate these cups into something extra special for festive occasions.
-
Kick it Up: For those craving a little heat, add a sprinkle of cayenne pepper or chili powder for a surprising contrast that tantalizes the taste buds.
Each of these variations will take your Chocolate Peanut Butter Rice Krispie Cups on a delightful new journey, ensuring there’s always a perfect bite waiting for you!
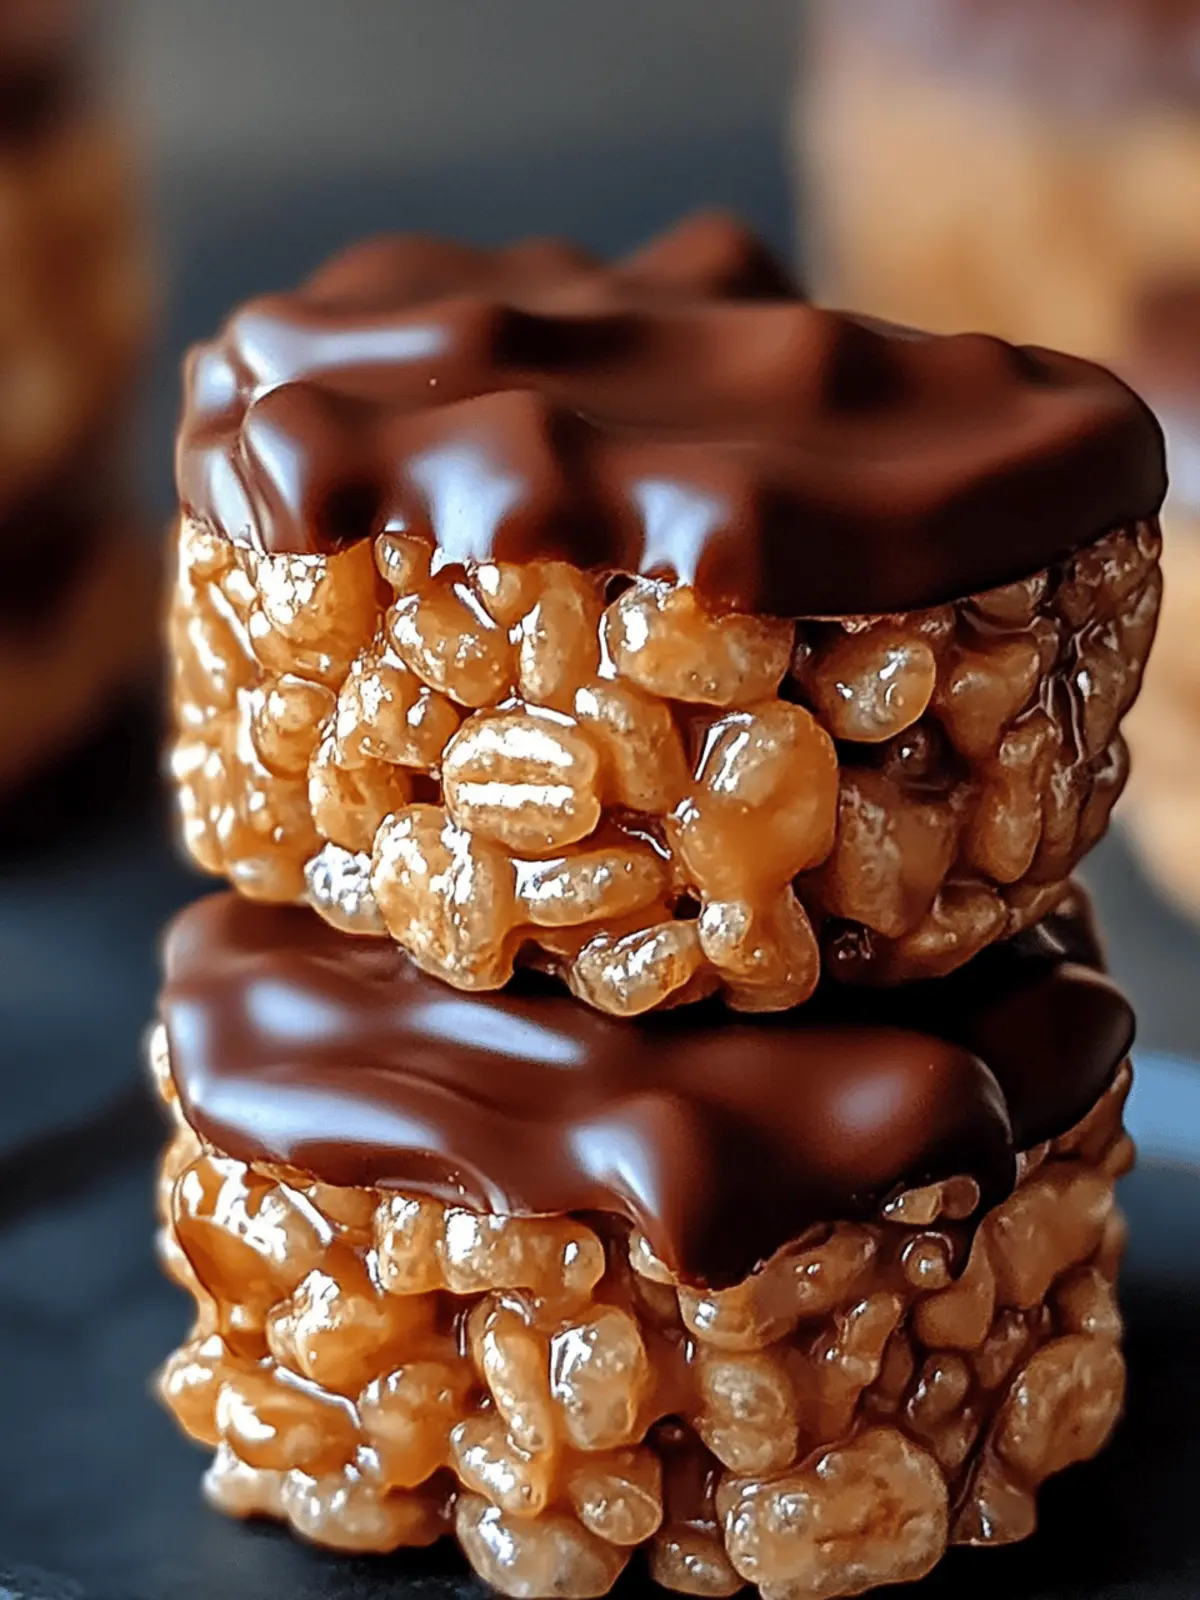
Chocolate Peanut Butter Rice Krispie Cups Recipe FAQs
How do I choose the right Rice Krispies?
Absolutely! When selecting Rice Krispies, look for a box that’s fresh and crisp. Avoid any with visible signs of degradation or stale smell. If you want to experiment, you can substitute them with other puffed cereals like Corn Pops or even granola for a unique twist in flavor and crunch.
What’s the best way to store Chocolate Peanut Butter Rice Krispie Cups?
Very simple! Store your cups in an airtight container. At room temperature, they last for about 3 to 4 days without losing their delightful texture. If you place them in the fridge, they will maintain their freshness for up to a week. Just ensure they’re sealed well to prevent moisture from ruining the crunch.
Can I freeze these Rice Krispie Cups?
Absolutely! Freezing is a great option for longer storage. Place your cups in a freezer-safe container, layering parchment paper between each layer if you have multiple. They can be stored for up to 3 months. When you’re ready to enjoy, simply let them thaw in the fridge or at room temperature. The texture remains enjoyable even after freezing!
What should I do if my mixture is too sticky?
If you find your mixture is overly sticky, it might be that you added too much peanut butter or didn’t cool your chocolate enough. Here’s a step-by-step fix:
- Add a bit more powdered sugar, a tablespoon at a time, mixing until you achieve a better consistency.
- If you can, chill the mixture for about 10-15 minutes before folding in the Rice Krispies.
- This helps firm it up, making it easier to shape without sticking to everything.
Are there any allergy considerations for these treats?
When making Chocolate Peanut Butter Rice Krispie Cups, bear in mind that they contain peanuts and chocolate, which can be common allergens. If you or someone you’re serving has a nut allergy, consider using sunflower seed butter as a substitute. Always check the labels on chocolate chips and any additional ingredients to prevent cross-contamination.
How far in advance can I make these treats?
You can certainly prepare these ahead of time! They can be made a day in advance and stored in the fridge to allow flavors to meld while ensuring they remain fresh. If desired, feel free to make them up to a week ahead, just remember to keep them sealed well to maintain moisture!
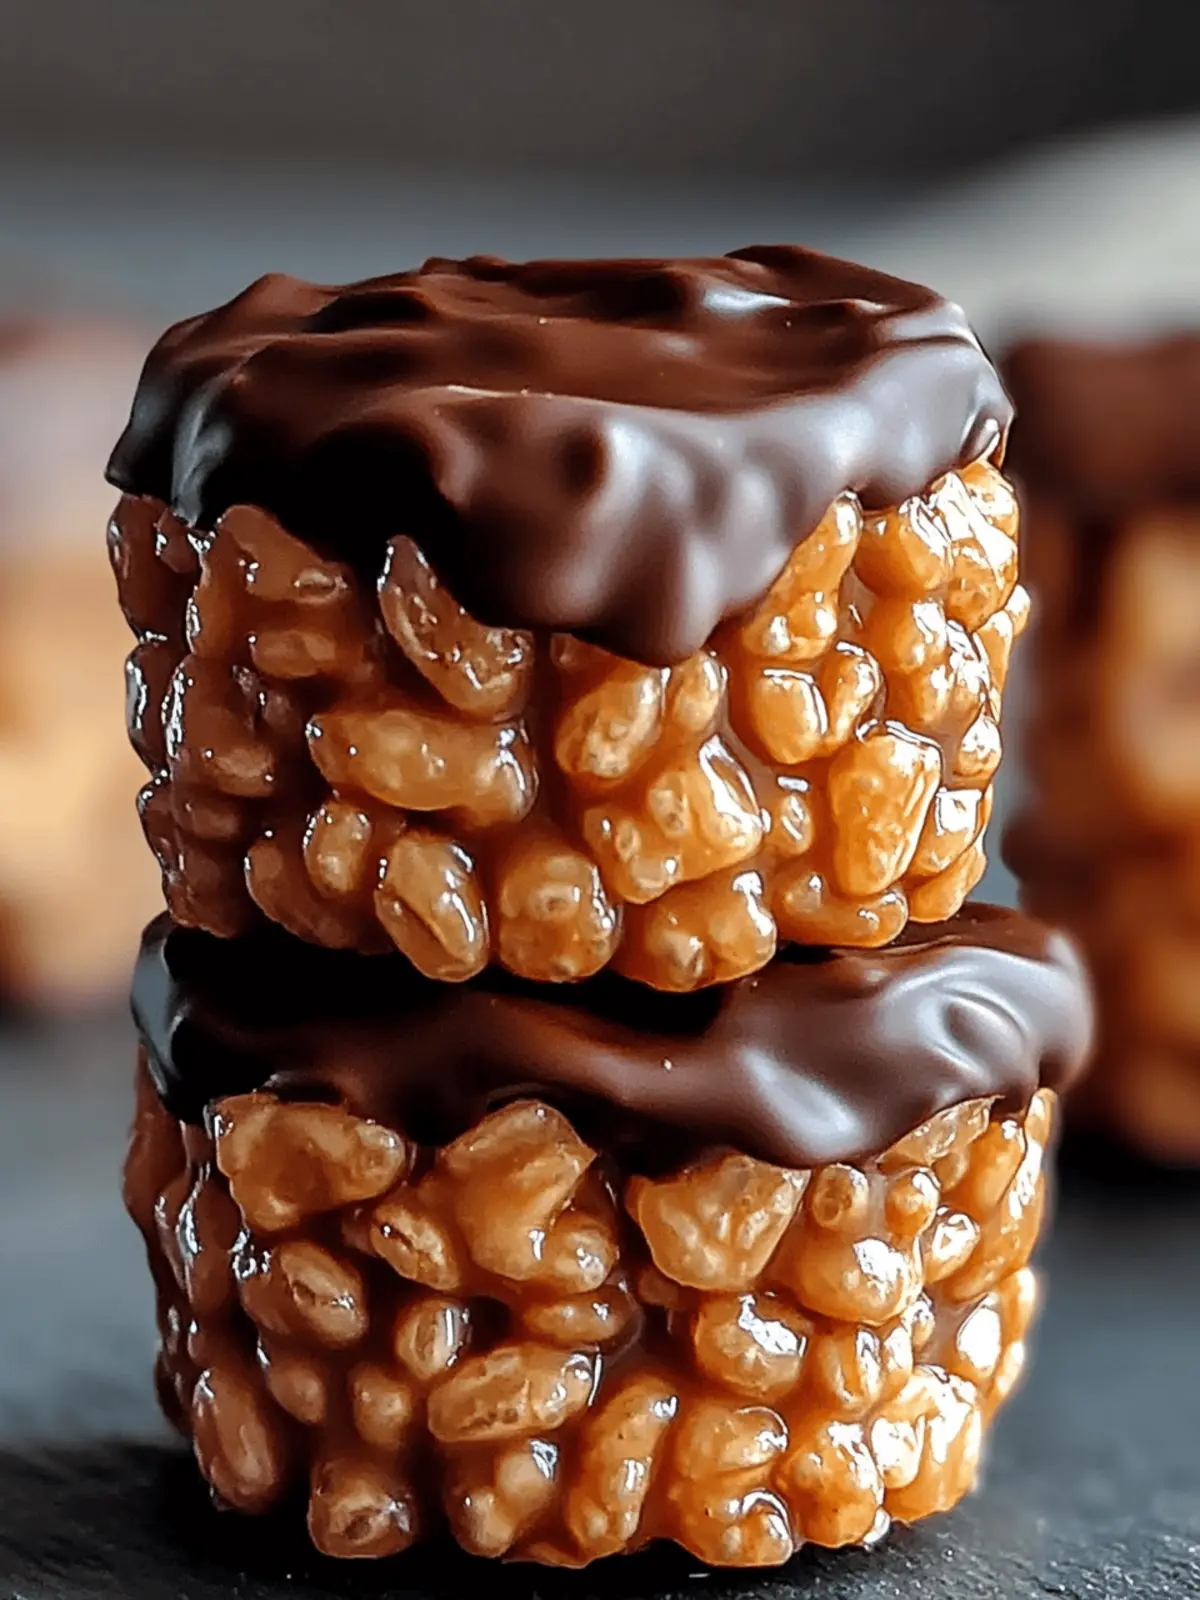
No-Bake Chocolate Peanut Butter Rice Krispie Cups in 15 Min
Ingredients
Equipment
Method
- Prep Containers: Line a mini muffin tin with paper liners or lightly spray silicone cups.
- Melt Chocolate: Heat chocolate chips in a microwave-safe bowl in 30-second intervals, stirring until smooth.
- Mix Peanut Butter: In a larger bowl, combine creamy peanut butter and powdered sugar until smooth.
- Combine Mixtures: Stir melted chocolate into the peanut butter mixture until well-blended.
- Fold in Cereal: Gently fold in the Rice Krispies until fully coated.
- Fill Containers: Spoon the mixture into your prepared cups, filling about ¾ full.
- Chill: Refrigerate the cups for about 30 minutes until firm.

