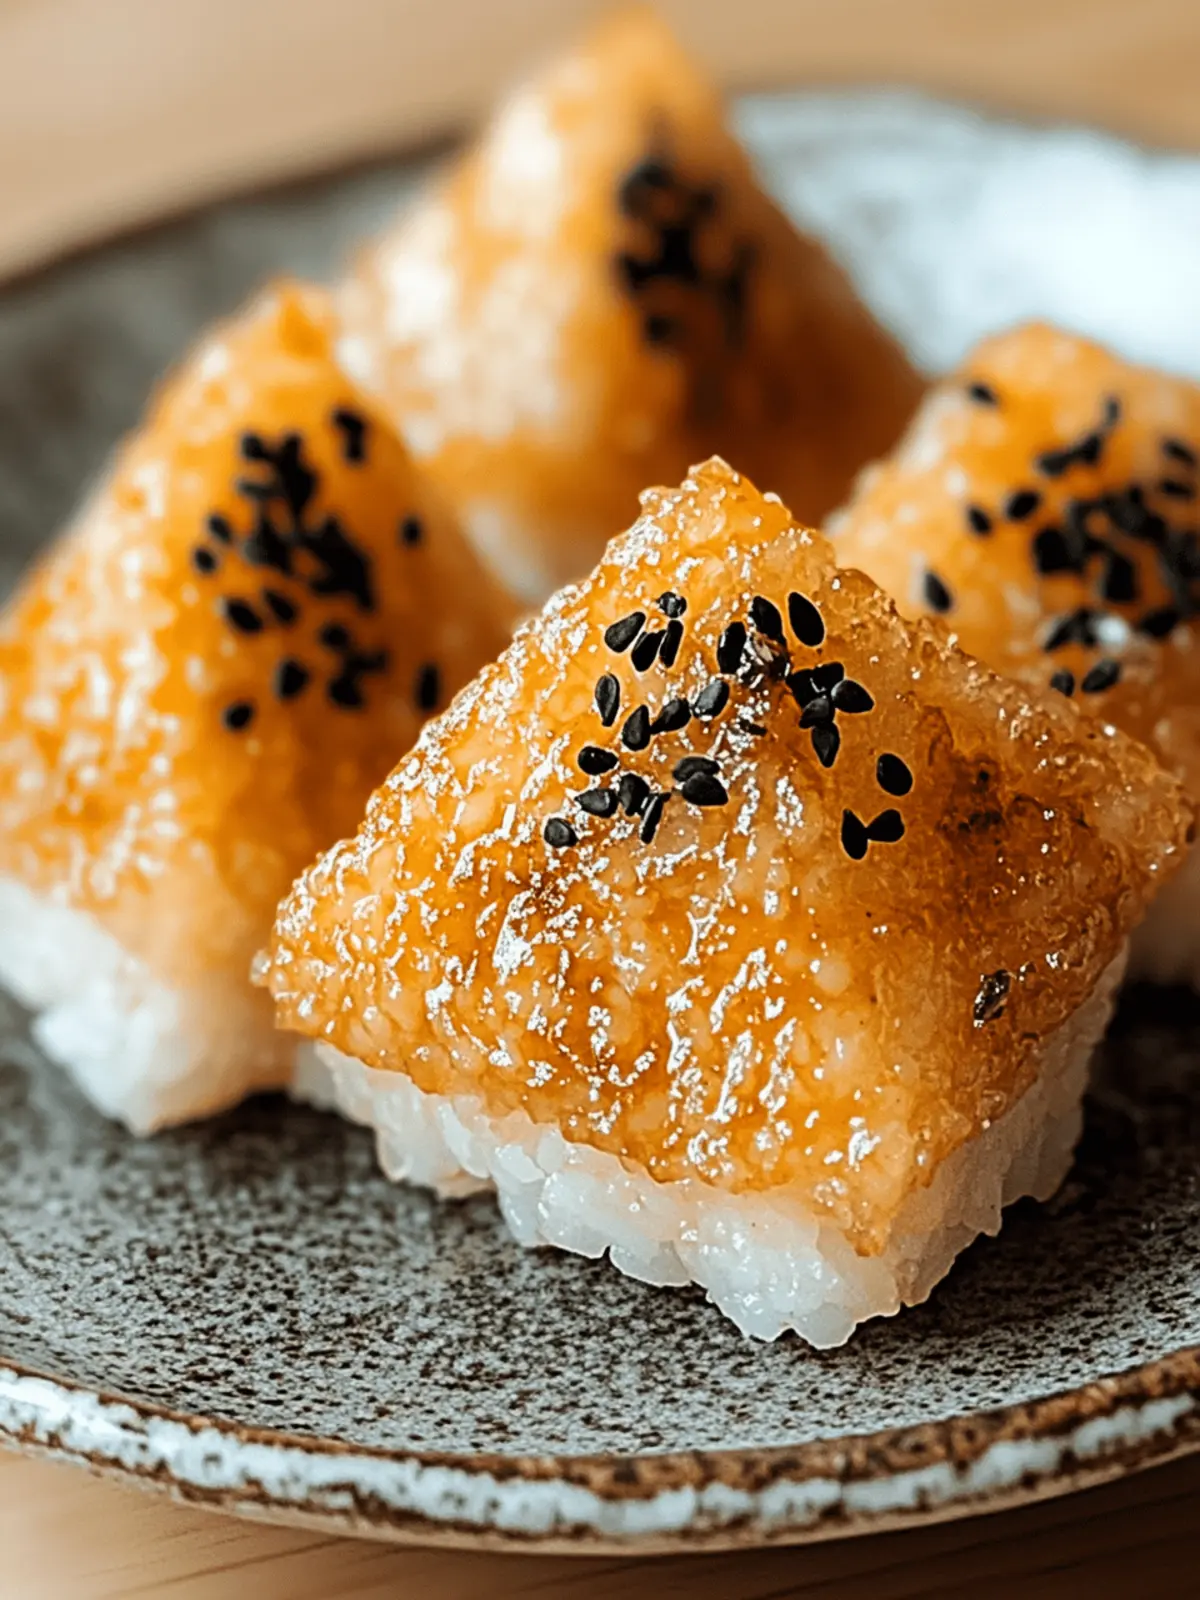
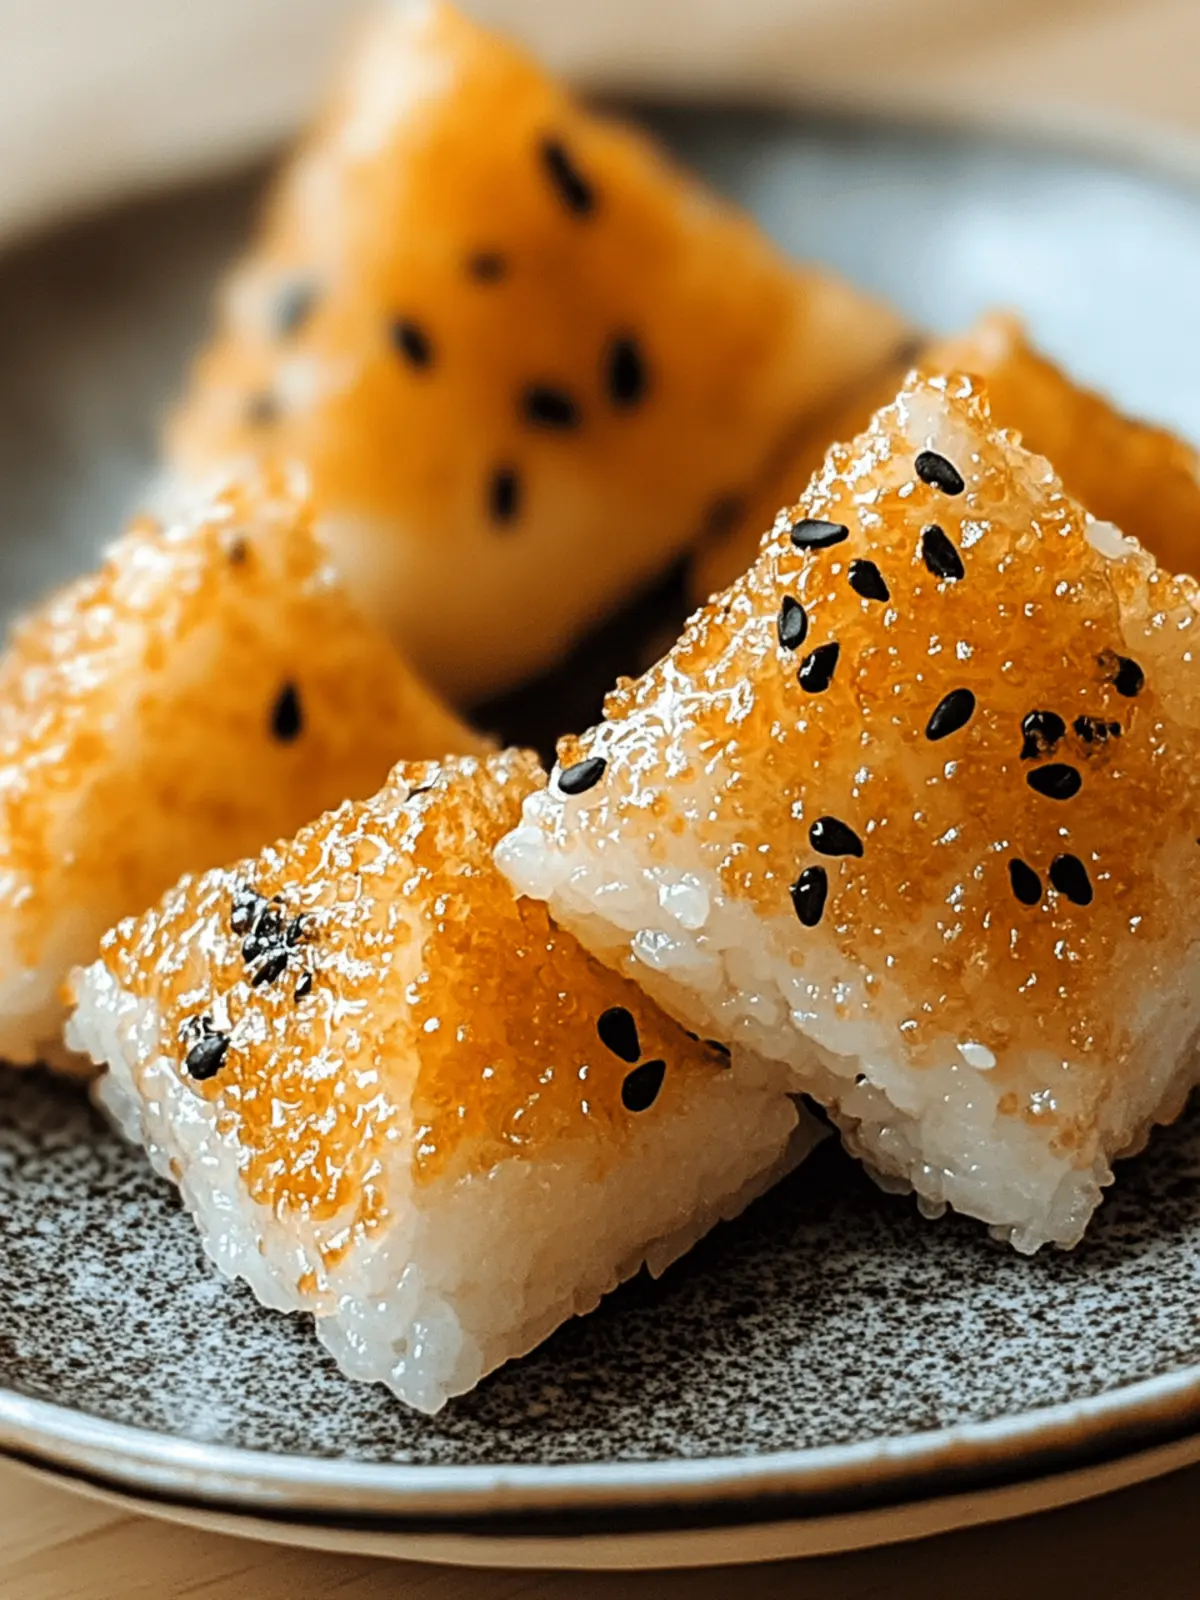
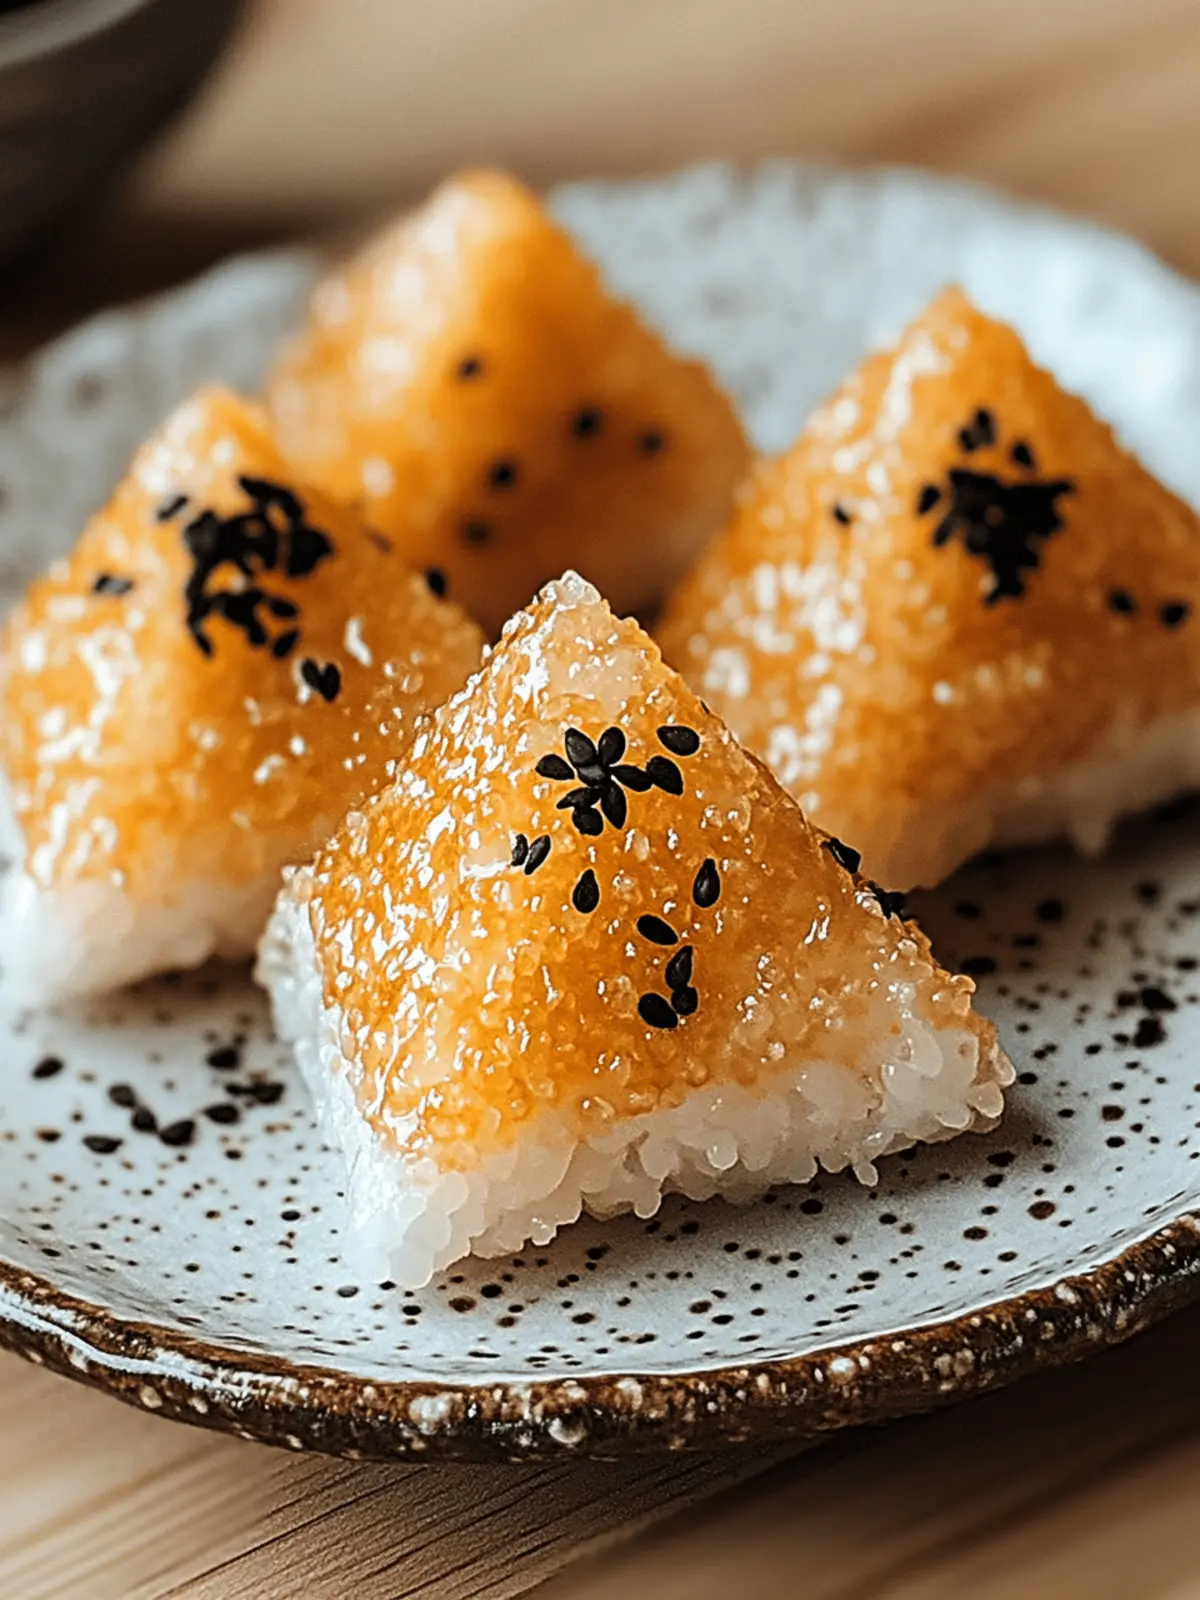
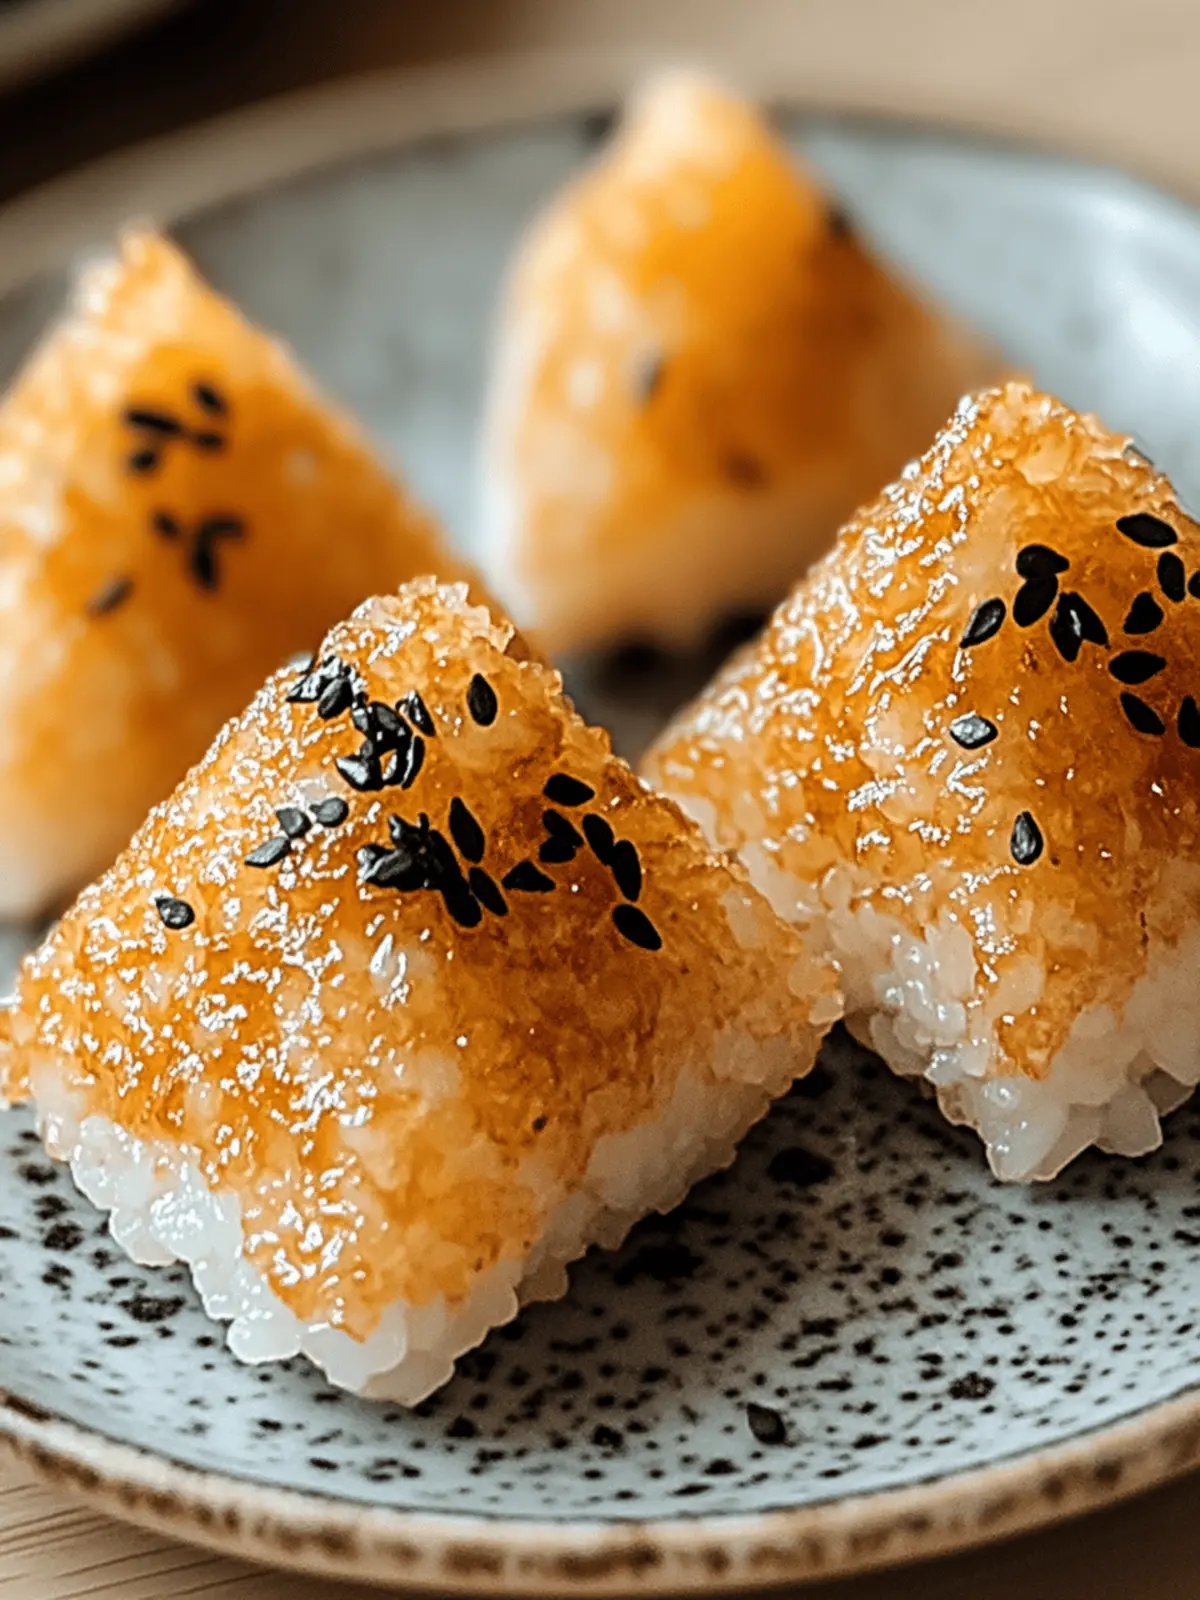
When I first discovered crispy yaki onigiri, I couldn’t believe how such a simple dish could be so packed with flavor. The moment the rice triangles hit the pan, the delightful sizzle filled my kitchen, teasing my senses with the promise of smoky deliciousness. Perfectly grilled on the outside and warm with umami goodness on the inside, these little gems have become a staple for quick lunches and gratifying snacks.
What truly excites me about this recipe is its versatility. Whether you’re seeking a gluten-free option or craving a vegetarian delight, the choice of fillings allows for endless creativity. From zesty umeboshi to savory sautéed mushrooms, each variation tells its own delicious story.
Join me as we dive into making these crispy yaki onigiri—an easy, adaptable treat that’s sure to impress family and friends while satisfying those cravings for homemade comfort food!
Why is Crispy Yaki Onigiri a must-try?
Versatile Fillings: With options like zesty umeboshi or savory sautéed mushrooms, you can customize each triangle to suit your taste.
Gluten-Free Friendly: Easily swap soy sauce for gluten-free tamari, making this a crowd-pleaser for all diets.
Quick & Easy: In just a few steps, you’ll have a delicious snack that’s ready in under 30 minutes!
Restaurant-Quality Flavor: Achieve that smoky goodness right in your own kitchen—the perfect comfort food.
Perfect for Meal Prep: Make ahead and crisp up in the skillet when ready to enjoy—ideal for busy weekdays!
Family Fun: Involve everyone in the kitchen, shaping and filling the rice triangles, making it a fun activity for all ages.
Don’t forget to check out our tips for even more unique filling ideas!
Crispy Yaki Onigiri Ingredients
• Get ready to create your own delicious Crispy Yaki Onigiri with these essential ingredients!
For the Rice Base
• Short-Grain Rice – The foundation of the dish, this rice provides a chewy texture; go for Japanese sushi rice for the best results.
• Sea Salt – A sprinkle elevates the natural flavors of the rice; flaky sea salt is ideal for an added crunch.
For the Flavoring
• Soy Sauce – Infuses each bite with rich umami; opt for gluten-free tamari if needed.
• Mirin – Sweet rice wine that balances the flavors; look for hon-mirin for genuine taste.
For the Filling
• Filling of Choice – Personalize your treat with options like Umeboshi for tartness, Tuna for protein, or Shiitake Mushrooms for a comforting bite.
For Grilling
• Oil for Grilling – This is crucial for achieving a crispy texture; consider using Sesame Oil for extra flavor.
With these ingredients, you’re all set to craft your very own delightful crispy yaki onigiri that’s bound to impress!
How to Make Crispy Yaki Onigiri
-
Rinse your short-grain rice under cold water, swirling gently until the water runs clear. This step removes excess starch, ensuring your rice achieves that perfect chewy texture.
-
Combine the rinsed rice with 3 cups of water in a rice cooker or pot. Cook until the rice is tender, typically taking about 15-20 minutes. Once done, allow it to sit covered for a few minutes.
-
Fluff the cooked rice gently with a fork, letting it cool slightly on a large plate. This helps the rice set, making it easier to shape your onigiri.
-
Prepare your chosen filling while the rice cools. If using umeboshi, chop it finely; for tuna, mix it with mayo. This added prep keeps your onigiri flavorful and delightful.
-
Moisten your hands to prevent sticking and scoop about ⅓ cup of rice. Create a small well in the center, fill it with your prepared filling, and mold the rice around it into a triangle shape.
-
Heat a skillet over medium heat, adding a little oil to coat the bottom. This oil creates that beautiful crispy finish we all love!
-
Brush your onigiri with a mixture of soy sauce and mirin, ensuring each triangle gets a good glaze for added flavor.
-
Grill the onigiri for 3-4 minutes on each side until golden brown and crisp. Sprinkle lightly with sea salt for that extra touch of perfection.
-
Serve warm on a plate, alongside optional soy sauce, sliced avocado, or pickled vegetables. Enjoy the comforting flavors of your homemade treat!
Optional: For an extra flavor boost, try adding a sprinkle of sesame seeds before serving.
Exact quantities are listed in the recipe card below.
What to Serve with Crispy Yaki Onigiri?
Creating a complete meal around these delightful rice triangles can elevate your dining experience and tantalize your taste buds.
-
Pickled Vegetables: The tanginess of pickled vegetables provides a refreshing contrast, enhancing the umami flavors of the onigiri beautifully.
-
Sliced Avocado: Creamy avocado adds a rich texture that complements the crispy exterior, offering a delightful creaminess with every bite.
-
Miso Soup: A warm bowl of miso soup serves as a comforting side, with a savory broth that pairs perfectly with the grilled rice triangles.
-
Edamame: Lightly salted edamame brings a satisfying crunch and a protein boost, balancing the meal and adding a fun, interactive element.
-
Japanese Green Tea: This aromatic beverage is a perfect drink choice, providing a refreshing contrast to the rich flavors while aiding digestion.
-
Seaweed Salad: A tangy seaweed salad adds earthy flavors and a unique texture, enhancing the overall adventure of your meal.
-
Ginger Soy Dipping Sauce: Keep it simple with a zesty ginger soy dip that offers a burst of flavor every time you take a bite.
Add your favorite dessert for a sweet finish, and you’re set for a delightful Japanese-inspired feast!
Expert Tips for Crispy Yaki Onigiri
-
Rinsing Rice: Thoroughly rinse your short-grain rice under cold water until clear. This removes excess starch that can make the rice sticky.
-
Cooling Time: Allow the rice to cool slightly before shaping. This step is crucial—warm rice is easier to mold into triangles without falling apart.
-
Hand Moistening: Lightly moisten your hands with water or a little oil when shaping the onigiri. This prevents sticking and helps achieve a perfect triangle shape.
-
Grilling Temperature: Grill on medium heat; avoid high heat to prevent burning. Take your time to achieve that crispy golden exterior while keeping the inside tender.
-
Filling Ideas: Personalize your crispy yaki onigiri with seasonal vegetables or creative leftovers. Experiment with flavors, but keep balances—too much filling can make them hard to shape.
-
Storage Tip: Store leftover yaki onigiri in the fridge and reheat in a skillet to maintain that crispy texture—perfect for meal prep!
Make Ahead Options
These Crispy Yaki Onigiri are perfect for busy home cooks looking to save time! You can prepare the rice and shape the onigiri up to 24 hours in advance. Once shaped, place them on a parchment-lined tray to prevent sticking and refrigerate. For the filling, you can also pre-mix ingredients like tuna or chop umeboshi ahead of time, keeping them in airtight containers to maintain freshness. When you’re ready to enjoy, simply brush the onigiri with the soy sauce and mirin mixture and grill for 3-4 minutes on each side until golden brown. This way, you’ll have a homemade, comforting snack ready with minimal effort!
How to Store and Freeze Crispy Yaki Onigiri
Fridge: Keep your leftover crispy yaki onigiri in an airtight container for up to 3 days. To retain their texture, consider placing a paper towel inside to absorb excess moisture.
Freezer: For longer storage, freeze the onigiri individually wrapped in plastic wrap, then place them in a freezer bag. They can last for up to 2 months.
Reheating: When ready to enjoy, reheat in a skillet over medium heat for about 5-7 minutes, flipping once, to restore that fabulous crispy exterior.
Make-Ahead Tip: You can prepare yaki onigiri ahead of time, just ensure they are kept properly to maintain freshness and flavor.
Crispy Yaki Onigiri Variations
Feel free to get creative and make this recipe your own with exciting variations to delight your taste buds!
-
Vegan Twist: Use marinated tofu or chickpeas in place of seafood for a plant-based option that’s equally satisfying. The creamy texture of tofu complements the rice beautifully.
-
Spicy Kick: Incorporate chopped jalapeños or a drizzle of sriracha into your filling for an added heat that brings a vibrant surprise to every bite.
-
Gluten-Free Friendly: Swap traditional soy sauce for gluten-free tamari to enjoy this delicious dish without compromising taste. Your friends will be none the wiser!
-
Herbed Delight: Mix fresh herbs like cilantro or green onions into your rice for a fragrant and zesty flavor that brightens up the onigiri.
-
Savory Umami: Try using sautéed veggies like spinach, bell peppers, or eggplant for an earthy filling that bursts with natural flavors.
-
Cheesy Goodness: Add a small cube of your favorite cheese in the center of each triangle for a melty surprise that kids and adults alike will adore.
-
Nutty Flavor: Incorporate crushed nuts or seeds into the rice mixture for an added crunch—try sesame seeds for an Asian twist or almonds for a delightful texture.
-
Seasonal Goodies: Embrace the flavors of the season by using roasted squash or pumpkin during the fall or fresh avocado during the summer, making every creation unique!
In every variation, the warmth and comfort of homemade crispy yaki onigiri shines through!
Crispy Yaki Onigiri Recipe FAQs
How do I choose the right rice for yaki onigiri?
Absolutely! For the best results, stick with short-grain rice, such as Japanese sushi rice. This type has a higher starch content, ensuring a chewy and sticky texture that holds together perfectly when shaped into triangles.
What’s the best way to store leftover yaki onigiri?
To keep your crispy yaki onigiri fresh, store them in an airtight container in the fridge for up to 3 days. I recommend placing a paper towel inside the container to absorb excess moisture, which helps maintain their crispy texture!
Can I freeze cooked yaki onigiri?
Very much so! To freeze your yaki onigiri, individually wrap each triangle in plastic wrap and place them in a freezer bag. They can last for up to 2 months. When you’re ready to enjoy, simply reheat in a skillet over medium heat for about 5-7 minutes, flipping them to get that crispy exterior back.
What should I do if my onigiri falls apart while shaping?
Don’t worry—it happens! Ensure you’re using well-cooked rice that has cooled slightly, as warm rice molds better. If necessary, dampen your hands with a little water or oil to prevent sticking while shaping them. If your filling is too wet, consider squeezing out excess moisture before using it.
Are there any dietary considerations I should be aware of?
Absolutely! If you have gluten sensitivity, opt for gluten-free tamari instead of soy sauce. For vegetarians and vegans, fillings like sautéed mushrooms, avocado, or seasoned shredded carrots are delightful options that keep your crispy yaki onigiri delicious and wholesome!
How long should I grill the onigiri for a perfect crisp?
For that ideal balance of crisp and tenderness, grill your yaki onigiri for about 3-4 minutes on each side over medium heat. Keep an eye on them to ensure they don’t burn—you want that lovely golden-brown crust!
Crispy Yaki Onigiri: Customize Your Japanese Rice Snack Delight
Ingredients
Equipment
Method
- Rinse your short-grain rice under cold water, swirling gently until the water runs clear.
- Combine the rinsed rice with 3 cups of water in a rice cooker or pot. Cook until tender, about 15-20 minutes.
- Fluff the cooked rice gently with a fork, and let it cool slightly on a large plate.
- Prepare your chosen filling while the rice cools.
- Moisten your hands and scoop about ⅓ cup of rice. Create a well and fill it with the prepared filling, shaping the rice into a triangle.
- Heat a skillet over medium heat and add a little oil.
- Brush your onigiri with a mixture of soy sauce and mirin.
- Grill the onigiri for 3-4 minutes on each side until golden brown.
- Serve warm on a plate, alongside optional soy sauce or pickled vegetables.

