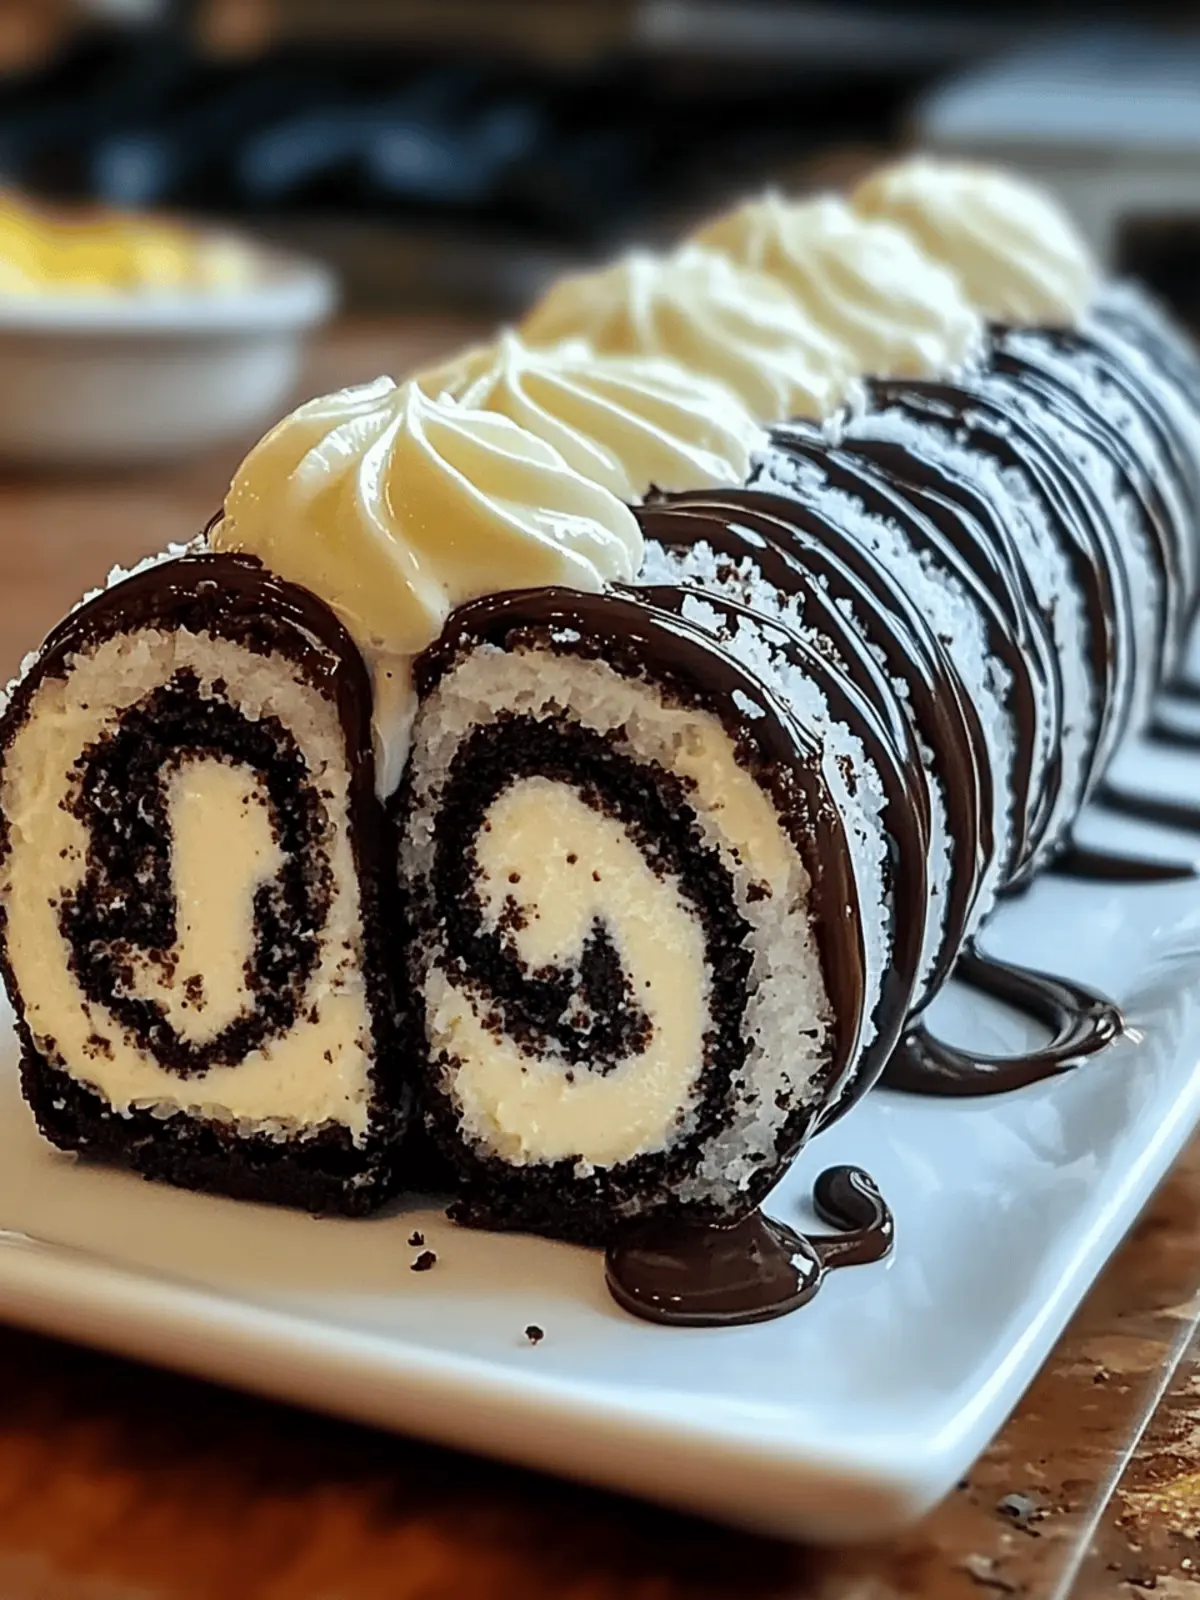
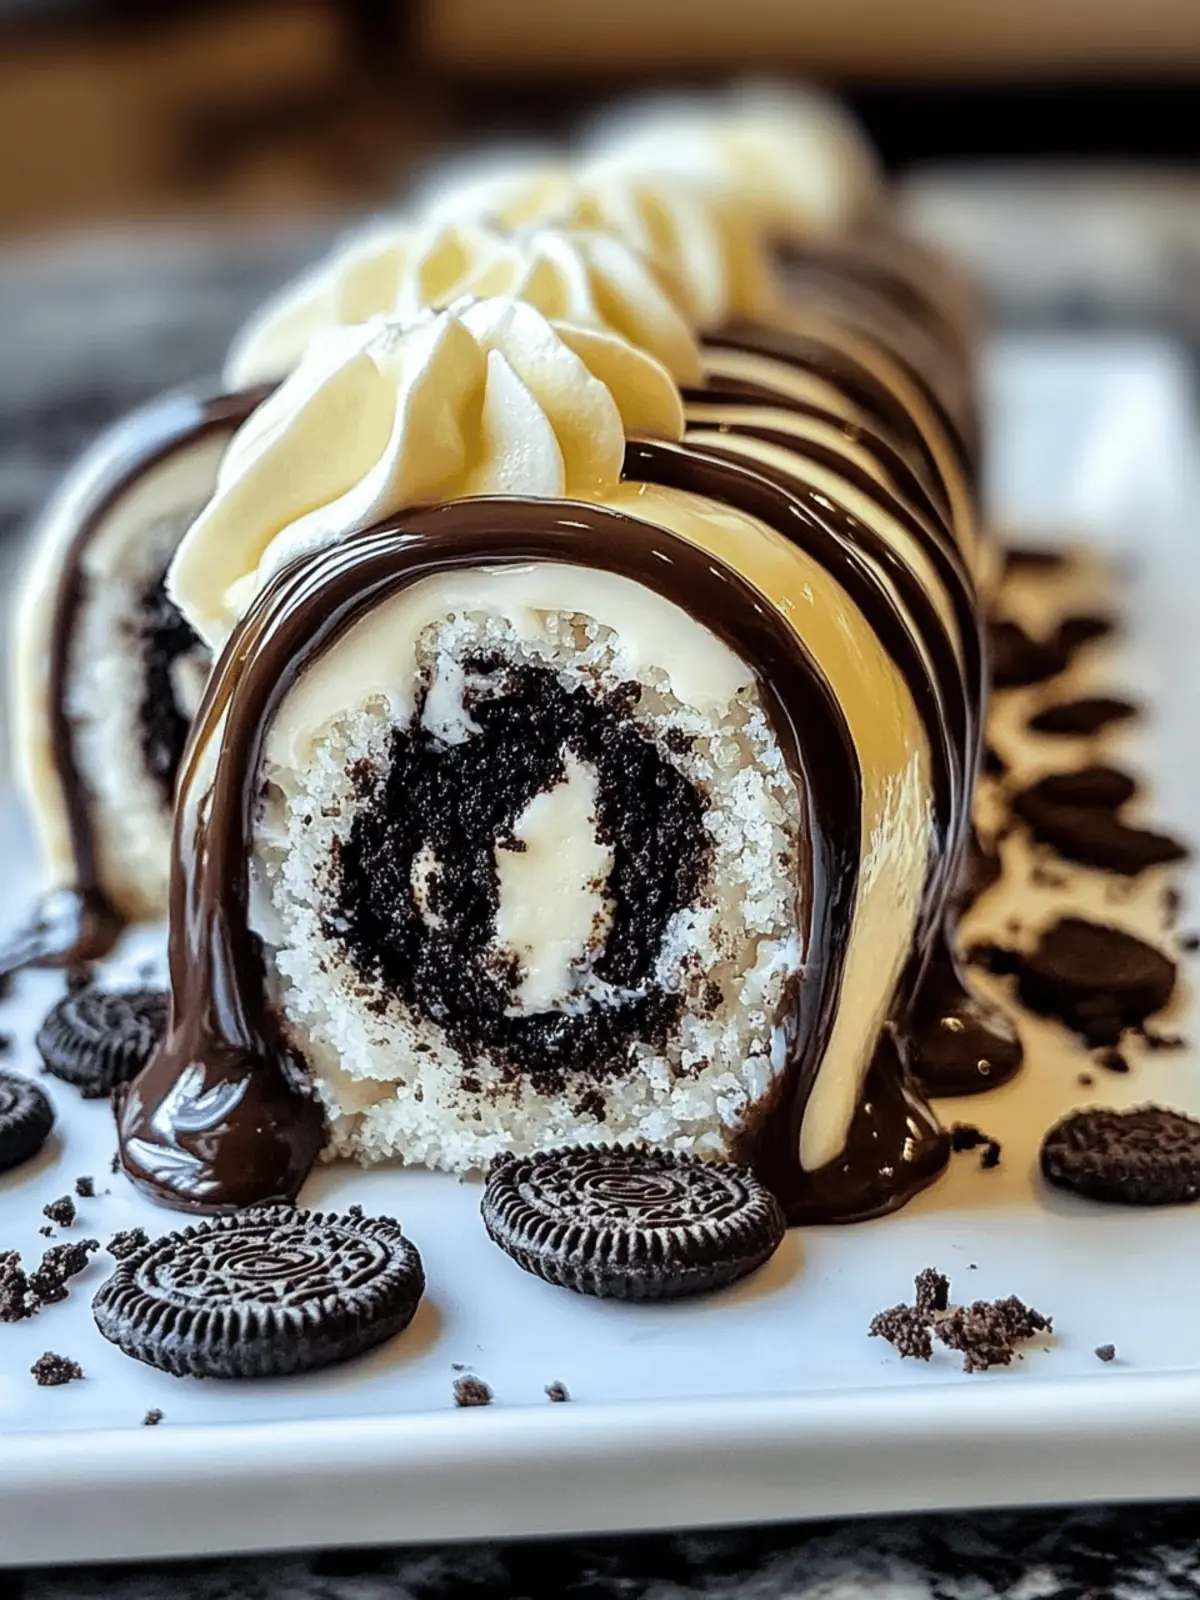
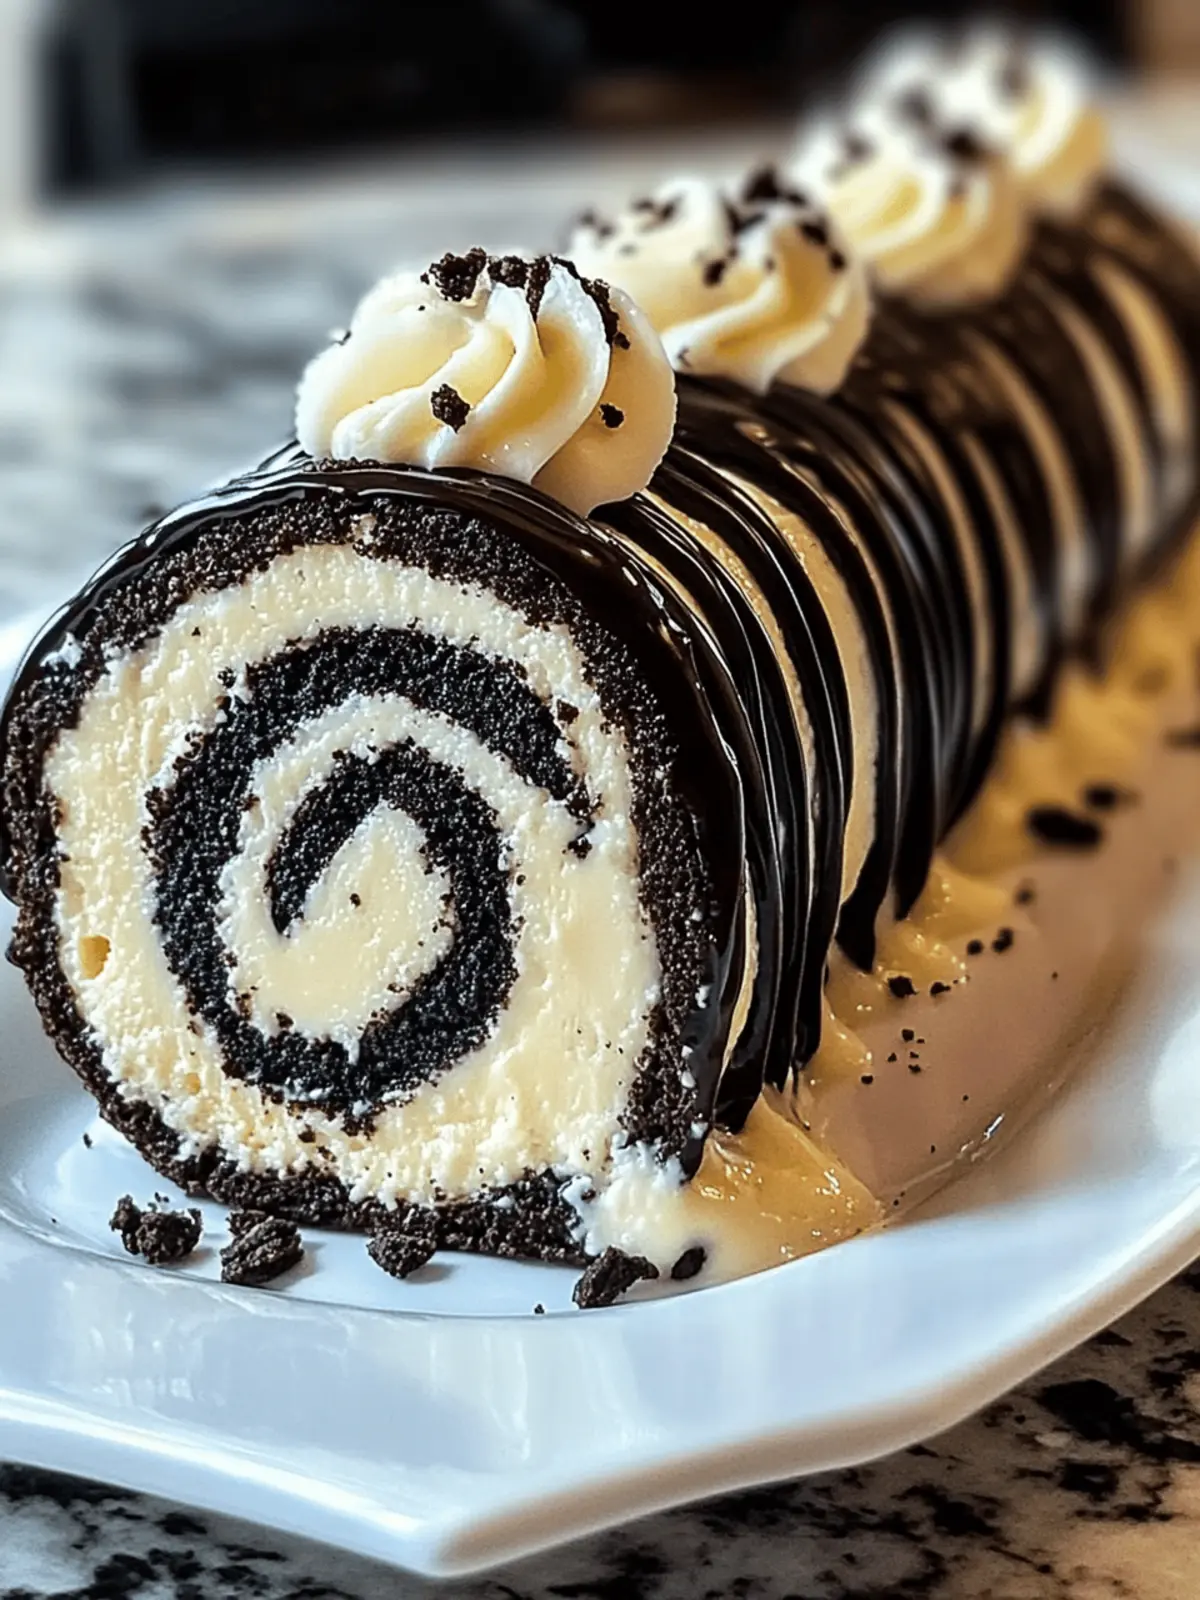
It all started with a craving for a sweet twist on dessert that would keep everyone guessing. One lazy afternoon, I decided to get creative in the kitchen, combining two of my favorites—cheesecake and Oreos. The result? A delightful surprise: No-Bake Oreo Cheesecake Sushi Rolls! Imagine creamy cheesecake rolled in a rich, chocolate cookie crust, then sliced like sushi. Each bite is not just a treat for the taste buds but a feast for the eyes too.
Perfect for gatherings, these sushi rolls are not only quick to whip up—we’re talking just 15 minutes of hands-on time—but they also offer the versatility to customize with your favorite fruits or toppings. Plus, there’s no need to turn on the oven, making it an ideal recipe for warm days or when you want something sweet without too much fuss. Join me as we dive into this fun and whimsical dessert that’s sure to impress both family and friends!
Why love No-Bake Oreo Cheesecake Sushi Rolls?
Unique twist: These sushi rolls creatively combine cheesecake and Oreos for a delightful dessert. No baking needed: Just 15 minutes of prep and minimal effort make it a breeze, perfect for those warm days! Customizable options: Add your favorite fruits or toppings for a personal touch. Crowd-pleaser: Kids and adults alike will be amazed by this whimsical treat. For more no-bake delights, check out my no-bake dessert collection!
No-Bake Oreo Cheesecake Sushi Rolls Ingredients
For the Cheesecake Filling
• Cream cheese – 8 oz, softened to create a smooth, creamy texture.
• Powdered sugar – 0.25 cup, for just the right sweetness that balances the creaminess.
For the Oreo Crust
• Oreo cookies – 20 cookies, crushed to form a deliciously rich base.
• Melted butter – 2 tbsp, binds the Oreo crumbs and adds richness.
Optional Toppings
• Chocolate drizzle – For a decadent, eye-catching finish.
• Crushed Oreos – Adds texture and extra chocolatey goodness as a topping.
• Whipped cream – A fluffy dollop on top enhances creaminess.
• Sliced strawberries or bananas – Fresh fruit adds a refreshing contrast to the sweet flavors.
Indulge in these delightful No-Bake Oreo Cheesecake Sushi Rolls and impress your friends and family!
How to Make No-Bake Oreo Cheesecake Sushi Rolls
-
Beat the softened cream cheese and powdered sugar together in a bowl until it’s smooth and fluffy. This creates a luscious filling that complements the Oreo crust wonderfully.
-
Crush the Oreo cookies into fine crumbs. A food processor works great for this step, or you can use a zip-top bag and a rolling pin for some stress relief!
-
Mix the Oreo crumbs and melted butter together until well combined. You’ll want it to resemble wet sand, which will help form a sturdy crust.
-
Press the Oreo mixture into a thin rectangle on a sheet of parchment paper. Aim for about ¼ inch thick, ensuring it’s packed tightly for a secure roll.
-
Spread the cheesecake mixture evenly over the Oreo crust, leaving about a ½-inch border. This helps to prevent overflow when you roll it up later!
-
Add your optional fruit filling now, if desired. Sliced strawberries or bananas lend a refreshing burst of flavor that takes these rolls to the next level!
-
Roll up the cheesecake mixture using the parchment paper as a guide, similar to making sushi. Keep it tight but not overly squished!
-
Freeze the roll for 30-45 minutes, or until firm. This step ensures each slice holds its shape beautifully when you cut it.
-
Slice the roll into 1-inch rounds using a sharp knife. Wipe the knife between cuts for clean edges—presentation is key!
-
Drizzle with chocolate, sprinkle with crushed Oreos, or top with whipped cream to make your rolls even more indulgent!
Optional: Garnish with sliced strawberries or bananas for a colorful finish.
Exact quantities are listed in the recipe card below.
Make Ahead Options
These No-Bake Oreo Cheesecake Sushi Rolls are perfect for meal prep, saving you time and stress on busy days! You can prepare the Oreo crust and cheesecake filling up to 24 hours in advance. Simply follow the steps to make the crust and filling, then store them separately in airtight containers in the refrigerator. When you’re ready to assemble, roll them up, freeze for about 30-45 minutes, and slice just before serving. This method ensures each roll maintains its delicious flavor and texture. Just remember to drizzle with chocolate or add toppings right before serving to keep everything fresh and visually appealing!
How to Store and Freeze No-Bake Oreo Cheesecake Sushi Rolls
-
Fridge: Store leftovers in an airtight container for up to 3 days to keep them fresh and creamy.
-
Freezer: For longer storage, wrap individual slices in plastic wrap and place them in a freezer-safe container. They can be frozen for up to 2 months without losing flavor.
-
Reheating: If you prefer them cold, simply thaw in the fridge overnight before serving. Do not reheat as it may change the texture of the cheesecake.
-
Serving Suggestion: Enjoy chilled for a refreshing treat. The delicious flavors of the No-Bake Oreo Cheesecake Sushi Rolls make them even more delightful when served cold!
Expert Tips for No-Bake Oreo Cheesecake Sushi Rolls
-
Cream Cheese Consistency: Ensure your cream cheese is softened for easy mixing. Cold cream cheese will result in a lumpy filling, so let it sit at room temperature for 30 minutes.
-
Crumbly Crust: Don’t skip the melted butter! It’s crucial for binding the crushed Oreos into a firm crust that won’t crumble apart when rolling your cheesecake.
-
Tight Rolling: Use the parchment paper to help guide your roll tightly. If it’s too loose, the filling may spill out when you slice it, ruining the sushi roll effect.
-
Freezing Time: If you’re in a rush, 30 minutes in the freezer will suffice, but ensure it’s firm before slicing. A firmer roll will yield cleaner, prettier slices!
-
Presentation Matters: Wipe your knife between cuts for clean slices. Presentation is key when serving these stunning No-Bake Oreo Cheesecake Sushi Rolls to impress your guests!
What to Serve with No-Bake Oreo Cheesecake Sushi Rolls?
Creating a full meal around delightful desserts elevates any occasion and leaves everyone eagerly anticipating the next course.
-
Fresh Fruit Salad: A medley of vibrant seasonal fruits adds a refreshing contrast to the rich cheesecake rolls, balancing sweetness with a burst of flavor.
-
Chocolate-Covered Strawberries: These luscious bites are always a hit, pairing beautifully with the chocolatey elements of the sushi rolls. They add an extra indulgent touch.
-
Vanilla Ice Cream: A scoop of creamy vanilla ice cream provides a soothing, cool accompaniment to the chewy texture of the rolls. It’s classic and comforting!
-
Minty Mojito: This refreshing drink, with its bright citrus and minty notes, cleanses the palate between bites and enhances the sweetness of each roll.
-
Coconut Whipped Cream: Light and airy, this topping mirrors the decadence of the cheesecake, plus it introduces a wonderful tropical flavor that complements the dessert.
-
Homemade Hot Chocolate: Rich and creamy homemade hot chocolate can warm up any gathering, providing an extra chocolatey experience alongside the Oreo rolls.
-
Almond Biscotti: Crunchy almond biscotti can serve as a delightful contrast to the soft texture of the sushi rolls while enhancing the overall dessert theme.
-
Decaf Coffee: Offering a smooth cup of decaf coffee can bring out the flavors of the desserts, adding a cozy touch to your gathering.
Whichever pairings you choose, serving them alongside your No-Bake Oreo Cheesecake Sushi Rolls will create a memorable and delicious experience for everyone!
No-Bake Oreo Cheesecake Sushi Rolls Variations & Substitutions
Feel free to explore your creative side and put your unique spin on these delightful rolls!
-
Nut-Free: Substitute crushed graham crackers for Oreos to create a buttery crust without nuts. This sweet swap maintains the base’s richness for all to enjoy.
-
Gluten-Free: Use gluten-free Oreo cookies or a gluten-free cookie alternative to make an equally delicious base without gluten concerns. The result will be just as indulgent and satisfying!
-
Fruit-Filled: Add fresh fruit, such as raspberries or mango, inside the rolls for a burst of fresh flavor. The sweetness of the fruit will complement the creamy filling beautifully!
-
Vegan: Swap out cream cheese for a plant-based cream cheese alternative and use vegan cookies to create a non-dairy version without sacrificing taste. This variation keeps everyone happy!
-
Chocolate Lover’s Twist: Mix in mini chocolate chips into the cheesecake filling for an extra decadent chocolate surprise. Each slice becomes even more indulgent and chocolatey!
-
Minty Fresh: Add a few drops of peppermint extract to the cheesecake filling for a refreshing twist, reminiscent of mint chocolate desserts. This subtle flavor elevates the dessert with a cool touch!
-
Cinnamon Spice: Sprinkle a bit of cinnamon into the cream cheese mixture for a warm, cozy flavor this season. It adds a delightful hint of spice that pairs perfectly with the sweetness of the filling.
-
Tropical Delight: Incorporate shredded coconut into the filling for a delightful tropical vibe. Combined with sliced pineapple or mango, it creates an island-inspired treat that’s simply irresistible!
No-Bake Oreo Cheesecake Sushi Rolls Recipe FAQs
How do I select ripe ingredients for this recipe?
Absolutely! For this recipe, make sure your cream cheese is softened to room temperature. This ensures it blends smoothly with the powdered sugar. When considering optional fruits like strawberries or bananas, choose those that are bright in color and firm to the touch—this guarantees you’ll enjoy a burst of freshness in each bite.
What is the best way to store No-Bake Oreo Cheesecake Sushi Rolls?
You can store the leftovers in an airtight container in the fridge for up to 3 days. This keeps them fresh and preserves the creamy texture. If you plan to enjoy leftovers later, I recommend wrapping each slice in plastic wrap before placing them in a freezer-safe container. They can be frozen for up to 2 months, ensuring you’ll have a delightful treat waiting whenever the craving strikes!
Can I freeze No-Bake Oreo Cheesecake Sushi Rolls?
Absolutely! After slicing, wrap each piece tightly in plastic wrap and place them in a freezer-safe container. You can enjoy them frozen for up to 2 months. When you’re ready to enjoy, simply remove the desired number of slices and thaw them in the fridge overnight. This method retains their creamy filling and delicious flavor!
What should I do if my cheesecake filling is too thick?
Very! If your cream cheese filling seems too thick after mixing, don’t worry—just add a splash of milk, one tablespoon at a time, until you reach your desired consistency. This should make it more spreadable while still keeping that delicious flavor. Just be sure not to overdo it to avoid making it too runny.
Are there any allergy considerations for this recipe?
Definitely! This recipe contains cream cheese and Oreo cookies, which have dairy and gluten. If you’re making it for someone with allergies, consider using a dairy-free cream cheese alternative and gluten-free Oreo cookies. Always check the labels to ensure they meet dietary restrictions. You can create an equally delicious version while keeping your loved ones safe!
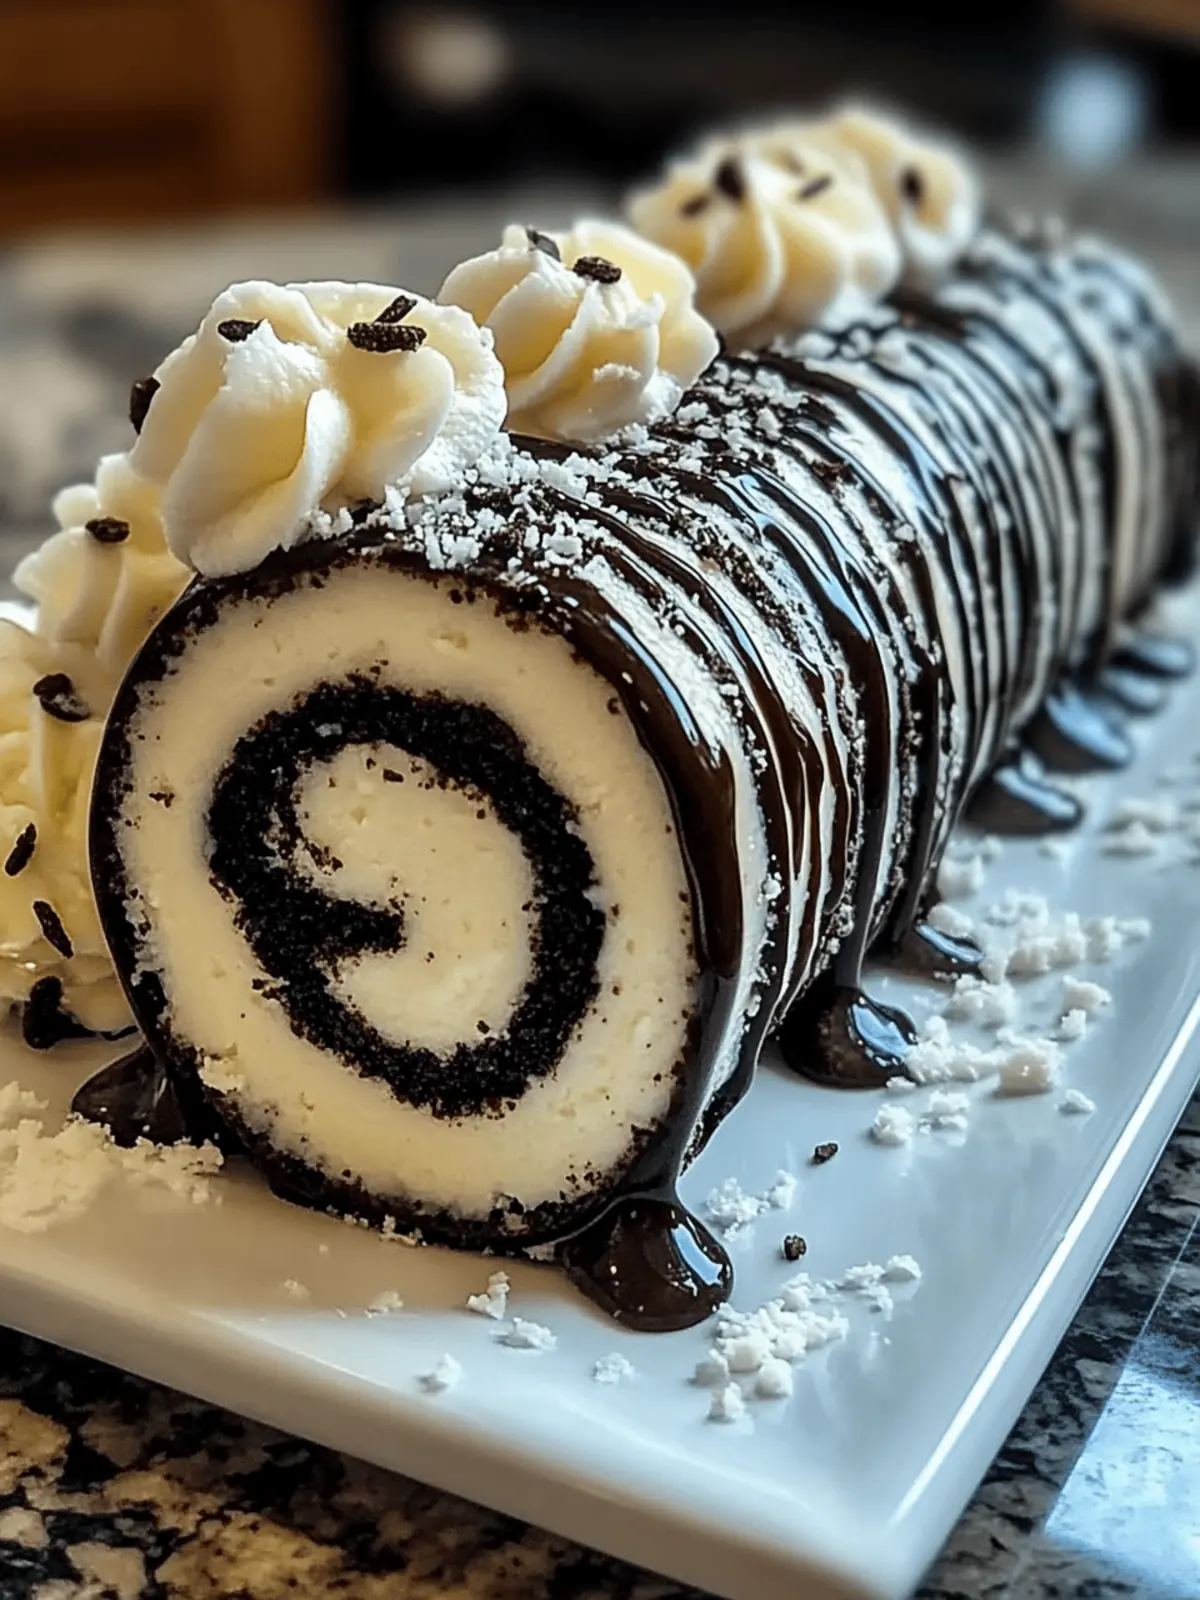
Indulge in No-Bake Oreo Cheesecake Sushi Rolls Delight
Ingredients
Equipment
Method
- Beat the softened cream cheese and powdered sugar together in a bowl until it’s smooth and fluffy.
- Crush the Oreo cookies into fine crumbs.
- Mix the Oreo crumbs and melted butter together until well combined.
- Press the Oreo mixture into a thin rectangle on a sheet of parchment paper.
- Spread the cheesecake mixture evenly over the Oreo crust, leaving a ½-inch border.
- Add your optional fruit filling now, if desired.
- Roll up the cheesecake mixture using the parchment paper as a guide.
- Freeze the roll for 30-45 minutes, or until firm.
- Slice the roll into 1-inch rounds using a sharp knife.
- Drizzle with chocolate, sprinkle with crushed Oreos, or top with whipped cream.

