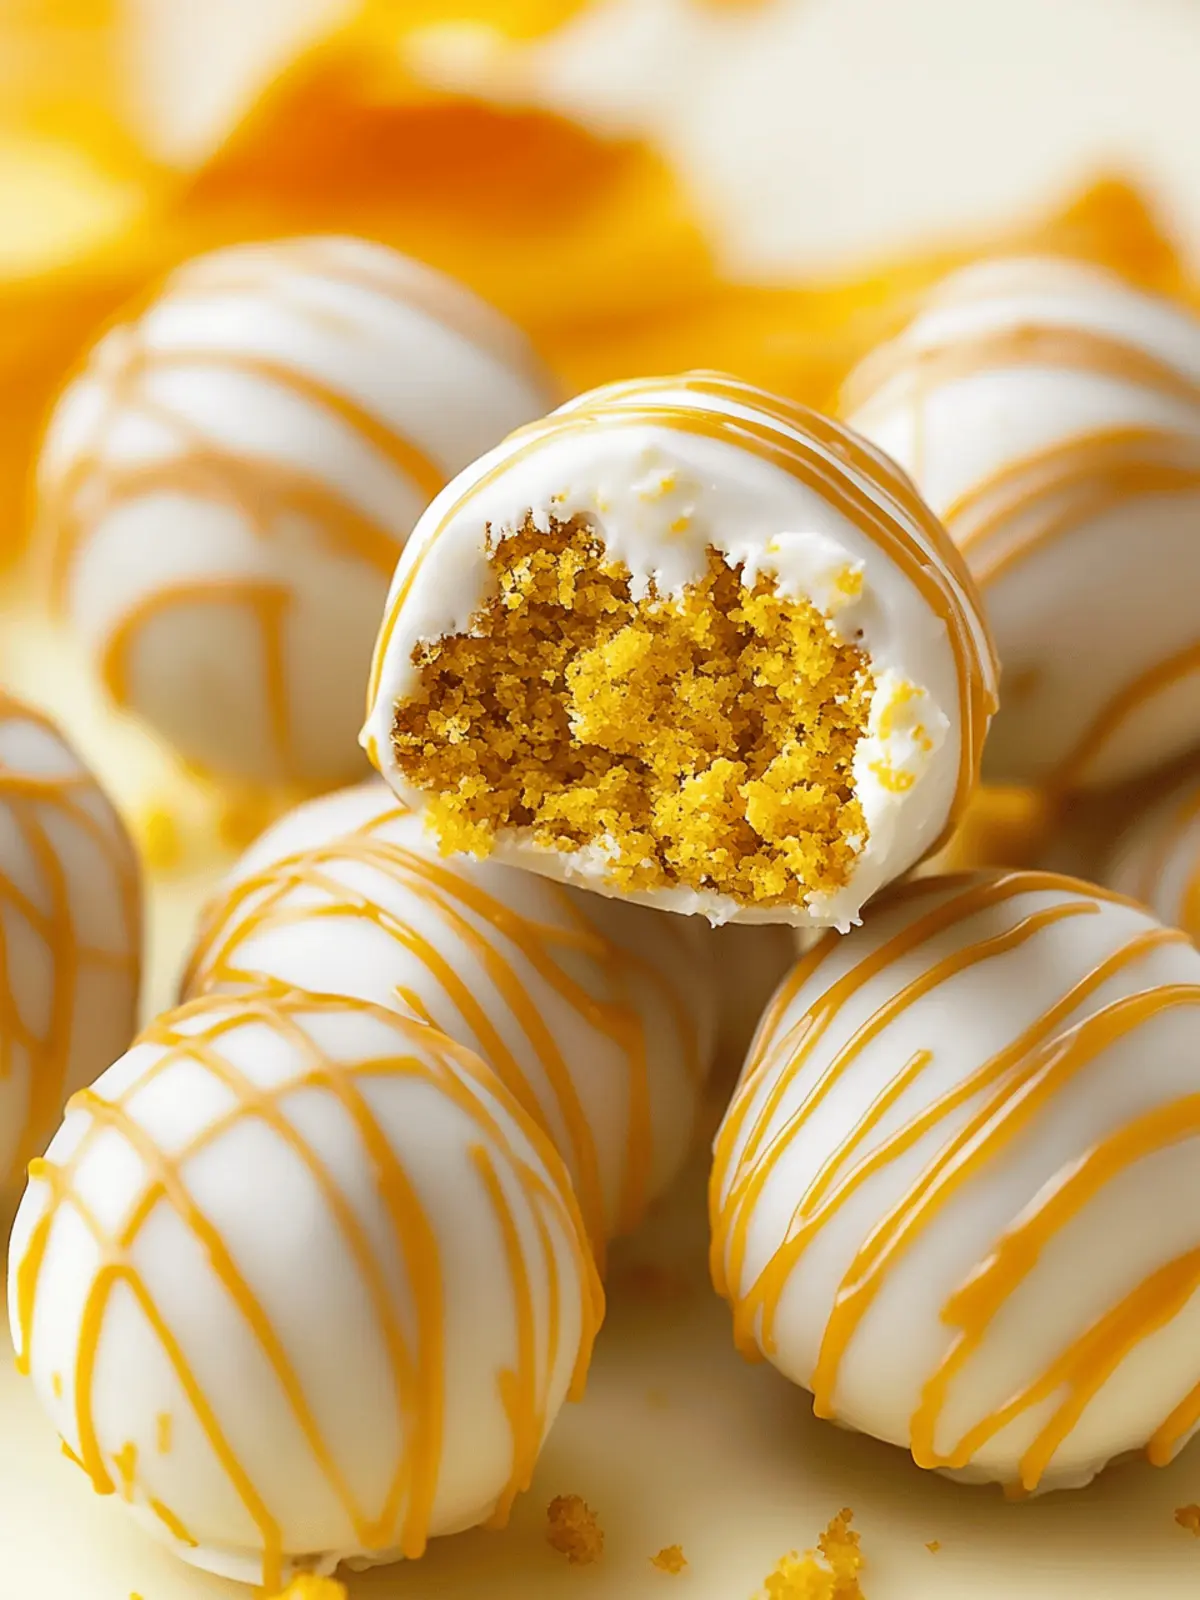
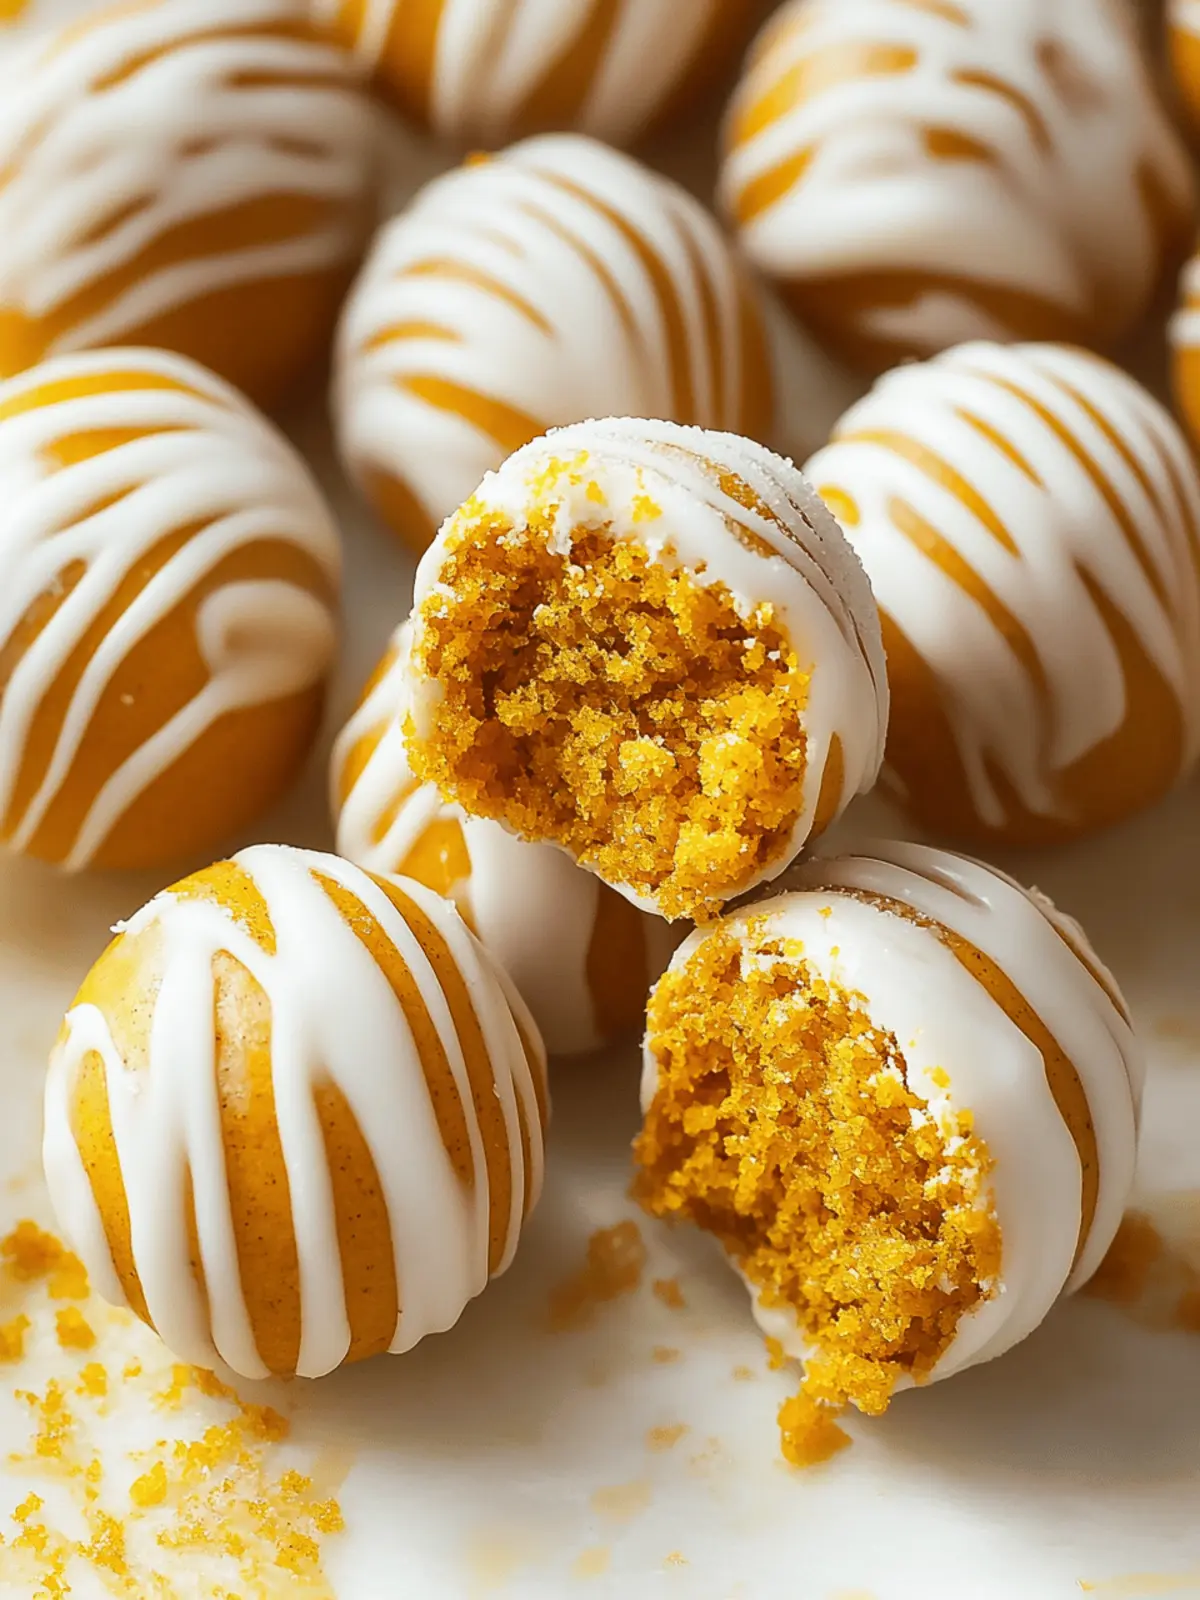
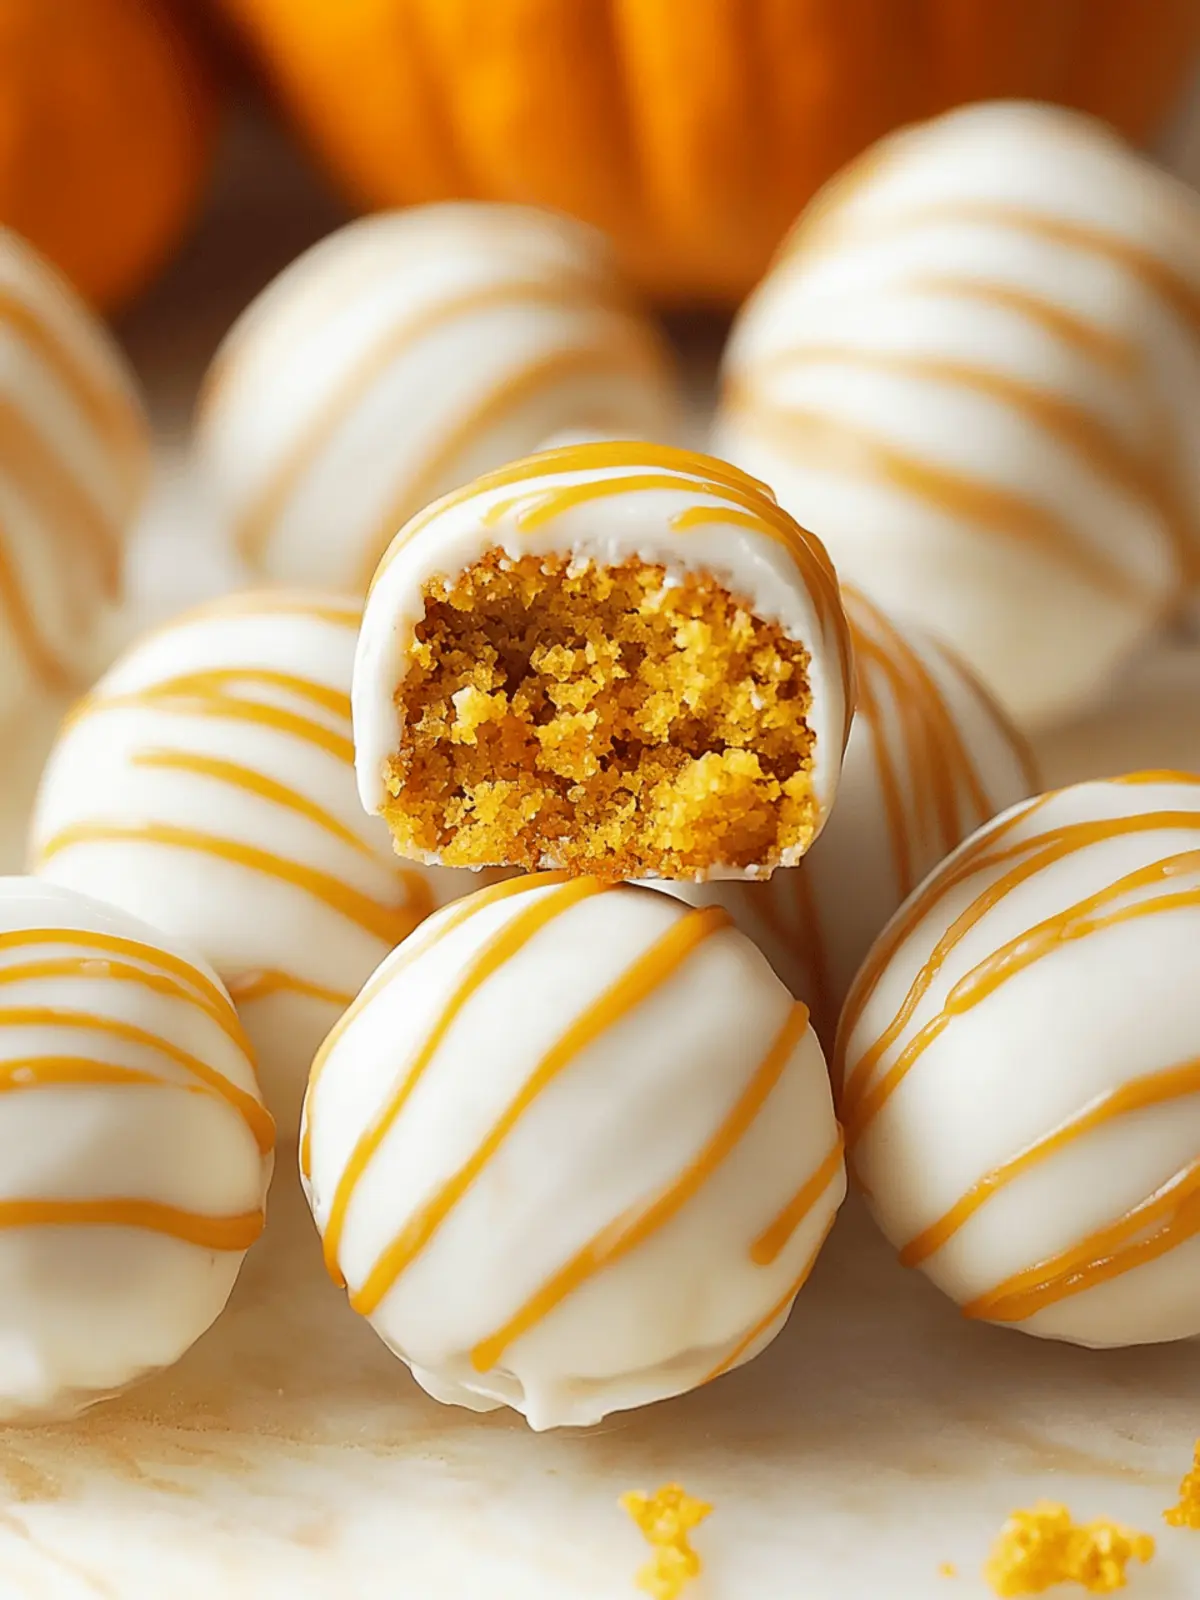
As autumn graces us with its golden hues and crisp air, I find myself craving sweets that evoke the warmth and coziness of the season. That’s how I stumbled onto these delightful Pumpkin Cake Pops! Imagine the inviting smell of pumpkin spice wafting through your kitchen as you create these charming treats—soft, moist cake blended perfectly with creamy, rich frosting, all enclosed in a satisfying chocolate shell. Not only are they an instant crowd-pleaser at gatherings, but they’re also an adorable gift that’s sure to bring a smile to anyone’s face. Whether you choose to whip up a homemade pumpkin cake or grab a box mix, these cake pops are uncomplicated and utterly delicious. So let’s dive into this perfect fall dessert that’s sure to make every occasion feel a little sweeter!
Why are Pumpkin Cake Pops so irresistible?
Fall flavors come alive with these delightful treats that perfectly capture the essence of autumn. Easy to make, whether you opt for homemade or store-bought cake, this recipe simplifies dessert prep. Versatile decor possibilities allow for creative toppings that make each pop unique. Perfect for sharing, they effortlessly brighten any gathering, from Halloween parties to cozy get-togethers. Enjoy the crown appeal of these adorable bites—everyone will love them!
Pumpkin Cake Pops Ingredients
For the Cake
- Pumpkin Cake – The base of the pops, providing moisture and flavor; can be made homemade or use a box mix for convenience.
For the Frosting
- Cream Cheese (6 oz, at room temperature) – Adds rich flavor and a creamy texture to the filling.
- Butter (6 tbsp, at room temperature) – Essential for a smooth and luscious frosting consistency.
- Confectioners’ Sugar (3 cups) – Sweetens and thickens the frosting; adjust the amount to suit your sweetness preference.
For the Coating
- White or Milk Chocolate (12 oz) – Perfect for coating the cake pops; may substitute with colored chocolate for a festive touch.
These delightful Pumpkin Cake Pops are not just a treat for the taste buds but also a feast for the eyes—making them the ideal dessert for your fall celebrations!
How to Make Pumpkin Cake Pops
-
Prepare the Cake: Bake your pumpkin cake using either a homemade recipe or a box mix, and allow it to cool completely on a wire rack. This step is crucial for preventing soggy cake pops.
-
Make the Frosting: In a medium bowl, beat together the cream cheese, butter, and confectioners’ sugar until the mixture is light and fluffy, about 3-5 minutes. The frosting should be smooth and delightful!
-
Crumble the Cake: Once cooled, crumble the pumpkin cake into a large mixing bowl, breaking it into fine crumbs. This step will help the cake pops hold their shape when rolled.
-
Combine Cake and Frosting: Add the fluffy cream cheese frosting to the crumbled cake. Mix gently until the cake is evenly moistened and sticky enough to form balls without falling apart.
-
Shape the Pops: Roll the mixture into 1 ½-inch balls, ensuring they’re compact. Place each ball on a wax or parchment-lined baking sheet. Freeze for 10-15 minutes to firm them up for coating.
-
Melt the Coating: In a microwave-safe bowl, melt the white or milk chocolate in short bursts, stirring in between to avoid burning, until smooth.
-
Dip the Cake Pops: Take each chilled cake ball and dip it into the melted chocolate, allowing any excess to drip off. Place them back on the parchment paper and let the coating set completely.
-
Decorate: Once the chocolate has set, feel free to sprinkle crumbled nuts or add decorative touches with extra melted chocolate for an eye-catching finish!
Optional: Add a festive touch by drizzling chocolate or adding colorful sprinkles.
Exact quantities are listed in the recipe card below.
Expert Tips for Pumpkin Cake Pops
-
Cool Completely: Ensure your pumpkin cake is entirely cool before crumbling; warm cake can lead to a mushy texture that doesn’t hold its shape.
-
Avoid Sticky Hands: Keep your hands dry when rolling the cake mixture into balls; wet hands can cause the mixture to stick. Food-safe gloves can help too!
-
Uniform Size: For evenly-sized cake pops, use a mini ice cream scoop to portion out the mixture, which ensures every pop is perfectly cute and consistent.
-
Chill for Firmness: Don’t skip the freezing step after shaping; it helps solidify the cake pops, making them easier to dip and coat with chocolate.
-
Make Ahead: If you’re short on time, prepare the cake and frosting a day ahead. Store them separately and combine just when you’re ready to roll those delightful Pumpkin Cake Pops!
Pumpkin Cake Pops Variations
Customize your Pumpkin Cake Pops to delight every palate and occasion with these fun twists!
-
Dairy-Free: Use a dairy-free cream cheese substitute and coconut oil for the frosting to create a plant-based version.
-
Gluten-Free: Swap regular cake mix with gluten-free all-purpose flour or a gluten-free cake mix, ensuring everyone can enjoy!
-
Spice It Up: Add a teaspoon of pumpkin pie spice or some ginger for an extra burst of flavor, enhancing those cozy fall vibes.
-
Nutty Delight: Fold in chopped walnuts or pecans into the cake mixture for a crunchy texture and added richness.
-
Candy Coated: Dip the finished pops in crushed candy corn or Halloween sprinkles for that festive flair, perfect for parties!
-
Chocolate Fix: Drizzle melted dark chocolate over the pops for a decadent twist that chocolate lovers will adore.
-
Seasonal Savory: Incorporate a pinch of sea salt into the melting chocolate for a sweet and salty combination that amplifies the flavors.
-
Fruit Fusion: Add finely chopped dried cranberries or raisins to the cake mixture for a chewy surprise with every bite.
Every variation is an opportunity to make these delightful treats uniquely yours!
Make Ahead Options
These Pumpkin Cake Pops are a fantastic choice for busy home cooks looking to streamline their dessert preparations! You can prepare the pumpkin cake up to 3 days in advance—just be sure to let it cool completely before crumbling. The frosting can also be made ahead and stored in the refrigerator for up to 3 days; when ready to assemble, simply beat it again for a fluffy texture. Once you’ve combined the cake and frosting, shape the cake pops and freeze them for up to 24 hours. Finally, when it’s time to serve, dip them in melted chocolate and allow to set for the best results. This way, your cake pops will be just as delicious and fresh, perfectly ready for any gathering!
How to Store and Freeze Pumpkin Cake Pops
-
Room Temperature: Keep your Pumpkin Cake Pops in an airtight container for up to 3 days to maintain their freshness and moisture.
-
Fridge: For longer storage, place the cake pops in the refrigerator for up to a week. Ensure they are covered to prevent drying out.
-
Freezer: If you want to save some for later, freeze the cake pops for up to 2 months. Wrap each one individually in plastic wrap and place them in a freezer-safe container.
-
Reheating: To enjoy the frozen pops, let them thaw in the fridge overnight before serving. For a warm treat, gently reheat in the microwave for 10-15 seconds.
What to Serve with Pumpkin Cake Pops?
Create the perfect fall gathering with delightful pairings that enhance the cozy, comforting flavors of these adorable treats.
-
Coffee or Chai Latte: The rich warmth of coffee or chai latte beautifully complements the spices in the cake pops. Sip a warm beverage as you indulge in these sweet bites.
-
Nutty Trail Mix: A crunchy, nutty trail mix provides a satisfying contrast to the soft texture of the cake pops, adding an element of fun to your dessert table.
-
Apple Cider: Enhance the autumn vibes with a glass of spiced apple cider. Its sweet-tart flavor effortlessly tops off these pumpkin treats, turning every bite into a crispy delight.
-
Pumpkin Cheesecake Bars: For the ultimate pumpkin experience, serve with creamy pumpkin cheesecake bars. These desserts dance beautifully together, both whispering the flavors of fall.
-
Chocolate-Covered Pretzels: The salty sweetness of chocolate-covered pretzels creates an exciting flavor pairing that balances the richness of the cake pops, inviting second helpings.
-
Caramel Dipping Sauce: Make it extra decadent by offering warm caramel sauce for dipping. Guests will enjoy the gooey richness, making each cake pop an irresistible treat.
-
Vanilla Ice Cream: As an extra indulgence, serve these cake pops alongside a scoop of vanilla ice cream. The creamy, cold contrast enhances every bite’s pumpkin spice flavor.
Let your event shine with these delightful pairings that inspire warmth and joy, making your Pumpkin Cake Pops the highlight of any gathering!
Pumpkin Cake Pops Recipe FAQs
What type of pumpkin cake should I use?
You can use either a homemade pumpkin cake or a store-bought mix—both work beautifully! If you choose to make it from scratch, use a recipe that includes spices like cinnamon and nutmeg for that authentic fall flavor. Opt for a moist cake to ensure your pops stay tender and delicious.
How long can I store my Pumpkin Cake Pops?
Store your Pumpkin Cake Pops in an airtight container at room temperature for up to 3 days. If you want them to last longer, they can be refrigerated for up to a week. Just make sure they’re covered well to retain their moistness, as pumpkin can dry out if exposed to air.
Can I freeze Pumpkin Cake Pops?
Absolutely! To freeze your Pumpkin Cake Pops, wrap each one individually in plastic wrap. Place them in a freezer-safe container or a zip-top bag and they’ll keep well for up to 2 months. When you’re ready to enjoy them, simply let them thaw in the fridge overnight.
What if my cake pops are falling apart during shaping?
If you find your cake pops aren’t holding together, it usually means they might be too dry or need more frosting mixed in. You can add a little more cream cheese frosting, mixing until the cake holds together well. Conversely, ensure your crumbled cake is fine enough and that you form compact balls.
Are Pumpkin Cake Pops suitable for pets or those with allergies?
While Pumpkin Cake Pops are a delightful treat for humans, they aren’t suitable for pets, especially due to the chocolate coating, which can be harmful to dogs. If anyone in your group has dietary restrictions, consider making a batch with a gluten-free cake mix or adjusting the frosting with a dairy-free alternative.
How do I get my cake pops to have an even chocolate coating?
For a smooth finish, make sure your chocolate is melted thoroughly but not too hot; it should be warm enough to dip without burning. When dipping, allow excess chocolate to drain off and give the pops a gentle tap against the bowl. This technique helps achieve an even coating and shiny finish.
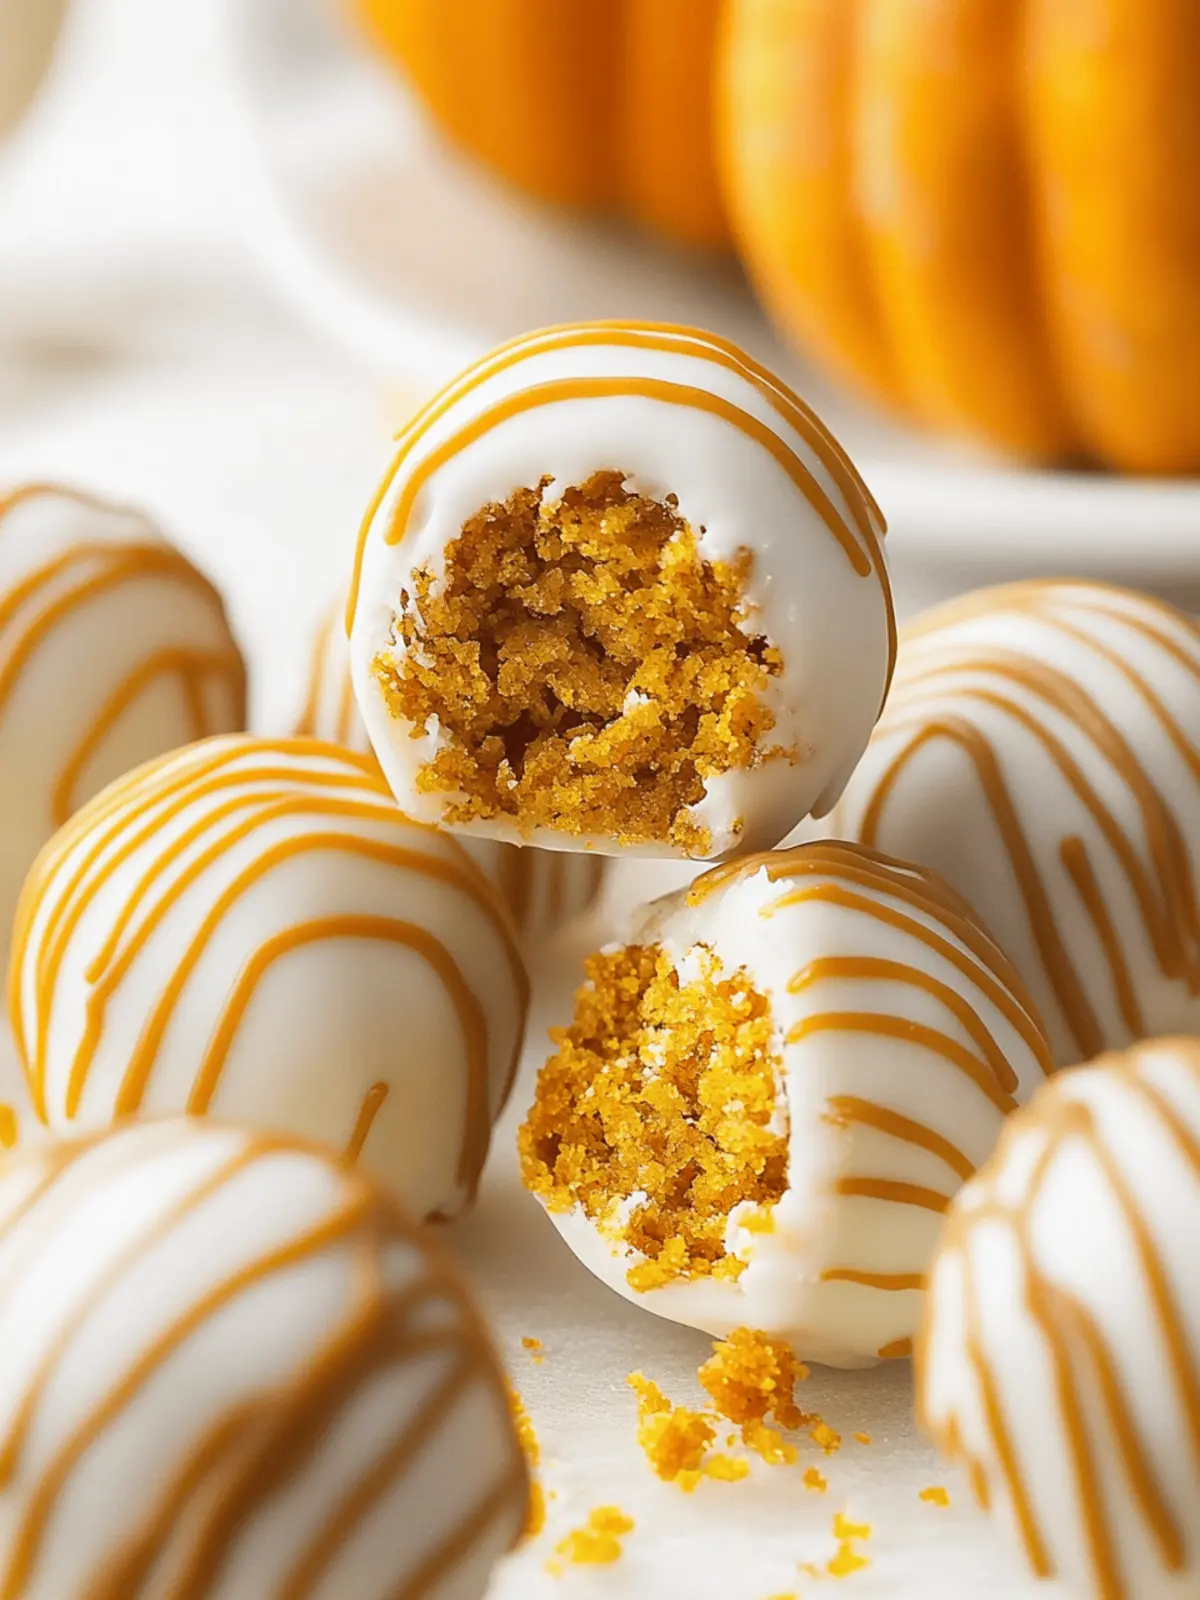
Delicious Pumpkin Cake Pops for Your Fall Celebrations
Ingredients
Equipment
Method
- Bake your pumpkin cake using either a homemade recipe or a box mix, and allow it to cool completely on a wire rack.
- In a medium bowl, beat together the cream cheese, butter, and confectioners' sugar until light and fluffy.
- Once the cake is cooled, crumble it into a large mixing bowl.
- Add the cream cheese frosting to the crumbled cake and mix gently until evenly moistened.
- Roll the mixture into 1 ½-inch balls and place on a lined baking sheet. Freeze for 10-15 minutes.
- Melt the chocolate in a microwave-safe bowl in short bursts, stirring in between.
- Dip each chilled cake ball into the melted chocolate and let any excess drip off.
- Let the coating set and decorate as desired.

