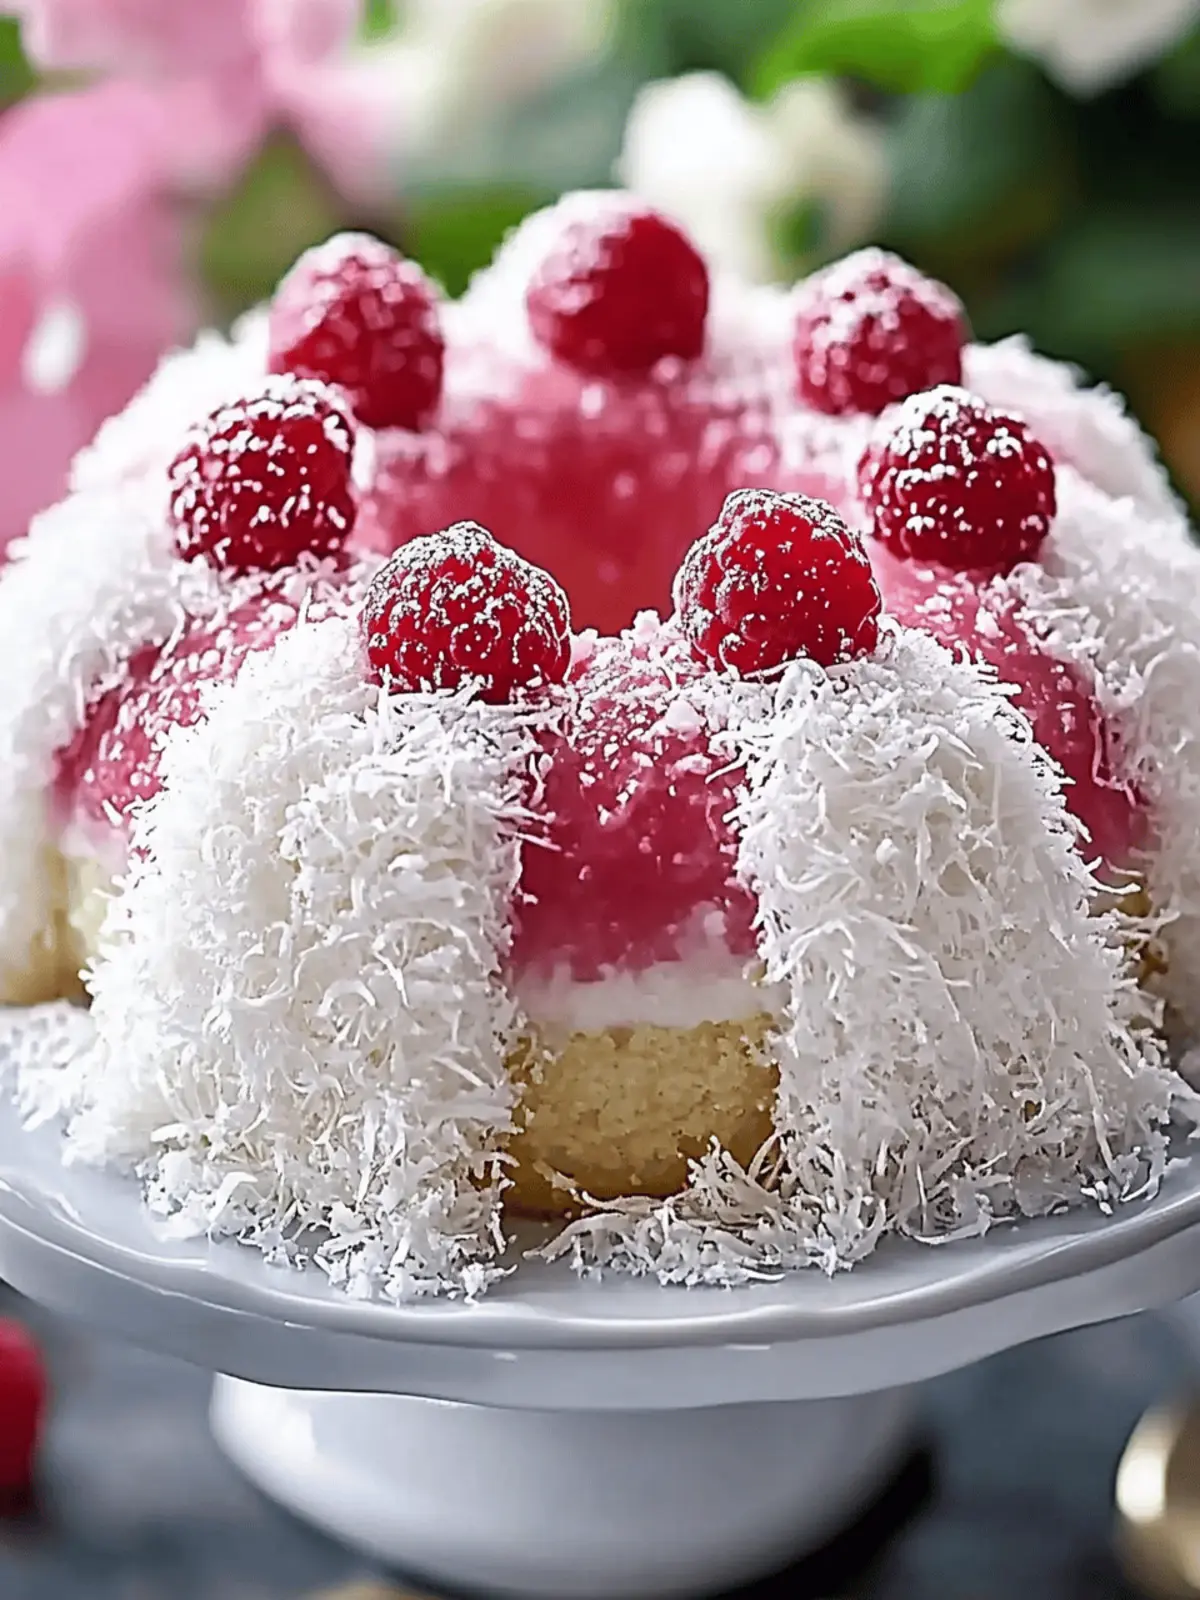
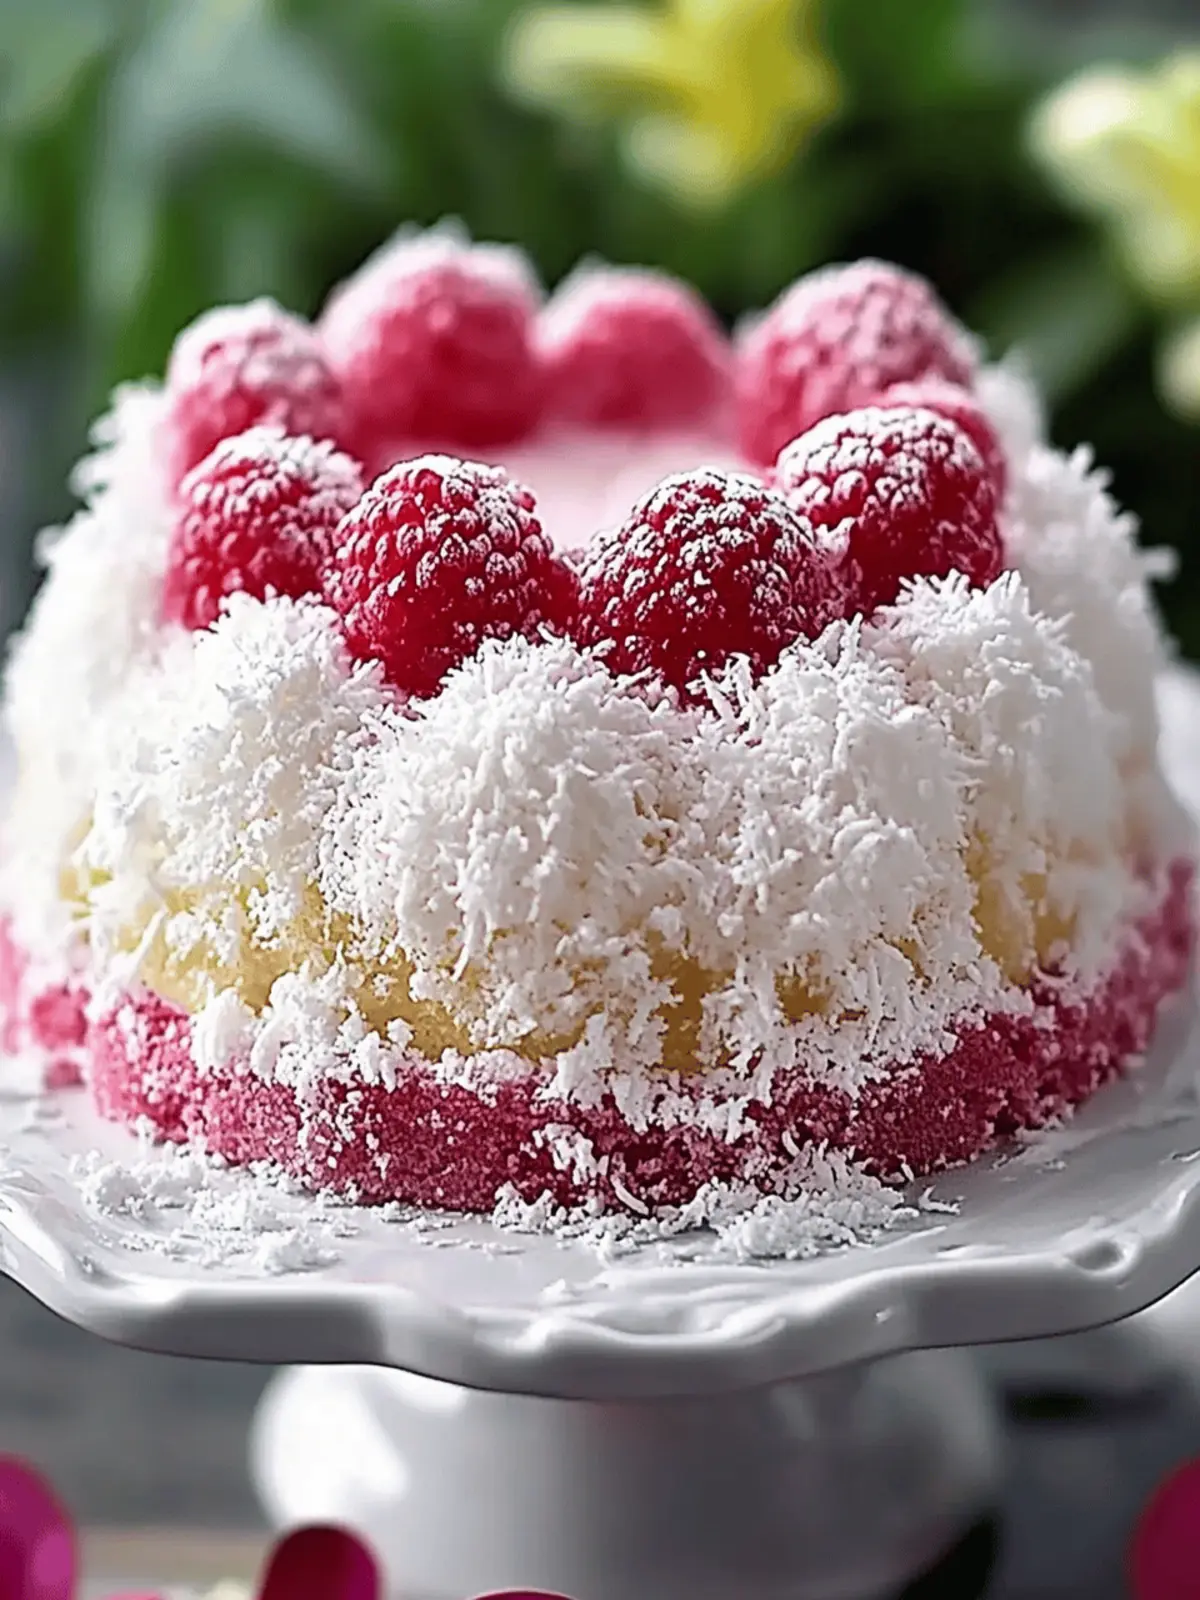
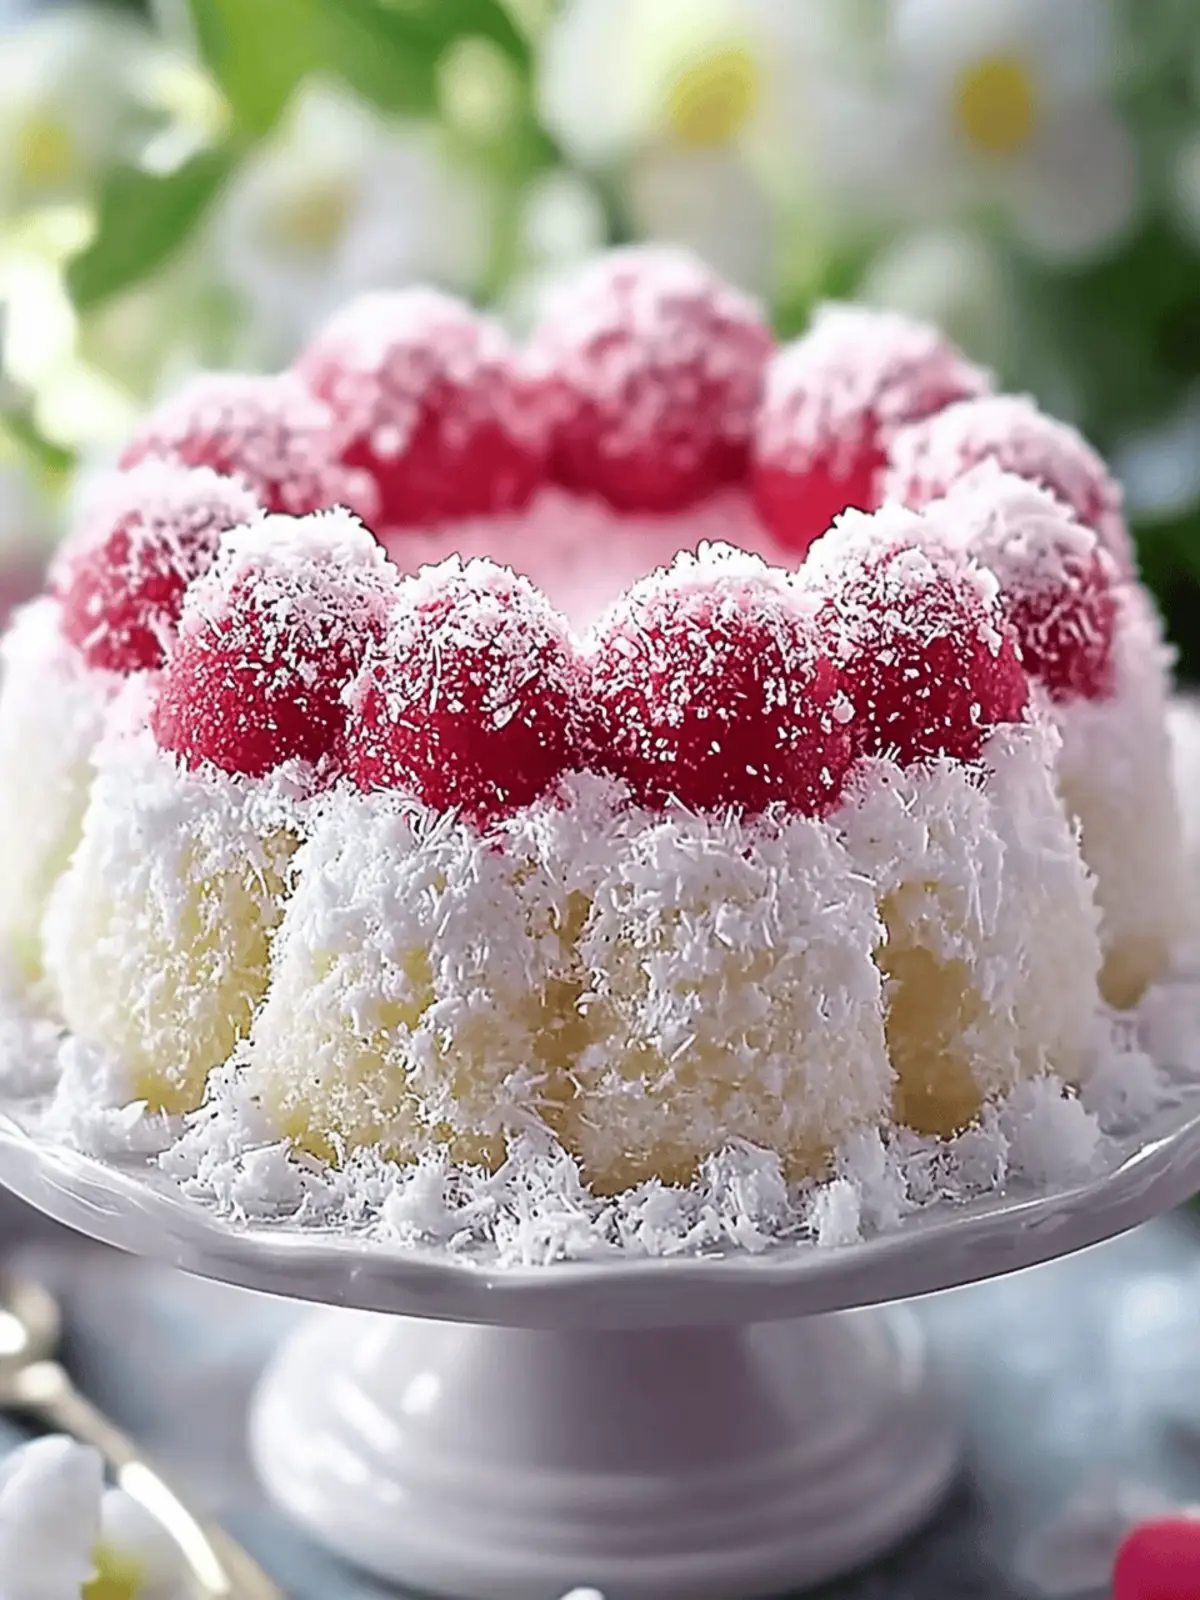
There’s something utterly delightful about transforming simple ingredients into a show-stopping dessert, and that’s precisely what this Snowball Cake does. Imagine a warm kitchen filled with the inviting scents of vanilla and butter, the sweet excitement building as the cake bakes to perfection. This recipe came to life on a rainy afternoon when I found myself craving something special but didn’t want to spend hours in the kitchen.
The beauty of this Snowball Cake lies not just in its stunning presentation, reminiscent of freshly fallen snow, but in the incredible pop of raspberry surprise hidden within its fluffy layers. The addition of sweetened coconut takes it over the top, making it a crowd-pleasing favorite at any gathering or simply enjoyed with a cup of coffee at home. Plus, it’s so easy to make! With just a few minutes of prep, you’ll be rewarded with a dessert that impresses without the fuss. Let’s bring a little magic into your kitchen!
Why is Snowball Cake a must-try?
Delightful surprise: Each slice boasts a hidden layer of sweet raspberry preserves that bursts with flavor!
Stunning presentation: Its fluffy, snow-like exterior makes it an eye-catching centerpiece for any occasion.
Simple ingredients: You likely have everything needed in your pantry already, making it an accessible recipe.
Quick prep time: In just 20 minutes, you can have this showstopper ready for the oven.
Crowd favorite: Perfect for parties, gatherings, or a cozy night in, this cake is sure to impress friends and family.
Try it today, and you might also enjoy other delightful creations from my collection of homemade desserts!
Snowball Cake Ingredients
For the Batter
- All-purpose flour – Essential for providing structure to your Snowball Cake.
- Baking powder – This helps the cake rise for a light, fluffy texture.
- Salt – Enhances the flavors and balances the sweetness.
- Unsalted butter – At room temperature, it’s key for a creamy, rich batter.
- Granulated sugar – Sweetens the cake and contributes to its tender crumb.
- Large eggs – Bind the ingredients together and add moisture; room temperature is best.
- Vanilla extract – Adds a lovely, aromatic depth to the flavor.
- Whole milk – Ensures the batter stays moist and gives it a tender texture.
For the Filling
- Raspberry preserves – This delightful surprise adds a fruity burst of flavor in every slice.
For the Topping
- Sweetened shredded coconut – Adds a snowy finish and delightful texture; feel free to substitute with unsweetened if preferred.
- Powdered sugar (optional) – A light dusting enhances the presentation and sweetness of your Snowball Cake.
Gather these ingredients and get ready to create a dessert that’s sure to enchant everyone at your table!
How to Make Snowball Cake
-
Preheat the Oven: Start by preheating your oven to 350°F (175°C). Prepare a 10-cup oven-safe dome pan or bowl by greasing it and dusting with flour for easy release.
-
Combine Dry Ingredients: In a medium bowl, whisk together the all-purpose flour, baking powder, and salt. This will ensure even distribution of the leavening agents for the perfect rise.
-
Cream Butter and Sugar: In a large mixing bowl, cream the room temperature unsalted butter and granulated sugar until the mixture is light and fluffy. This will create a lovely base for your cake.
-
Add Eggs and Vanilla: Beat in the three large eggs, one at a time, mixing well after each addition. Then, stir in the tablespoon of vanilla extract, allowing the flavors to meld beautifully.
-
Mix in Dry Ingredients and Milk: Gradually alternate adding your dry ingredient mixture and whole milk to the butter mixture. Mix until just combined, making sure not to overmix for a tender cake!
-
Add Raspberry Preserves: Pour half of the prepared batter into the greased pan. Dollop the warm raspberry preserves on top, then cover with the remaining batter. Use a knife or skewer to swirl gently for a delightful surprise.
-
Bake the Cake: Place the pan in the oven and bake for 45-55 minutes, or until a toothpick inserted into the center comes out clean. It should be golden brown and fragrant!
-
Cool and Coat: Let the cake cool in the pan for about 10 minutes. Then, turn it out onto a wire rack to cool completely. For a snowy finish, brush with water or syrup, then press the sweetened shredded coconut all over the surface to coat.
-
Finish and Serve: If desired, dust your beautiful Snowball Cake with powdered sugar before slicing. Enjoy it with your favorite beverage and watch it disappear!
Optional: Serve with a dollop of whipped cream on the side for an extra treat!
Exact quantities are listed in the recipe card below.

Make Ahead Options
These delicious Snowball Cakes are perfect for meal prep enthusiasts! You can prepare the batter up to 24 hours in advance by mixing it and storing it in an airtight container in the refrigerator. This helps save precious time on busy days. Additionally, you can bake the cake and let it cool completely, then refrigerate it for up to 3 days, ensuring it stays moist and flavorful. When you’re ready to serve, simply coat it with coconut and dust it with powdered sugar for that stunning finish. Just remember to let it come to room temperature for the best taste experience—it’s just as delicious as when freshly made!
Snowball Cake Variations
Feel free to explore these delightful twists to make your Snowball Cake even more extraordinary!
-
Coconut-Free: Swap sweetened shredded coconut for chopped nuts like pecans or almonds for a crunchy texture. This change creates a different but equally delicious dessert.
-
Berry Bliss: Replace raspberry preserves with strawberry or blueberry preserves for a fruity explosion that’s sure to please! Each variation offers a unique flavor profile that shines through.
-
Vegan Option: Substitute unsweetened applesauce for eggs, coconut oil for butter, and almond milk for whole milk. This version makes a delightful treat suitable for everyone.
-
Zesty Lemon: Add the zest of one lemon to the batter for a bright and refreshing citrus twist. The flavor pairs beautifully with the sweetness and adds depth.
-
Chocolate Swirl: Fold in cocoa powder (about ¼ cup) to half of the batter and create a delightful chocolate layer. Chocolate lovers will adore this indulgent variation!
-
Spiced Flavor: Add 1 teaspoon of cinnamon or nutmeg to the dry ingredients for a warm, aromatic touch; perfect for cozy gatherings or holiday celebrations!
-
Nutty Delight: Mix in ½ cup of shredded or chopped unsweetened coconut along with your raspberry preserves for an extra layer of flavor and texture.
-
Extra Frosting: Spread a layer of cream cheese frosting on top after coating it with coconut for a rich and indulgent finish. This decadent touch takes your cake to a whole new level!
Expert Tips for Snowball Cake
-
Room Temperature Ingredients: Make sure your butter, eggs, and milk are at room temperature for a smooth batter and even baking.
-
Avoid Overmixing: Mix just until combined; overmixing can lead to a dense cake. This helps keep your Snowball Cake fluffy and light.
-
Proper Swirling: When adding raspberry preserves, use a knife to swirl them gently into the batter to create beautiful marbled layers without sinking.
-
Test for Doneness: Always check for doneness by inserting a toothpick in the center; it should come out clean. Underbaking slightly will keep it moist.
-
Coconut Coating Trick: For a thicker coconut layer, brush the cake with light syrup to help the shredded coconut adhere better.
Enjoy baking your delightful Snowball Cake with these helpful tips!
How to Store and Freeze Snowball Cake
Room Temperature: Enjoy your Snowball Cake at room temperature for up to 3 days. Cover it with plastic wrap or store it in an airtight container to keep it fresh.
Fridge: You can store the cake in the fridge for up to a week. To maintain its moisture, wrap it in plastic wrap before placing it in an airtight container.
Freezer: For longer storage, freeze the Snowball Cake for up to 3 months. Wrap it tightly in plastic wrap and then in aluminum foil to prevent freezer burn.
Reheating: To enjoy slices later, thaw in the fridge overnight. Gently warm it in the microwave or toaster oven for a deliciously moist cake experience!
What to Serve with Snowball Cake?
The perfect companion to this delightful dessert will elevate your meal and leave everyone smiling in sweet satisfaction.
- Fresh Berries: A mix of strawberries, blueberries, and blackberries introduces a refreshing contrast that enhances the raspberry flavor.
- Whipped Cream: Light and airy, a dollop of whipped cream adds creamy richness that balances the cake’s sweetness. Nothing feels more indulgent!
- Coconut Cream: For coconut lovers, this luscious cream will amplify the cake’s snowy topping and add an irresistible tropical twist.
- Coffee or Tea: Warm beverages bring out the best in any dessert. Choose a rich coffee or aromatic tea to complement the cake’s flavors beautifully.
- Vanilla Ice Cream: A scoop of vanilla ice cream creates a delightful temperature contrast against the warm cake, enhancing its indulgence.
- Chocolate Sauce: A drizzle of chocolate sauce adds a rich, decadent touch that pairs perfectly with the sweetness of the raspberry preserves.
Pairing these delightful options with your Snowball Cake will create an inviting atmosphere that celebrates delicious homemade flavors!

Snowball Cake Recipe FAQs
What is the best way to select ripe raspberry preserves?
Absolutely! Look for raspberry preserves that are vibrant in color with a fruity aroma. If possible, choose preserves labeled as “all fruit” or “fruit spread” for a more natural flavor. Avoid jars with added sugars or artificial colors to keep the taste authentic and delicious.
How should I store leftover Snowball Cake?
It’s very important to store your Snowball Cake properly! You can keep it at room temperature for up to 3 days, covered in plastic wrap or in an airtight container. If you want to extend its freshness, refrigerate it for up to a week, ensuring it’s well wrapped to retain moisture.
Can I freeze Snowball Cake? If so, how?
Absolutely! To freeze your Snowball Cake, start by allowing it to cool completely. Then, wrap it tightly in plastic wrap, making sure it’s sealed well. Follow this by wrapping it in aluminum foil to prevent freezer burn. It can be safely stored for up to 3 months. When you’re ready to enjoy it, simply thaw it overnight in the fridge before serving!
What should I do if my cake doesn’t rise as expected?
Very often, a cake not rising properly can be due to old baking powder or incorrect oven temperature. To troubleshoot this, always check your baking powder expiration date; if it’s older than six months, it’s time to replace it. Another tip is to check your oven’s temperature accuracy with an oven thermometer. If your Snowball Cake seems dense, next time mix just until combined to avoid overmixing.
Is this Snowball Cake suitable for allergies or specific diets?
Definitely! If you’re catering to dietary restrictions, consider easy substitutions. For a gluten-free version, use a 1:1 gluten-free baking mix. For those with dairy allergies, you can replace unsalted butter with coconut oil and whole milk with a non-dairy alternative like almond milk. Just be sure to check the labels for any hidden allergens in the preserves and coconut!
How can I enhance the flavor of my Snowball Cake?
To elevate the flavor of your Snowball Cake, you can add a teaspoon of almond extract in addition to the vanilla or even a zest of lemon for brightness. Drizzling a bit of raspberry glaze over each slice before serving is another delightful way to enhance sweetness and provide a bit of flair! Enjoy experimenting!

Irresistible Snowball Cake: A Delightful Twist for Home Chefs
Ingredients
Equipment
Method
- Preheat your oven to 350°F (175°C). Prepare a 10-cup oven-safe dome pan or bowl by greasing it and dusting with flour.
- In a medium bowl, whisk together the all-purpose flour, baking powder, and salt.
- In a large mixing bowl, cream the room temperature unsalted butter and granulated sugar until light and fluffy.
- Beat in the eggs one at a time, then stir in the vanilla extract.
- Gradually add the dry ingredient mixture and whole milk, mixing until just combined.
- Pour half of the batter into the greased pan, dollop raspberry preserves on top, then cover with remaining batter and swirl gently.
- Bake for 45-55 minutes until a toothpick inserted comes out clean.
- Let the cake cool in the pan for about 10 minutes, then turn out onto a wire rack to cool completely.
- Brush with water or syrup and press sweetened shredded coconut all over the surface to coat.
- Dust with powdered sugar before slicing if desired.


