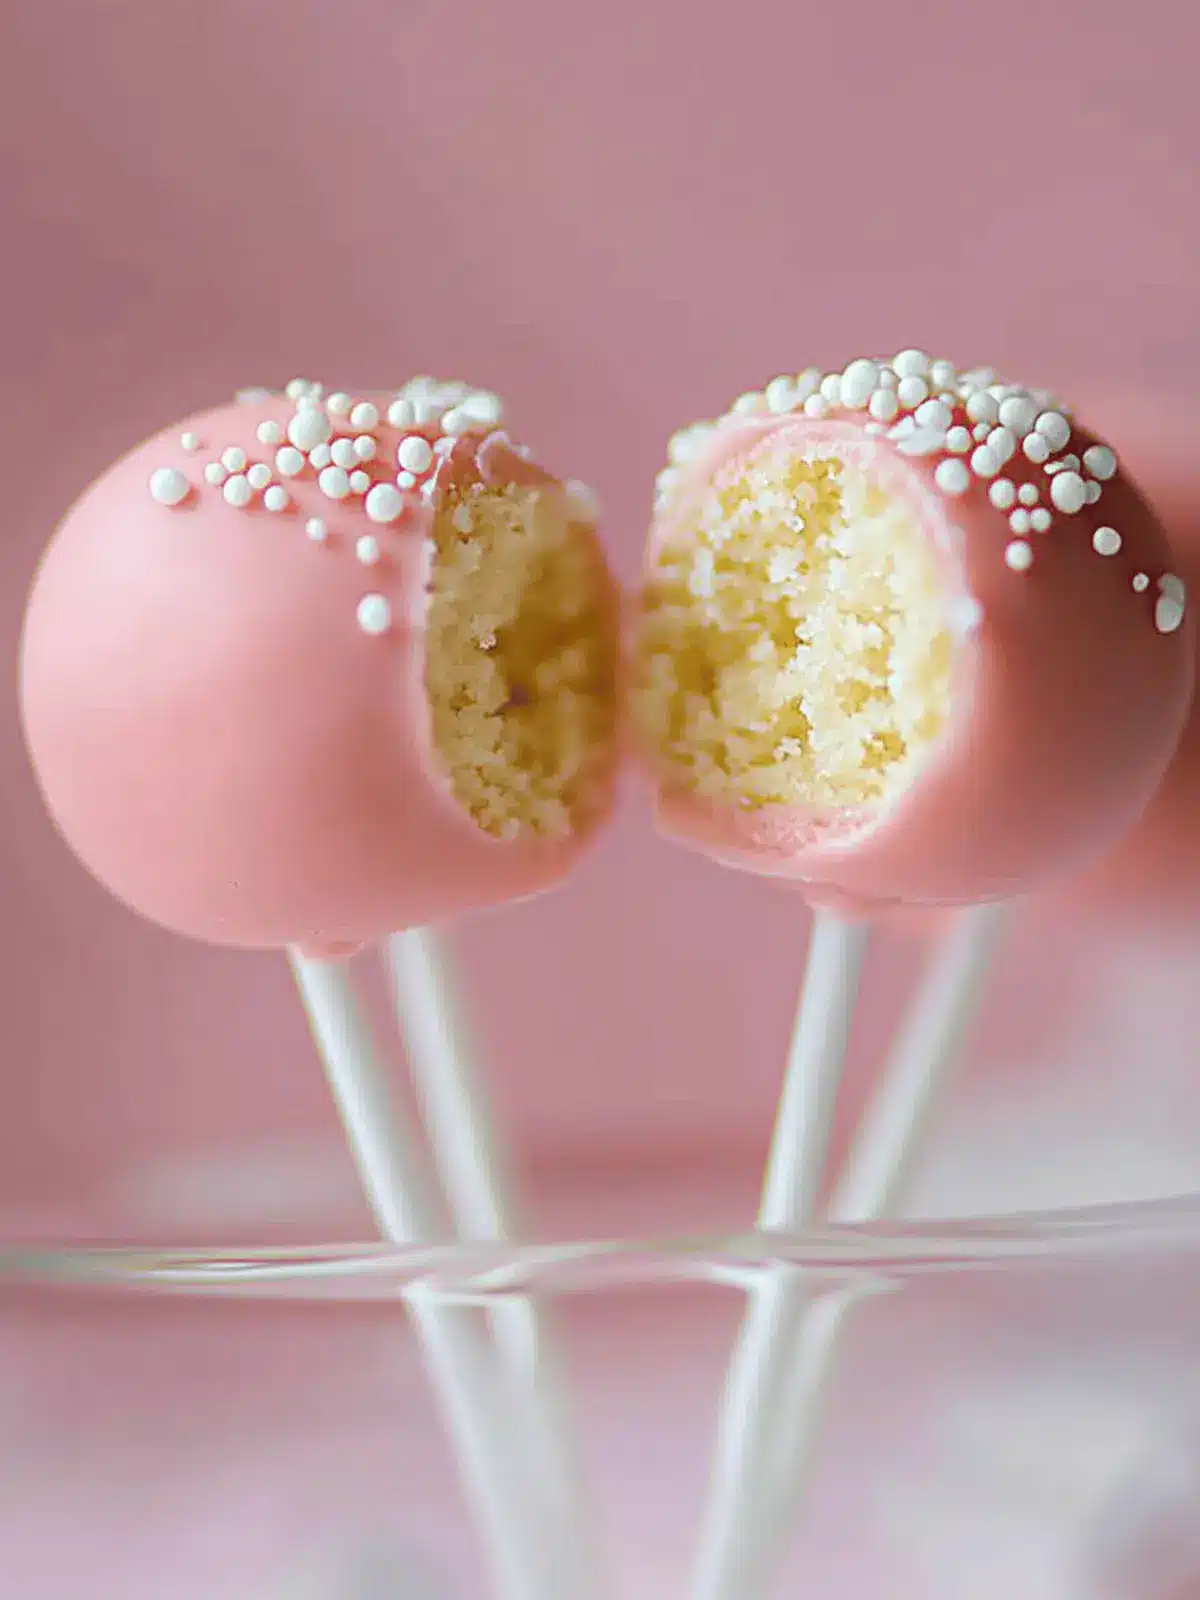
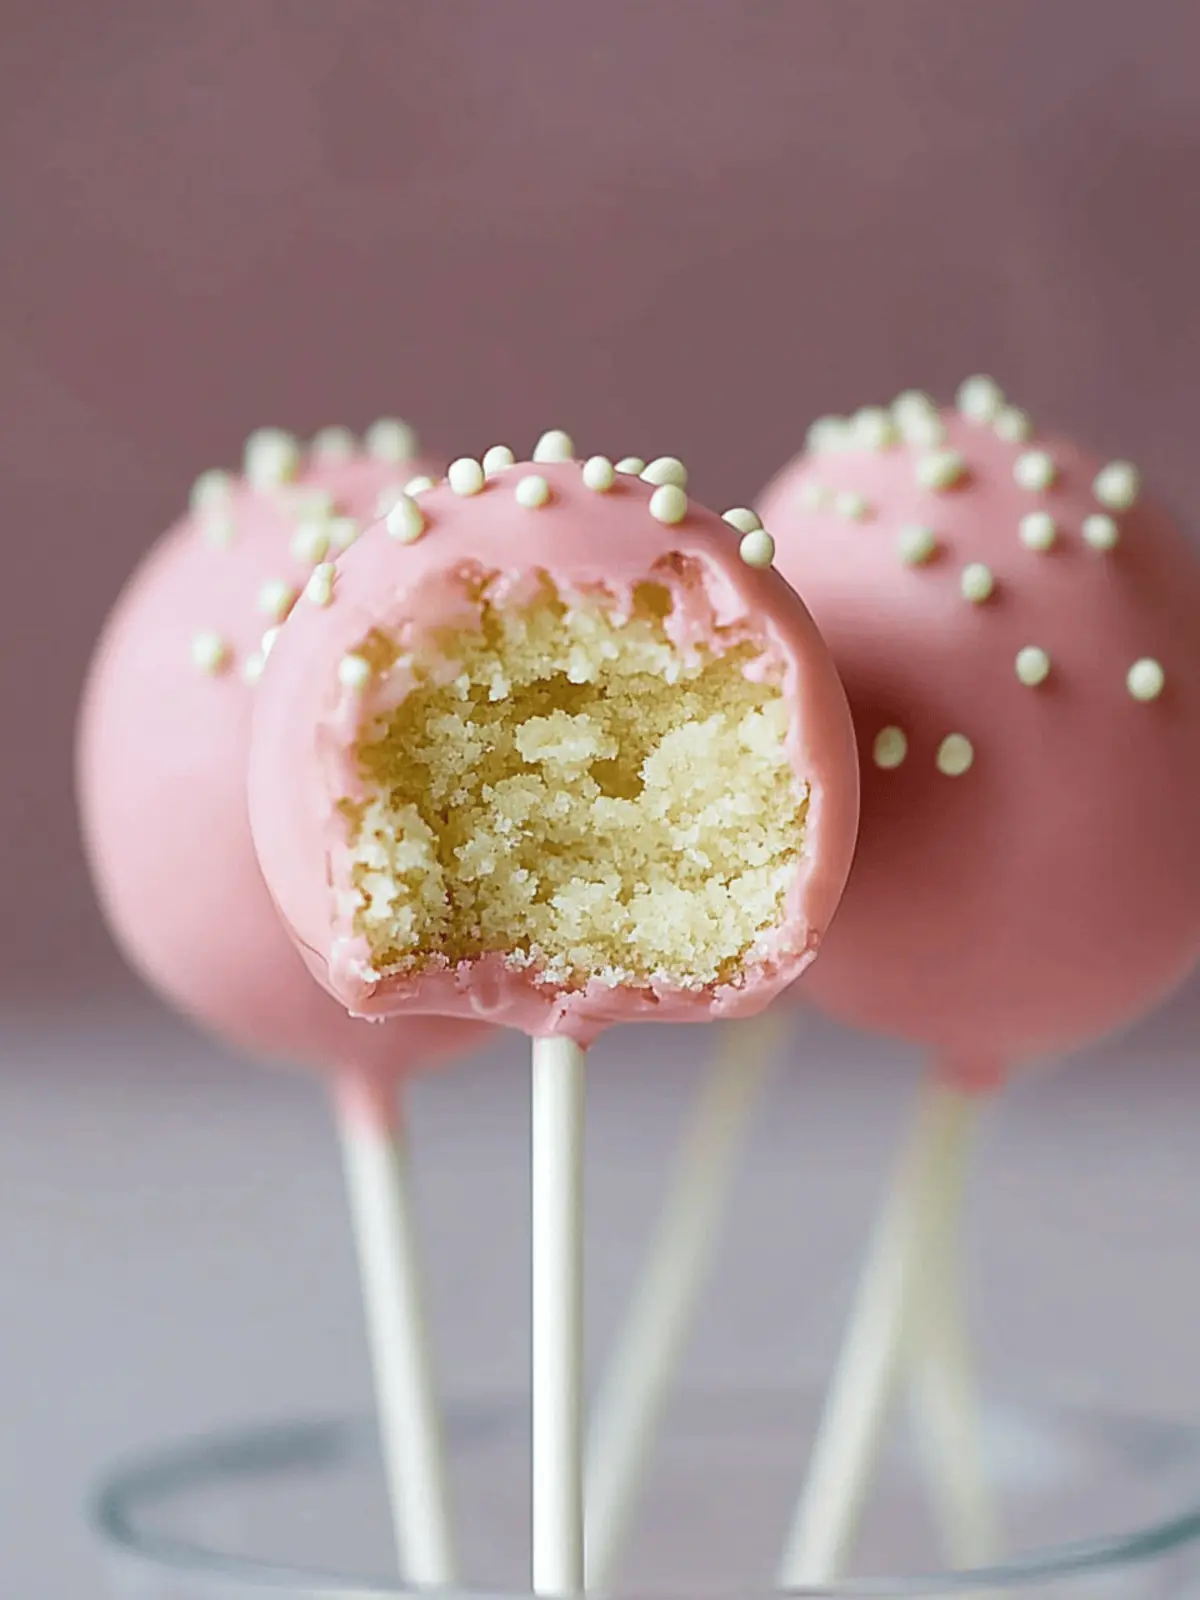
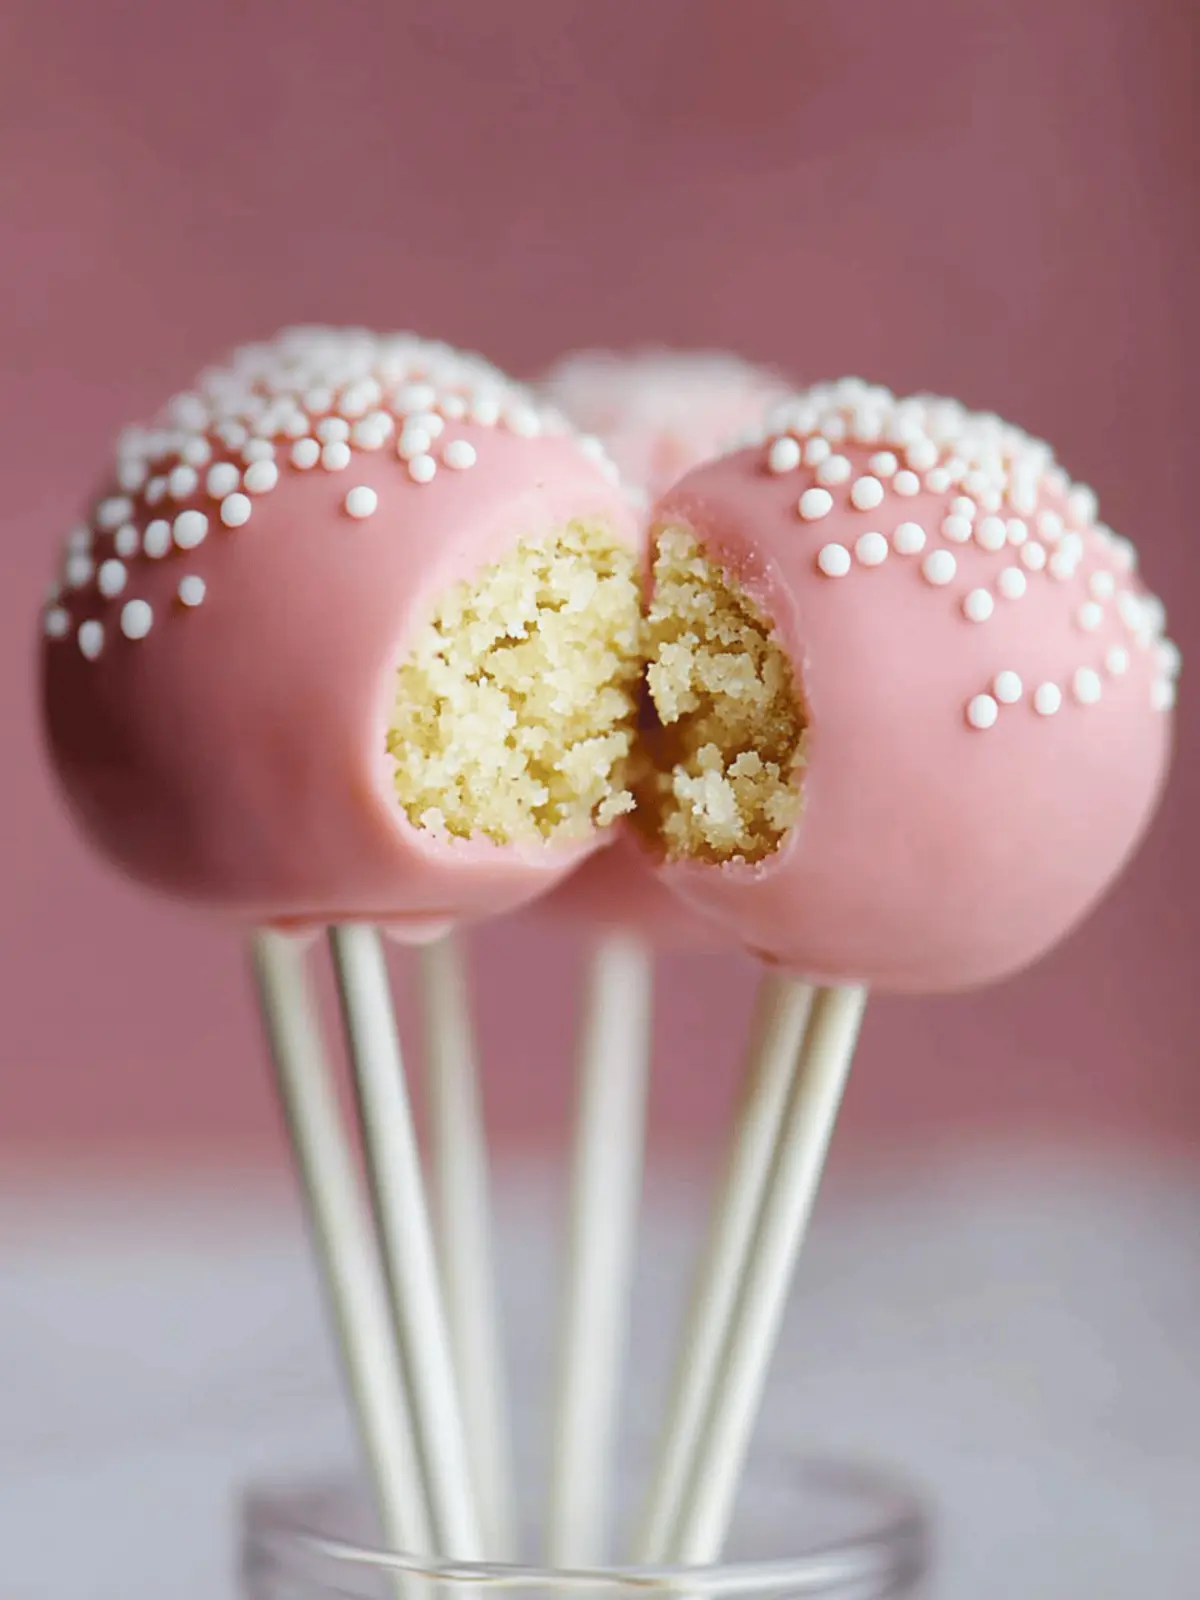
There’s something undeniably delightful about a treat on a stick, especially when it mirrors the sweet sensations of Starbucks’ famous cake pops. Picture this: a cozy afternoon, your favorite playlist softly playing, and the aroma of vanilla wafting through your kitchen as you whip up these adorable bites of joy. With just a few simple ingredients—vanilla cake mix, vibrant pink candy coating, and sprinkles—you can make a homemade version that rivals the café experience while saving a trip to the store.
Whether you’re looking to impress guests at a party, add a sweet touch to a celebration, or create a fun activity with the kids, these Easy Copycat Starbucks Cake Pops are sure to be a crowd-pleaser. Join me as we dive into this fun and creative bake that guarantees smiles with every pop!
Why will you love these Starbucks Cake Pops?
Delightful simplicity: The process is straightforward, perfect for both novice bakers and seasoned chefs alike.
Irresistible flavors: Soft vanilla cake inside with a glossy candy coating makes each bite a sweet joy.
Customizable options: Swap flavors or colors to match any theme or preference, keeping it fresh and exciting!
Make-ahead convenience: Prep these treats in advance for parties or gatherings, and store them easily for a hassle-free dessert.
Perfect for sharing: These visually stunning pops are great for kids’ parties, holiday celebrations, or as a special treat just for you.
Starbucks Cake Pop Ingredients
• Get ready to create these delightful treats!
For the Cake
- Vanilla Cake Mix – Forms the base flavor, creating a soft cake center; any preferred cake mix can substitute.
- Water – Hydrates the cake mix; use milk for a richer flavor.
- Vegetable Oil – Adds moisture and tenderness; melted coconut oil or butter works well as a substitute.
- Eggs – Binds the ingredients for better structure; flax eggs can be used for a vegan option (1 flax egg = 1 tbsp ground flaxseed + 2.5 tbsp water).
For the Filling
- Frosting – Provides sweetness and moisture to the crumbled cake; both store-bought and homemade versions are good, or try cream cheese frosting for a tangy twist.
For the Coating
- Candy Melts (Pink) – The sweet coating for your cake pops; any color can be used for fun variations, or chocolate melts for a classic look.
- Sprinkles – Adds decorative flair; any type of sprinkles can enhance the visual appeal.
With these ingredients in hand, you’ll be well on your way to crafting your own Starbucks Cake Pops that are not just easy to make, but also incredibly satisfying to enjoy!
How to Make Starbucks Cake Pops
-
Prepare Cake: In a mixing bowl, combine the vanilla cake mix, water, vegetable oil, and eggs. Bake in a 9×13-inch dish at 350°F for about 25-30 minutes, or until a toothpick comes out clean.
-
Cool & Crumble: Allow the baked cake to cool completely, then crumb it into a large bowl, ensuring there are no large chunks left.
-
Mix with Frosting: Gently stir in the frosting until the mixture is fully combined and has a dough-like consistency. Cover and chill in the freezer for about 15 minutes.
-
Form Balls: Use a cookie scoop to portion out the mixture, rolling it into balls about the size of a ping pong ball. Freeze the balls until solid, typically around 30 minutes.
-
Prepare Sticks: Melt the pink candy melts according to package instructions. Dip the ends of each stick into the melted candy, then insert them into the center of each cake ball.
-
Coat Pops: Take each cake pop and dip it into the melted candy coating. Swirl to ensure full coverage, allowing any excess to drip back into the bowl.
-
Cool & Set: Stand the cake pops upright in a foam block or an upside-down cardboard box to set. Let the coating harden at room temperature for about 30 minutes.
Optional: Add extra sprinkles while the coating is still wet for a colorful finish!
Exact quantities are listed in the recipe card below.
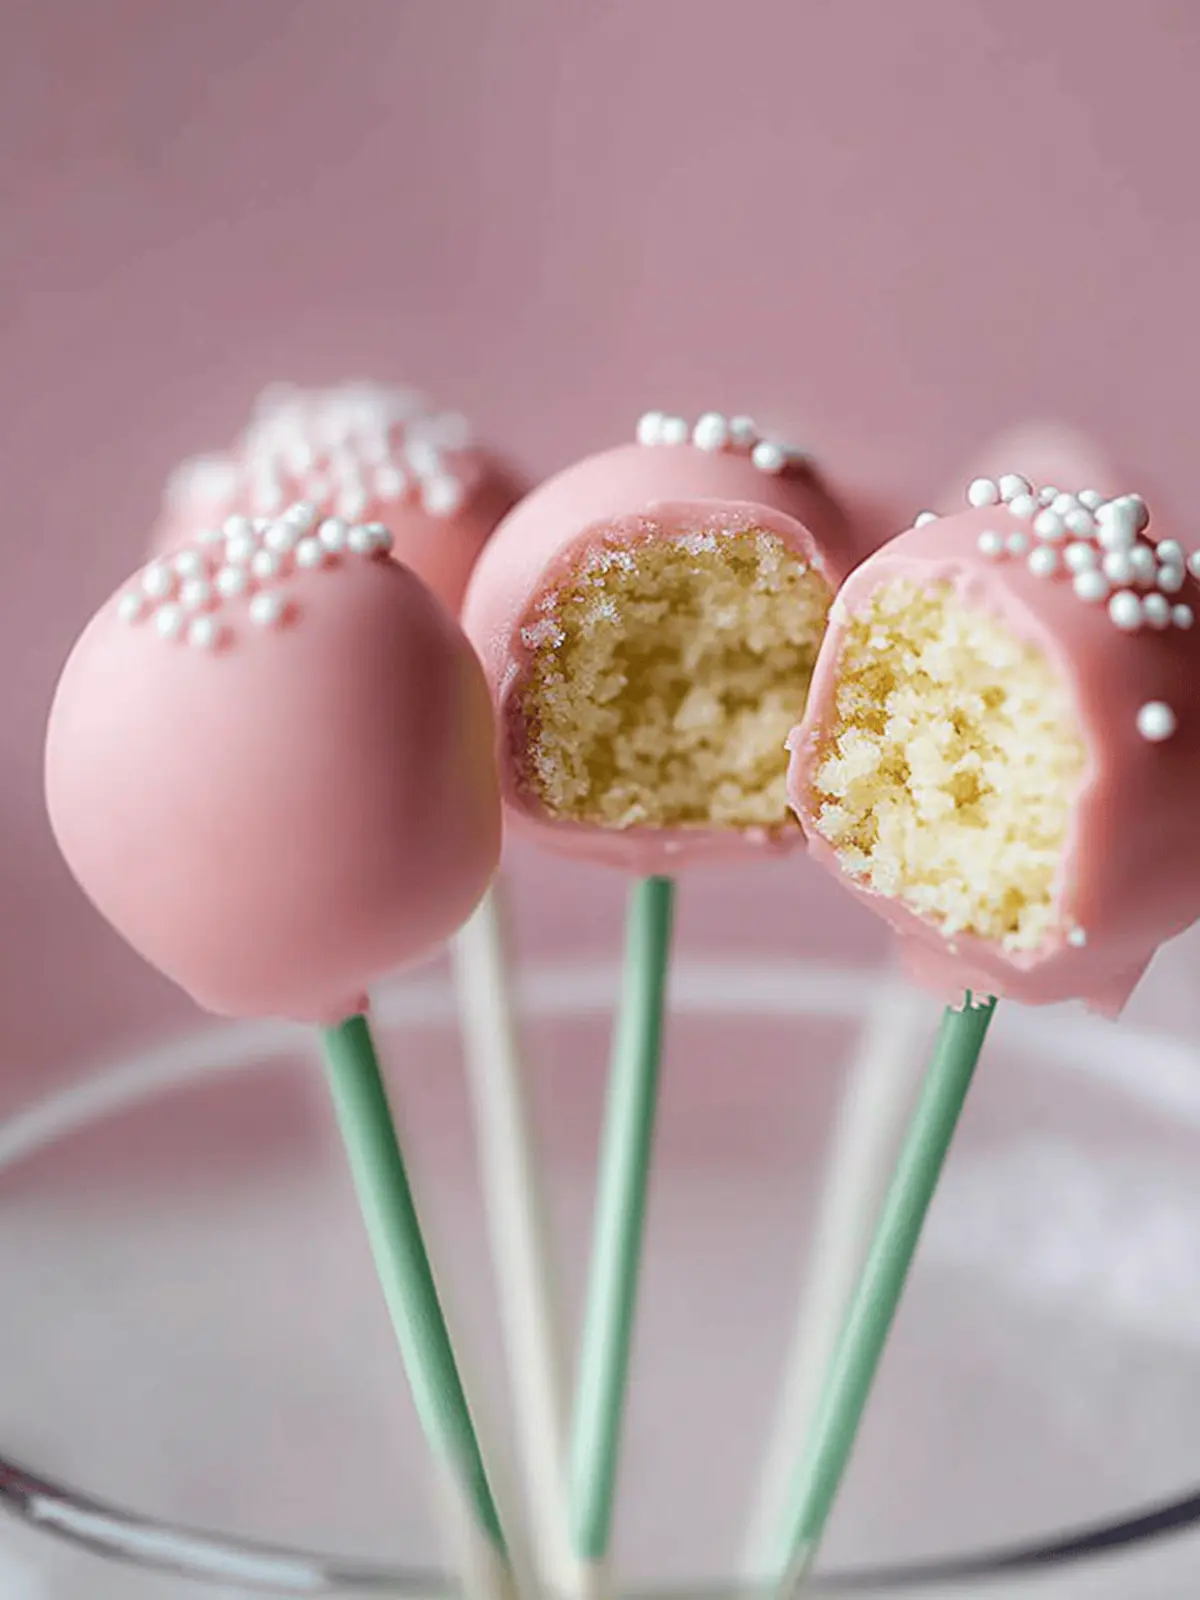
How to Store and Freeze Starbucks Cake Pops
Fridge: Store assembled cake pops in an airtight container in the fridge for up to 4 days, placing a paper towel underneath to absorb moisture and maintain freshness.
Freezer: Stack cake pops in a single layer in an airtight container, separating layers with parchment paper. They can be frozen for up to 3 months and thawed in the fridge before serving.
Reheating: Although these treats are best served chilled or at room temperature, if you prefer them slightly warm, let them sit at room temperature for about 15 minutes after removing from the fridge or freezer.
Handling: When ready to enjoy your homemade Starbucks Cake Pops, ensure they are completely thawed for the best texture; enjoy them fresh for maximum sweetness!
Make Ahead Options
These Easy Copycat Starbucks Cake Pops are perfect for meal prep enthusiasts! You can prepare the cake portion up to 24 hours in advance. Simply bake the cake, cool it, and crumble it into a bowl. Next, mix in the frosting and chill it in the freezer for about 15 minutes before rolling into balls. Once formed, freeze the cake balls until solid, typically around 30 minutes. To maintain quality, store the cake balls in an airtight container in the freezer for up to 3 months. When you’re ready to finish, simply dip them in the melted candy coating and let them set. You’ll have a delightful treat ready with minimal effort—just as delicious as freshly made!
Expert Tips for Starbucks Cake Pops
-
Chill Before Dipping: Ensure the cake balls are thoroughly chilled prior to dipping. This prevents them from falling off the sticks during coating.
-
Avoid Cracks: Allow the cake pops to rest for a few minutes after freezing before dipping. This helps avoid cracks in the candy coating.
-
Stick Placement: When inserting sticks, make sure they go in halfway to provide stability; this will keep your Starbucks Cake Pops upright and looking great.
-
Coating Consistency: If the candy melts are too thick, add a little vegetable oil to thin it out. This ensures a smoother coating over your cake pops.
-
Sprinkle Time: For a fun, festive look, add sprinkles right after dipping while the coating is still wet. This will help them adhere better.
Starbucks Cake Pop Variations
Feel free to unleash your creativity and customize these delightful cake pops with cheerful twists and tasty swaps!
-
Chocolate Cake: Swap vanilla cake mix for chocolate cake mix to create rich, fudgy cake pops that will satisfy any chocolate lover.
-
Flavored Frosting: Experiment with different frosting flavors like strawberry, lemon, or cookies and cream for a unique burst of sweetness.
-
Nutty Twist: Incorporate crushed nuts or nut butter into the cake mixture for an added texture and flavor that gives each bite a delightful crunch.
-
Fruit Infusion: Add finely chopped fruits like strawberries or blueberries into the cake mix for a refreshing natural flavor that complements the sweetness.
-
White Chocolate Coating: Instead of a pink candy coating, use white chocolate for a gourmet look and drizzle some dark chocolate on top for an elegant contrast.
-
Vegan Alternative: Replace eggs with flax eggs and the frosting with dairy-free alternatives for a delicious vegan version that doesn’t compromise on taste.
-
Spicy Kick: Mix in a touch of cayenne pepper or cinnamon for a spicy surprise that pairs beautifully with the sweetness of the cake.
-
Mini Cake Pops: For a fun twist, make mini versions by using a smaller scoop and adjusting the freezing time for bite-sized treats that are perfect for sharing.
What to Serve with Starbucks Cake Pops?
Create the perfect delightful experience as you pair these sweet treats with complementary flavors and textures.
- Rich Hot Chocolate: A velvety cup brings warmth and indulgence, making each cake pop feel even more special.
- Fruity Sorbet: Light and refreshing, this icy dessert balances the sweetness of the cake pops, creating a delightful contrast.
- Fresh Fruit Skewers: Juicy berries or tropical fruits add a fresh element to your dessert table, enhancing both color and flavor.
- Creamy Vanilla Ice Cream: The classic combo! Each bite of cake pop dipped in ice cream takes you to dessert heaven.
- Sparkling Fruit Punch: This effervescent drink adds a fun touch to your gathering, refreshing your palate between sweet bites.
- Chocolate Dipping Sauce: For an extra decadent treat, have warm chocolate sauce on the side for those who crave more chocolatey goodness.
- Coffee or Espresso: A strong cup of coffee enhances the vanilla flavor in your cake pops, lending a sophisticated touch to your dessert time.
These pairings will surely elevate your homemade Starbucks Cake Pops experience, making every bite even more enjoyable!
Starbucks Cake Pops Recipe FAQs
How do I choose the right cake mix for my Starbucks Cake Pops?
Absolutely! For this recipe, any vanilla cake mix works beautifully, but you can also be adventurous and try chocolate or red velvet. Just ensure it’s a mix that evokes the same moist and soft texture you desire in your pops. Additionally, if you’re looking for a homemade touch, feel free to whip up a basic vanilla cake from scratch!
What’s the best way to store my homemade Starbucks Cake Pops?
You can keep your adorable cake pops in an airtight container in the fridge for up to 4 days. I recommend placing a paper towel underneath the pops to absorb any excess moisture, ensuring they stay fresh and delicious. If you want to enjoy them later, feel free to freeze them for up to 3 months—just remember to layer them in a container with parchment paper in between!
Can I freeze my Starbucks Cake Pops?
Definitely! To freeze, place the cake pops in a single layer in an airtight container, separating multiple layers with parchment paper. This prevents them from sticking together. When you’re ready to savor these treats, just transfer them to the fridge to thaw for a few hours or overnight; they’ll be ready to be enjoyed without sacrificing that delightful texture.
What should I do if my cake pops fall off the stick during dipping?
Very! If your cake balls keep falling off the sticks, it might be due to them being too warm. Make sure to chill them thoroughly before dipping. Alternatively, gently warm the candy melts to the right consistency; it shouldn’t be too thick. If you notice the coating is cracking, allow the pops to rest for a few moments after freezing before dipping—this helps maintain the integrity of the coating.
Can my pets enjoy Starbucks Cake Pops?
It’s best to keep these delightful treats away from pets, particularly due to the chocolate coating, which can be toxic to dogs. Always be mindful of the ingredients! For any sweet treats for your furry companions, consider making pet-safe alternatives like homemade peanut butter biscuits instead.
Is there a gluten-free option for these Starbucks Cake Pops?
Absolutely! You can easily swap the vanilla cake mix for a gluten-free option. There are many gluten-free cake mixes available now that provide a similar moist texture you love. Just follow the package instructions for the best results, and you’ll still enjoy those sweet, delightful bites without any gluten!
Irresistible Starbucks Cake Pops You Can Make at Home
Ingredients
Equipment
Method
- In a mixing bowl, combine the vanilla cake mix, water, vegetable oil, and eggs. Bake in a 9x13-inch dish at 350°F for about 25-30 minutes, or until a toothpick comes out clean.
- Allow the baked cake to cool completely, then crumb it into a large bowl, ensuring there are no large chunks left.
- Gently stir in the frosting until the mixture is fully combined and has a dough-like consistency. Cover and chill in the freezer for about 15 minutes.
- Use a cookie scoop to portion out the mixture, rolling it into balls about the size of a ping pong ball. Freeze the balls until solid, typically around 30 minutes.
- Melt the pink candy melts according to package instructions. Dip the ends of each stick into the melted candy, then insert them into the center of each cake ball.
- Take each cake pop and dip it into the melted candy coating. Swirl to ensure full coverage, allowing any excess to drip back into the bowl.
- Stand the cake pops upright in a foam block or an upside-down cardboard box to set. Let the coating harden at room temperature for about 30 minutes.
- Optional: Add extra sprinkles while the coating is still wet for a colorful finish!

