
When a craving for something sweet strikes, there’s nothing quite like the enchanting combination of creamy cheesecake and nostalgic banana pudding. This Banana Pudding Cheesecake not only elevates your dessert game but also dances between comfort and sophistication. Picture this: the layers of rich cream cheese melded with the sweet, soft essence of ripe bananas just waiting to be devoured.
I first discovered this delightful dessert when I was attending a friend’s gathering; the moment I took my first bite, I knew I had stumbled upon a treasure. With its easy-to-follow steps and the delightful crunch of Nilla Wafers, this cheesecake is the perfect antidote to the monotony of fast food. It’s a crowd-pleaser at any gathering, managing to impress both friends and family with its elegant presentation. Plus, it’s a wonderful way to use up those overripe bananas sitting on your counter. So let’s dive into this indulgent recipe that promises to bring cheerful smiles to every slice shared!
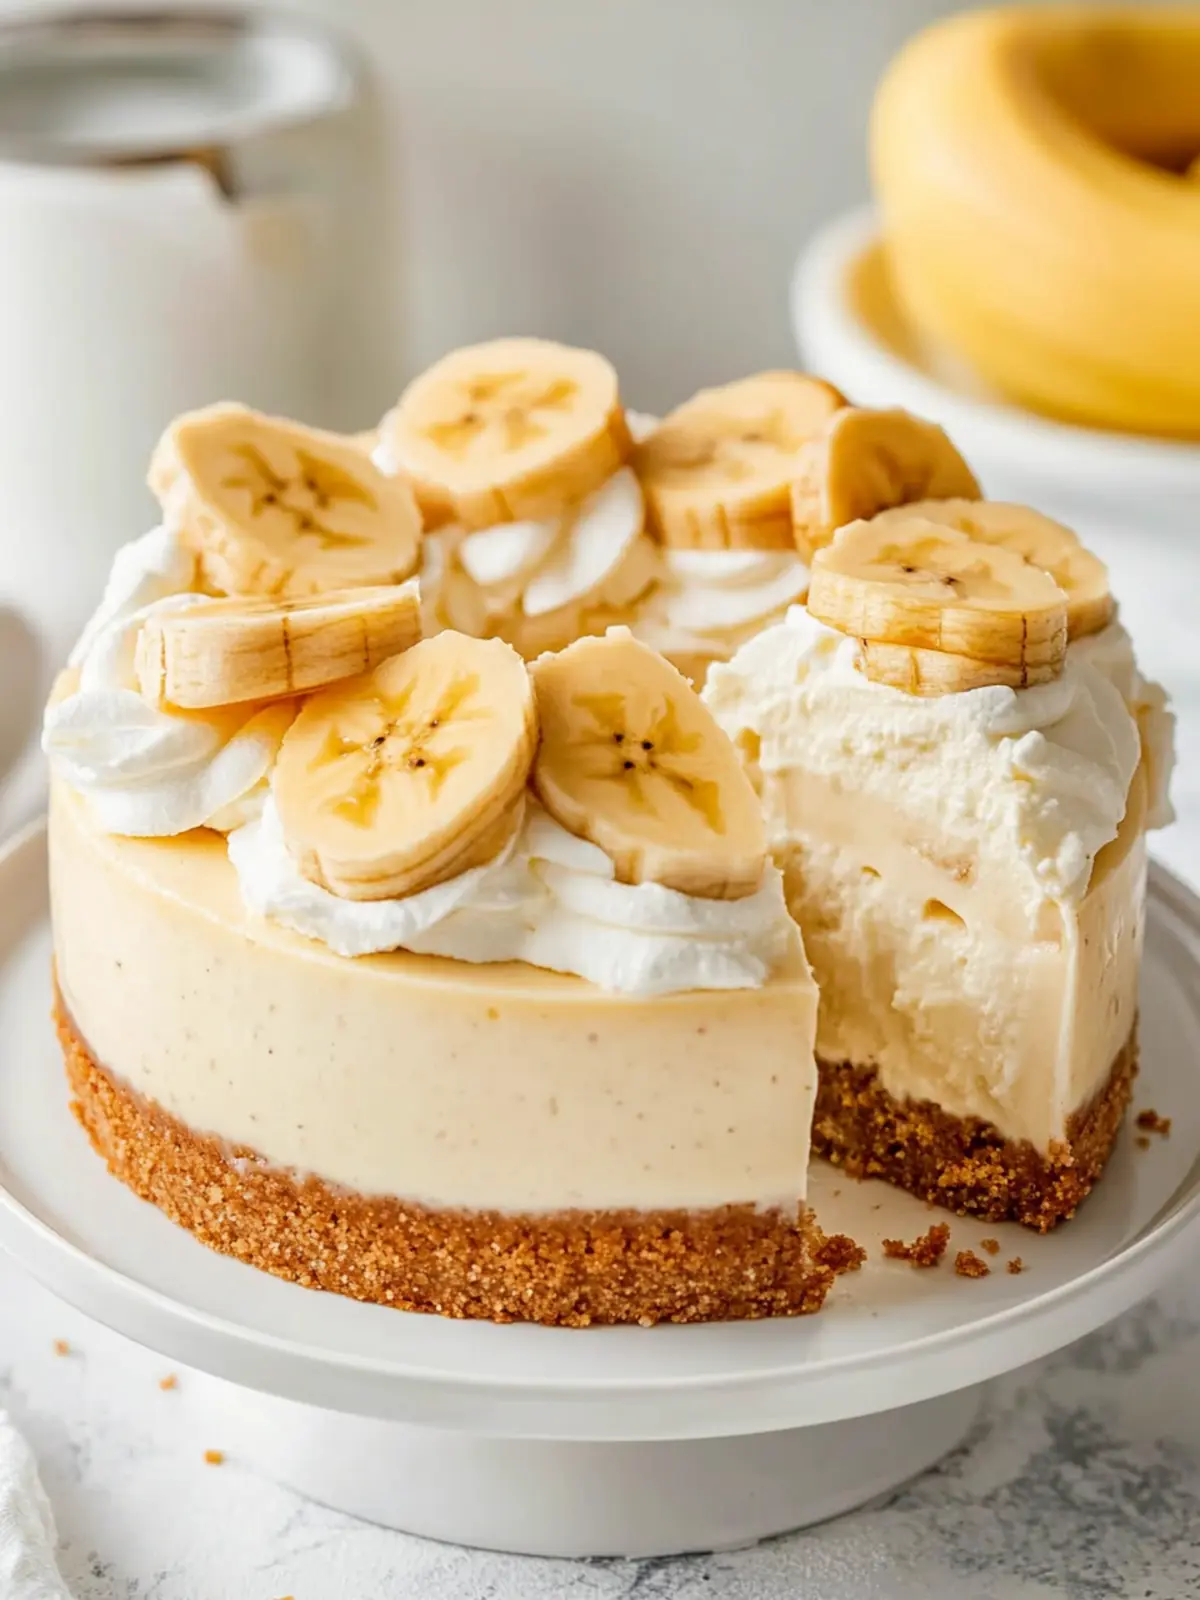
Why is Banana Pudding Cheesecake a Must-Try?
Decadence Unleashed: This dessert is a dreamy fusion of two classics—cheesecake and banana pudding—that will leave you wanting more.
Crowd-Pleasing Delight: With its stunning layers and delightful taste, it’s sure to steal the show at any gathering!
Easy Steps: Despite its impressive appearance, the recipe is simple enough for anyone to tackle, making homemade decadence achievable.
Versatile Treat: Perfect for any occasion, whether it’s a birthday, holiday, or just a weeknight treat!
Banana Booster: Don’t let those overripe bananas go to waste; this cheesecake transforms them into something extraordinary.
Textural Harmony: The creamy filling contrasts beautifully with the crunchy Nilla Wafer crust, creating a delightful eating experience.
Banana Pudding Cheesecake Ingredients
Get ready to create a dessert that will have everyone asking for seconds!
For the Crust
• Nilla Wafers – provides a crunchy base that pairs perfectly with the creamy filling.
• Brown sugar – adds a touch of sweetness and depth to the crust.
• Unsalted butter – helps bind the crust ingredients together for a rich flavor.
For the Cheesecake Filling
• Cream cheese – the star ingredient for a rich and creamy texture; ensure it’s at room temperature for easy blending.
• White granulated sugar – balances the tanginess of cream cheese with sweetness.
• Pure vanilla extract – infuses the filling with delightful flavor; opt for pure for the best taste.
• Bananas – mashed bananas add natural sweetness and a wonderful banana flavor; perfect for our banana pudding cheesecake!
• Sour cream – contributes to the creaminess and adds a subtle tang.
• Heavy cream – enhances the luscious texture of the filling when whipped.
• Large eggs – help to set the cheesecake and create that classic custard-like consistency.
For the Topping
• Instant vanilla pudding – creates a creamy, luscious topping that enhances the nostalgic banana flavor.
• Milk – essential for preparing the pudding; choose cold for the best results.
• Heavy cream (for whipping) – whipped until stiff peaks add a cloud-like topping.
• Crushed Nilla Wafers – for decorating, they provide a delightful crunch and a familiar flavor.
With these ingredients, you’re well on your way to crafting a Banana Pudding Cheesecake that will delight everyone at the table!
How to Make Banana Pudding Cheesecake
-
Preheat the Oven: Begin by setting your oven to 325°F. Prepare a 9-inch springform pan by spraying it with nonstick baking spray, lining the bottom with parchment paper, and spritzing again.
-
Crust Preparation: Blend the Nilla Wafers into a fine crumb using a food processor. Mix in the brown sugar and melted butter to create a rich, cohesive crust mixture.
-
Form the Crust: Pour the crumb mixture into your prepared pan. Use the bottom of a measuring cup to press the crumbs halfway up the sides and compact well.
-
Bake the Crust: Place the pan in the oven and bake for 11 minutes. This will give your crust the perfect amount of firmness.
-
Make the Filling: In a mixer, beat the cream cheese and granulated sugar on high speed for 2 minutes, then scrape down the sides of the bowl for an even mix.
-
Add Bananas and Cream: Mash the two bananas well, then add them to the mixer along with vanilla extract, sour cream, and heavy cream. Mix on medium speed until the filling is smoothly combined.
-
Incorporate Eggs: Add the room temperature eggs one at a time, mixing on low speed until just combined. Remember to scrape the bowl again to ensure mix-in.
-
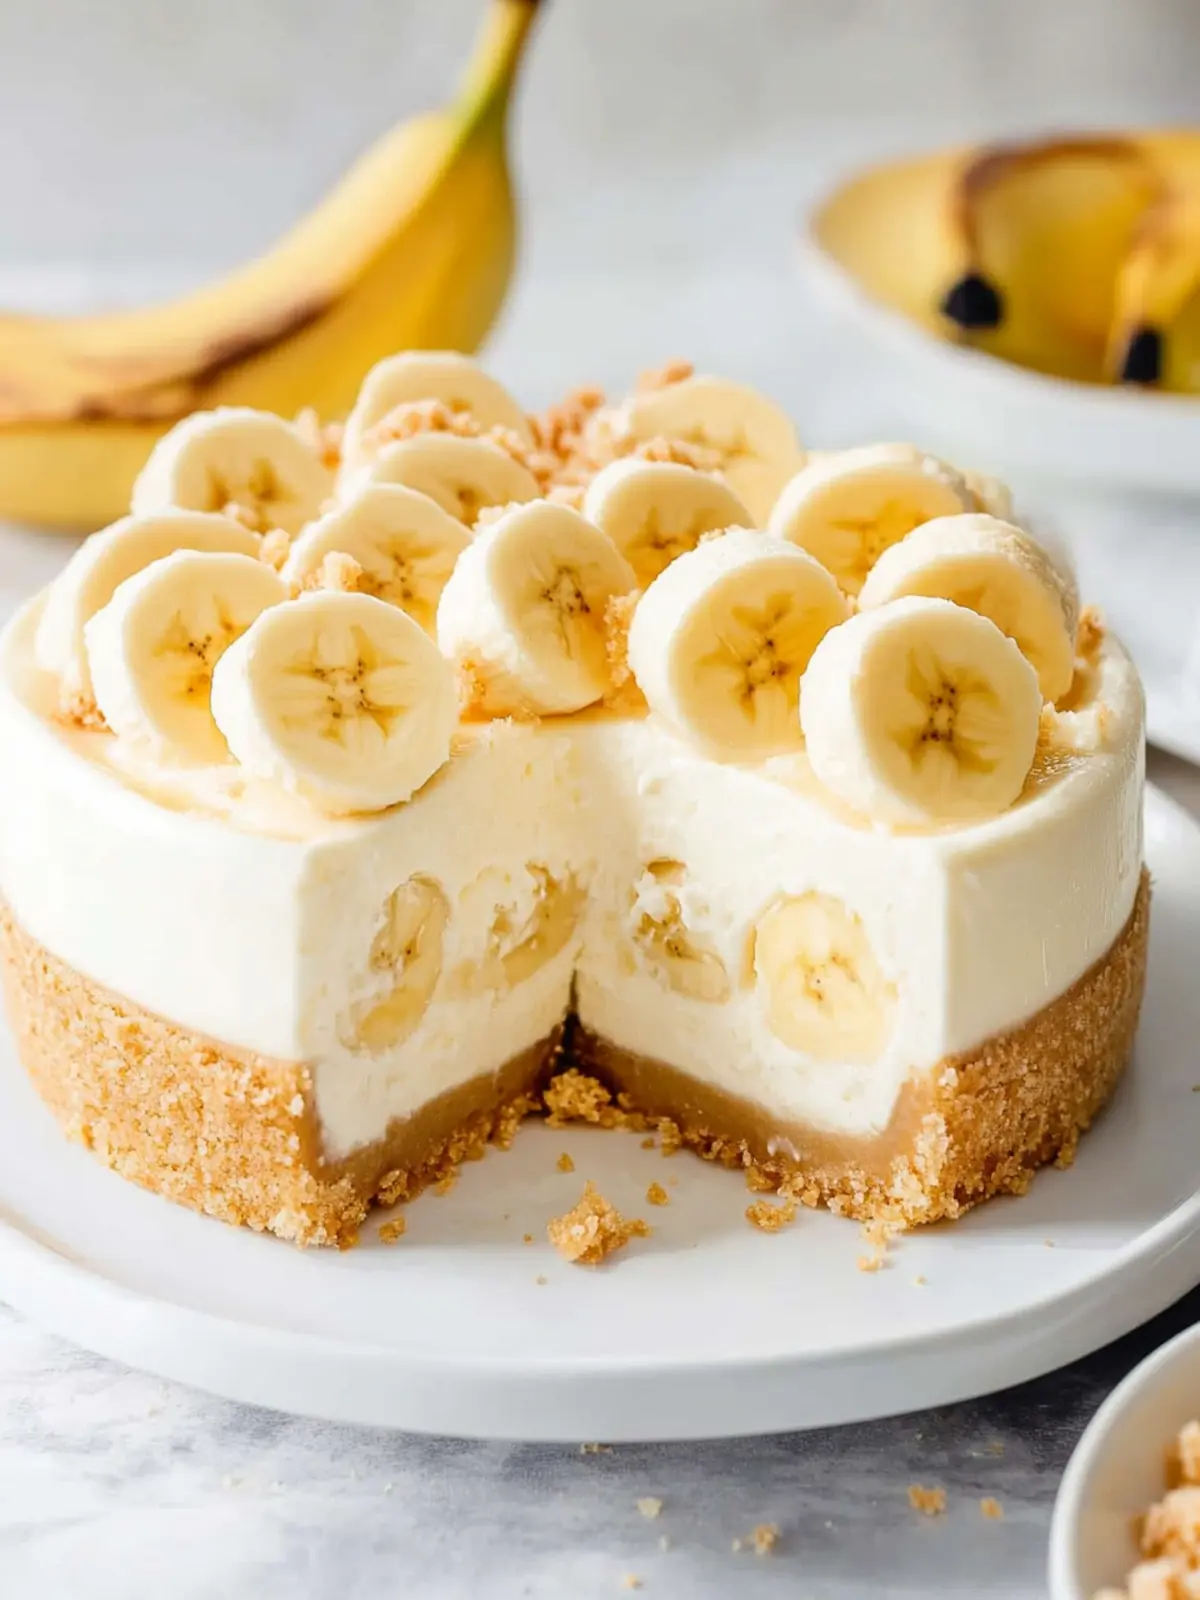
Layer the Cheesecake: Pour half of the cheesecake batter over the crust. Add a layer of thinly sliced bananas, then sprinkle with crushed Nilla Wafers before topping with the remaining cheesecake batter.
-
Prepare for Baking: Create a water bath by placing a larger baking dish filled with water in the oven. Carefully insert the cheesecake pan into this water bath.
-
Bake: Bake the cheesecake for 80-90 minutes, until it slightly jiggles in the center but is set around the edges.
-
Cooling Time: After baking, turn off the oven, crack the door open, and let the cheesecake cool in the oven for 30 minutes. Then carefully remove it from the water bath and let it cool completely on a wire rack.
-
Chill: Once cooled, wrap the cheesecake in foil and refrigerate for at least 6 hours, or ideally overnight, to firm up and enhance flavors.
-
Pudding Preparation: In a large bowl, combine instant vanilla pudding powder and cold milk. Beat on medium speed for 2 minutes, then place it in the fridge for it to set while the cheesecake chills.
-
Whip the Cream: In a metal bowl, beat the cold heavy cream and vanilla until stiff peaks form, creating a fluffy topping for your cheesecake.
-
Combine Pudding and Cream: Gently fold the whipped cream into the chilled pudding mixture. Be careful to maintain the fluffiness!
-
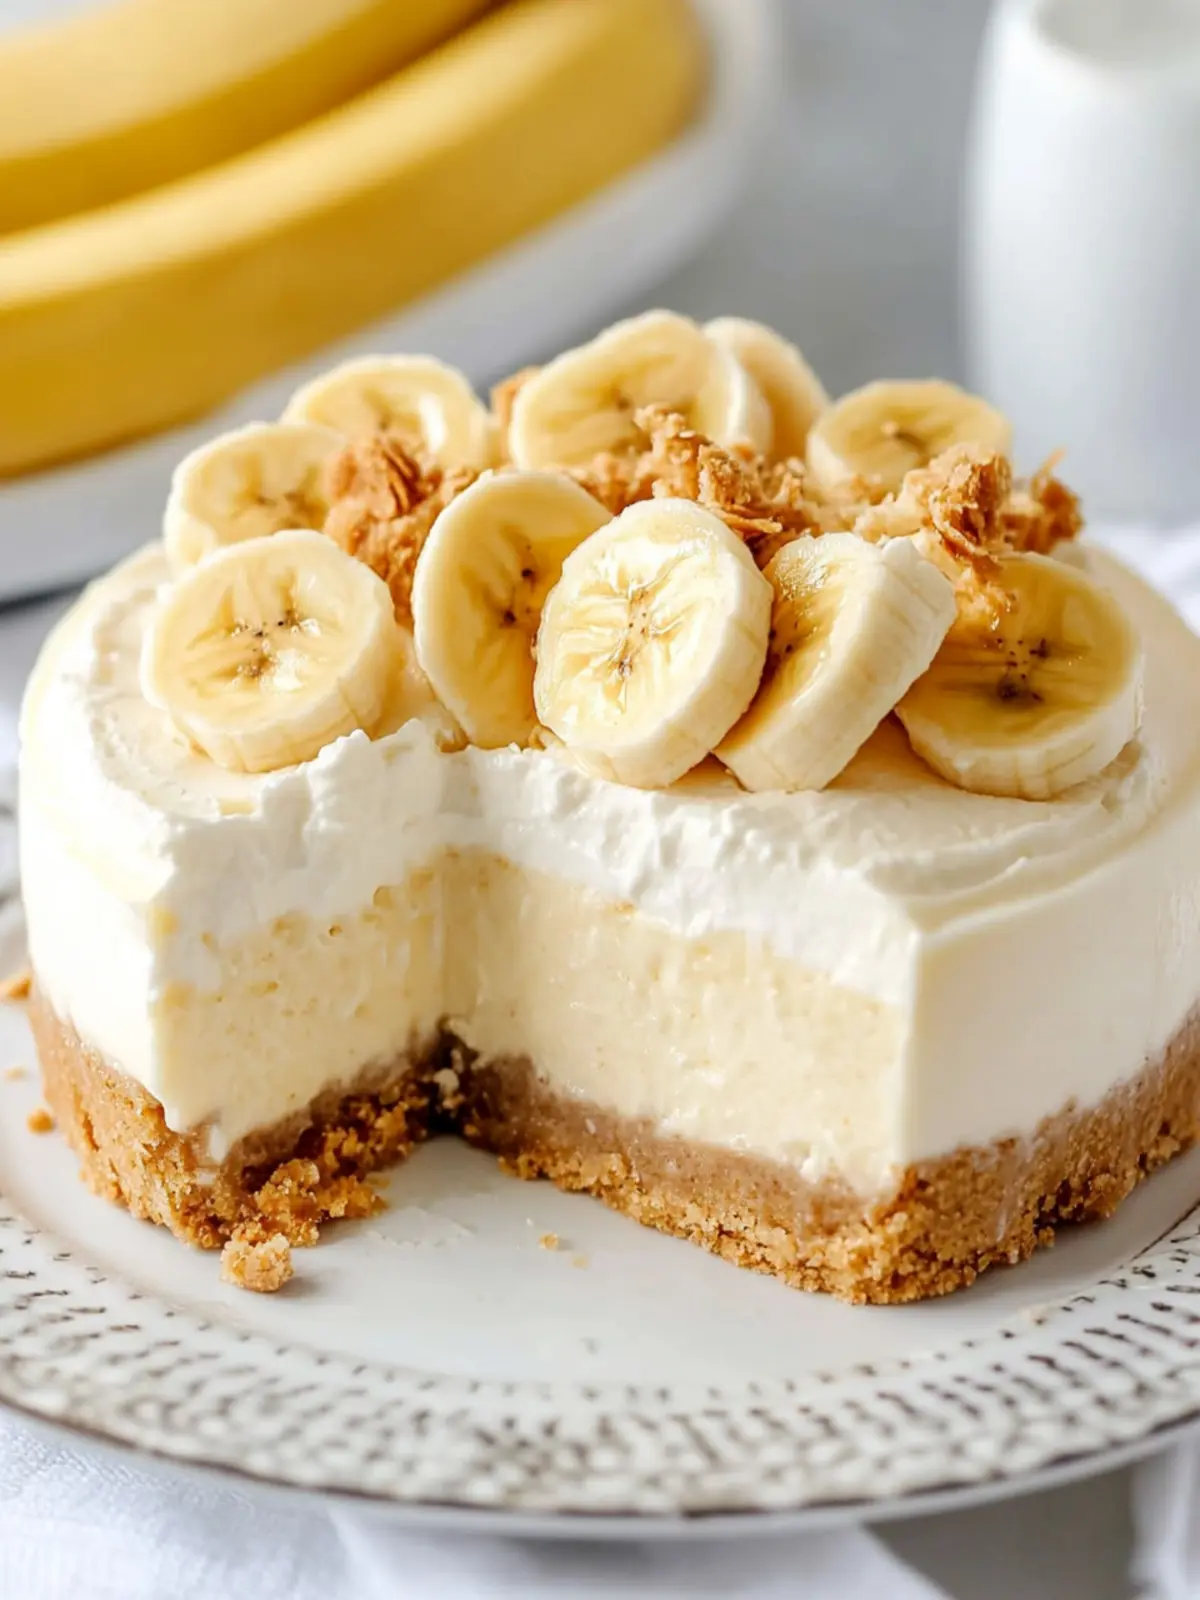
Final Touches: Remove your chilled cheesecake from the fridge. Spread the whipped pudding mix on top, then finish with a sprinkle of crushed Nilla Wafers for a delightful crunch.
Optional: Top with banana slices for an extra pop of color.
Exact quantities are listed in the recipe card below.
Expert Tips for Banana Pudding Cheesecake
Room Temperature Ingredients: Ensure that your cream cheese, eggs, and sour cream are at room temperature to guarantee a smooth and creamy filling without lumps.
Don’t Overmix: Mix the cheesecake batter just until combined. Overmixing can introduce too much air, leading to cracks in your banana pudding cheesecake.
Water Bath Wisdom: Baking in a water bath helps regulate the temperature and moisture, resulting in a creamy, crack-free cheesecake. Make sure the pan is properly wrapped to avoid water seepage!
Chilling is Key: Allow your banana pudding cheesecake to chill for at least 6 hours or overnight. This not only firms up the cheesecake but also helps the flavors meld beautifully.
Serve Fresh: For the best texture, top with the whipped pudding just before serving. This keeps it light and airy, enhancing each bite of your delightful dessert!
What to Serve with Banana Pudding Cheesecake?
The perfect accompaniment can elevate your Banana Pudding Cheesecake from delicious to extraordinary, creating a memorable meal experience.
- Fresh Berries: The tartness of strawberries, blueberries, or raspberries adds a refreshing contrast and a pop of color to your dessert plate.
- Whipped Cream: A generous dollop brings an airy lightness that enhances the creamy richness of the cheesecake. It’s comfort food at its finest!
- Chocolate Drizzle: A light drizzle of dark or milk chocolate creates a decadent touch that balances the sweetness beautifully.
- Coffee: The rich, robust flavors of a perfectly brewed cup of coffee pair beautifully with the creamy cheesecake and enhance its sweetness.
- Caramel Sauce: A swirl of caramel adds a buttery warmth, perfectly complementing the banana and cream cheese flavors.
- Ice Cream: A scoop of vanilla or banana ice cream offers an additional creamy layer and cold contrast against the cheesecake. It’s like a love letter to childhood desserts!
- Fruit Salad: A light fruit salad made with citrusy fruits brightens the palate, balancing the dense textures of the cheesecake.
- Mint Tea: A soothing cup of mint tea provides a fresh finish and aids digestion after the rich meal.
- Chocolate Chip Cookies: For a delightful dunking experience, serve warm chocolate chip cookies alongside. A sweet crunch that pairs perfectly with the softer cheesecake.
- Pecan Pie Bars: Another sweet treat brings a variety of textures and flavors to the table, inviting guests to indulge in dessert options!
Make Ahead Options
These Banana Pudding Cheesecake preparations are perfect for busy weeknights or special occasions! You can prepare the cheesecake base and crust up to 24 hours in advance, ensuring more time for you and less stress when serving. To do this, simply follow the crust and cheesecake filling steps, let it cool completely, then wrap it in foil and refrigerate. The optional whipped pudding topping can also be made up to 3 days ahead; store it in an airtight container in the fridge to maintain its fluffiness. When ready to serve, allow the cheesecake to come to room temperature, then top it with the whipped pudding and a sprinkle of crushed Nilla Wafers for that delightful crunch. You’ll find it’s just as delicious as when freshly made!
How to Store and Freeze Banana Pudding Cheesecake
Fridge: Keep your cheesecake in an airtight container or tightly wrapped in plastic wrap for up to 5 days. This ensures it stays fresh and delicious!
Freezer: For longer storage, wrap the cheesecake tightly in aluminum foil and freeze for up to 2 months. Thaw in the fridge overnight before serving.
Reheating: There’s no need to reheat this cheesecake, as it’s best enjoyed chilled directly from the fridge. Slice and enjoy the creamy goodness!
Toppings: If possible, wait to add the whipped pudding topping until you’re ready to serve for the best texture and taste.
Banana Pudding Cheesecake Variations
Feel free to play around with this recipe to suit your taste buds and dietary needs for a truly personalized creation!
-
Gluten-Free: Swap Nilla Wafers for gluten-free cookies like almond-based or gluten-free graham crackers for a similar crunch.
-
Dairy-Free: Use vegan cream cheese and coconut cream instead of heavy cream to achieve a creamy texture without dairy.
-
Chocolate Lovers: Fold in chocolate chips into the cheesecake filling or drizzle melted chocolate on top for an indulgent twist.
-
Nutty Crunch: Add crushed nuts like pecans or walnuts to the crust for an extra layer of flavor and texture. The nuttiness pairs beautifully with bananas!
-
Banana Boost: Increase the banana content by adding an extra mashed banana to the filling for a more pronounced banana flavor.
-
Spiced Version: Sprinkle in a dash of cinnamon or nutmeg to the filling for a warm, spiced flavor that will cozy up your cheesecake.
-
Tropical Twist: Add shredded coconut or crushed pineapple to the filling for a bright, tropical flair that dances on your palate.
-
Caramel Delight: Drizzle caramel sauce on top before serving. It adds a rich sweetness that complements the layers of banana and cream beautifully!
Banana Pudding Cheesecake Recipe FAQs
What is the best way to choose ripe bananas for this cheesecake?
Absolutely! For the best banana pudding cheesecake, select bananas that are spotty with small brown marks. These bananas are sweeter and have a more intense flavor, making your cheesecake even more delicious.
How should I store leftovers of the cheesecake?
Very! To keep your banana pudding cheesecake fresh, store it in an airtight container or wrap it tightly with plastic wrap. It will last in the fridge for up to 5 days, retaining its creamy texture and flavor.
Can I freeze the cheesecake, and if so, how?
Of course! To freeze your banana pudding cheesecake, first, allow it to cool completely. Then, wrap it tightly in aluminum foil, ensuring it’s sealed well to prevent freezer burn. You can freeze it for up to 2 months. Just remember to thaw it in the fridge overnight before serving for the best texture.
What should I do if my cheesecake cracks during baking?
Don’t worry! A crack can happen to the best of us. To avoid this in the future, make sure not to overmix the batter, as introducing too much air can lead to cracks. Also, remember to use a water bath during baking, which helps maintain moisture and even temperature. If you do end up with cracks, consider topping with whipped cream and crushed Nilla Wafers to cover imperfections—delicious fix!
Are there any dietary considerations for this creamy dessert?
Absolutely! If you’re serving this banana pudding cheesecake to guests with dietary restrictions, keep in mind that it contains dairy and gluten. You can make a gluten-free version by using gluten-free cookies for the crust. Also, please check for any banana allergies since bananas are a primary ingredient. For a lighter twist, consider substituting low-fat cream cheese and whipped topping.
How long should I allow the cheesecake to chill before serving?
You’ll want to let the cheesecake sit in the fridge for at least 6 hours, but ideally overnight, to let the flavors meld beautifully and to achieve the perfect texture. The longer it chills, the better it tastes, so patience truly pays off!
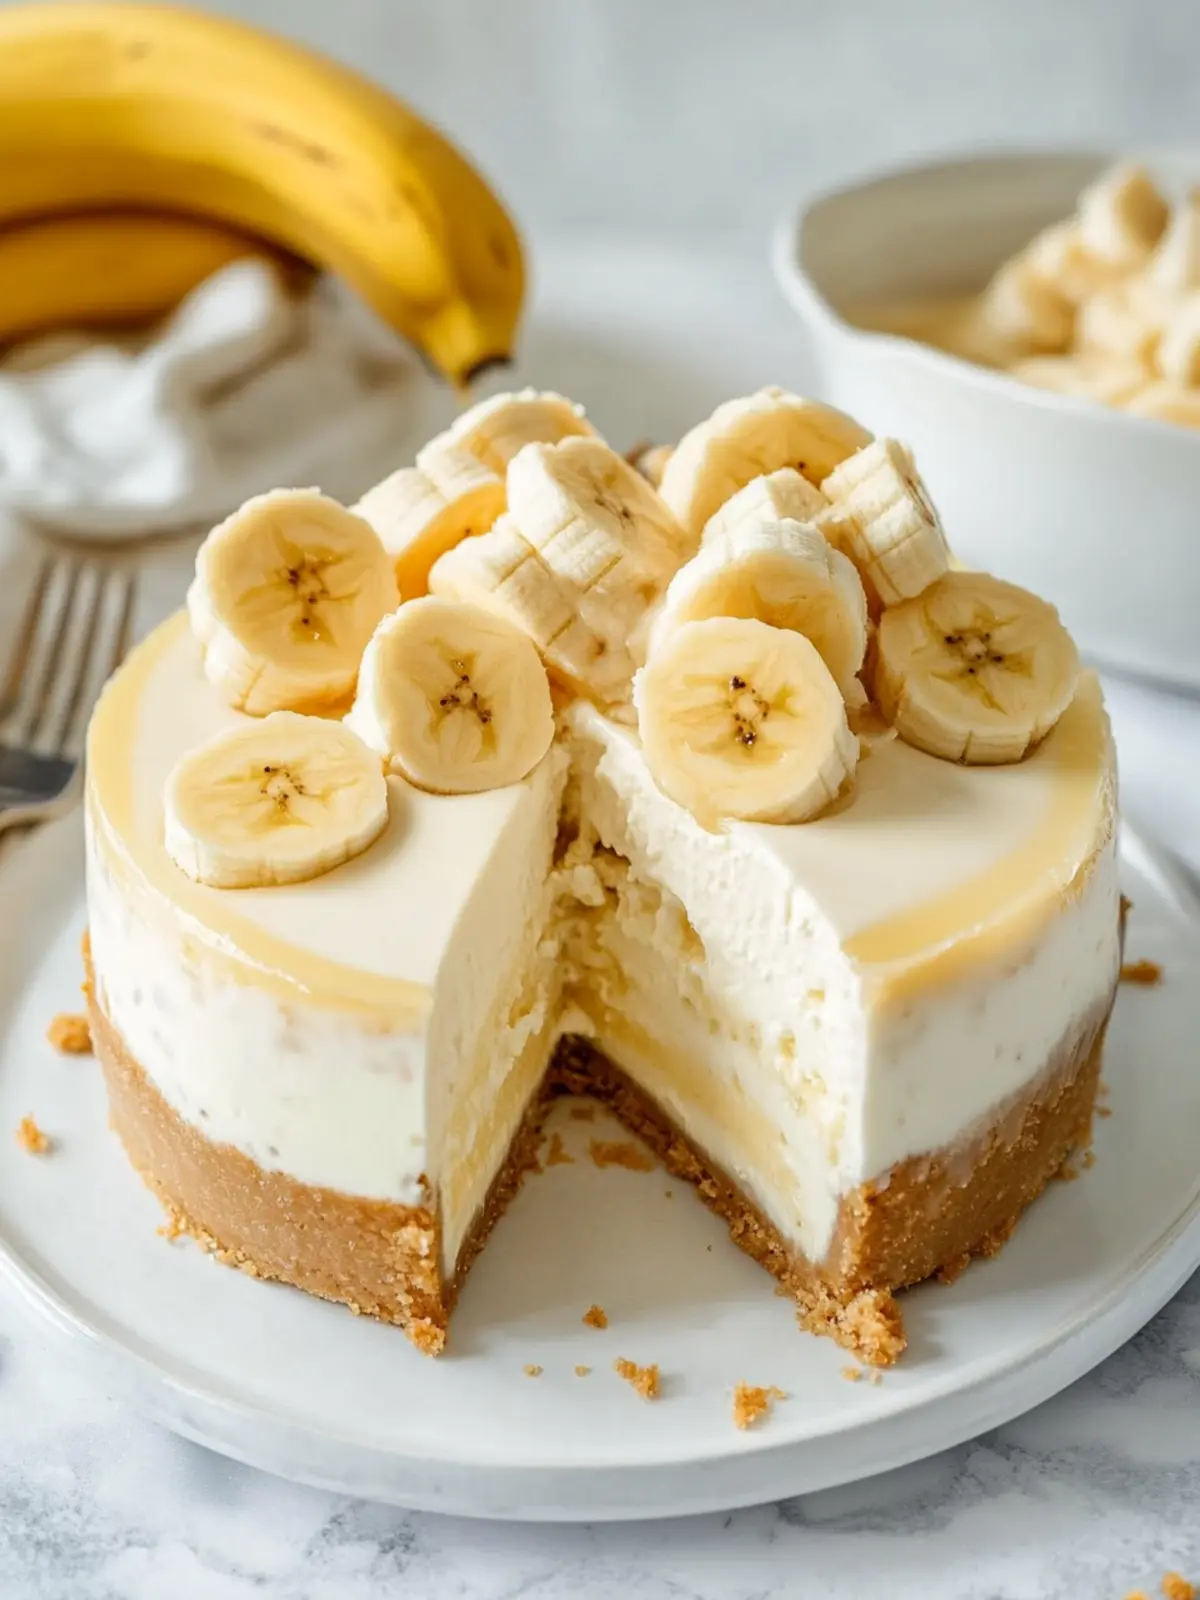
Decadent Banana Pudding Cheesecake You’ll Crave Forever
Ingredients
Equipment
Method
- Preheat the Oven: Set your oven to 325°F and prepare a 9-inch springform pan.
- Crust Preparation: Blend the Nilla Wafers into a fine crumb. Mix in brown sugar and melted butter.
- Form the Crust: Pour the crumb mixture into the pan and press halfway up the sides.
- Bake the Crust: Bake for 11 minutes.
- Make the Filling: Beat cream cheese and granulated sugar on high for 2 minutes.
- Add Bananas and Cream: Add mashed bananas, vanilla extract, sour cream, and heavy cream. Mix until smooth.
- Incorporate Eggs: Add eggs one at a time, mixing on low until just combined.
- Layer the Cheesecake: Pour half of the batter over the crust, add sliced bananas, crushed Nilla Wafers, then top with remaining batter.
- Prepare for Baking: Create a water bath by placing a baking dish with water in the oven and inserting the cheesecake pan.
- Bake: Bake for 80-90 minutes until slightly jiggly in the center.
- Cooling Time: Turn off oven, crack the door, and cool cheesecake in the oven for 30 minutes.
- Chill: Wrap in foil and refrigerate for at least 6 hours or overnight.
- Pudding Preparation: Combine pudding powder and cold milk, beat for 2 minutes, and refrigerate.
- Whip the Cream: Beat heavy cream and vanilla until stiff peaks form.
- Combine Pudding and Cream: Fold whipped cream into chilled pudding mixture.
- Final Touches: Spread the whipped pudding mix on top and sprinkle with crushed Nilla Wafers.