The moment the warm, buttery aroma of these Beef & Cheddar Sliders fills my kitchen, I can’t help but reminisce about family gatherings and casual weekends spent together. Imagine soft Hawaiian rolls cradling tender, BBQ-coated roast beef and melted cheddar, all nestled perfectly and ready to impress!
These sliders found their way into my heart during a last-minute dinner gathering when friends popped by unexpectedly. With a mere 30 minutes of prep and bake time, they morphed into the star of the evening—everyone eagerly lined up for seconds. Not only are they a cinch to whip up, but their irresistible blend of flavors makes them a guaranteed crowd-pleaser, whether it’s game night, a busy weeknight supper, or a festive potluck.
Join me as we dive into crafting these delightful sliders that will transform your dining experience and remind you just how simple homemade comfort food can be. Let’s get started!
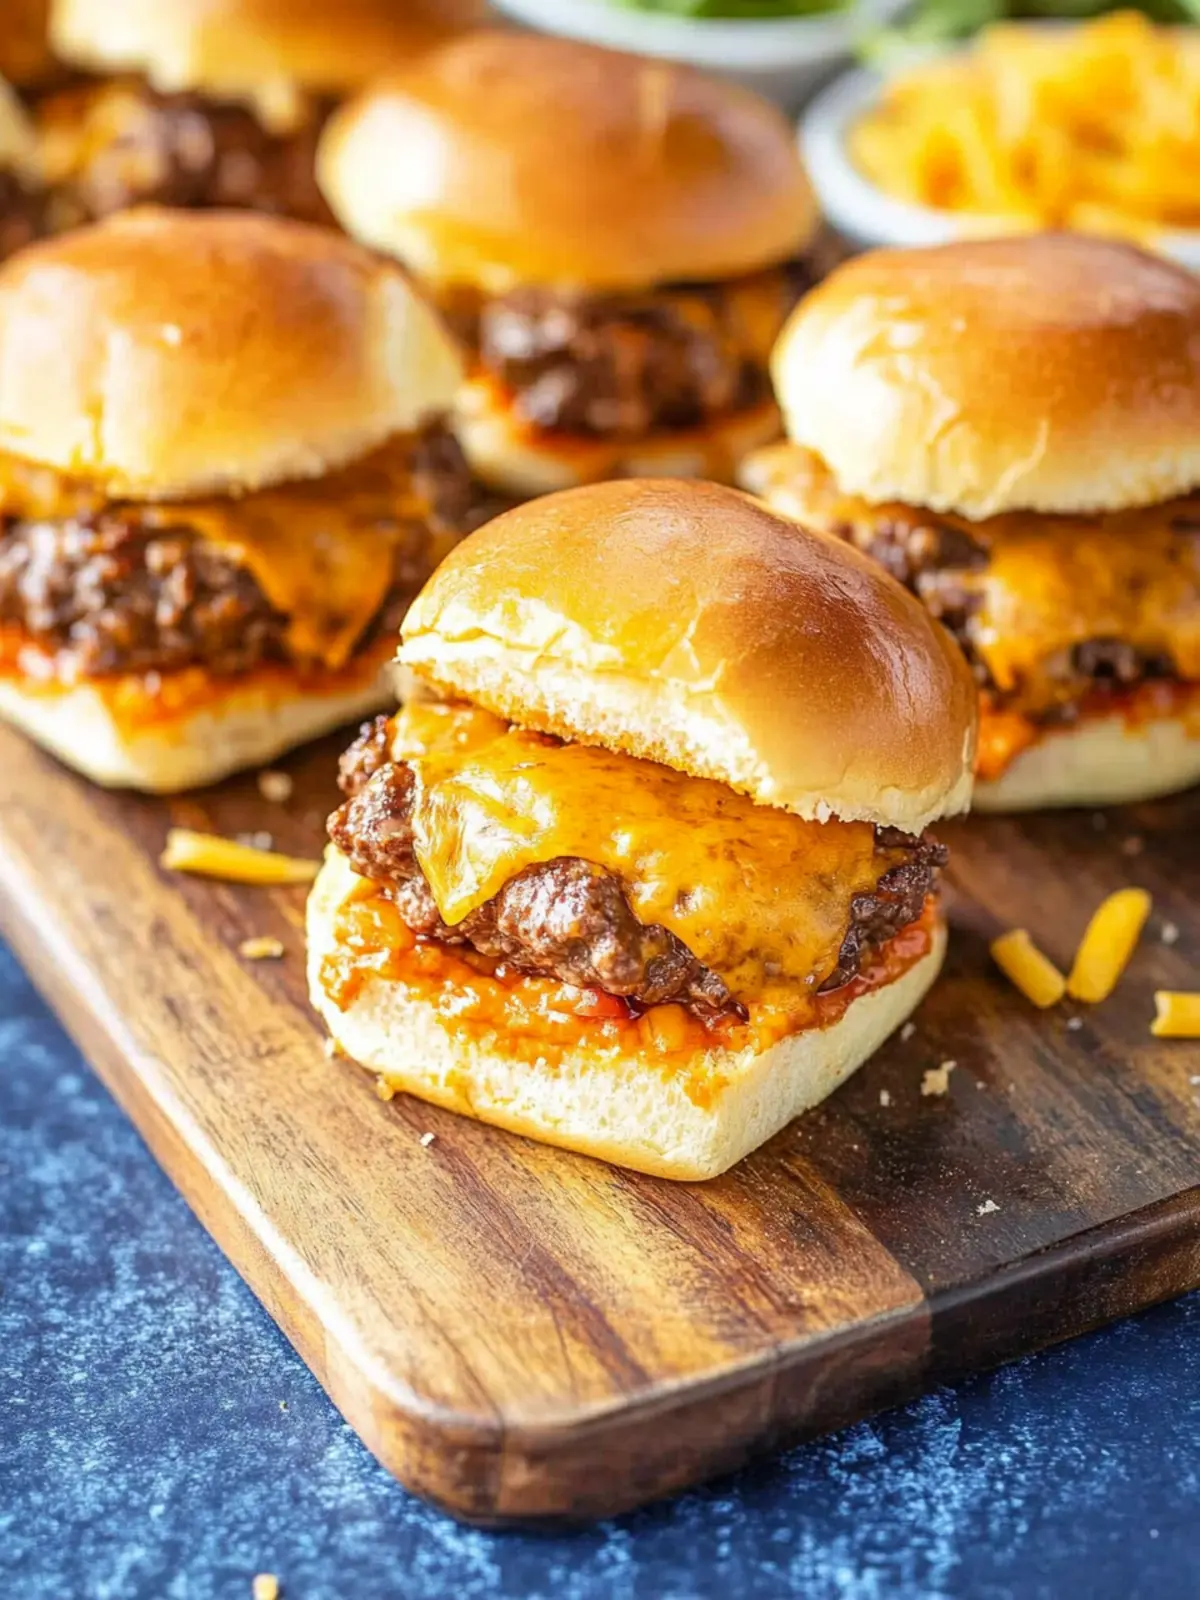
Why will you love Beef & Cheddar Sliders?
Irresistible flavor: The combination of BBQ sauce and cheddar creates a taste explosion that keeps everyone coming back for more.
Quick and easy: With just 10 minutes of prep and 20 minutes of baking, you’ll have delicious sliders ready before you know it.
Family favorite: These sliders are perfect for gatherings, making them a guaranteed hit at your next game night or family dinner.
Versatile delight: Serve them as a snack, appetizer, or main course—however you choose, they’re sure to impress!
Effortless cleanup: With only one baking dish required, you’ll enjoy more time with loved ones and less time doing dishes.
Dive into this simple yet flavorful recipe that proves homemade food doesn’t have to be complicated! For more easy ideas, check out quick weeknight recipes.
Beef & Cheddar Sliders Ingredients
Get ready to savor these delicious Beef & Cheddar Sliders!
For the Sliders
- 12 rolls Hawaiian dinner rolls – perfectly soft and sweet, these rolls hold all the flavors together.
- ¾ lb very thinly sliced deli roast beef – the star of the show, tender and flavor-packed, that will make your sliders irresistible.
- ½ cup BBQ sauce – adds a smoky sweetness that elevates the beef to a whole new level.
- 8 slices shredded cheddar cheese – the melting goodness that binds the sliders and adds creamy richness.
For the Topping
- ½ cup butter – brings a rich, buttery flavor that coats the sliders beautifully.
- 2 Tbsp brown sugar – enhances the savory garlic notes with a touch of sweetness, making your sliders even more decadent.
- 1 Tbsp dijon mustard – a hint of tang that perfectly balances the richness of the cheese and beef.
- 1 Tbsp Worcestershire sauce – an umami booster that deepens the flavor profile.
- 1½ tsp poppy seeds – a delightful touch of crunch and visual appeal for your sliders.
With these ingredients, you’re all set to create mouthwatering Beef & Cheddar Sliders that will wow your family and friends! Dive into deliciousness today!
How to Make Beef & Cheddar Sliders
-
Preheat your oven to 350ºF. This temperature gives your sliders the golden brown finish that makes them so irresistible.
-
Combine thinly sliced roast beef with BBQ sauce in a bowl. Make sure the beef is well-coated; this will infuse every bite with delicious flavor.
-
Split each dinner roll carefully. Layer the roll bottoms in a 9x13x2 baking pan, then top them with the BBQ roast beef. Place the cheesy goodness on top of the beef by layering the cheddar slices evenly.
-
Create the topping by melting butter in a small saucepan. Stir in brown sugar, mustard, Worcestershire, and poppy seeds. Bring it to a boil, then pour this flavorful mixture over the sandwiches, ensuring each one gets a delicious coat.
-
Bake for 20-30 minutes, or until the tops are golden brown and crispy. Keep an eye on them so they don’t over-brown, as that crunchy layer is the ultimate treat!
Optional: Serve with extra BBQ sauce on the side for dipping.
Exact quantities are listed in the recipe card below.
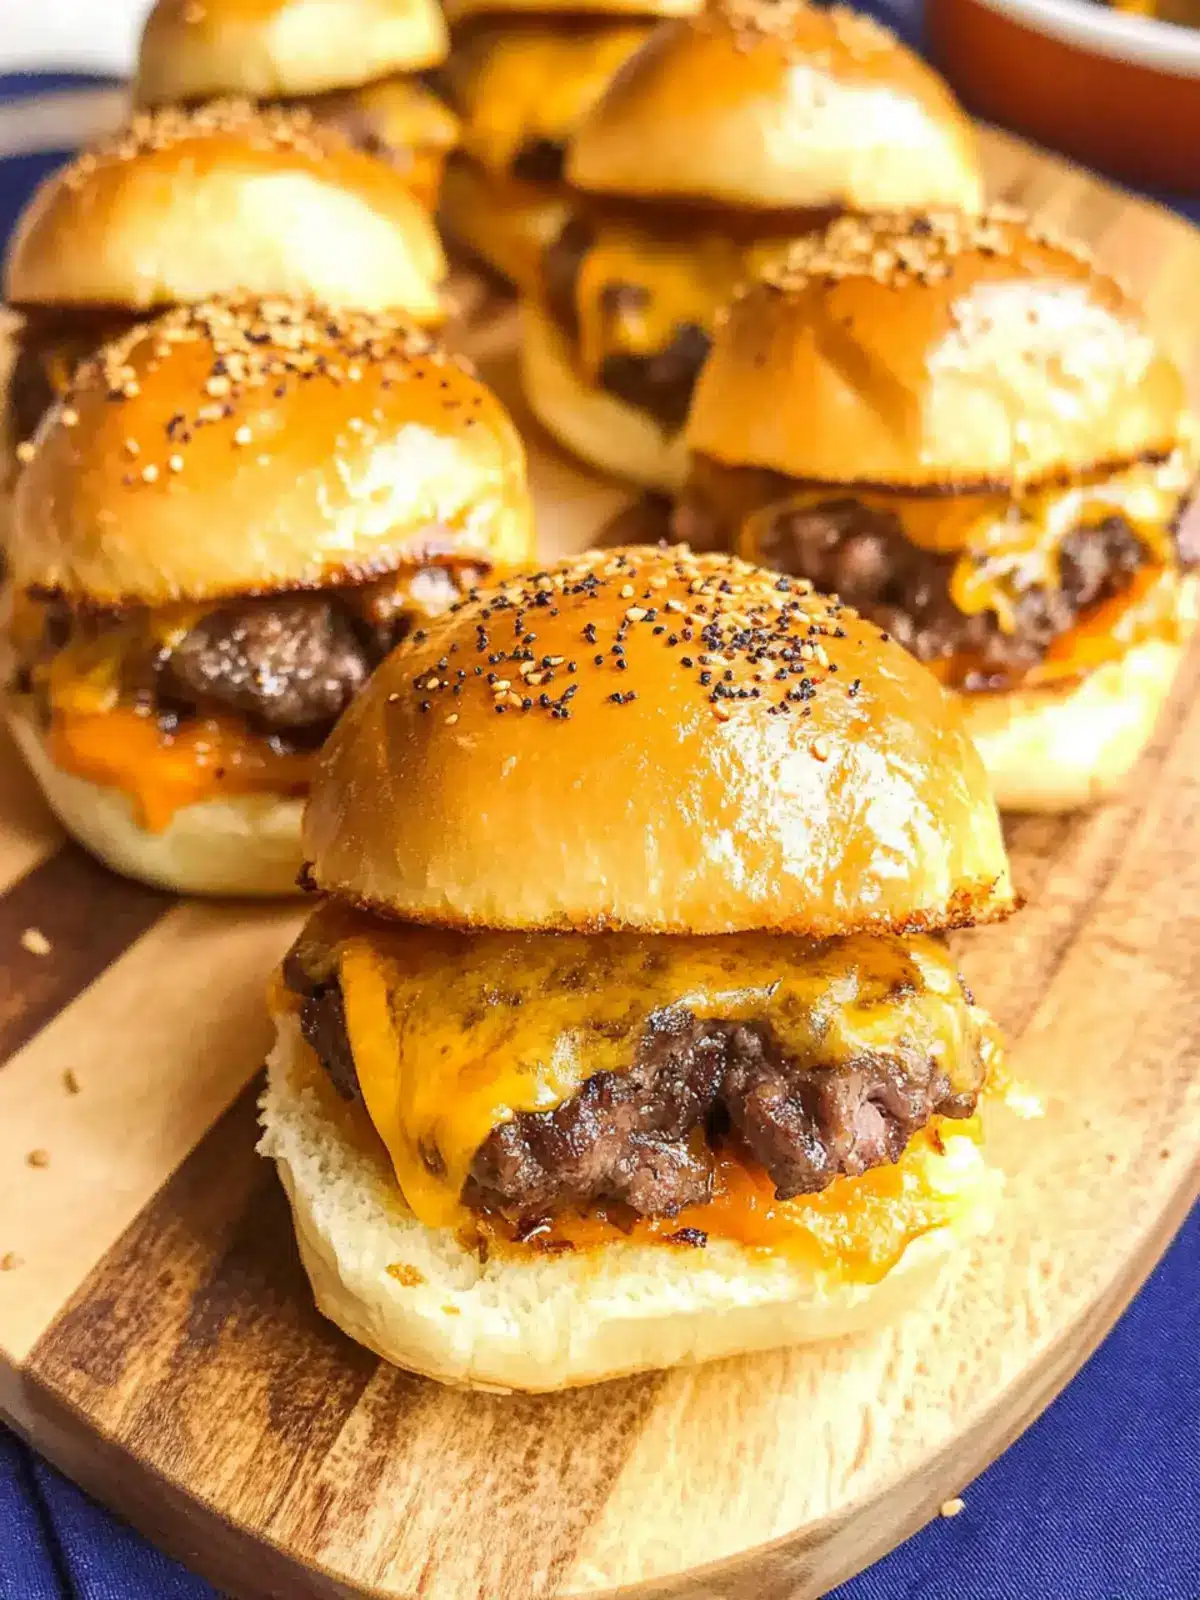
Beef & Cheddar Sliders Variations
Feel free to add your own twist to these delightful sliders and make them uniquely yours!
-
Spicy Kick: Add sliced jalapeños or crushed red pepper flakes for an extra layer of heat that packs a flavorful punch.
-
Veggie Boost: Layer on sautéed onions, bell peppers, or mushrooms for a colorful, nutritious twist that’s equally delicious.
-
Cheese Lovers: Try mixing in pepper jack or gouda alongside the cheddar for a fun flavor fusion that will excite your taste buds.
-
Gluten-Free: Swap out the Hawaiian rolls for gluten-free slider buns or lettuce wraps to enjoy this tasty treat without the gluten.
-
Smoky Flavor: Use smoked gouda cheese and add a touch of liquid smoke to the BBQ sauce for a deeper, smoky essence that will impress everyone.
-
Sweet & Savory: Incorporate a layer of caramelized onions or fig jam for a gourmet touch that beautifully contrasts the savory beef and cheese.
-
Herb Infusion: Sprinkle fresh herbs like thyme or rosemary over the beef before topping with cheese for a fragrant, garden-fresh addition.
-
Breakfast Slider: Replace roast beef with scrambled eggs and cheese for a delightful brunch treat that’s perfect for lazy weekends!
Embrace your culinary creativity and enjoy these sliders in new and exciting ways!
Make Ahead Options
These Beef & Cheddar Sliders are perfect for making ahead, saving you time during busy weeknights or game day gatherings! You can prep everything, including layering the rolls with BBQ beef and cheese, up to 24 hours in advance. Simply cover the baking pan tightly with plastic wrap and refrigerate until you’re ready to bake. To maintain their delicious quality, you might want to prepare the butter topping just before baking—this ensures that buttery, flavorful coating stays fresh. When you’re set to serve, pour the topping over the sliders and bake at 350ºF for about 20-30 minutes or until golden and crispy. Enjoy the convenience of homemade sliders without the last-minute rush!
What to Serve with Beef & Cheddar Sliders?
Elevate your slider experience with these delightful pairings that will complement their rich, savory flavors beautifully.
- Crispy French Fries: Perfectly seasoned and golden brown, they add that satisfying crunch that contrasts beautifully with the soft sliders.
- Coleslaw: A refreshing, tangy slaw balances the richness of the sliders, providing a bright, crunchy element to each bite.
- Sweet Potato Wedges: Their natural sweetness and crispy edges make a delightful pairing, adding a unique flavor twist with every nibble.
- Garlic Butter Green Beans: Tender, buttery green beans offer a fresh, savory counterpoint to the sliders, enhancing the meal’s overall appeal.
- Zesty Pickles: Their tangy crunch adds a pop of flavor that cuts through the richness, making each bite more exciting and refreshing.
- Iced Tea or Lemonade: A refreshing drink, like these, is perfect for washing down the sliders while keeping the flavors balanced.
- Chocolate Chip Cookies: End your meal with something sweet; warm cookies pair wonderfully with the savory sliders for a delightful contrast.
These pairings will not only highlight your Beef & Cheddar Sliders but also create a well-rounded meal that will have everyone coming back for seconds!
How to Store and Freeze Beef & Cheddar Sliders
Fridge: Keep your leftover Beef & Cheddar Sliders in an airtight container for up to 3 days to retain their delightful flavors and textures.
Freezer: For longer storage, freeze the sliders individually wrapped in plastic wrap and aluminum foil for up to 2 months. Reheat from frozen for ultimate convenience!
Reheating: To enjoy your sliders again, reheat them in the oven at 350ºF for about 15 minutes or until warmed through, providing that fresh-baked experience.
Serving: If serving cold, let them sit out for about 30 minutes before enjoying; this can enhance the flavors while making them easier to distinguish layers.
Expert Tips for Beef & Cheddar Sliders
- Choose Fresh Rolls: Always use fresh Hawaiian rolls for the best flavor and texture. Stale rolls can lead to a dry slider experience.
- Don’t Overcook: Bake just until golden brown. Overbaking can make the sliders hard and lose their delightful gooeyness.
- Customize Your Cheese: Feel free to mix cheeses! Adding mozzarella or pepper jack can give extra flavor dimensions to your Beef & Cheddar Sliders.
- Keep It Juicy: Ensure the roast beef is well-coated in BBQ sauce before layering; this keeps every bite moist and full of flavor.
- Rest Before Serving: Allow sliders to cool for a few minutes before cutting; this helps the layers hold together better.
These tips will elevate your slider-making game, ensuring each batch of Beef & Cheddar Sliders is a mouthwatering success!
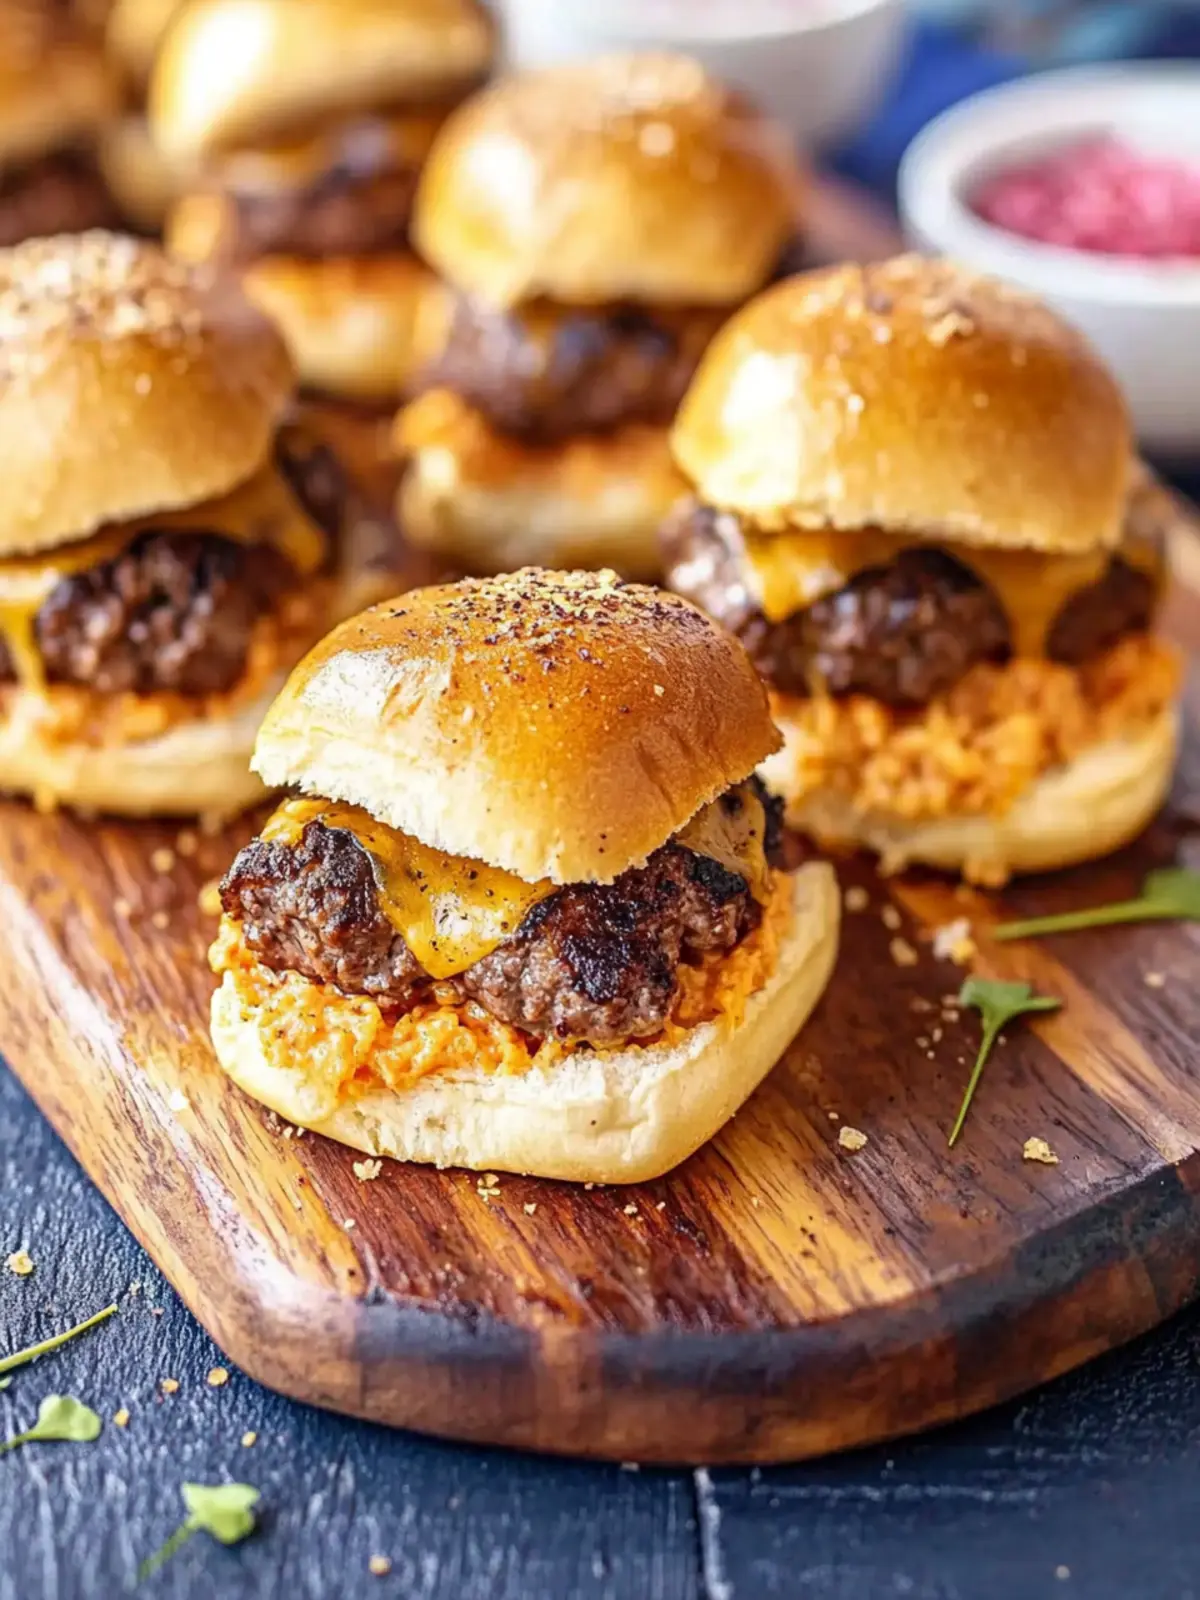
Beef & Cheddar Sliders Recipe FAQs
What type of rolls are best for sliders?
Absolutely! Hawaiian dinner rolls are my top choice for these Beef & Cheddar Sliders because their soft, sweet nature compliments the savory beef and melty cheese perfectly. Always ensure your rolls are fresh; staleness can lead to a lackluster slider experience.
How should I store leftover sliders?
Very simply! You can keep your leftover Beef & Cheddar Sliders in an airtight container in the refrigerator for up to 3 days. Just be sure to enjoy them promptly for the best flavor and texture—nothing compares to that fresh-made taste!
Can I freeze the sliders?
Yes, you can! For longer-term storage, wrap each slider individually in plastic wrap and then in aluminum foil. This way, they’ll last up to 2 months in the freezer. When you’re ready to indulge, reheat them directly from frozen by popping them in a preheated oven at 350ºF for about 15 minutes or until warmed through. You’ll be surprised at how fresh they taste!
What if my sliders come out too dry?
Ah, don’t worry! If your sliders turn out a bit dry, there’s an easy fix. Next time, ensure that your roast beef is thoroughly coated with BBQ sauce before layering it in the rolls. Additionally, you might consider adding an extra slice of cheese or a drizzle of sauce on top before baking. This will help maintain that delicious moisture throughout!
Are these sliders suitable for a gluten-free diet?
Very much so, with some modifications! You can make delicious gluten-free Beef & Cheddar Sliders by using gluten-free rolls. Just be mindful of the BBQ sauce as well—opt for a gluten-free brand to keep it safe for those with gluten sensitivities.
How do I prevent the tops of my sliders from burning?
Great question! To prevent over-browning, make sure to keep an eye on your sliders during baking. If you notice they’re browning too quickly, you can cover them loosely with aluminum foil for the last few minutes of baking. This helps keep them golden while protecting that lovely crispy texture!
Enjoy crafting your Beef & Cheddar Sliders with these helpful insights!
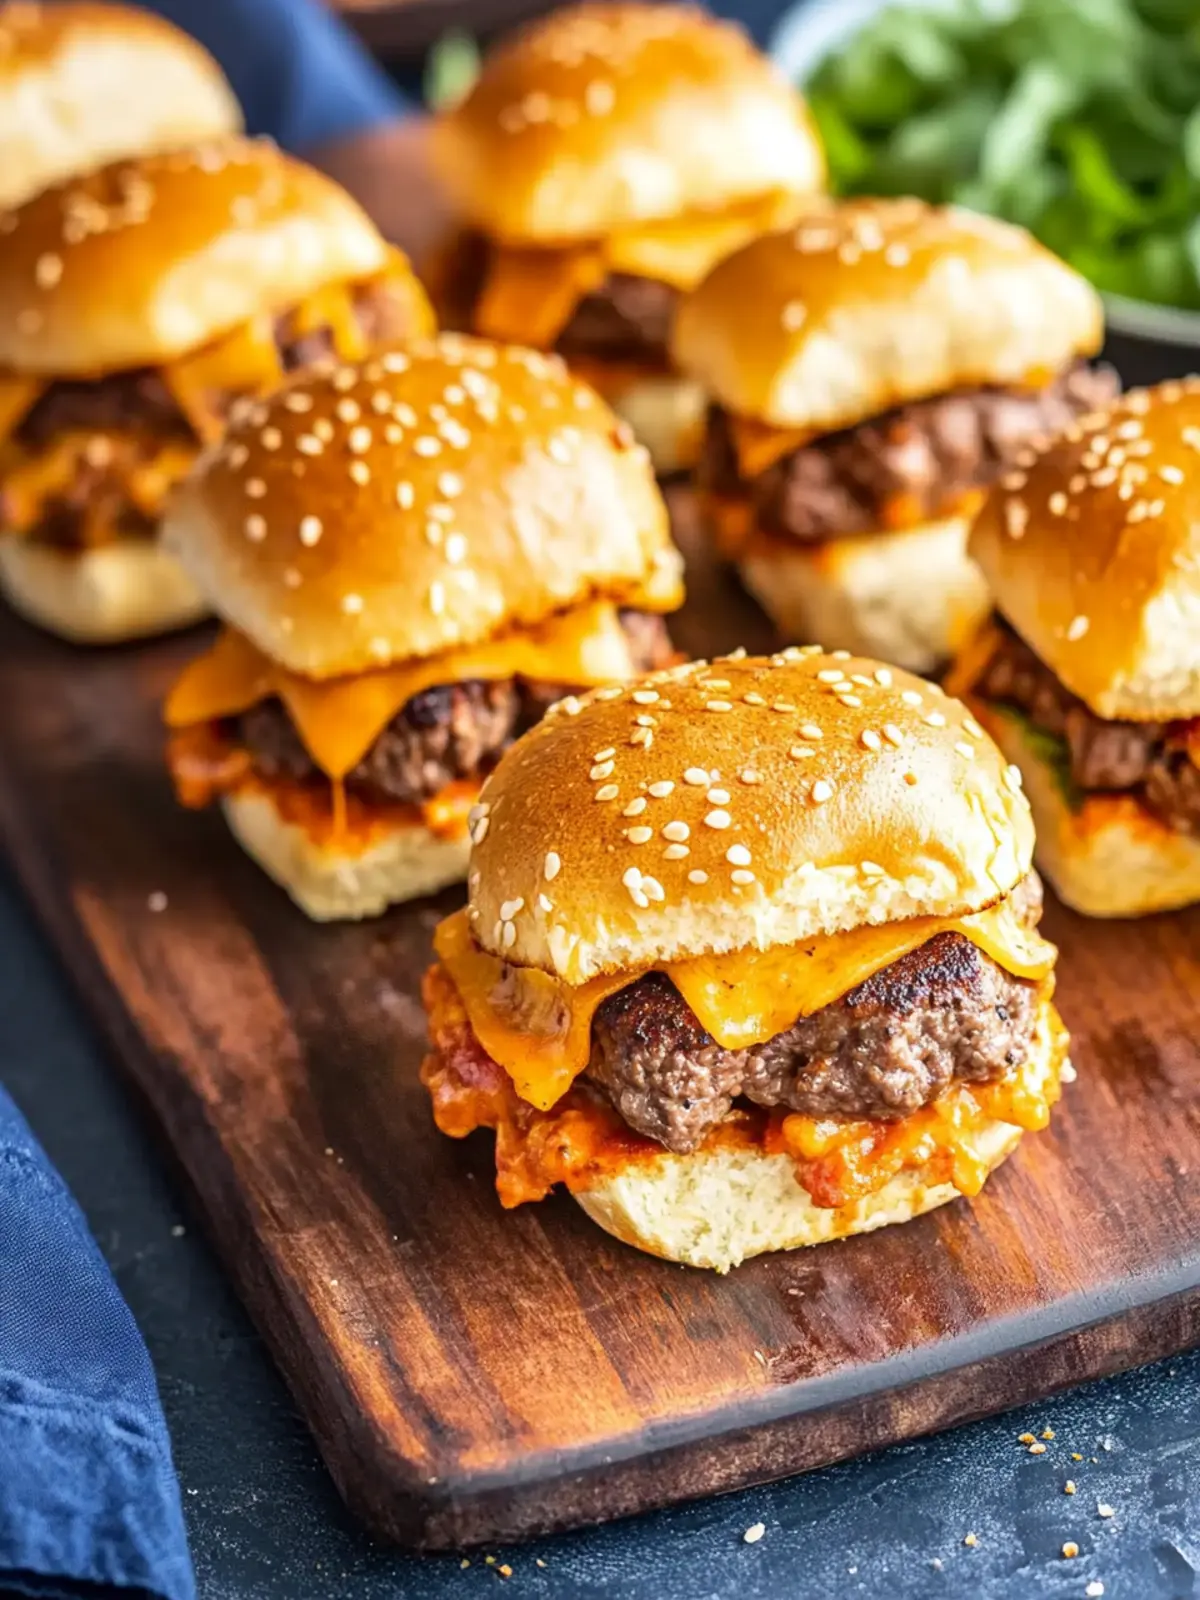
Mouthwatering Beef & Cheddar Sliders for Game Day Bliss
Ingredients
Equipment
Method
- Preheat your oven to 350ºF.
- Combine thinly sliced roast beef with BBQ sauce in a bowl, ensuring the beef is well-coated.
- Split each dinner roll and layer the bottoms in a baking pan, topping with BBQ roast beef and cheddar slices.
- Melt butter and stir in brown sugar, mustard, Worcestershire sauce, and poppy seeds. Bring to a boil and pour over the sandwiches.
- Bake for 20-30 minutes or until tops are golden brown.