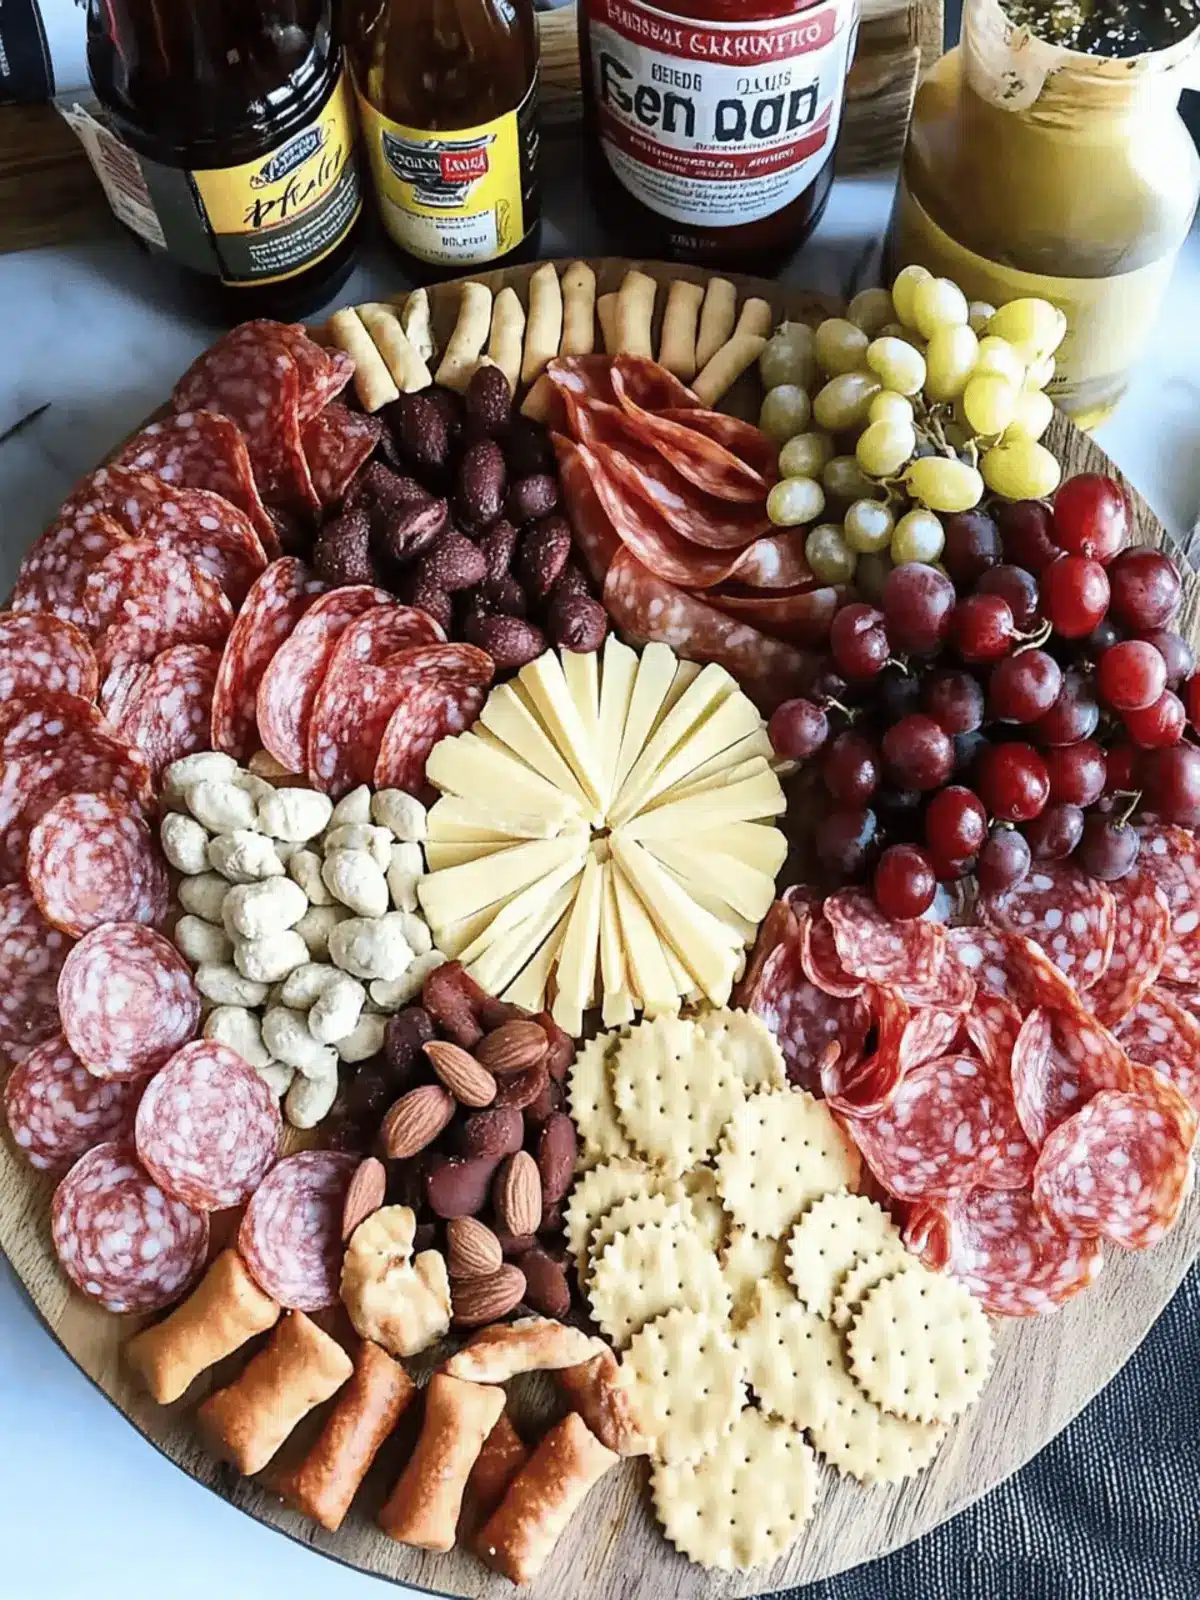
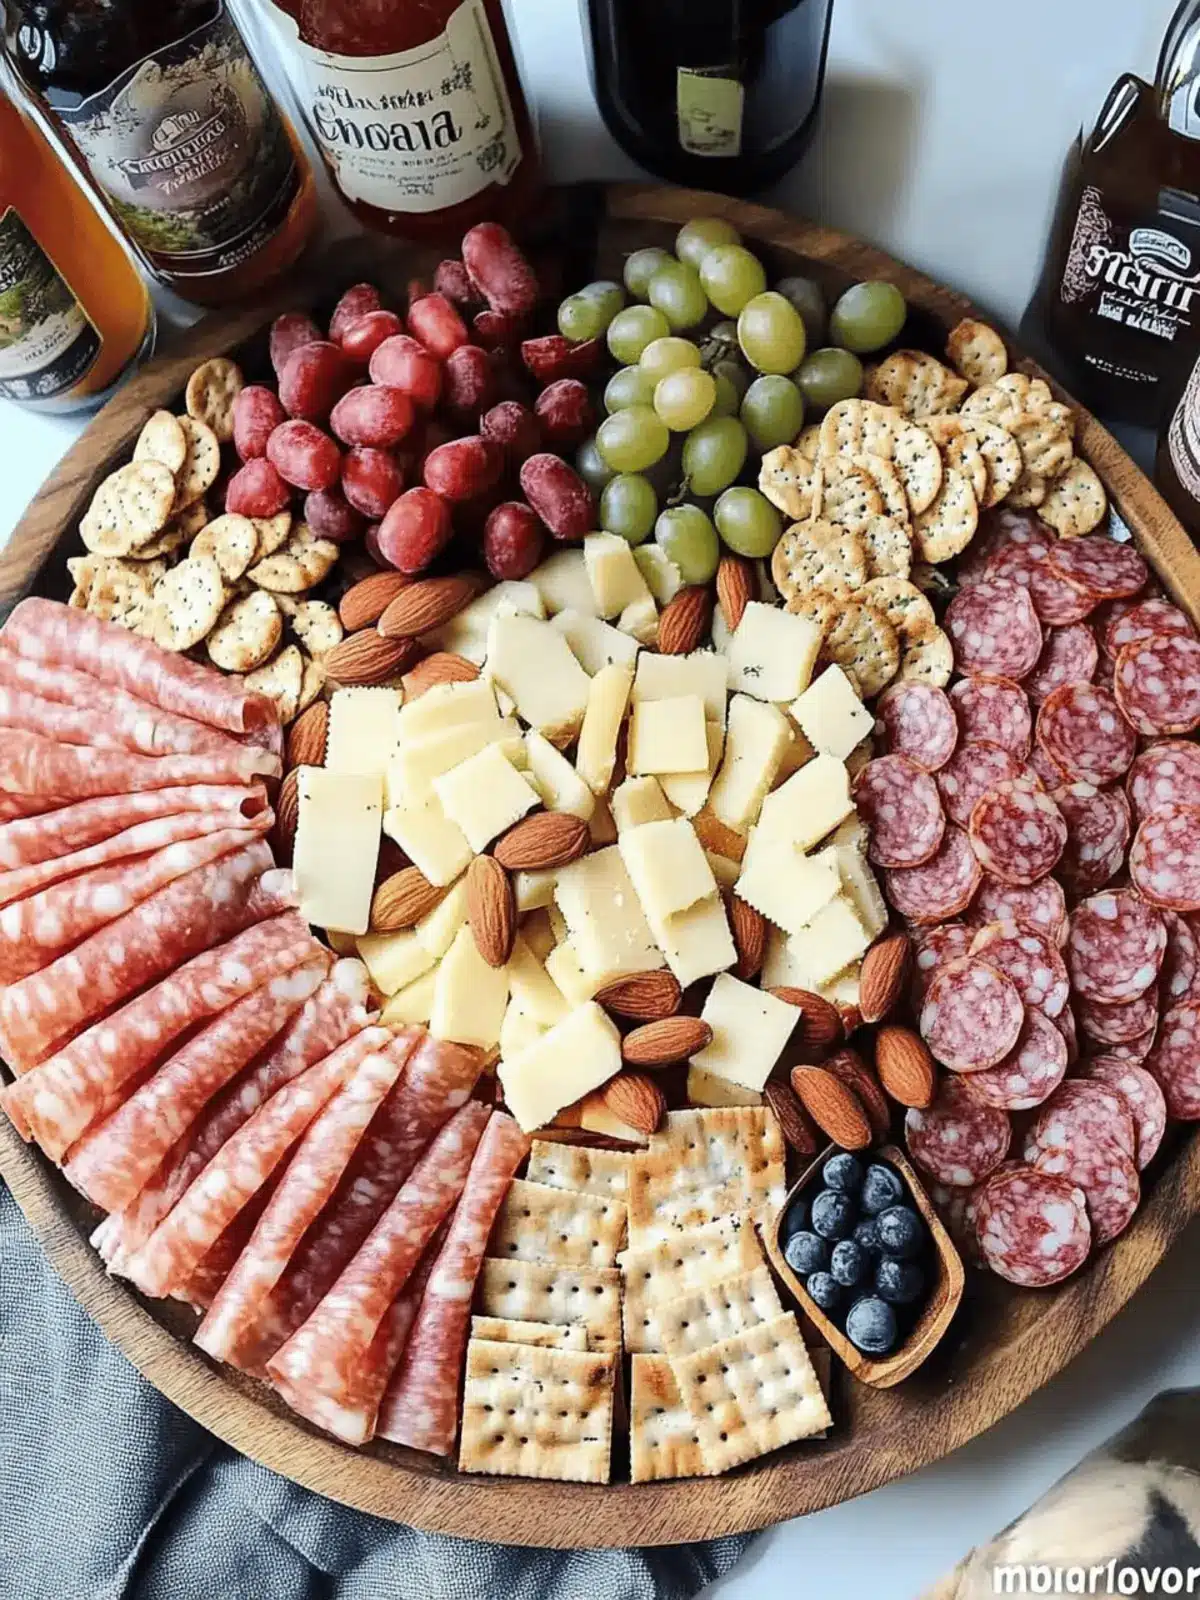
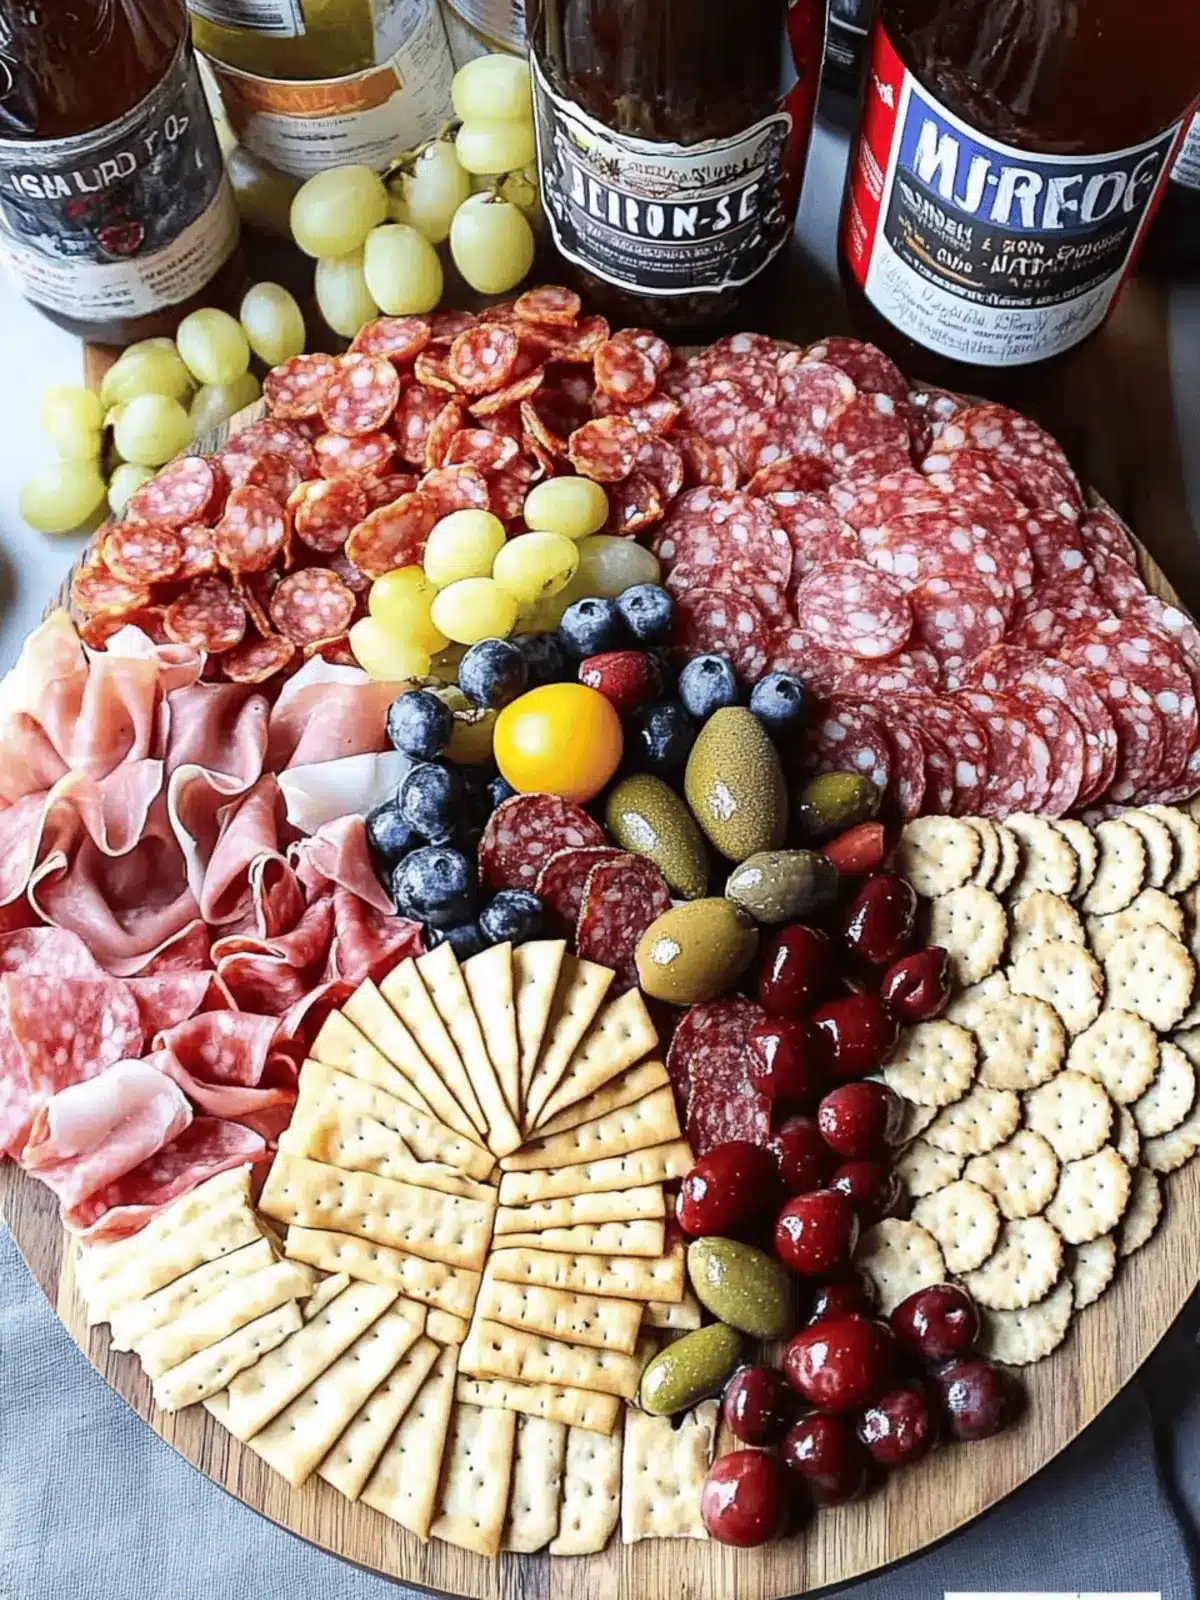
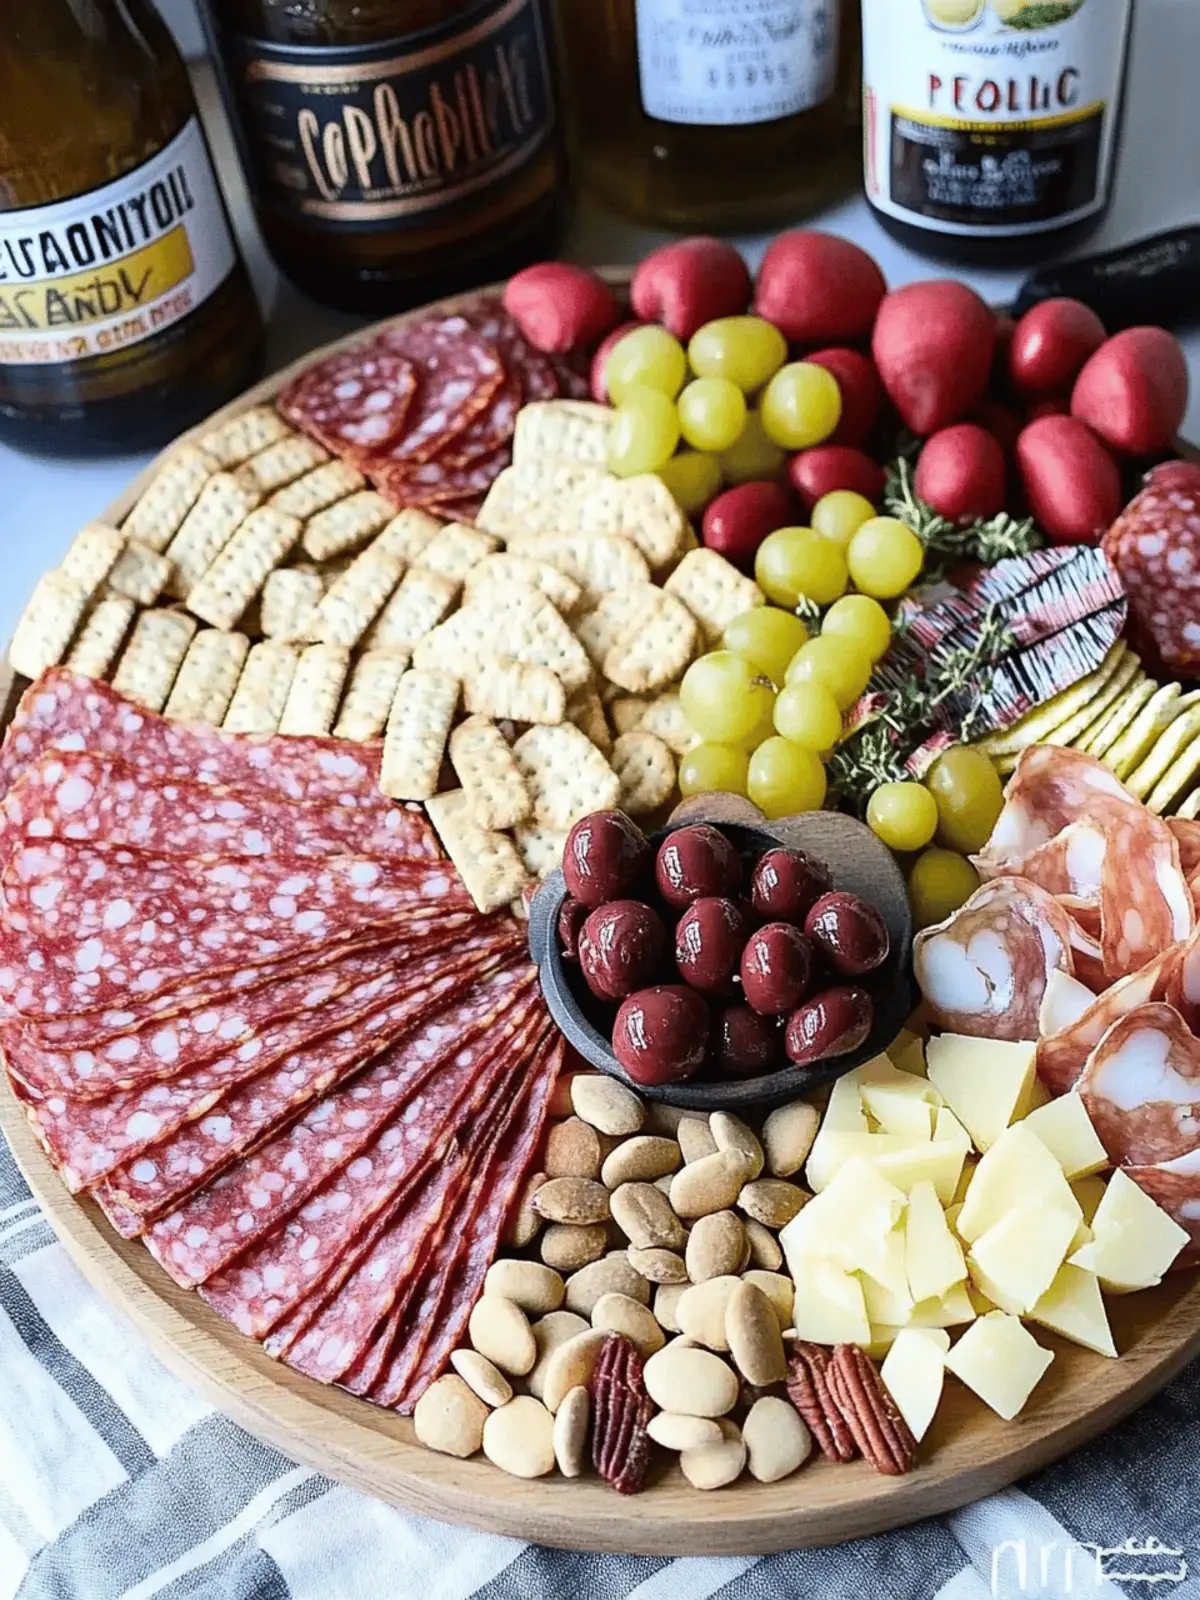
There’s an undeniable thrill that comes with presenting a charcuterie board to friends and family. The vibrant colors, enticing textures, and delightful aromas create an atmosphere of celebration before the first bite. I remember the first time I created one for a gathering; the sheer joy on my guests’ faces as they explored the various flavors was nothing short of magical.
For those of us weary of fast food and craving a homemade touch, assembling a beginners charcuterie board is the perfect solution. It’s not just about feeding the crowd; it’s about crafting an experience tailored to fit any occasion—whether it’s a casual weeknight dinner, a festive holiday party, or just a cozy night in. Plus, with freedom to accommodate dietary needs, you can easily elevate the classic board into a vegetarian, gluten-free delight that everyone can enjoy.
Join me as we delve into the art of charcuterie, exploring tips and tricks for assembling a visually stunning and delicious board that will impress even the most discerning palates. Let’s unleash your creativity and turn simple ingredients into a culinary masterpiece!
Beginner’s Charcuterie Board: Why You’ll Love It
Creativity Unleashed: Building a Beginner’s Charcuterie Board allows you to showcase your personal touch. Mix your favorite meats, cheeses, fruits, and dips to create a unique spread that reflects your taste.
Easy to Assemble: No culinary expertise is necessary! With straightforward steps, you’ll impress your guests with minimal effort.
Great for Gatherings: Ideal for parties or casual nights, a charcuterie board welcomes everyone to explore and customize their bites.
Dietary Flexibility: Easily adapt this board to be gluten-free or vegetarian, ensuring all your friends can dig in joyfully.
Visual Feast: The vibrant colors and textures provide a stunning centerpiece that elevates any occasion—an edible work of art to delight the senses.
Time-Saving Delight: Prepare a few hours in advance and cover with plastic wrap until serving for a stress-free entertaining experience. Don’t forget to check out my other entertaining tips for making your gatherings extra special!
Beginner’s Charcuterie Board Ingredients
Get ready to create a delicious spread!
For the Meats
- Cured Meats – Choose varieties like salami, prosciutto, or turkey slices for a savory kick.
For the Cheeses
- Cheese (e.g., Brie) – Provides a creamy texture; consider options like goat cheese or cheddar for variety.
For the Crunch
- Crackers – Use crunchy options such as Triscuit varieties; gluten-free crackers work great as a substitute.
For the Texture
- Nuts – Incorporate almonds or walnuts for a delightful crunch and nutty flavor.
For the Sweetness
- Fruits (e.g., grapes) – Add fresh options like strawberries or dried fruits for sweetness and color.
For the Balance
- Vegetables (e.g., olives) – Include pickles or bell peppers to enhance the board’s flavor and add a refreshing crunch.
For the Dips
- Dipping Sauces/Spreads – Offer a range such as hummus or honey to mix and match with the board’s components.
Now that you have the essential ingredients for your Beginner’s Charcuterie Board, get ready to assemble a delightful feast that your guests will love!
How to Make a Beginner’s Charcuterie Board
-
Select Your Board: Choose a beautiful wooden, marble, or bamboo board. A rimmed board is perfect to keep your ingredients in place and create an eye-catching display.
-
Arrange the Meats: Make small, inviting piles of meats like salami and prosciutto in one section of the board. Mix different types for added visual appeal and flavor variety.
-
Add the Cheeses: Cut your chosen cheeses into wedges or cubes. Place them near the meats so guests can easily create delicious pairings as they explore the board.
-
Distribute the Crackers: Neatly arrange crackers in a separate area, keeping them accessible. Organized piles prevent messiness and make the board inviting to guests.
-
Scatter Nuts and Fruits: Fill the empty spaces with an assortment of nuts and colorful fruits. Aim for a visually pleasing balance, like placing vibrant strawberries next to deep purple grapes.
-
Incorporate Vegetables: Place little bowls of olives or pickles to add a briny contrast to the sweeter elements. This helps balance the flavors beautifully on your board.
-
Finish with Dips: Add small bowls filled with hummus, honey, or other dips around the board. This encourages guests to mix and match flavors, enhancing their tasting experience.
Optional: Garnish with fresh herbs like rosemary for a fragrant touch.
Exact quantities are listed in the recipe card below.
Make Ahead Options
Crafting a Beginner’s Charcuterie Board is a fantastic meal prep option, especially for those busy days! You can assemble all your ingredients—cured meats, cheeses, nuts, and fruits—up to 24 hours in advance. To maintain freshness, cover the board tightly with plastic wrap and refrigerate it until you’re ready to serve. Keep crackers separate to prevent them from becoming soggy. When it’s time to impress your guests, simply uncover the board and add the dips for that finishing touch. This way, you’ll have a stunning and delicious spread ready with minimal effort, making hosting a breeze!
Beginner’s Charcuterie Board: Flavorful Variations
Customize your Beginner’s Charcuterie Board to fit your taste and impress your guests with delightful twists!
-
Vegetarian Delight: Swap cured meats for an assortment of artisanal cheeses, marinated vegetables, and hummus to create a vibrant meatless option.
-
Gluten-Free Crackers: Use rice cakes or gluten-free pita chips instead of traditional crackers, ensuring everyone can enjoy your spread without worry.
-
Fruity Explosion: Add tropical fruits like pineapple or mango for a refreshing sweetness that balances savory flavors beautifully.
-
Spicy Kick: Incorporate spicy pickles or jalapeños for a zesty punch that elevates your board’s complexity and adds an exciting flavor dimension.
-
International Theme: Go global by crafting a Mediterranean board with olives, feta, artichokes, and pita, all perfectly paired with tzatziki.
-
Sweet and Savory: Introduce sweet elements like fig jam or honeycomb to contrast with sharp cheeses, creating a delectable interplay of flavors.
-
Nutty Variety: Experiment with different nuts, such as cashews or pecans, to bring unique textures and flavors that make each bite a surprise.
-
Herb-Infused Elements: Incorporate fresh herbs like basil or mint to brighten the board both in flavor and presentation, inviting guests to enjoy a fragrant experience.
What to Serve with Beginner’s Charcuterie Board?
Creating a delightful charcuterie board sets the stage for a memorable gathering, filled with flavor and creativity.
- Artisan Bread: The warmth and chewy texture of freshly baked bread complement the savory meats and creamy cheeses perfectly.
- Fruit Salad: A refreshing and sweet fruit salad balances the rich flavors, enhancing the overall experience with brightness and zest.
- Spicy Honey: Drizzling spicy honey adds a delightful kick, enticing adventurous eaters to explore new flavor combinations.
- Roasted Veggies: Charred seasonal vegetables provide a unique twist and a satisfying crunch, enriching the visual and taste elements of the board.
- Savory Olives: A variety of olives adds briny goodness, making them the perfect bite-sized addition to the flavorful medley.
- Chilled White Wine: Pair with a crisp Sauvignon Blanc or Pinot Grigio, which offers a refreshing palate cleanser between bites.
- Chocolate Bark: End on a sweet note with rich chocolate bark; it’s an indulgent treat that complements the savory aspects beautifully.
- Mixed Nuts: The crunchiness and salty flavor of mixed nuts provide texture contrast, while also being a perfect munching option.
- Dark Beer: A smooth, dark beer brings out the deep flavors of cured meats and aged cheeses, creating a delightful pairing.
Expert Tips for a Beginner’s Charcuterie Board
-
Quality Ingredients: Choose high-quality cured meats and cheeses to elevate the flavors of your Beginner’s Charcuterie Board; they make a significant difference!
-
Visual Appeal: Use a mix of colors and textures. Incorporate bright fruits and complementary nuts to create a stunning, eye-catching layout on your board.
-
Space Matters: Avoid overcrowding the board to let guests easily pick what they want. Leave enough space between items to ensure a clean presentation.
-
Seasonal Touches: Incorporate seasonal ingredients to keep the board fresh and interesting. This enhances flavors and can spark conversations about your choices!
-
Tasting Pairings: Consider flavors that complement each other. For instance, pair spicy meats with sweet fruits or creamy cheeses with tangy dips for added depth.
How to Store and Freeze a Beginner’s Charcuterie Board
Fridge: Keep leftover charcuterie board ingredients in an airtight container in the fridge for up to 3 days. Ensure that each component is separated to maintain freshness.
Room Temperature: Serve the charcuterie board at room temperature for best flavor; do not leave it out for more than 2 hours to ensure food safety.
Freezer: While it’s not ideal to freeze assembled charcuterie boards, you can freeze leftover meats and cheeses in airtight bags for up to 2 months. Thaw in the fridge when ready to use.
Reheating: Reintroduce cold ingredients to room temperature for better flavor, but avoid reheating once the board is assembled, as this could alter textures—especially cheese. Enjoy your Beginner’s Charcuterie Board while it’s fresh!
Beginner’s Charcuterie Board Recipe FAQs
How do I select the best cured meats for my charcuterie board?
Absolutely! When choosing cured meats, look for quality over quantity. I recommend classic options like spicy salami, prosciutto, or even turkey slices for a leaner choice. It’s best to avoid meats that show signs of spoilage like dark spots all over. Mixing different textures and flavors will make your board more inviting.
What’s the best way to store leftovers from my charcuterie board?
You can keep leftover ingredients in an airtight container in the fridge for up to 3 days. Make sure to separate each component to maintain their freshness, especially the cheeses and fruits, as they can release moisture! If you’re feeling adventurous, experiment with combining leftovers into salads or wraps for a delightful twist.
Can I freeze any components of my charcuterie board?
While it’s not ideal to freeze an assembled charcuterie board, you can certainly freeze leftover cured meats and cheeses! Place them in airtight bags and keep them in the freezer for up to 2 months. When you’re ready to use them, let them thaw in the fridge overnight before adding them to your next board.
What should I do if my cheese is too soft or too hard?
Very common! If your cheese is too soft, it might have been left out too long. Simply chill it in the fridge for 30 minutes to firm it up a bit before serving. On the other hand, if it’s too hard, try letting it sit at room temperature for 10-15 minutes before serving. This will make it easier to slice and enhance the flavor.
Can I make a charcuterie board suitable for my vegetarian friends?
Absolutely! For a Beginner’s Charcuterie Board that’s vegetarian-friendly, focus on an array of artisanal cheeses, smoked vegetables, and delicious plant-based dips. You can also add nuts, fruits, crackers, and roasted red peppers to create a satisfying board that everyone will enjoy. Just ensure that the dips are free of animal products to accommodate your guests!
How long can I keep my assembled charcuterie board at room temperature?
It’s best to serve your charcuterie board at room temperature; however, you shouldn’t leave it out for more than 2 hours to ensure food safety. If it’s warm in your gathering space, consider placing it on ice to keep everything nice and fresh while your guests are indulging.

Beginner's Charcuterie Board: Easy Tips to Impress Guests
Ingredients
Equipment
Method
- Select Your Board: Choose a beautiful wooden, marble, or bamboo board.
- Arrange the Meats: Make small piles of meats in one section.
- Add the Cheeses: Cut cheeses into wedges or cubes.
- Distribute the Crackers: Neatly arrange crackers in a separate area.
- Scatter Nuts and Fruits: Fill empty spaces with nuts and colorful fruits.
- Incorporate Vegetables: Place bowls of olives or pickles.
- Finish with Dips: Add bowls with dips around the board.


