
Sometimes, the best moments in life come when you least expect them. Picture this: a warm afternoon, and I’m lingering in my kitchen, craving something sweet yet uncomplicated. That’s when I stumbled upon the idea for this delightful Biscoff Icebox Cake! With layers of creamy, luscious cookie butter filling and crispy speculaas cookies, this dessert is a showstopper without requiring hours at the oven.
The beauty of an icebox cake is its simplicity—no baking, just layering and chilling. The decadent combo of whipped cream, cream cheese, and that irresistible Biscoff spread comes together in a dreamy harmony, perfect for when you want a treat that feels indulgent but doesn’t steal your whole evening. Whether it’s a casual dinner with friends or a quiet night in, this Biscoff Icebox Cake will surely impress—and it all starts with just a few kitchen staples. Let’s dive into this delicious journey together, and get ready to savor every luscious bite!
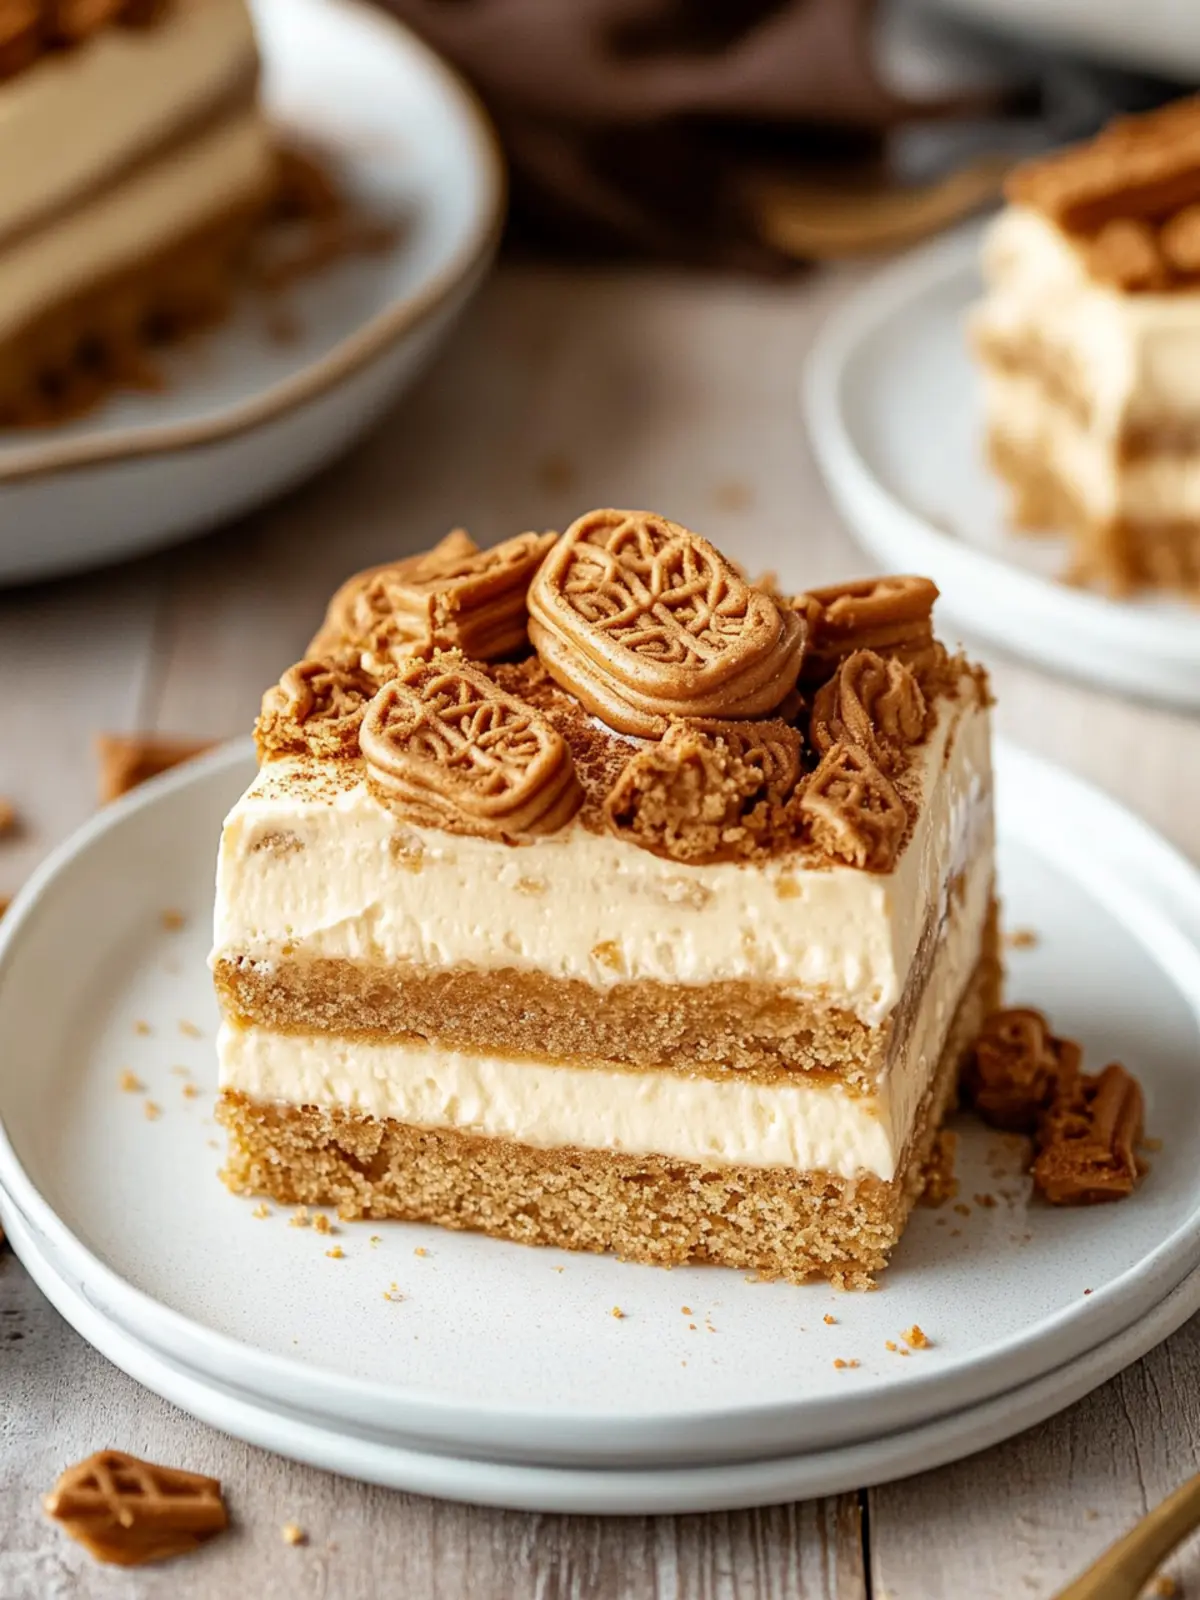
Why is Biscoff Icebox Cake a Must-Try?
Irresistible flavors: The rich combination of cream cheese and Biscoff creates a decadent filling that is simply unforgettable.
No-bake convenience: Just layer and chill—perfect for quick preparation that frees up your time for other activities.
Crowd-pleaser: With its creamy texture and delightful crunch, every slice is bound to be a hit at gatherings or family dinners.
Versatile dessert: Ideal for any occasion, from celebrating birthdays to satisfying sweet cravings during a cozy night in.
Time-saving treat: Prep takes only 20 minutes! For more easy delights, check out our no-bake dessert collection.
Indulge in a treat that transforms ordinary moments into extraordinary memories!
Biscoff Icebox Cake Ingredients
For the Filling
• Whipping cream – 2/3 cup, ensures a light and airy texture for your cake.
• Cream cheese – 8 ounces, full-fat and brick style for a rich, creamy filling.
• Biscoff – 2/3 cup, the star ingredient that adds a unique cookie butter flavor to this classic dessert.
• Powdered sugar – 1/2 cup, sweetens the filling without grittiness for a smooth finish.
For the Cookies
• Speculaas cookies – 36 pieces, provides that delightful crunch and flavor contrast to the creamy filling.
• Milk – 1/4 cup, used for dipping the cookies, softening them up just enough to layer with ease.
For the Topping
• Biscoff – 1/2 cup, warmed and drizzled on top for an added infusion of irresistible flavor.
• Speculaas cookies – optional, for garnish and a decorative touch that adds charm.
How to Make Biscoff Icebox Cake
-
Beat the whipping cream until stiff peaks form. This will provide a lovely, airy texture that makes the cake light and fluffy. Set aside your perfect whipped cream for later use.
-
Combine cream cheese, Biscoff, and powdered sugar in a large bowl. Beat until smooth and creamy, ensuring to scrape down the sides and bottom to avoid lumps. This mixture will be the delicious foundation of your cake.
-
Fold the whipped cream gently into the cream cheese and Biscoff mixture. Do this carefully to maintain the light, airy texture that you created with the whipped cream. The mixture should be fully integrated and creamy.
-
Line the pan with parchment paper, if you like, to create an easy overhang for lifting the cake out later. This step adds convenience for serving without any mess!
-
Spread 1-2 tablespoons of the Biscoff filling onto the bottom of your prepared pan. This creates a delicious layer that will help keep the cookies in place.
-
Dip the speculaas cookies into the milk, shaking off the excess. Place a layer of dipped cookies on top of the filling in the bottom of the pan. The milk-soaked cookies create a tender texture that pairs perfectly with the creamy filling.
-
Spread about 1/3 of the Biscoff filling on top of the layer of cookies, ensuring it’s evenly distributed. This luscious layer will lock in the cookie crunch.
-
Repeat the layering process for a total of three layers: layer of cookies, 1/3 filling, second layer of cookies, 1/3 filling, third layer of cookies, and top it off with the last 1/3 of filling. Each layer will create a delightful harmony of flavors.
-
Cover the cake with plastic wrap or a lid and place in the fridge or freezer. Let it chill to allow the flavors to mingle and the texture to set.
-
Microwave the extra 1/2 cup of Biscoff in a small bowl for 30-second intervals until it’s thin enough to pour. Pour it over the top of the cake and spread into an even layer, adding a delicious glaze.
-
Lift the cake out of the pan using the parchment paper if lined. Place it on a cutting board for slicing with a low, sharp knife. This helps achieve beautiful, clean slices.
-
Slice the cake in the pan using a thin, sharp knife if not lined, remember to wipe off the knife in between cuts to keep the slices neat and appealing.
Optional: Garnish with extra speculaas cookies for that beautiful, decorative touch!
Exact quantities are listed in the recipe card below.
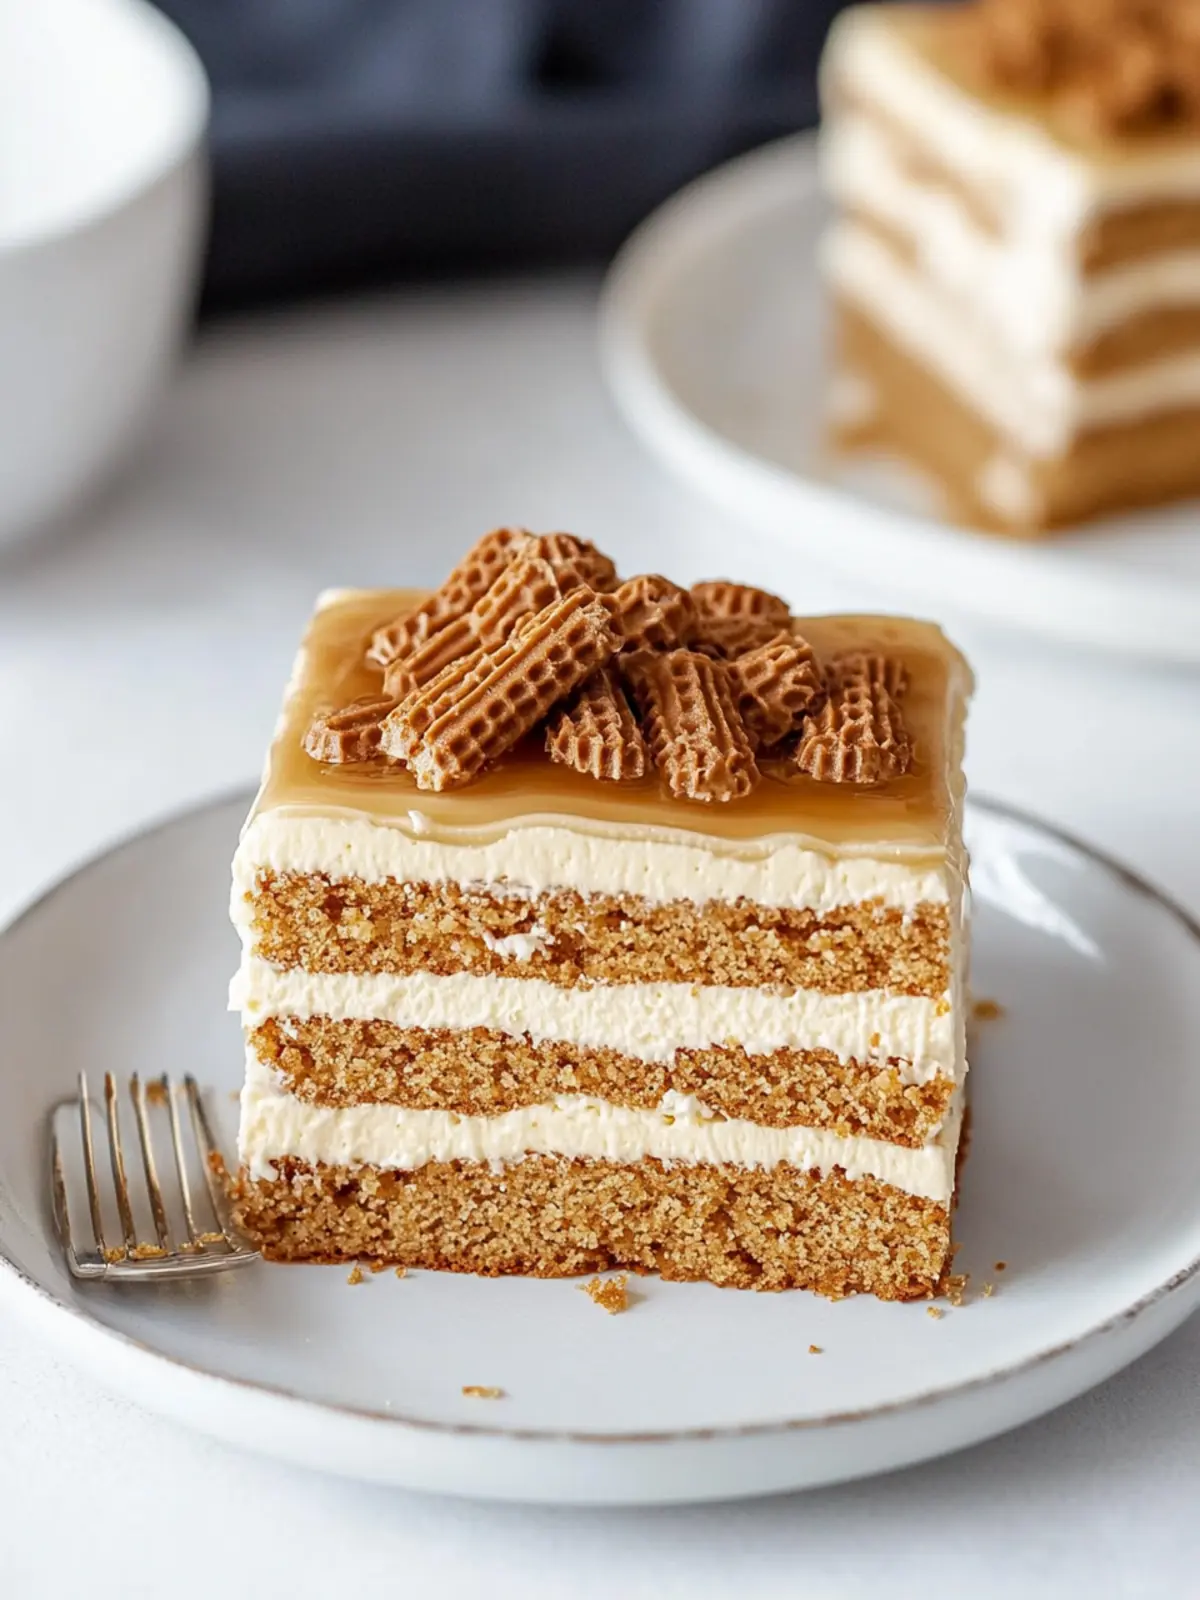
Biscoff Icebox Cake Variations
Feel free to get creative with this delightful dessert and make it your own!
- Gluten-Free: Substitute speculaas cookies with gluten-free cookies, and enjoy a deliciously inclusive treat.
- Nutty Twist: Add crushed almonds or hazelnuts to the layers for a delightful crunch that complements the creamy filling beautifully.
- Dairy-Free: Use coconut cream in place of whipping cream and dairy-free cream cheese for a delightful vegan-friendly alternative.
- Chocolate Lover’s: Incorporate layers of chocolate graham crackers for an indulgent twist or mix in chocolate chips for a sweet surprise.
- Fruit Fusion: Layer in fresh berries or banana slices between the cookie layers for a fruity burst that balances the richness.
- Spiced Up: Add a dash of cinnamon or nutmeg to the filling for a warm spice undertone that’s wonderfully festive and comforting.
- Caramel Drizzle: Drizzle caramel sauce over the top instead of Biscoff for a rich, sweet alternative that will leave everyone craving more!
- Vegan Delight: Use a combination of cashew cream and maple syrup instead of traditional ingredients for a luscious, plant-based version.
These variations will add flair and personality to your Biscoff Icebox Cake, making each bite a new adventure!
How to Store and Freeze Biscoff Icebox Cake
Fridge: Seal the cake in an airtight container or cover it with plastic wrap. Keep it in the refrigerator for up to 5 days to maintain freshness and flavor.
Freezer: For longer storage, wrap the cake tightly in plastic wrap and then in aluminum foil. It can be frozen for up to 2 months, ensuring you enjoy its deliciousness later!
Thawing: When ready to enjoy, transfer the Biscoff Icebox Cake from the freezer to the fridge for a few hours or overnight to thaw gradually.
Reheating: This cake is best served cold. However, if you desire a slight warmth, let it sit at room temperature for 30 minutes before serving.
Make Ahead Options
Preparing your Biscoff Icebox Cake ahead of time is a game changer for busy cooks! You can mix the creamy filling (whipping cream, cream cheese, Biscoff, and powdered sugar) up to 24 hours in advance, storing it in the refrigerator to keep it fresh. Additionally, you can dip the speculaas cookies in milk and layer them in the pan up to 3 days before serving. To maintain quality, ensure the cake is tightly covered to prevent drying out. When ready to serve, simply pour the warmed Biscoff topping over the chilled cake, and it’s ready for slicing. Not only does this save time, but you’ll also enjoy a delicious dessert that’s just as delightful as when freshly made!
Tips for the Best Biscoff Icebox Cake
Whip Cream Well: Use chilled whipping cream and ensure you beat it until stiff peaks form. This airiness is key for a light texture in your Biscoff Icebox Cake.
Watch for Lumps: When mixing cream cheese and Biscoff, thoroughly scrape the bowl’s sides while beating. This practice prevents any unwanted lumps in your creamy filling.
Layer Smartly: Dip cookies briefly in milk! Avoid sogginess by shaking off excess liquid before placing them in the pan, ensuring the perfect cookie crunch every layer.
Chill Thoroughly: Allow ample chilling time in the fridge or freezer—this helps the cake set properly and enhances the flavor as it melds together.
Slice with Care: Use a low, sharp knife for cutting, and remember to wipe off the blade between slices. This technique keeps your Biscoff Icebox Cake looking as good as it tastes!
What to Serve with Biscoff Icebox Cake?
Elevate your dessert experience with delightful accompaniments that enhance the layers of sweetness and creaminess in your cake.
-
Fresh Berries: The tartness of strawberries or raspberries cuts through the richness, adding a refreshing contrast to each bite.
-
Vanilla Ice Cream: A scoop of creamy, vanilla ice cream alongside your slice provides a delightful creaminess that pairs beautifully with the cookie flavors.
-
Chocolate Sauce: Drizzling warm chocolate sauce or ganache over your cake adds an extra layer of indulgence, making each slice even more tempting.
-
Mint Leaves: A sprig of fresh mint on top not only adds a pop of color but also a hint of freshness that balances the sweet richness of the cake.
-
Coffee or Espresso: A steaming cup of coffee or espresso enhances the flavors wonderfully, creating a perfect balance with the sweetness and creamy textures.
-
Caramel Sauce: For those who crave a little more decadence, a drizzle of caramel sauce offers a sweet hug that complements the Biscoff flavor perfectly.
-
Whipped Cream: Extra whipped cream on the side adds lightness and an inviting texture; it’s always a crowd-pleaser!
Each of these pairings invites a unique taste experience, turning your Biscoff Icebox Cake into a sensational dessert adventure. Enjoy!
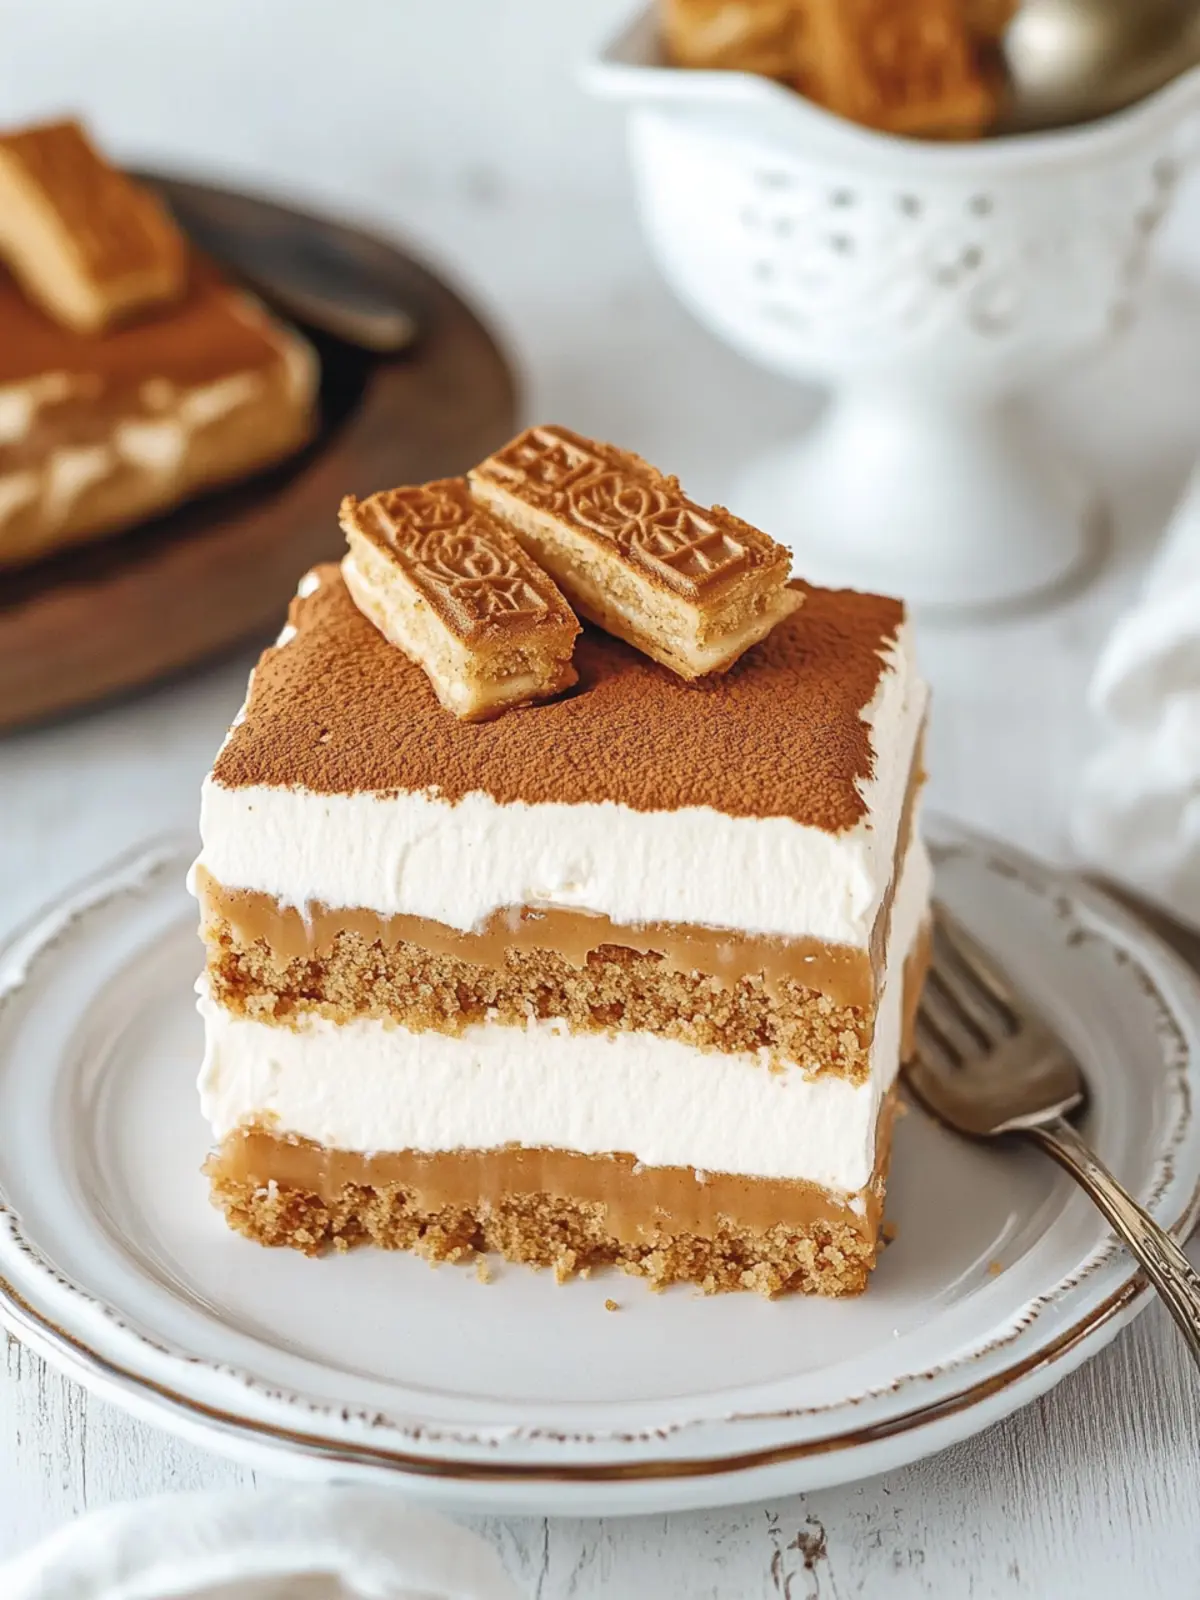
Biscoff Icebox Cake Recipe FAQs
What type of Biscoff should I use for the best flavor?
Absolutely! I recommend using the classic Biscoff spread for that authentic flavor, but feel free to try other brands of cookie butter if you prefer. Look for spreads made from speculaas cookies for a similar spiced taste.
How long can I store Biscoff Icebox Cake in the fridge?
You can keep your delightful Biscoff Icebox Cake in the refrigerator for up to 5 days. Make sure to store it in an airtight container or cover it tightly with plastic wrap to preserve its creamy goodness.
Can I freeze Biscoff Icebox Cake? If so, how?
Very much so! To freeze your Biscoff Icebox Cake, first wrap it tightly in plastic wrap to prevent freezer burn. Then add a layer of aluminum foil for extra protection. It can be stored in the freezer for up to 2 months. When you’re ready to indulge, simply transfer it to the refrigerator for a few hours or overnight to thaw.
How can I avoid soggy cookies when layering?
Great question! To prevent sogginess, I suggest dipping the speculaas cookies in milk just briefly—enough to soften them but not so much that they fall apart. Shake off any excess milk, ensuring a perfect crunchy layer amidst the creamy filling.
Are there any nut-free options for this recipe?
Yes! This Biscoff Icebox Cake is naturally nut-free if you use the standard Biscoff spread, which is made without nuts. However, always check the packaging to ensure there are no cross-contamination warnings if allergies are a concern.
What’s the best way to slice the cake for clean pieces?
For the most beautiful slices, use a thin, sharp knife and wipe it with a damp cloth between cuts. This method helps to maintain clean edges and prevents the filling from sticking to the knife, giving each slice an elegant look.
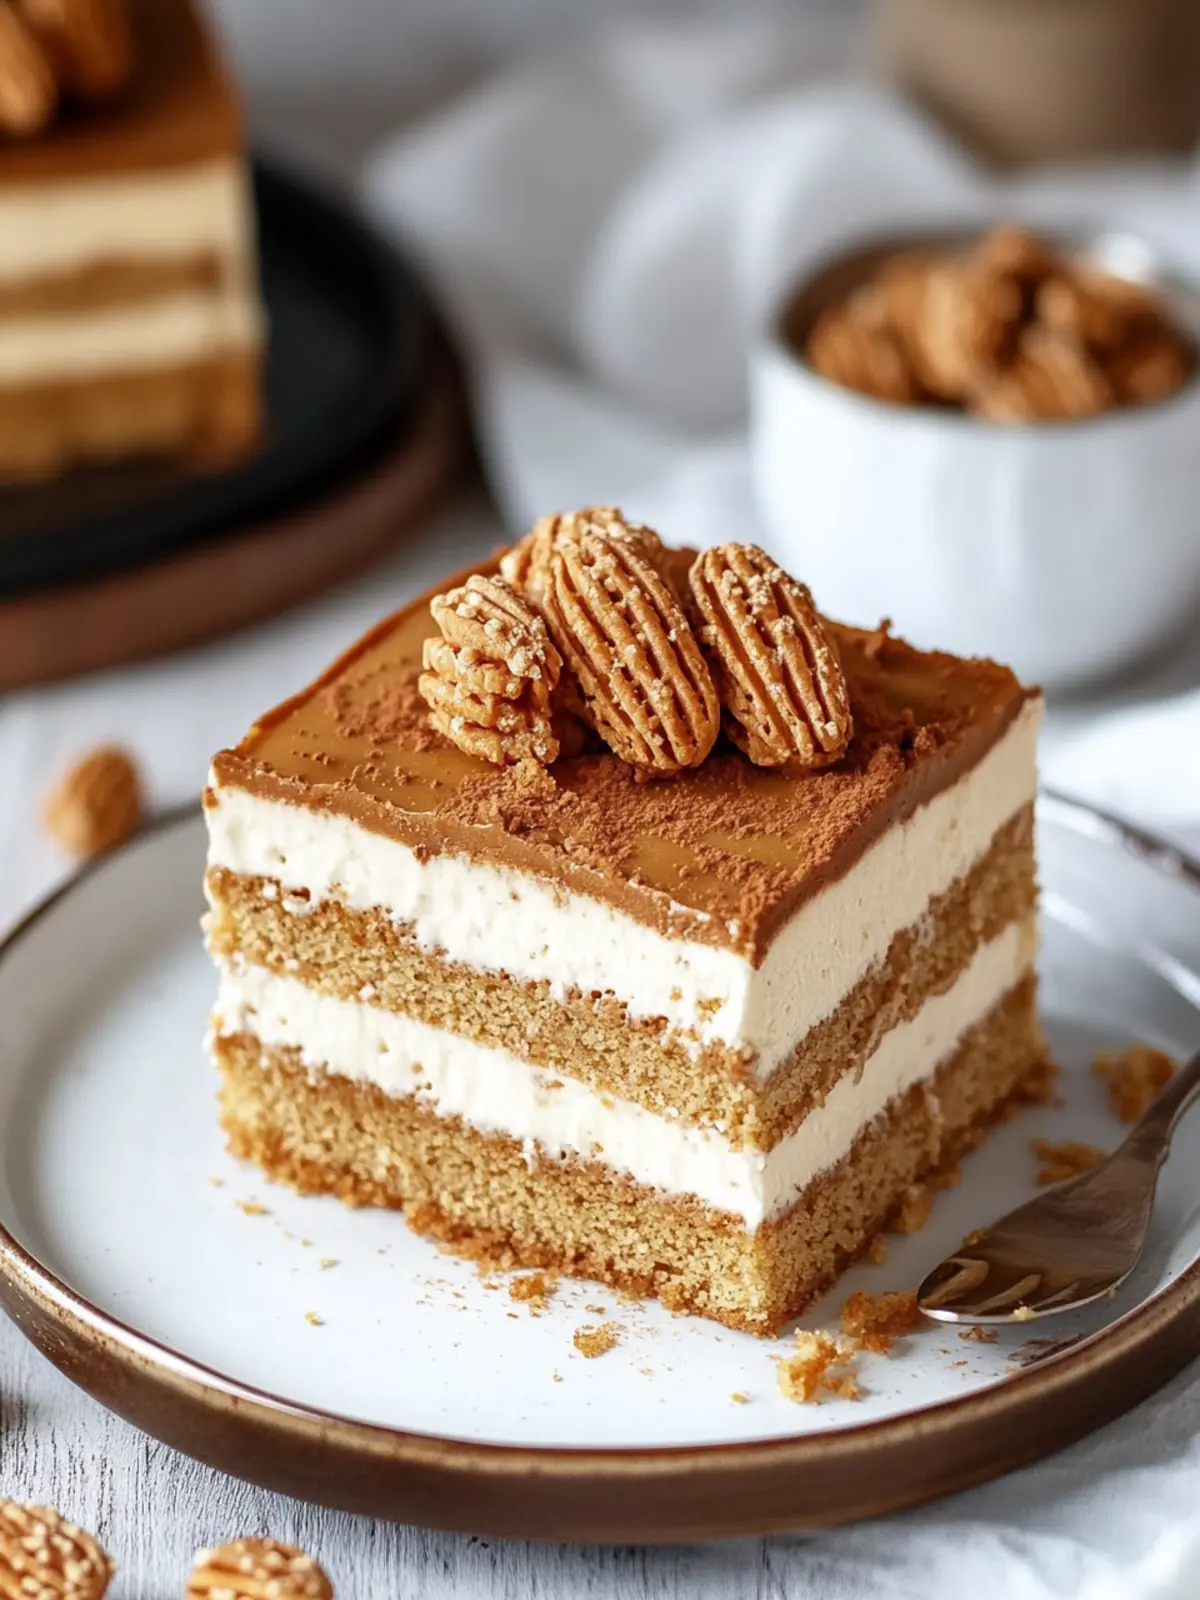
Decadent Biscoff Icebox Cake: A No-Bake Delight!
Ingredients
Equipment
Method
- Beat the whipping cream until stiff peaks form. Set aside.
- Combine cream cheese, Biscoff, and powdered sugar. Beat until smooth.
- Fold the whipped cream into the Biscoff mixture gently.
- Line the pan with parchment paper for easy removal.
- Spread 1-2 tablespoons of the Biscoff filling on the bottom of the pan.
- Dip the speculaas cookies into the milk and layer on top of the filling.
- Spread about 1/3 of the Biscoff filling over the cookies.
- Repeat the layering process for three total layers.
- Cover the cake and chill in the fridge or freezer.
- Microwave the extra Biscoff for 30-second intervals, then pour over the cake.
- Lift the cake from the pan using the parchment paper.
- Slice the cake in the pan or using a cutting board.