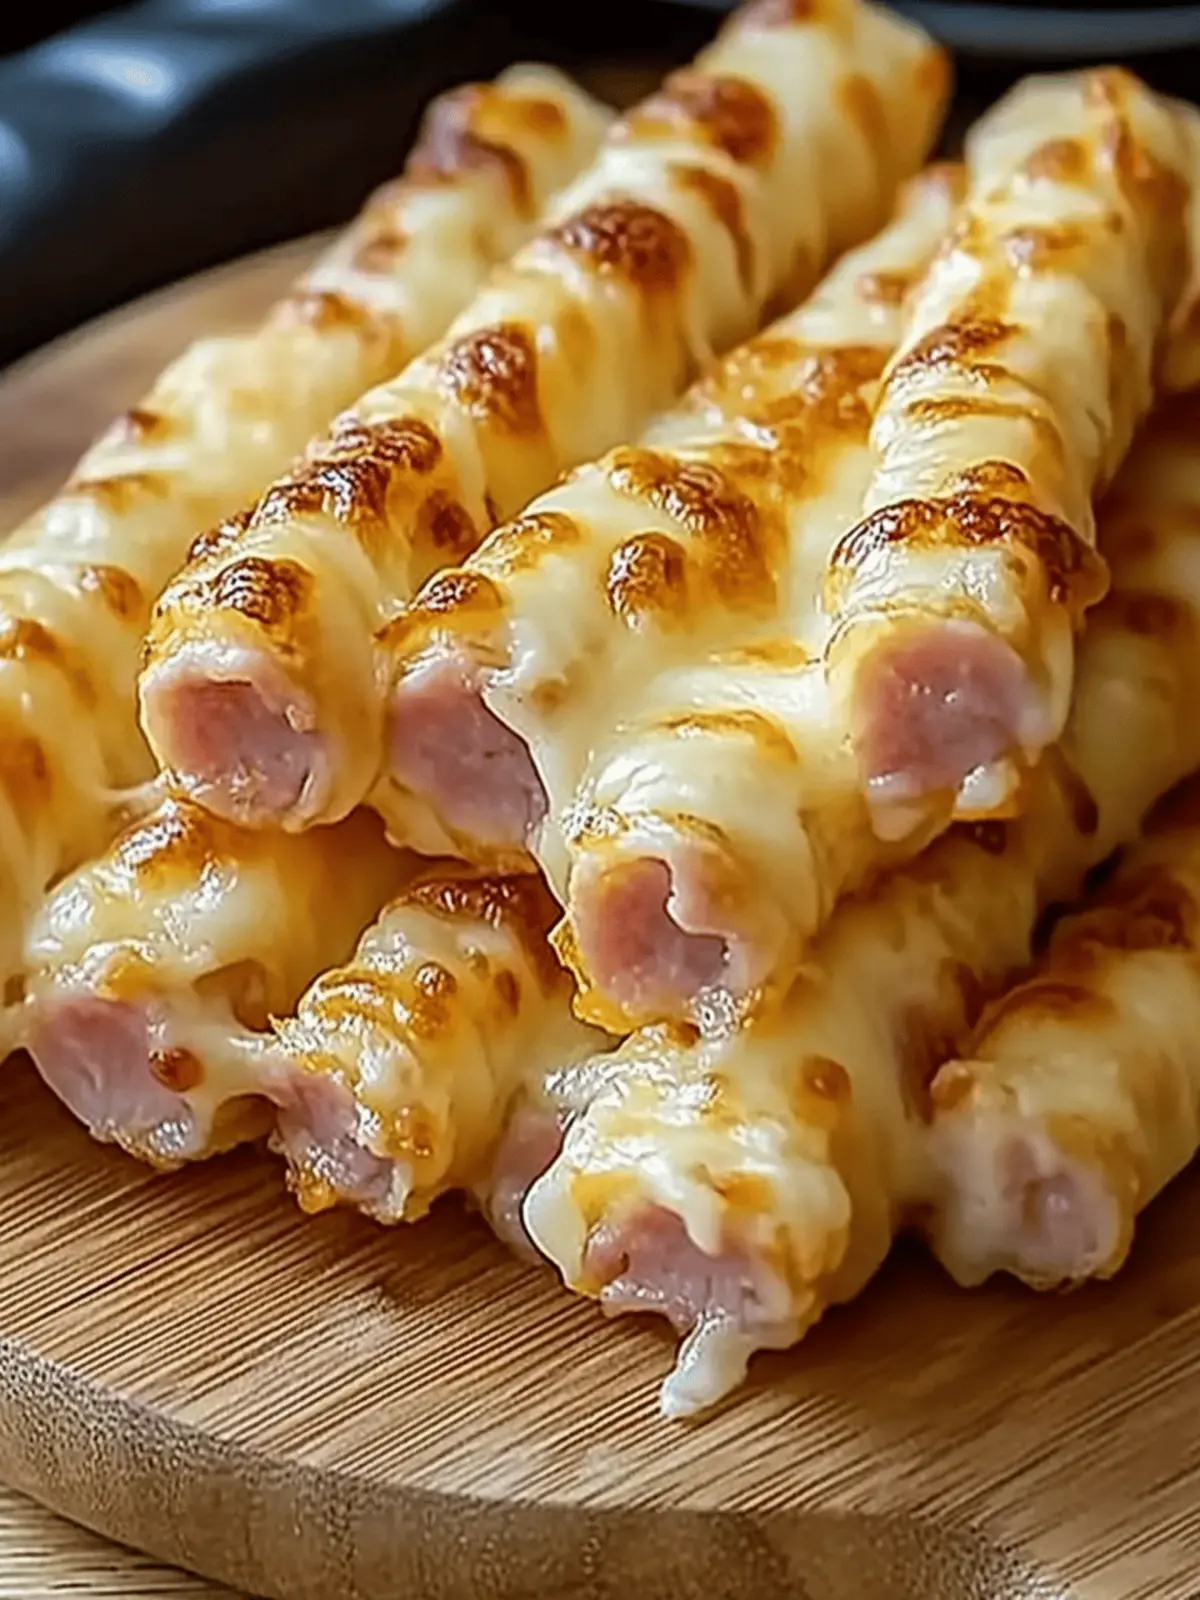
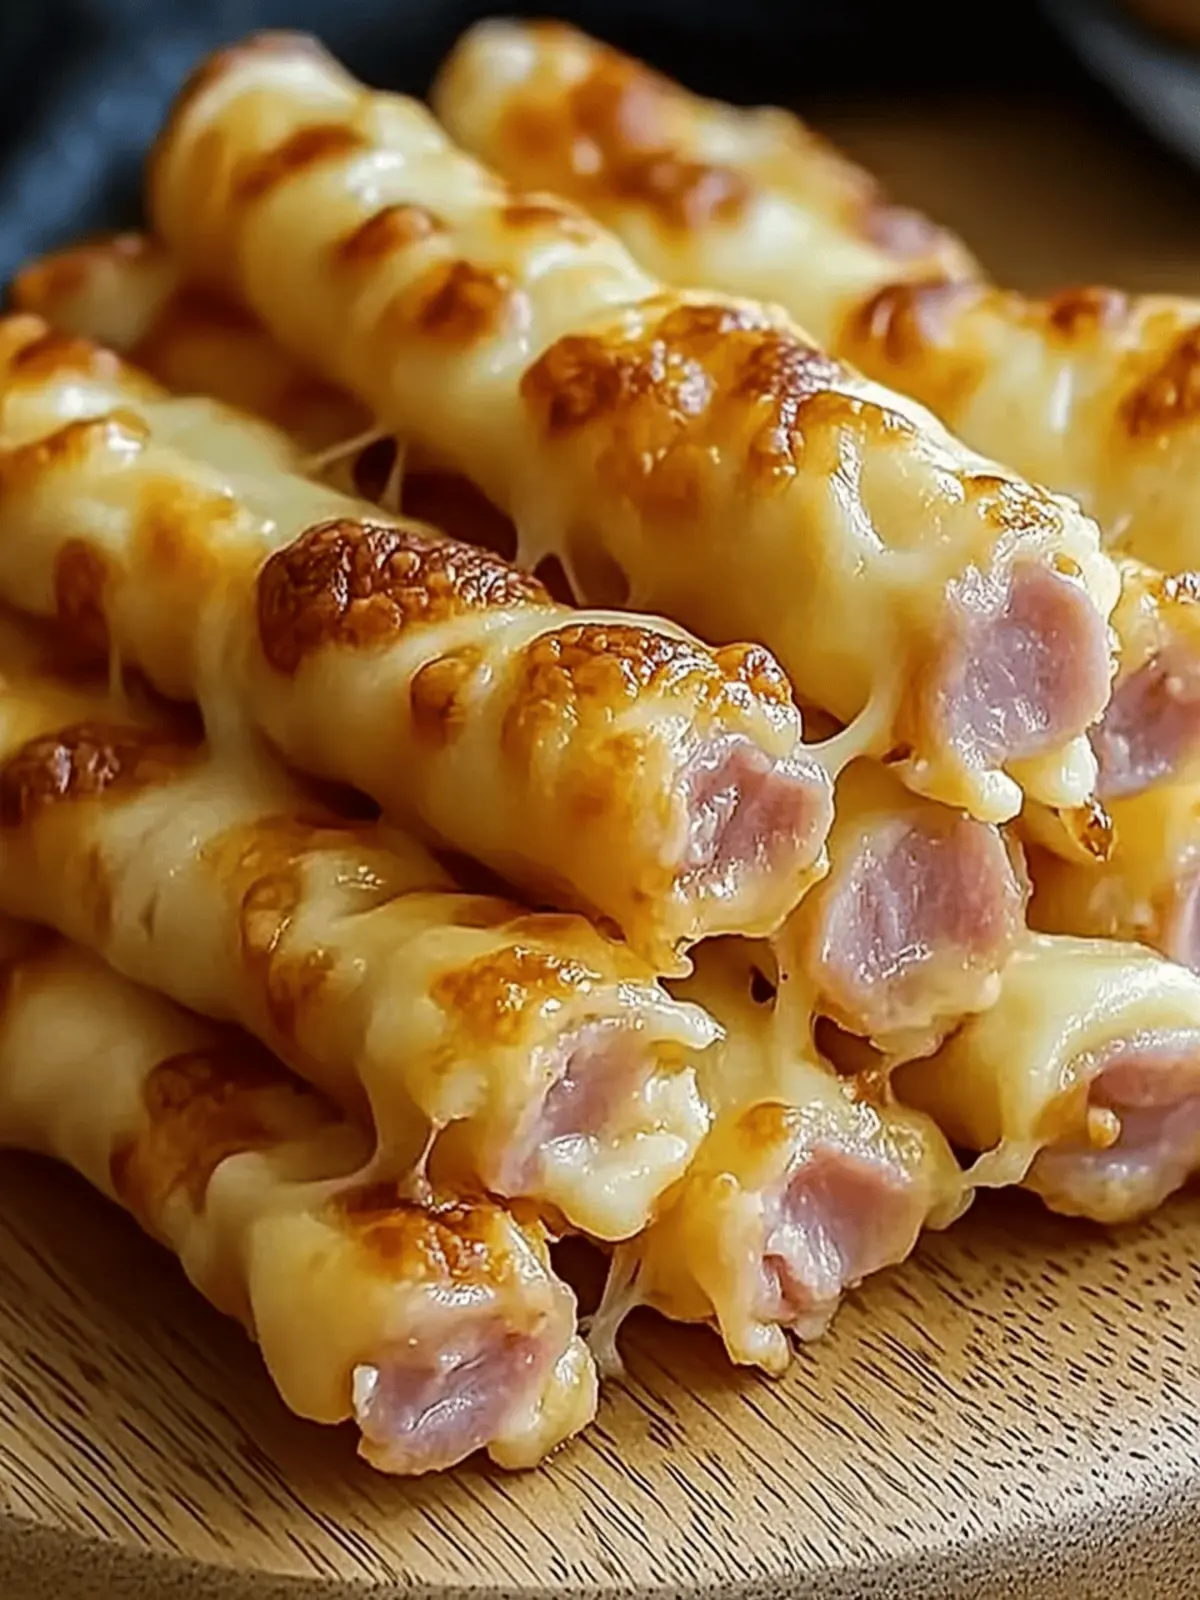
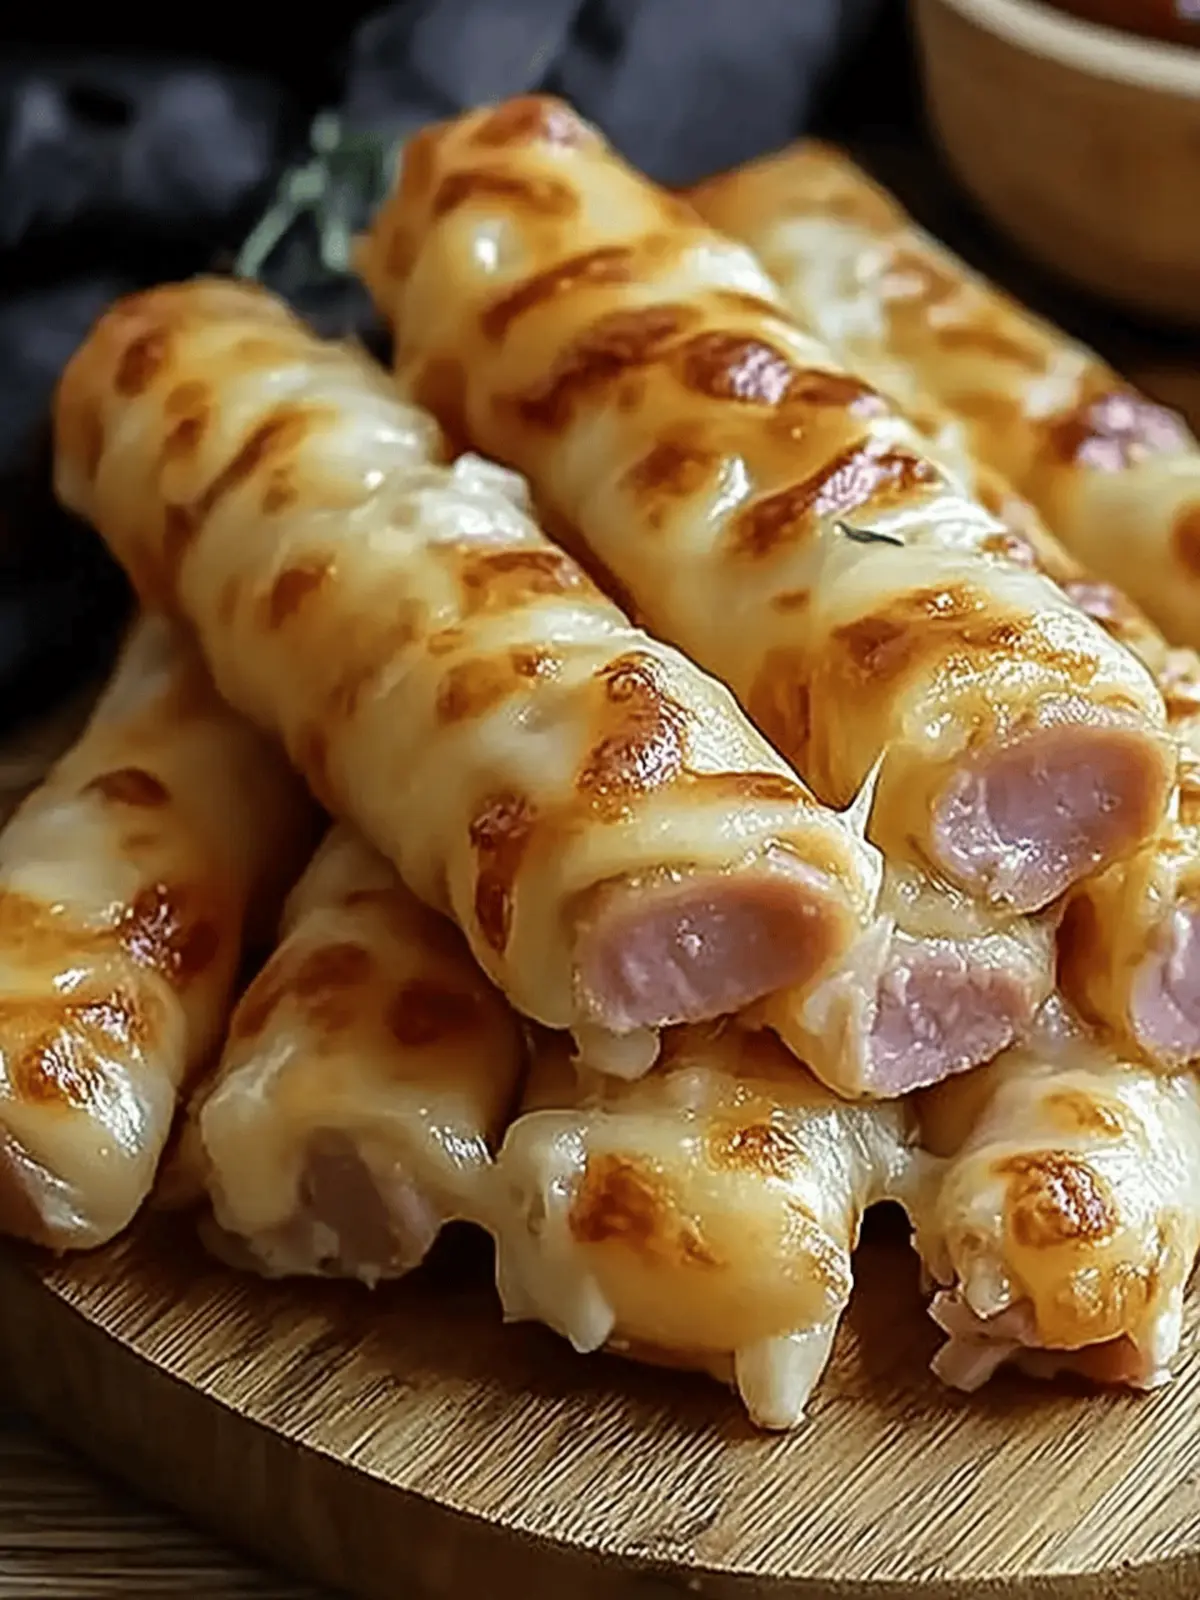
There’s something undeniably comforting about the sound of cheese bubbling away in the oven, and I can still remember the first time that tantalizing aroma filled my kitchen. It was a typical busy evening, and I needed a quick snack to recharge before returning to my never-ending to-do list. That’s when I decided to whip up these Crispy Cheesy Ham and Cheese Sticks, a simple but delightful treat that quickly became a family favorite.
Packed with gooey cheddar and savory ham, these delights come together in just 35 minutes, making them perfect for casual gatherings or a cozy night in. Baked instead of fried, they’re a guilt-free indulgence that offers a satisfying crunch and a warm, cheesy center. Whether you’re looking to treat yourself or impress friends during game night, these sticks are flexible enough to customize with your favorite ingredients or dietary preferences—gluten-free, anyone? Let’s dive into this delicious recipe that transforms routine snacking into pure delight!
Why are Cheesy Ham and Cheese Sticks irresistible?
Crispy Texture: Enjoy a golden, crunchy exterior that contrasts beautifully with the gooey cheese inside.
Quick and Easy: With just 35 minutes from start to finish, they’re perfect for spontaneous cravings.
Customizable: Swap cheeses, add spices, or transform them into a vegetarian option—flexibility is key!
Crowd-Pleaser: Ideal for game nights or casual gatherings, these sticks guarantee smiles all around.
Guilt-Free Treat: Baked, not fried, they allow you to indulge without the extra calories, making them a delightful addition to your snacks.
Cheesy Ham and Cheese Sticks Ingredients
• For the Filling
- Shredded Cheddar Cheese – Provides a rich, creamy flavor and texture; swap with mozzarella for a unique twist.
- Diced Cooked Ham – Adds savory protein; can be omitted or replaced with vegetables for a delightful vegetarian option.
• For the Dough
- All-Purpose Flour – Gives structure to the sticks; use a gluten-free blend if you need a gluten-free version.
- Baking Powder – Helps achieve that perfect light, fluffy texture.
- Garlic Powder – Infuses savory depth; adjust the amount according to your taste preference.
- Onion Powder – Enhances flavor; a little goes a long way.
- Black Pepper – Adds a subtle kick; essential for flavor enhancement.
- Salt – Elevates the overall taste; don’t skip this important ingredient.
• For Binding
- Large Egg – Acts as a binder for the dough, ensuring everything holds together beautifully.
- Milk – Combines the ingredients into a cohesive dough for perfect sticks.
• For the Coating
- Breadcrumbs – Creates a crispy exterior; panko breadcrumbs are an excellent choice for added crunch.
- Cooking Spray or Oil – Grease the baking sheet and aid in browning for that irresistible finish.
Feel prepared and inspired! With these Cheesy Ham and Cheese Sticks ingredients on hand, you’re well on your way to creating a delightful snack that’s sure to impress!
How to Make Cheesy Ham and Cheese Sticks
-
Preheat the Oven: Start by preheating your oven to 375°F (190°C). This ensures a perfect bake and even cooking for your cheesy delights. Line a baking sheet with parchment paper and lightly grease it to prevent sticking.
-
Mix the Dry Ingredients: In a large bowl, combine the shredded cheddar, diced ham, all-purpose flour, baking powder, garlic powder, onion powder, black pepper, and salt. Stir until everything is well mixed and the aromas start to mingle!
-
Prepare the Wet Mixture: In a separate bowl, whisk the egg and milk together until smooth. Gradually add this to the dry ingredients, stirring until you have a slightly sticky dough that holds together nicely.
-
Shape the Sticks: Take portions of the dough and roll them into sticks about 3 inches long and 1 inch thick. Don’t worry about perfection—these are meant to be deliciously homemade!
-
Coat and Arrange: Roll each stick in breadcrumbs, coating them well for that crispy exterior. Place the coated sticks on the prepared baking sheet, making sure to leave some space between each for even cooking.
-
Bake to Perfection: Bake the sticks for 15-20 minutes, or until they are golden brown and crispy. Allow them to cool for a few minutes before serving, as the cheesy centers will be hot and gooey!
Optional: Serve with marinara sauce or ranch dressing for dipping!
Exact quantities are listed in the recipe card below.
Expert Tips for Cheesy Ham and Cheese Sticks
- Space Them Out: Ensure even cooking by placing the sticks spaced apart on the baking sheet. This prevents sogginess and allows crisping on all sides.
- Handle with Care: If the dough feels too sticky to roll, lightly grease your hands to make shaping the Cheesy Ham and Cheese Sticks easier.
- Add Some Spice: For a bold flavor boost, mix in cayenne pepper or chopped jalapeños before baking. Adjust quantities based on your heat preference!
- Watch the Time: Keep an eye on the sticks as they bake; if left too long, they can burn quickly. Look for that golden brown perfection!
- Make Ahead: Consider pre-rolling the sticks and freezing them for a quick snack option. Bake from frozen, adding a few extra minutes to the cooking time.
Cheesy Ham and Cheese Sticks Variations
Customize your Cheesy Ham and Cheese Sticks to suit your cravings or dietary needs with these fun twists and swaps!
- Gluten-Free: Use a gluten-free flour blend instead of all-purpose flour for a delightful option that everyone can enjoy.
- Cheese Swap: Swap cheddar for pepper jack to add a zesty layer of flavor that’ll make your taste buds dance!
- Vegetarian Delight: Replace diced ham with sautéed mushrooms or chopped bell peppers for a tasty, plant-based version.
- Herb Infusion: Add dried oregano or basil to the dough for a fragrant twist, elevating the sticks to a whole new level!
- Spicy Kick: Incorporate cayenne pepper or diced jalapeños into the mixture for a fiery treat that’s full of flavor.
- Savory Garlic: Mix in roasted garlic purée for an extra punch of savory goodness that pairs perfectly with the cheesy flavor.
- Crunchy Coating: Try using crushed tortilla chips instead of breadcrumbs for a fun crunch and a hint of extra flavor.
- Sweet Touch: Drizzle some honey on top after baking for a unique sweet-and-savory combination that will surprise and delight!
What to Serve with Cheesy Ham and Cheese Sticks?
Transform your snack time into a delightful feast with these complementary pairings that enhance the crispy, gooey goodness of your ham and cheese sticks.
-
Marinara Sauce: This classic tomato-based dip perfectly balances the richness of the cheese, adding a tangy freshness. A must-have for cheese lovers!
-
Ranch Dressing: Cool, creamy ranch is a crowd favorite, cutting through the cheesiness while adding herby flavors. It’s a delightful dip that makes every bite even better.
-
Fresh Vegetables: Crisp carrot and cucumber sticks bring a refreshing crunch alongside the warm, cheesy sticks. They provide a lovely contrast in texture and color on your plate.
-
Pasta Salad: A vibrant pasta salad with cherry tomatoes, olives, and mozzarella adds brightness to your meal. It’s the perfect side that feels hearty yet light.
-
Charcuterie Board: Create a platter with assorted meats, cheeses, and crackers, pairing down the ham flavors with complementary cheeses. This way, your cheesy ham sticks take center stage among a variety of delish bites.
-
Spicy Mustard: A zesty mustard can add a nice kick to balance the stick’s richness. Just a dab will elevate the flavor profile uniquely!
-
Sweet Pickles: For a fun and tangy contrast, serve with sweet pickles. Their sweetness enhances the savory sticks while providing a pop of color and flavor.
-
Iced Tea or Lemonade: Refreshing drinks like iced tea or lemonade offer a crisp sip that cleanses your palate between bites. Great choices for a casual gathering!
-
Dessert Option: Treat your guests to chocolate-covered strawberries or mini cheesecakes for a sweet ending that pairs delightfully with your savory starters.
Make Ahead Options
These Cheesy Ham and Cheese Sticks are perfect for meal prep, providing a delicious snack ready to go when you are! You can prepare the sticks up to 24 hours in advance by assembling and rolling them, then refrigerating the unbaked sticks in an airtight container. For longer storage, freeze the uncooked sticks for up to 3 months; simply bake directly from frozen, adding a few extra minutes to the cooking time. To maintain their crispy texture, ensure they are spaced apart on the baking sheet before freezing. When you’re ready to enjoy, bake them as instructed until golden brown and serve warm for that delightful, homemade touch!
How to Store and Freeze Cheesy Ham and Cheese Sticks
Fridge: Store leftover Cheesy Ham and Cheese Sticks in an airtight container for up to 3 days to maintain freshness. Reheat gently in the oven for 5-10 minutes.
Freezer: For longer storage, freeze uncooked sticks. Arrange them in a single layer on a baking sheet until solid, then transfer to a freezer-safe bag. They can be baked directly from frozen, adding an extra 5-10 minutes to the cooking time.
Reheating: To reheat baked sticks, simply pop them in a preheated oven at 350°F (175°C) for about 10-15 minutes for a crispy finish.
Serving Tip: Pair reheated Cheesy Ham and Cheese Sticks with your favorite dipping sauce for an extra burst of flavor!
Cheesy Ham and Cheese Sticks Recipe FAQs
What kind of cheese is best for Cheesy Ham and Cheese Sticks?
Absolutely! While shredded cheddar cheese is my go-to for its rich flavor and melt-in-your-mouth texture, you can experiment with mozzarella or even a spicy pepper jack for a twist. Each cheese brings its unique character to the sticks, so feel free to mix and match according to your taste!
How should I store leftover Cheesy Ham and Cheese Sticks?
Store any leftovers in an airtight container in the fridge for up to 3 days. To reheat, pop them back in a preheated oven at 350°F (175°C) for about 10-15 minutes. This way, you’ll enjoy that satisfying crunch all over again!
Can I freeze Cheesy Ham and Cheese Sticks?
Yes, you can! For freezing, roll the uncooked sticks and place them in a single layer on a baking sheet until they’re firm. Once frozen solid, transfer them to a freezer-safe bag. They can be baked directly from frozen; just add an extra 5-10 minutes to the cooking time for perfectly crispy treats!
What should I do if my Cheesy Ham and Cheese Sticks are too sticky?
If the dough is too sticky to shape, don’t worry at all! Lightly grease your hands with oil or flour; this will help you mold the sticks into shape without the dough sticking to your fingers. Additionally, dusting your work surface with a bit of flour can also make the rolling process smoother.
Are Cheesy Ham and Cheese Sticks suitable for gluten-free diets?
Very! To make these sticks gluten-free, simply substitute the all-purpose flour with a gluten-free flour blend. You can often find excellent alternatives at your local grocery store. This way, everyone can indulge in this delicious snack without any worries!
Can I use these Cheesy Ham and Cheese Sticks for a party?
Absolutely! These sticks are not only quick and easy to prepare, but they’re also a crowd-pleaser at any gathering. Just double the recipe for larger groups, and consider pairing them with various dipping sauces like marinara or ranch for more fun flavor options.

Cheesy Ham and Cheese Sticks: Quick, Crispy Snack Delight
Ingredients
Equipment
Method
- Preheat your oven to 375°F (190°C), line a baking sheet with parchment paper, and lightly grease it.
- In a large bowl, combine the shredded cheddar, diced ham, all-purpose flour, baking powder, garlic powder, onion powder, black pepper, and salt. Mix well.
- In a separate bowl, whisk together the egg and milk, then gradually add to the dry mixture, stirring until a slightly sticky dough forms.
- Shape the dough into sticks about 3 inches long and 1 inch thick.
- Roll each stick in breadcrumbs, ensuring they are well coated, then place them on the prepared baking sheet with space in between.
- Bake for 15-20 minutes or until golden brown and crispy. Let cool for a few minutes before serving.


