
There’s something truly enchanting about the first taste of a rich, velvety Chocolate Berry Tart. As I lifted my fork, the luscious layers beckoned, and the blend of chocolate and fresh berries sent my taste buds into a delightful frenzy. This no-bake wonder not only satisfies your chocolate cravings but also celebrates the vibrant flavors of seasonal fruits.
I discovered this gem during a quiet afternoon spent rummaging through my pantry, piecing together a snack that would elevate any gathering. With just a few wholesome ingredients like rolled oats, pure maple syrup, and a medley of fresh berries, this recipe proves that indulgence doesn’t have to come from the usual fast food fare.
Perfect for a casual weeknight dessert or an impressive finish to a dinner party, this Chocolate Berry Tart quickly became a go-to in my home. It’s a versatile treat that can be prepped in no time and offers the convenience of make-ahead servings. Ready to impress your friends and family? Let’s dive into this delectable recipe!
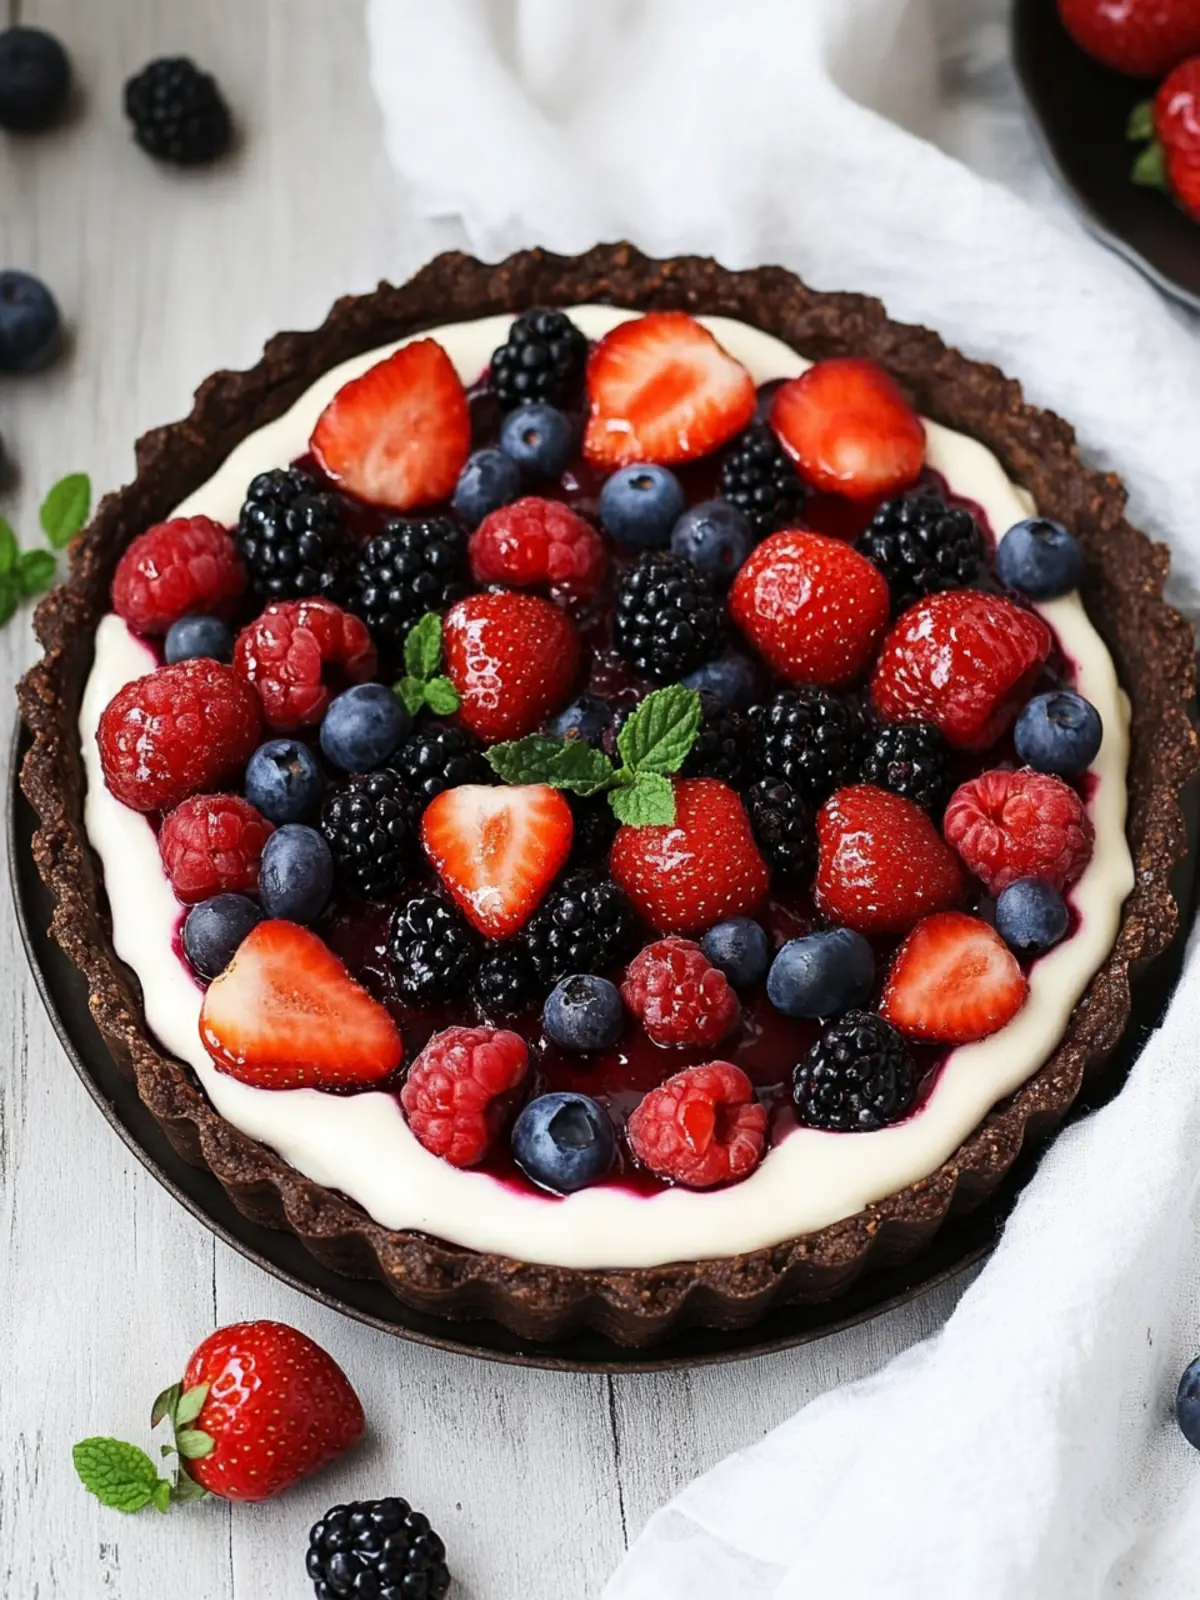
Why is Chocolate Berry Tart a must-try?
Irresistible combination: The rich chocolate and fresh berries create a delightful flavor explosion that everyone will love.
Nutritious twist: Made with wholesome ingredients like oats and maple syrup, you can indulge guilt-free!
No-bake convenience: Perfect for warm days or busy schedules, there’s no oven required.
Versatile serving options: Enjoy it as a snack, dessert, or even breakfast.
Make-ahead magic: Assemble it ahead of time for effortless entertaining—your guests will think you spent hours!
This Chocolate Berry Tart is an impressive yet simple treat that’s sure to steal the spotlight at any gathering.
Chocolate Berry Tart Ingredients
• Unlock the secrets to a delectable dessert!
For the Crust
- Rolled oats – great for a hearty, fiber-rich base that sticks together perfectly.
- Unsweetened cocoa powder – adds that rich chocolate flavor, making the crust deliciously decadent.
- Pure maple syrup – serves as a natural sweetener, enhancing complexity without refined sugars.
- Coconut oil – helps bind the crust and gives it a lovely, subtle coconut aroma.
- Kosher salt – a pinch elevates the sweetness and balances the flavors.
For the Filling
- Coconut oil – rich and creamy, it adds smoothness to the tart’s filling.
- Coconut milk – imparts a luscious texture and enhances the tropical vibe of the tart.
- Unsweetened cocoa powder – reinforces the chocolatey goodness in the filling.
- Vanilla extract – adds warmth and depth to the overall flavor profile.
- Kosher salt – a touch brings out the richness of the chocolate even more.
For the Topping
- Fresh berries – choose your favorites to add a pop of color and fresh tartness to each slice.
- Fresh mint leaves (optional) – a lovely garnish that adds a refreshing touch to the presentation.
Whether you’re preparing a sweet treat for yourself or a crowd, this Chocolate Berry Tart is flexible and forgiving, making it a fantastic choice for any occasion!
How to Make Chocolate Berry Tart
-
Process the Oats: Add the rolled oats to a food processor and pulse gently. This breaks up the oats slightly, creating a great foundation for a sturdy crust.
-
Mix the Crust Ingredients: Combine the cocoa powder, maple syrup, coconut oil, and salt into the food processor with the oats. Blend until the mixture sticks together when pinched; add more coconut oil if necessary, 1/2 teaspoon at a time.
-
Form the Crust: Transfer the dough into a tart pan, pressing down evenly to form a smooth crust. Refrigerate while you prepare the filling for extra firmness.
-
Blend the Filling: In the food processor, combine the remaining maple syrup, coconut oil, coconut milk, cocoa powder, vanilla extract, and salt. Puree until smooth and creamy, ensuring no lumps remain.
-
Spread the Filling: Pour the chocolate filling over the chilled crust, smoothing it out with a spatula. Feel free to create gentle swoops for visual appeal!
-
Top with Berries: If serving right away, scatter your choice of berries on top and chill the tart for about 30-40 minutes. If preparing ahead of time, simply refrigerate without berries until serving.
-
Store for Later: For longer storage, cover the tart without toppings and refrigerate it or freeze it for up to 2-3 weeks. Thaw in the refrigerator before adding berries for a fresh touch.
Optional: Garnish with fresh mint leaves for an extra pop of color and flavor.
Exact quantities are listed in the recipe card below.
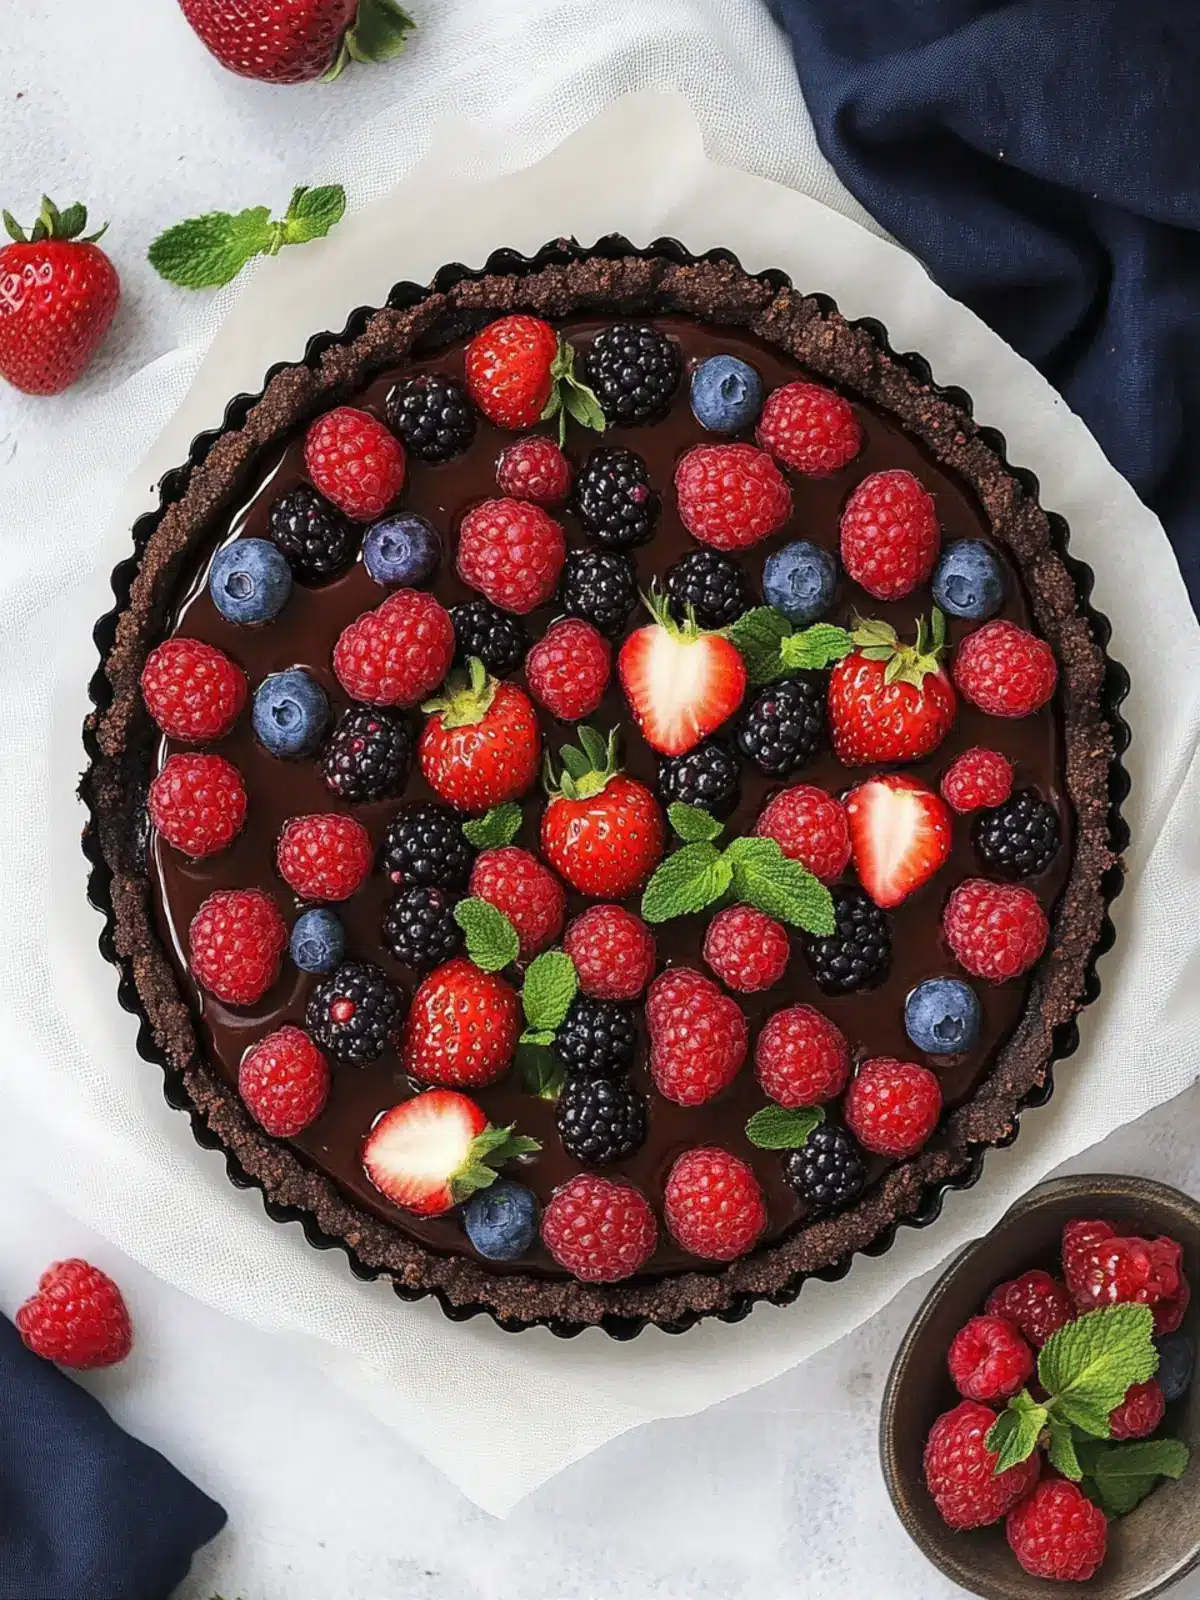
Storage Tips for Chocolate Berry Tart
- Fridge: Store the Chocolate Berry Tart covered in the refrigerator for up to 5 days. If adding berries, wait until just before serving to prevent sogginess.
- Freezer: Wrap the tart (without toppings) tightly in plastic wrap or aluminum foil and freeze for up to 2-3 weeks. Thaw in the refrigerator before serving to preserve texture.
- Reheating: This tart is best served chilled. If you prefer it at room temperature, let it sit out for about 20-30 minutes before enjoying.
- Layering Options: If you have leftover tart, consider layering the filling with new toppings such as yogurt or more berries the next day for a refreshing twist!
Chocolate Berry Tart Variations
Feel free to get creative with your Chocolate Berry Tart and explore these delightful twists that will charm your taste buds!
-
Nutty Crunch: Incorporate 1/2 cup crushed nuts, like almonds or walnuts, into the crust for an added crunch that complements the velvety filling beautifully.
-
Fruit Fusion: Blend a mix of berries—strawberries, blackberries, or even mango—for a vibrant topping that celebrates seasonal freshness and brings variety to each bite.
-
Sweetener Swap: Substitute honey or agave nectar for maple syrup if you’re looking for a different sweetness profile, while still ensuring that divine flavor remains intact.
-
Coconut Lovers: Use 1/2 cup shredded coconut in the filling for an extra layer of tropical goodness, turning this tart into a dreamy coconut chocolate experience.
-
Minty Freshness: Add 1 teaspoon of peppermint extract to the filling while blending for a refreshing mint-chocolate version that’s oh-so-easy to love.
-
Spicy Kick: Mix in a pinch of cayenne pepper or chili powder for a surprising yet delightful heat that contrasts perfectly with the sweetness of the berries.
-
Dairy-Free Variation: Use cashew cream instead of coconut milk for those who prefer a creamy texture without coconut flavor, while keeping it rich and satisfying.
-
Chocolate Overload: For chocolate enthusiasts, fold in mini chocolate chips into the filling—a little indulgence goes a long way in elevating this already decadent dessert.
With these variations, you can make your Chocolate Berry Tart uniquely yours and ensure each gathering is met with delighted taste buds!
Make Ahead Options
These delicious Chocolate Berry Tarts are perfect for busy home cooks who want to save time without sacrificing flavor! You can prepare the crust and filling up to 3 days in advance. Simply follow the recipe, but instead of adding the berries, cover the assembled tart and keep it refrigerated. This way, it remains fresh and just as delightful when served! When you’re ready to enjoy, add your choice of fresh berries on top to brighten the tart just before serving. If you need to make it even further ahead, feel free to freeze the tart (without toppings) for up to 2-3 weeks—simply thaw it in the refrigerator overnight for an easy dessert that’s ready to impress your guests!
Expert Tips for Chocolate Berry Tart
- Perfect Crust Consistency: Ensure the crust mixture sticks together when pinched; if it’s too dry, add coconut oil gradually. This ensures a firm base for your tart.
- Choosing Berries: Opt for a mix of sweet and tart berries—like strawberries, raspberries, and blueberries—to give your Chocolate Berry Tart a vibrant flavor profile.
- Chilling Time: Allow the tart to chill for at least 30-40 minutes before serving; this helps it set and enhances the flavors.
- Storage Tips: Make the tart ahead of time and store without toppings for convenience. Just remember to add fresh berries right before serving!
- Visual Appeal: Create swirls in the filling with a spatula for an inviting presentation—this small step makes a big difference!
What to Serve with Chocolate Berry Tart?
Here’s how to round out your dessert experience with delightful pairings that enhance every bite.
-
Fresh Whipped Cream: Adds a light and airy texture, balancing the rich chocolate and complementing the berries perfectly.
-
Vanilla Ice Cream: Creamy and cold, it creates a delightful contrast with the tartness of the fruit while enhancing the overall indulgence.
-
Espresso or Coffee: The robust flavors in coffee pair beautifully with chocolate, providing a lovely awakening to the palate.
-
Mint Tea: A soothing herbal counterpart that refreshes the senses, enhancing the bright notes of the fresh berries.
-
Chocolate Dipped Strawberries: For a delightful thematic touch, these sweet treats echo the flavors of the tart and add an extra layer of chocolate richness.
-
Fruit Sorbet: A light and fruity contrast that cleanses the palate between bites, making each forkful of the Chocolate Berry Tart feel new and exciting.
These pairings create a memorable dessert spread, allowing your guests to savor each moment with every delicious taste.
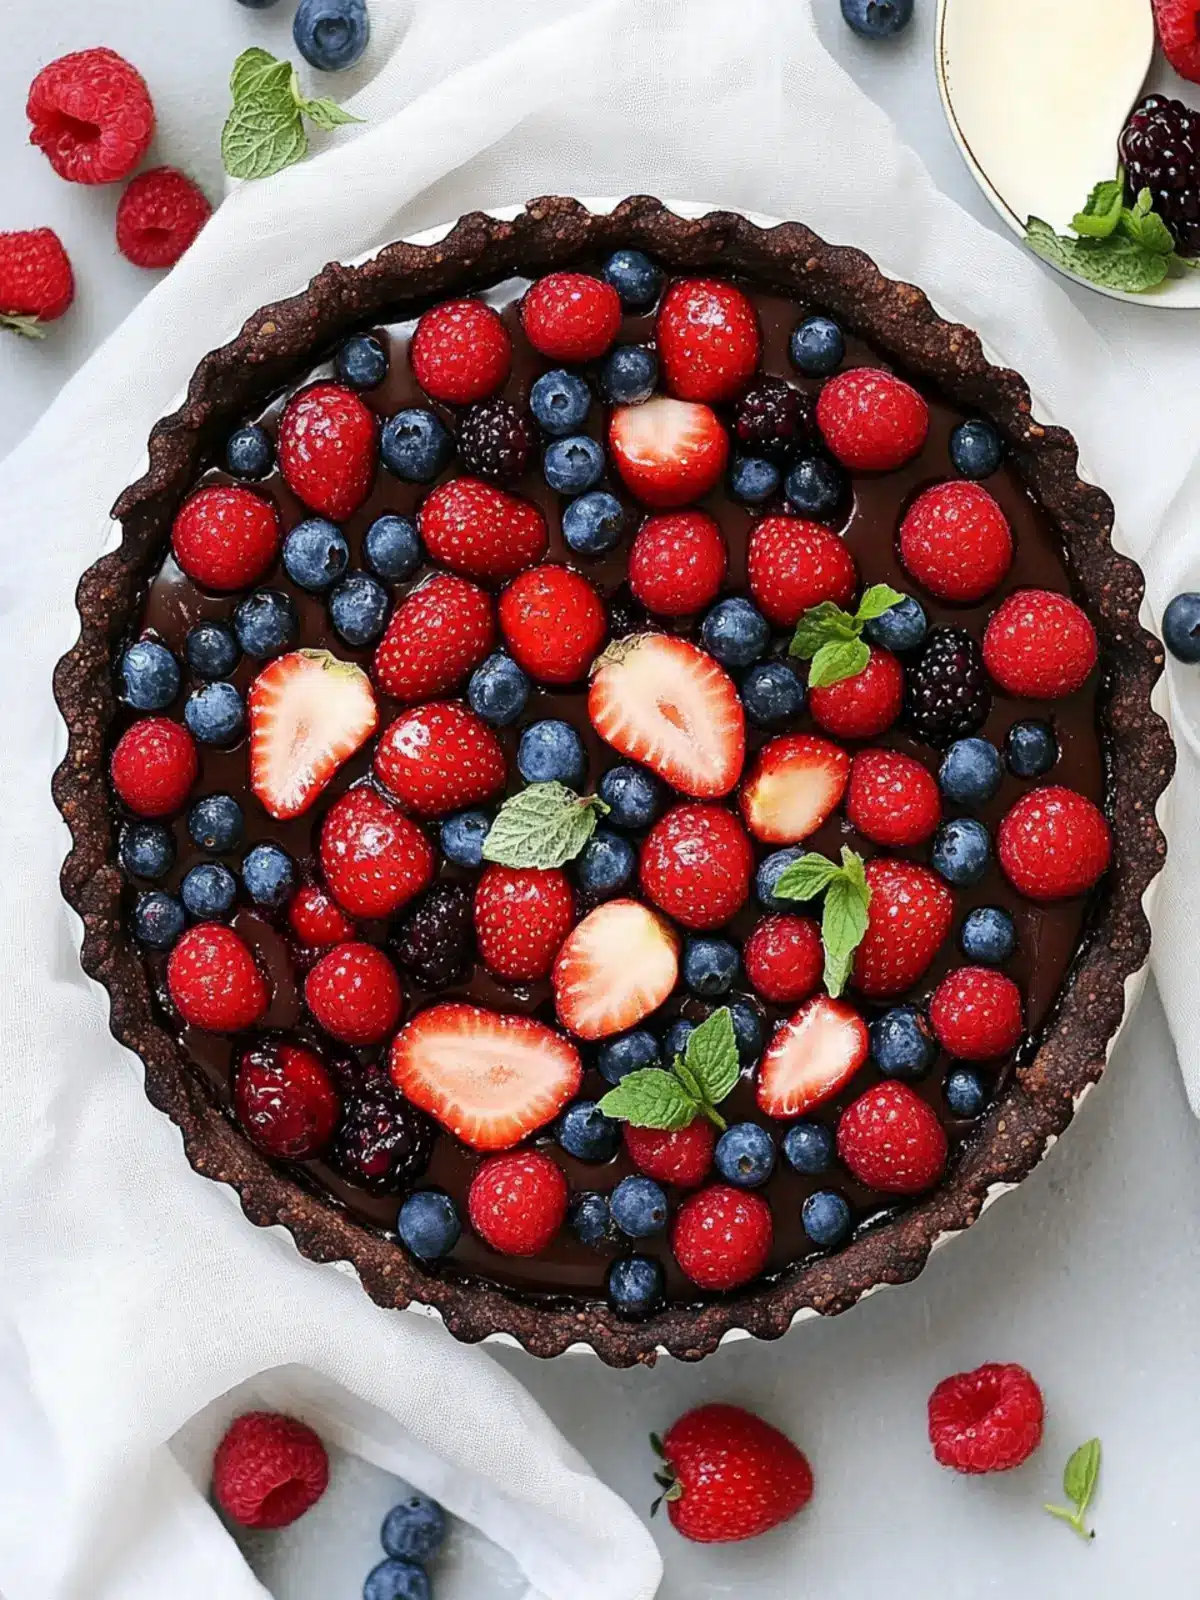
Chocolate Berry Tart Recipe FAQs
How do I choose the best berries for my tart?
Absolutely! When selecting berries, look for vibrant colors and a fresh scent. Strawberries should be bright red, blueberries plump and firm, and raspberries should be deep in color without dark spots. Avoid any berries with mold or signs of overripeness to ensure your tart has a delightful taste and presentation.
What is the best way to store the Chocolate Berry Tart?
Store your Chocolate Berry Tart covered in the refrigerator for up to 5 days. If you added berries on top, it’s a good idea to wait until just before serving to prevent them from getting soggy. If you’re storing the tart without toppings, you can add berries later for freshness!
Can I freeze the Chocolate Berry Tart?
Very much so! To freeze your tart, wrap it tightly in plastic wrap or aluminum foil without toppings. It will keep well in the freezer for up to 2-3 weeks. When you’re ready to enjoy it, simply thaw it in the refrigerator for a few hours before adding your fresh berries.
What should I do if my crust mixture is too dry?
No worries! If your crust mixture isn’t holding together well, simply add more coconut oil, about 1/2 teaspoon at a time, until it reaches the right consistency. The mixture should easily stick together when pinched, which forms a nice, firm crust for your tart.
Is this Chocolate Berry Tart suitable for those with allergies?
It depends on the specific dietary needs! This tart is naturally dairy-free and free from refined sugars, making it a good option for various diets. However, if you’re serving guests with nut or gluten allergies, stick to certified gluten-free oats and ensure no cross-contamination occurs with other ingredients. Always check the labels of your coconut products to confirm they’re allergen-free!
Can I make the Chocolate Berry Tart vegan?
Yes, indeed! This tart is already vegan-friendly, as it uses coconut oil and maple syrup instead of butter or honey. Just be sure to double-check your ingredient labels for any hidden animal products. You can feel good about sharing this delicious dessert with your vegan friends!
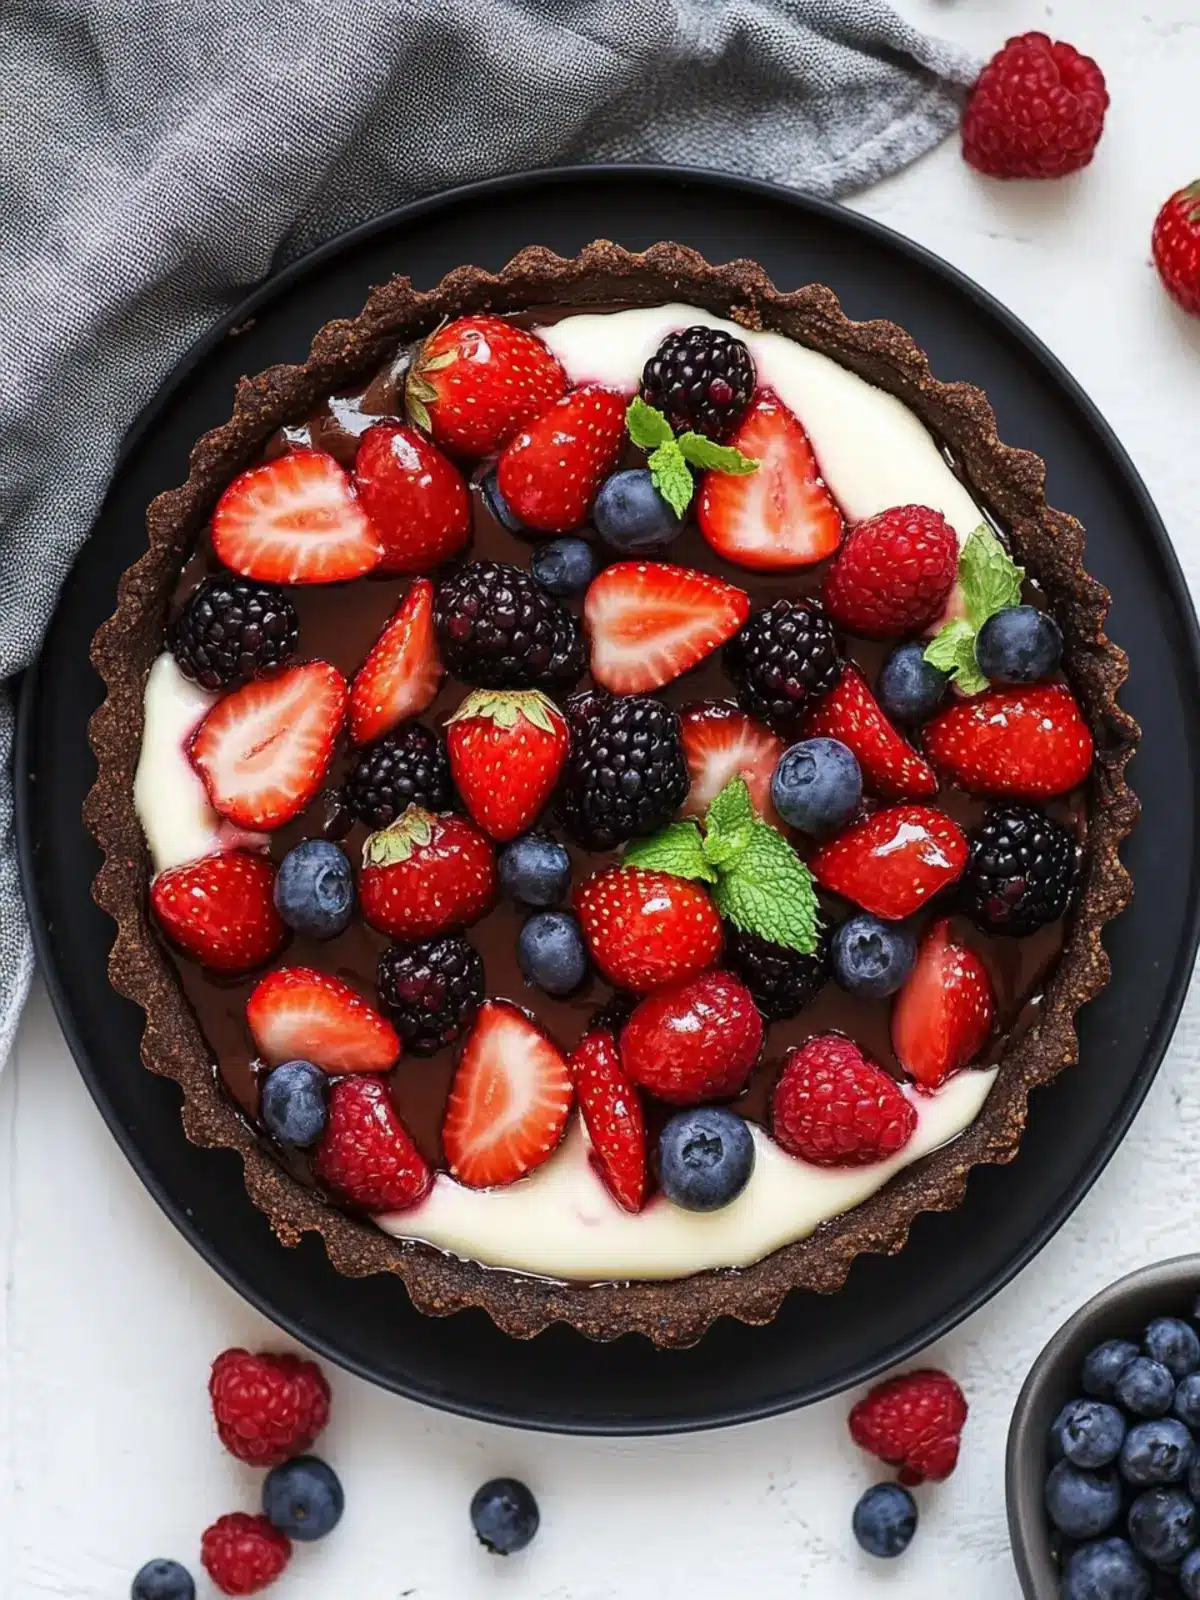
Decadent No Bake Chocolate Berry Tart for Easy Indulgence
Ingredients
Equipment
Method
- Process the Oats: Add rolled oats to a food processor and pulse gently.
- Mix the Crust Ingredients: Combine cocoa powder, maple syrup, coconut oil, and salt into the food processor with the oats.
- Form the Crust: Transfer the dough into a tart pan, pressing down evenly to form a smooth crust. Refrigerate while you prepare the filling.
- Blend the Filling: In the food processor, combine remaining maple syrup, coconut oil, coconut milk, cocoa powder, vanilla extract, and salt. Puree until smooth.
- Spread the Filling: Pour filling over the chilled crust and smooth it out with a spatula.
- Top with Berries: Scatter berries on top and chill for about 30-40 minutes.
- Store for Later: Cover and refrigerate or freeze for up to 2-3 weeks.