
As I stood in my kitchen, the delightful scent of caramelized cookies filled the air, instantly lifting my spirits. There’s something truly special about the effortless charm of a No-Bake Cookie Butter Icebox Cake. This delectable dessert not only offers the creamy indulgence of whipped mascarpone and Lotus Biscoff spread, but it also embraces a world of flavors that keep me captivated and craving more.
Imagine layering those crunchy Biscoff cookies with a velvety cream that feels like a hug in dessert form—it’s a real crowd-pleaser! Perfect for those moments when life gets busy, and you need a sweet treat that wows without cranking up the oven. Whether you’re preparing for a family gathering, a casual get-together, or just a cozy night in, this icebox cake will quickly become your go-to indulgence. Get ready to wow your tastebuds with minimal effort; it’s time to dive into this delightful recipe that truly embodies the pleasures of homemade goodness!
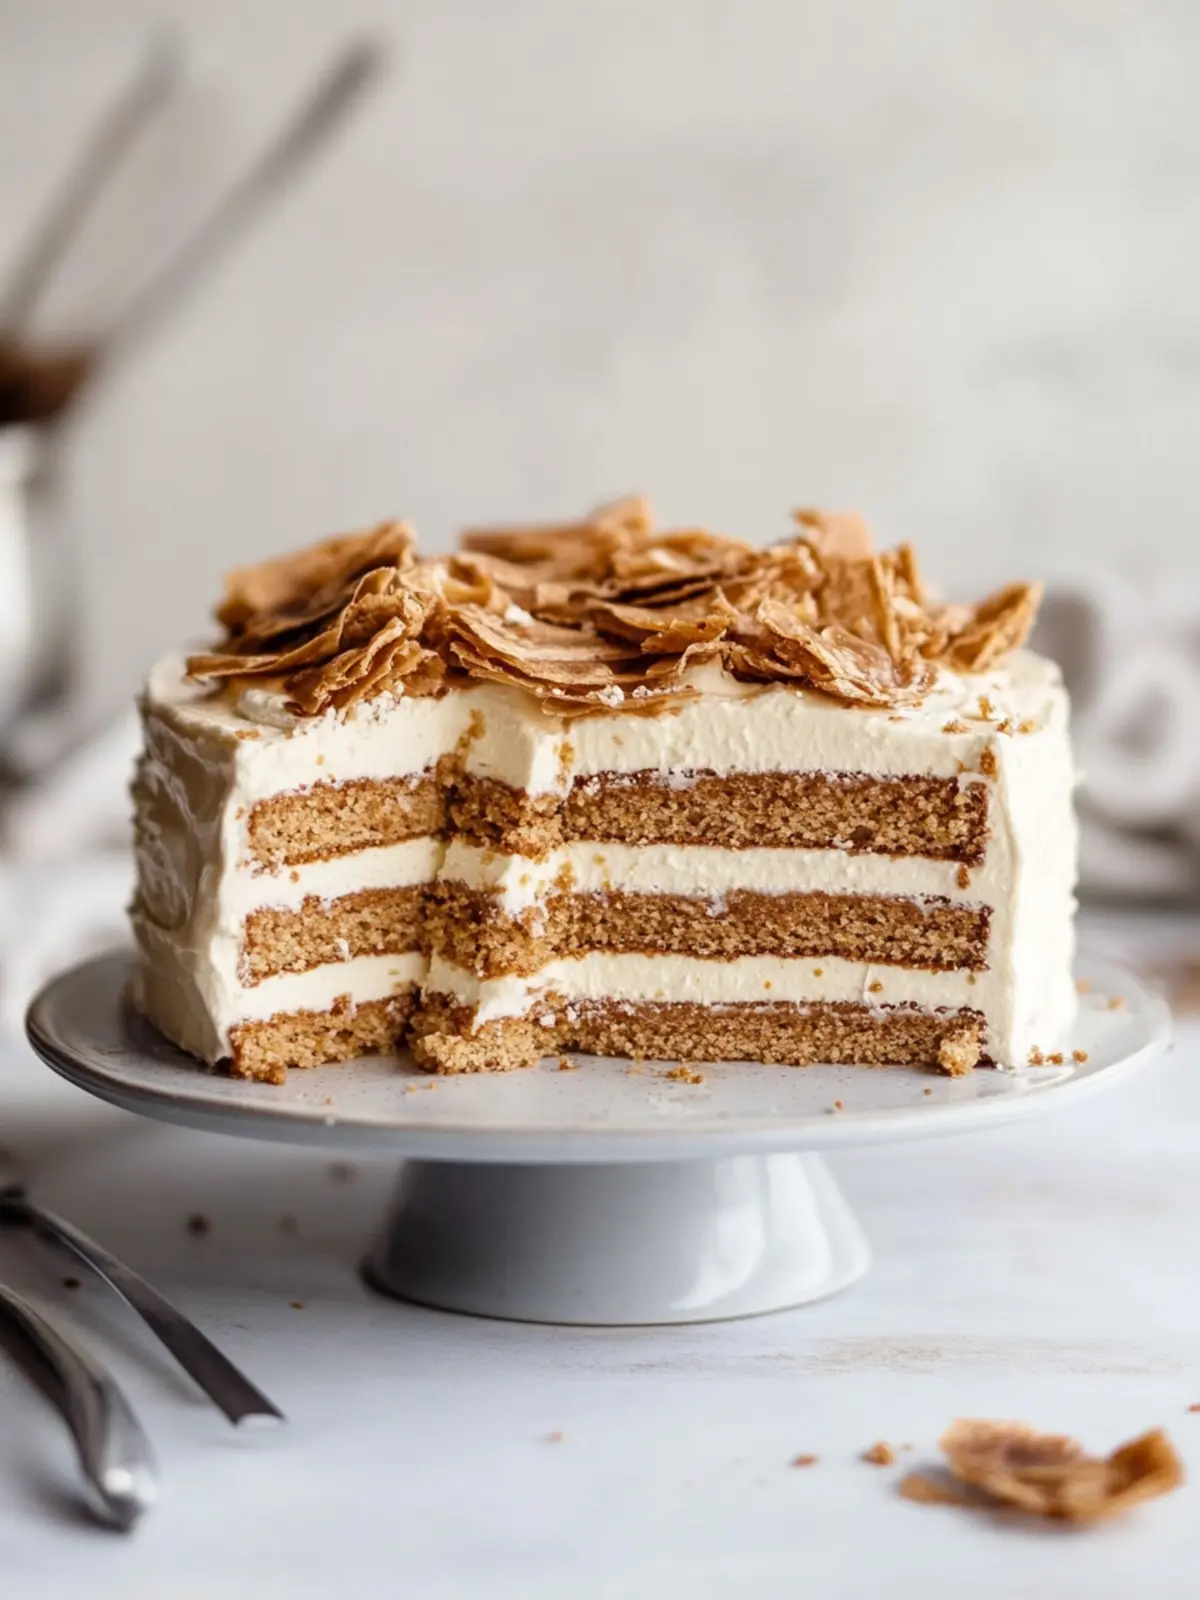
Why is Cookie Butter Icebox Cake a Must-Try?
Indulgence awaits with this luscious dessert that requires zero baking! Rich and creamy, the combination of Lotus Biscoff spread and mascarpone cheese creates an irresistible flavor that’s hard to resist. Easy to assemble, you can whip it up in just 15 minutes and let the fridge do the work overnight. Perfect for gatherings, this cake delights both kids and adults alike, turning any occasion into a sweet celebration. For those looking to take their dessert game to the next level, this recipe is your ticket to impressing friends and family with minimal effort!
Ingredients for Cookie Butter Icebox Cake
Get ready to gather these delicious ingredients for a delightful treat!
For the Cream Mixture
- Heavy cream – perfect for achieving that light, airy texture.
- Lotus Biscoff spread – adds a rich, caramelized flavor that truly shines in this cookie butter icebox cake.
- Mascarpone cheese – lends a smooth creaminess that makes every bite melt in your mouth.
- Pure vanilla extract – a splash of warmth enhances the overall sweetness.
- Kosher salt – just a pinch balances the flavors beautifully.
- Confectioner’s sugar – sweetens the mixture without grittiness.
For the Layers
- Lotus Biscoff cookies – these crunchy delights form the foundation of your cake, adding texture and incredible flavor.
With these ingredients on hand, you’re well on your way to crafting a decadent Cookie Butter Icebox Cake that will leave everyone asking for seconds!
How to Make Cookie Butter Icebox Cake
-
Whip the Cream: Pour 2 cups of heavy cream into the bowl of a stand mixer fitted with a whisk attachment. Whip until medium peaks form, taking about 3-5 minutes for that perfect fluffy texture.
-
Mix the Creamy Blend: Add in ½ cup of Lotus Biscoff spread, ⅓ cup of mascarpone cheese, 1 tsp of pure vanilla extract, a pinch of Kosher salt, and 2 Tbsp of confectioner’s sugar. Mix on low until everything is incorporated and smooth—this should only take a minute or two!
-
Prepare the Pan: Line a 9×5 inch loaf pan with plastic wrap, allowing some overhang. Place a single layer of Biscoff cookies along the bottom, ensuring they fit snugly for a solid base.
-
Layer the Cream: Spread a generous layer of the Biscoff cream mixture on top of the cookies, aiming for a thickness that matches the cookie layer. Repeat the process with more cookies and cream until you reach the top, finishing with a layer of cookies.
-
Chill and Set: Loosely wrap the loaf pan with plastic wrap and pop it in the fridge for a full 24 hours. This resting time is crucial for the flavors to meld and the cake to set perfectly!
-
Serve and Enjoy: When you’re ready to indulge, gently unmold the icebox cake onto a plate or serving tray. To elevate the experience, serve it with warmed Biscoff spread drizzled over the top and a sprinkle of crushed Biscoff cookies for that extra crunch.
Optional: Garnish with a dollop of whipped cream for an extra touch of indulgence.
Exact quantities are listed in the recipe card below.
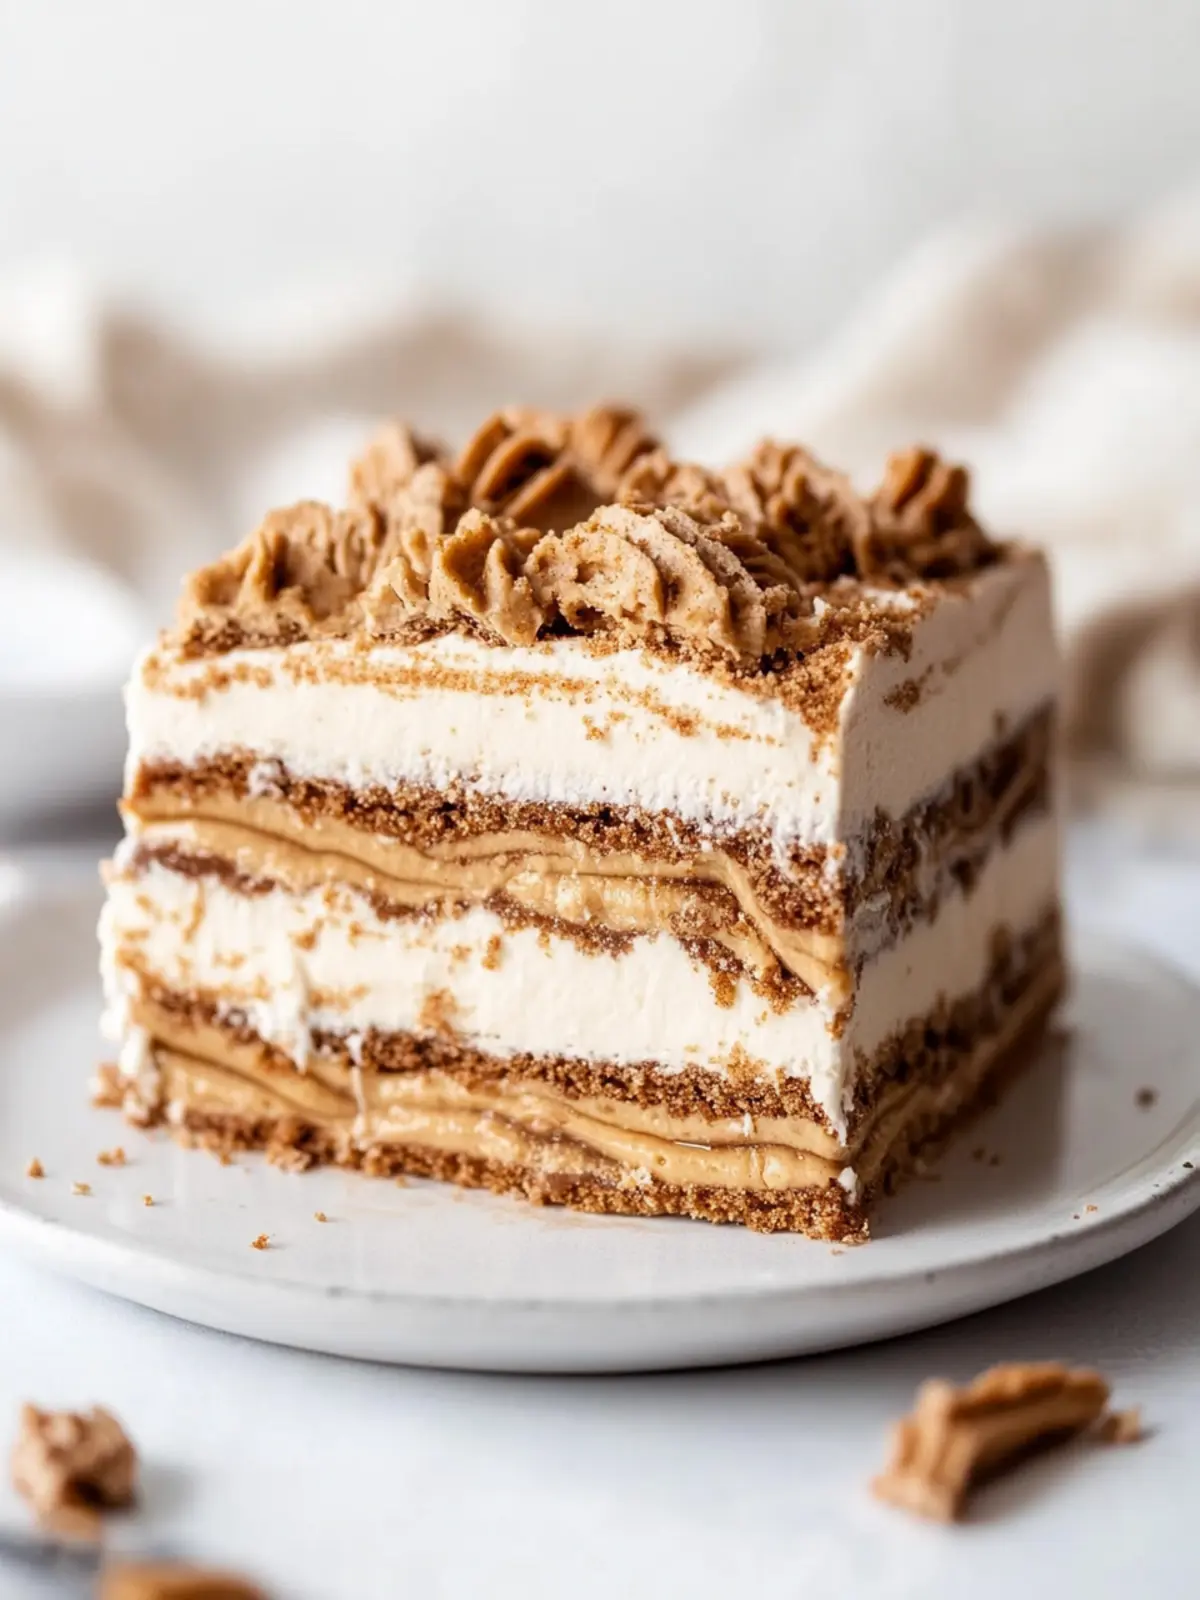
What to Serve with Cookie Butter Icebox Cake?
Pairing this delightful cake with the perfect sides elevates any occasion into a true celebration of flavor and texture.
-
Fresh Berries: The tartness of raspberries and strawberries provides a refreshing contrast to the rich creaminess of the cake.
-
Chocolate Drizzle: A warm chocolate sauce drizzled atop the cake adds a decadent touch that chocolate lovers won’t be able to resist.
-
Whipped Cream: Simple yet luxurious, a dollop of fresh whipped cream enhances the cake’s creamy texture while adding a touch of sweetness.
-
Vanilla Ice Cream: Serve a scoop alongside for a classic combination—who doesn’t love warm and cold desserts mingling together in each bite?
-
Caramel Sauce: Drizzling caramel over the top amplifies the dessert’s sweet notes, making every slice even more indulgent.
-
Mint Leaves: Fresh mint leaves sprinkled on top provide a vibrant pop of color and a refreshing note, cutting through the sweetness.
-
Herbal Tea: A soothing cup of chamomile or peppermint tea pairs beautifully, offering a calming finish to your dessert experience.
-
Coffee: The warm, rich flavors of coffee balance the sweetness of the icebox cake, creating a delightful after-meal treat.
-
Chai Latte: For a spiced twist, serve with a chai latte; the spices in the tea complement the caramel notes of the cake perfectly.
Make Ahead Options
These Cookie Butter Icebox Cakes are perfect for meal prep enthusiasts looking to simplify their dessert game! You can prepare the creamy filling and layer the cake up to 24 hours in advance, allowing the flavors to meld beautifully and the texture to set just right. To maintain quality, simply cover the assembled cake tightly with plastic wrap and refrigerate until you’re ready to serve. When it’s time to enjoy, just unmold the cake onto a plate, drizzle with warmed Biscoff spread, and finish with a sprinkle of crushed cookies for that final touch. With this make-ahead option, you’ll have a stunning dessert ready to impress your guests with minimal last-minute effort!
Expert Tips for Cookie Butter Icebox Cake
-
Use Chilled Ingredients: Keeping your heavy cream and mascarpone cold helps them whip up fluffier, resulting in a light and airy texture for your cookie butter icebox cake.
-
Avoid Overmixing: When combining the cream mixture, mix just until smooth. Overmixing can cause the cream to deflate, impacting the final cake’s texture.
-
Layer Evenly: Aim for uniform layers of cream and cookies—this not only looks beautiful but ensures each slice has a perfect balance of flavors.
-
Patience is Key: Resist the urge to rush the chilling process. Allowing the cake to refrigerate for 24 hours is essential for the flavors to meld beautifully.
-
Experiment with Toppings: Feel free to get creative with toppings! Consider drizzling chocolate sauce, adding fruit, or even crushed nuts for added texture.
Variations & Substitutions for Cookie Butter Icebox Cake
Feel free to take this delightful dessert and make it your own—let’s explore some tempting twists!
-
Dairy-Free: Substitute heavy cream with coconut cream and use dairy-free mascarpone for a luscious plant-based treat.
-
Nutty Addition: Incorporate ¼ cup of almond or hazelnut butter into the cream mixture for a nutty flavor that enriches each bite.
-
Spicy Twist: Add a teaspoon of cinnamon or a pinch of nutmeg into the cream to infuse a cozy warmth, perfect for fall!
-
Fruit Layer: Slice fresh bananas or strawberries and layer them between the cookies and cream for a fruity burst of flavor and extra freshness.
-
Chocolate Lovers: Mix in ¼ cup of cocoa powder to the cream for a deliciously chocolatey version that complements the cookie butter beautifully.
-
Coffee Infusion: Stir in a tablespoon of instant coffee or espresso powder into the cream for an energizing mocha flavor that coffee lovers will adore.
-
Crunchy Texture: Toss in crushed walnuts or pecans to the cream for a delightful crunch that contrasts with the silky texture.
-
Add Some Zing: Sprinkle in a splash of orange zest to give your icebox cake a refreshing citrus twist that brightens up the rich flavors.
With these fun variations, your Cookie Butter Icebox Cake can become a flavor adventure every time you make it!
How to Store and Freeze Cookie Butter Icebox Cake
Fridge: Store leftover slices in an airtight container in the fridge for up to 3 days. This keeps the dessert fresh and ready to enjoy at a moment’s notice.
Freezer: For longer storage, wrap individual slices tightly in plastic wrap, then place them in a freezer-safe container. They can be kept for up to 2 months.
Thawing: To enjoy frozen slices, transfer them to the fridge overnight or leave at room temperature for about 1 hour before serving.
Reheating: This cake is best served chilled, but if you like it slightly warm, pop a slice in the microwave for just 10-15 seconds to slightly soften the cream.
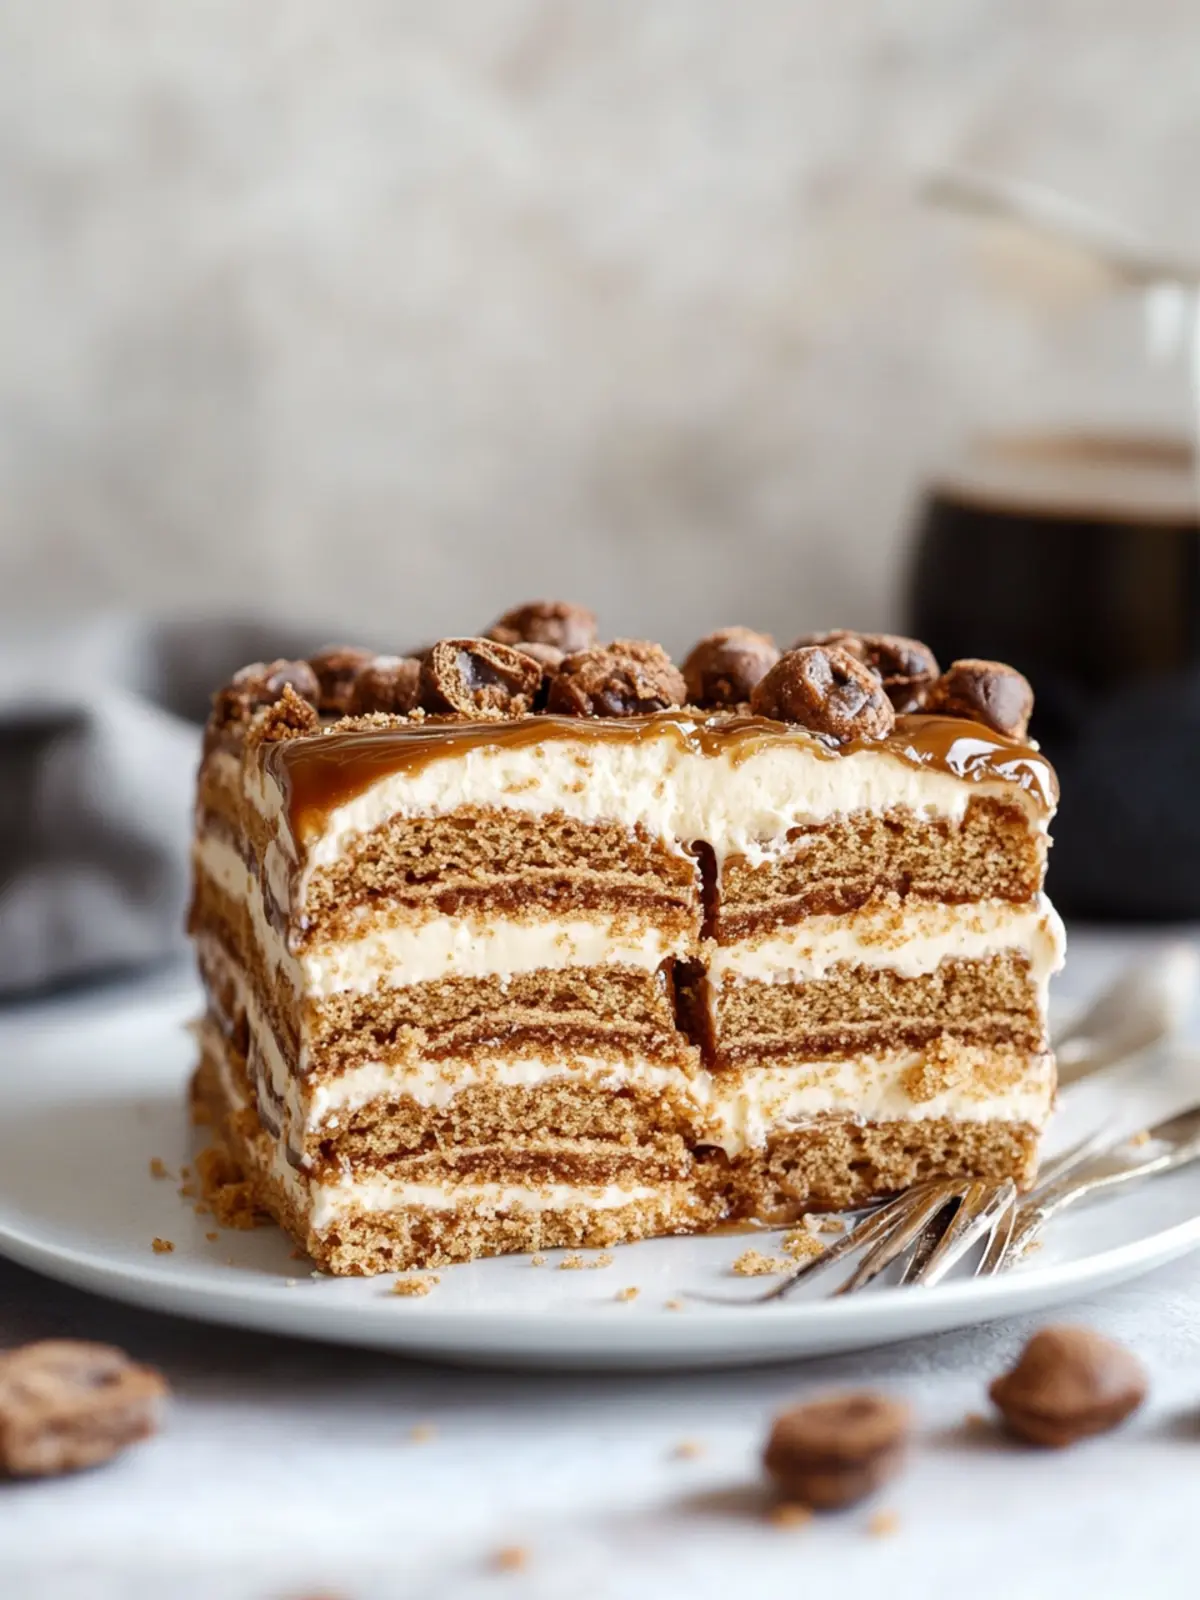
Cookie Butter Icebox Cake Recipe FAQs
How do I choose the best heavy cream for the Cookie Butter Icebox Cake?
Absolutely! Look for heavy cream with at least 36% milk fat for the best whipping results. This higher fat content will whip up beautifully to create those lovely medium peaks you want in your cake. Check the carton for freshness and avoid creams that are starting to approach their expiration date.
How should I store leftovers from the Cookie Butter Icebox Cake?
To keep your indulgent creation fresh, you’ll want to store leftover slices in an airtight container in the fridge. The cake will stay delicious for up to 3 days, so you can savor its creamy goodness a little longer!
Can I freeze Cookie Butter Icebox Cake, and if so, how?
Very! Freezing is a great option if you want to save some for later. Wrap individual slices tightly in plastic wrap, making sure they are sealed properly to prevent freezer burn. Place them in a freezer-safe container, and they’ll stay good for up to 2 months. When ready to enjoy, let the slices thaw in the fridge overnight or at room temperature for about 1 hour.
What should I do if my whipped cream doesn’t form peaks when making the cake?
No worries! If your whipped cream is not forming peaks, it might be that the cream isn’t cold enough. Ensure your bowl and whisk are well-chilled, and try chilling your cream again for about 10-15 minutes. If it still doesn’t whip, check if the cream is sufficiently fresh. Using a cream with a higher fat content often helps achieve the desired fluffiness.
Are there any dietary restrictions I should consider when making the Cookie Butter Icebox Cake?
Definitely! Since this recipe contains dairy products, it’s important to note that it’s not suitable for those with lactose intolerance or dairy allergies. For a dairy-free version, you can try alternatives like coconut cream for whipping, and various dairy-free spreads in place of Lotus Biscoff for a similar flavor. Just be sure to check that all ingredients are certified dairy-free!
Can I substitute the Lotus Biscoff spread in the Cookie Butter Icebox Cake?
Certainly! While Biscoff spread is uniquely delicious, you could try using almond butter, peanut butter, or even Nutella as replacements. Keep in mind that these substitutes will alter the flavor profile but can still yield a delightful icebox cake. Adjust sweetness accordingly, especially with nut butters that may require additional sugar for balance.
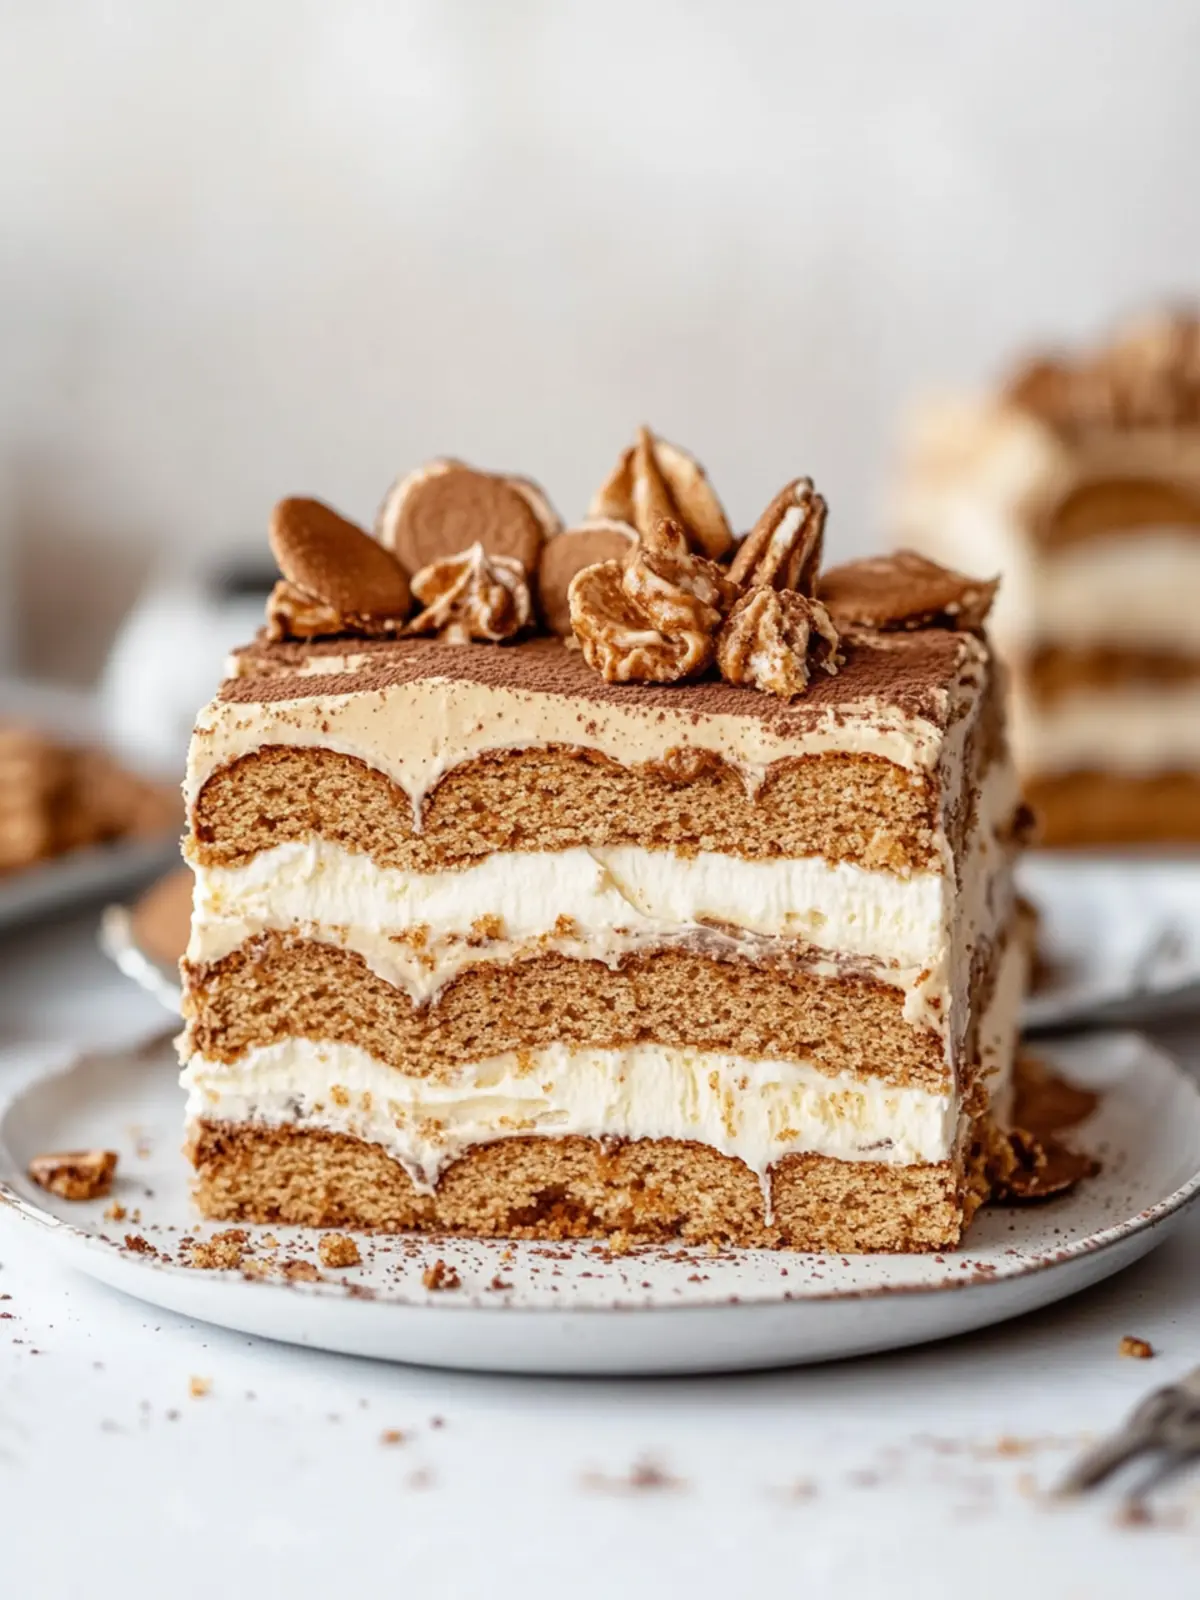
Indulge in Cookie Butter Icebox Cake: A No-Bake Delight
Ingredients
Equipment
Method
- Pour 2 cups of heavy cream into the bowl of a stand mixer fitted with a whisk attachment. Whip until medium peaks form, taking about 3-5 minutes.
- Add in ½ cup of Lotus Biscoff spread, ⅓ cup of mascarpone cheese, 1 tsp of pure vanilla extract, a pinch of Kosher salt, and 2 Tbsp of confectioner's sugar. Mix on low until everything is incorporated and smooth.
- Line a 9×5 inch loaf pan with plastic wrap, allowing some overhang. Place a single layer of Biscoff cookies along the bottom.
- Spread a generous layer of the Biscoff cream mixture on top of the cookies. Repeat the process with more cookies and cream until you reach the top, finishing with a layer of cookies.
- Loosely wrap the loaf pan with plastic wrap and pop it in the fridge for a full 24 hours.
- When you’re ready to indulge, gently unmold the icebox cake onto a plate or serving tray. Serve with warmed Biscoff spread drizzled over the top and a sprinkle of crushed Biscoff cookies.