
There’s something undeniably comforting about the smell of fresh bread wafting through the kitchen, especially when it’s infused with the vibrant flavors of garlic and herbs. That first bite of crusty yet fluffy Garlic Herb Dutch Oven Bread transports me to a cozy café, surrounded by friends and laughter. I often find myself plotting impromptu gatherings just to share this delightful loaf with loved ones.
This recipe has quickly become my go-to for satisfying my craving for homemade goodness, especially on those busy weekends when fast food just won’t do. With minimal hands-on time and the charming rustic appeal of a Dutch oven, this bread is as easy as it is delicious. The combination of warm water, aromatic garlic, and fresh herbs creates a dough that practically sings with flavor, begging to be slathered in butter or served alongside a hearty soup.
Join me as I unveil the secrets to crafting this irresistible bread, which promises to delight both family and friends, turning any meal into a special occasion without the fuss. Let’s dive in!
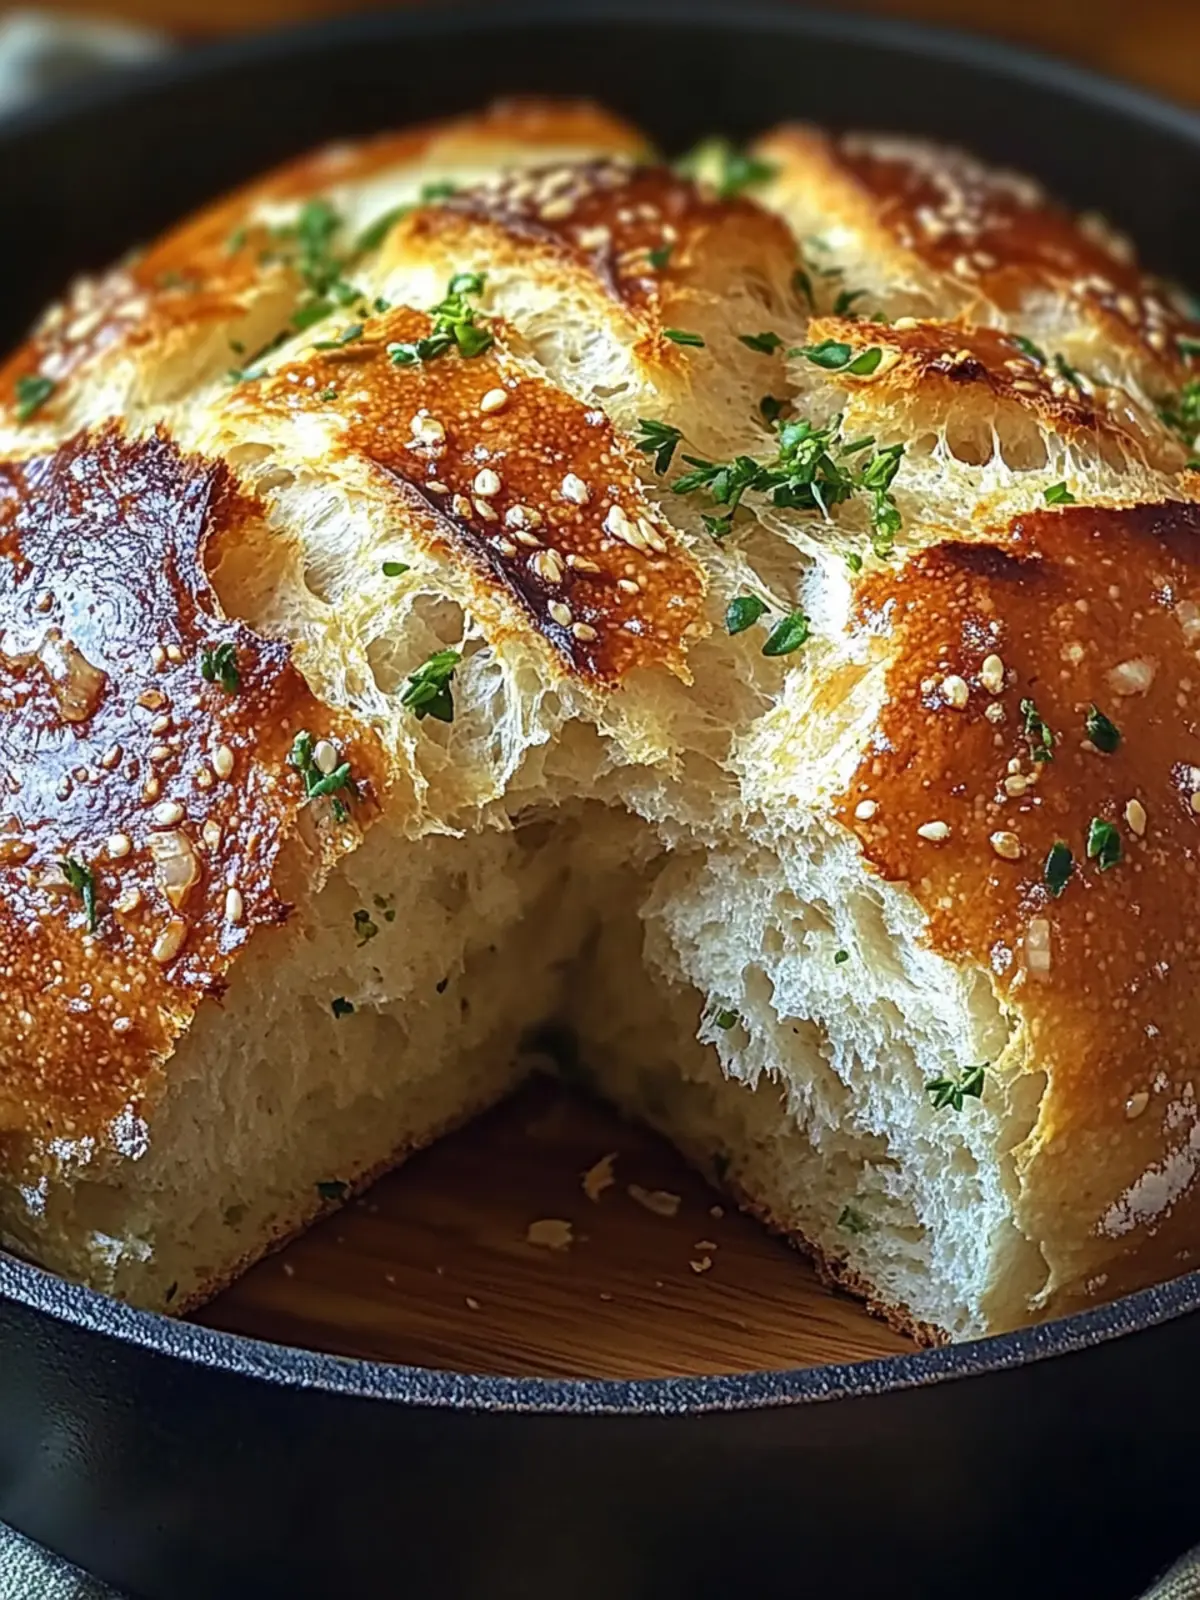
Why is Garlic Herb Dutch Oven Bread a Must-Try?
Irresistible aroma: The mouthwatering scent of garlic and herbs will fill your kitchen, inviting compliments before the bread is even served.
Crowd-pleaser: Perfect for sharing, this bread transforms any meal into a celebration, whether it’s a casual family dinner or a festive gathering.
Easy preparation: With just a few simple ingredients and minimal active time, you can enjoy homemade goodness without the hassle.
Exceptionally versatile: Pair it with soups, salads, or enjoy it on its own—it complements almost any dish beautifully.
Rustic charm: Baking in a Dutch oven gives this bread a stunning crust and delightful texture, making it a showstopper on any table.
Elevate your bread game with this easy recipe and step away from fast food!
Garlic Herb Dutch Oven Bread Ingredients
For the Dough
• 3 cups all-purpose flour – essential for structure; use bread flour for a chewier texture.
• 1.25 teaspoons salt – enhances flavor and strengthens the dough; don’t skip this!
• 0.5 teaspoon instant yeast – ensures a light rise; no waiting for it to activate.
• 1.5 cups warm water – hydrates the flour for a soft dough; ensure it’s not too hot.
For the Flavor
• 3 tablespoons olive oil – adds richness and moisture; you can substitute with melted butter if desired.
• 4 cloves garlic – provides bold flavor; minced garlic can be swapped for roasted for a sweeter taste.
• 1 tablespoon fresh rosemary – aromatic and earthy; dried rosemary works in a pinch.
• 1 tablespoon fresh thyme – contributes a lovely herbal note; feel free to mix it up with other herbs.
• 1 tablespoon fresh parsley – brightens up the flavors; it can be omitted if you prefer a simpler taste.
For Dusting
• additional flour – prevents sticking when shaping your loaf; use it liberally!
Embrace the delightful flavors of Garlic Herb Dutch Oven Bread as you embark on this baking journey!
How to Make Garlic Herb Dutch Oven Bread
-
Mix Dry Ingredients: In a large mixing bowl, combine 3 cups of all-purpose flour, 1.25 teaspoons of salt, and 0.5 teaspoon of instant yeast. Stir until the mixture is well integrated.
-
Combine Wet Ingredients: In a separate bowl, mix 1.5 cups of warm water, 4 cloves of minced garlic, 3 tablespoons of olive oil, and your chopped fresh herbs until everything is combined.
-
Form the Dough: Pour the wet mixture into the bowl with the dry ingredients. Mix gently until a shaggy dough forms, showing that your ingredients are coming together.
-
Let it Rise: Cover the bowl tightly and let the dough rest at room temperature for 12 to 18 hours. This long rise is magical for developing flavor!
-
Shape the Loaf: After resting, turn the risen dough onto a floured surface. Gently shape it into a round loaf, taking care not to deflate it too much.
-
Final Rest: Dust the loaf with additional flour, cover it, and let it rest for another 1 to 2 hours. Watch it puff up beautifully during this time!
-
Preheat the Oven: Preheat your Dutch oven to 450°F (230°C) for 30 minutes before baking. This high heat ensures a perfect crust.
-
Bake the Bread: Carefully place your round loaf in the hot Dutch oven, cover it with the lid, and bake for 30 minutes. The steaming environment works wonders for the crust!
-
Finish Baking: After 30 minutes, remove the lid and continue to bake for an additional 15 to 20 minutes until the loaf is golden brown and sounds hollow when tapped.
-
Cool and Slice: Let the bread cool on a wire rack before slicing. This allows it to set and makes for better slicing!
Optional: Serve warm with butter or your favorite dipping oil for an added treat.
Exact quantities are listed in the recipe card below.
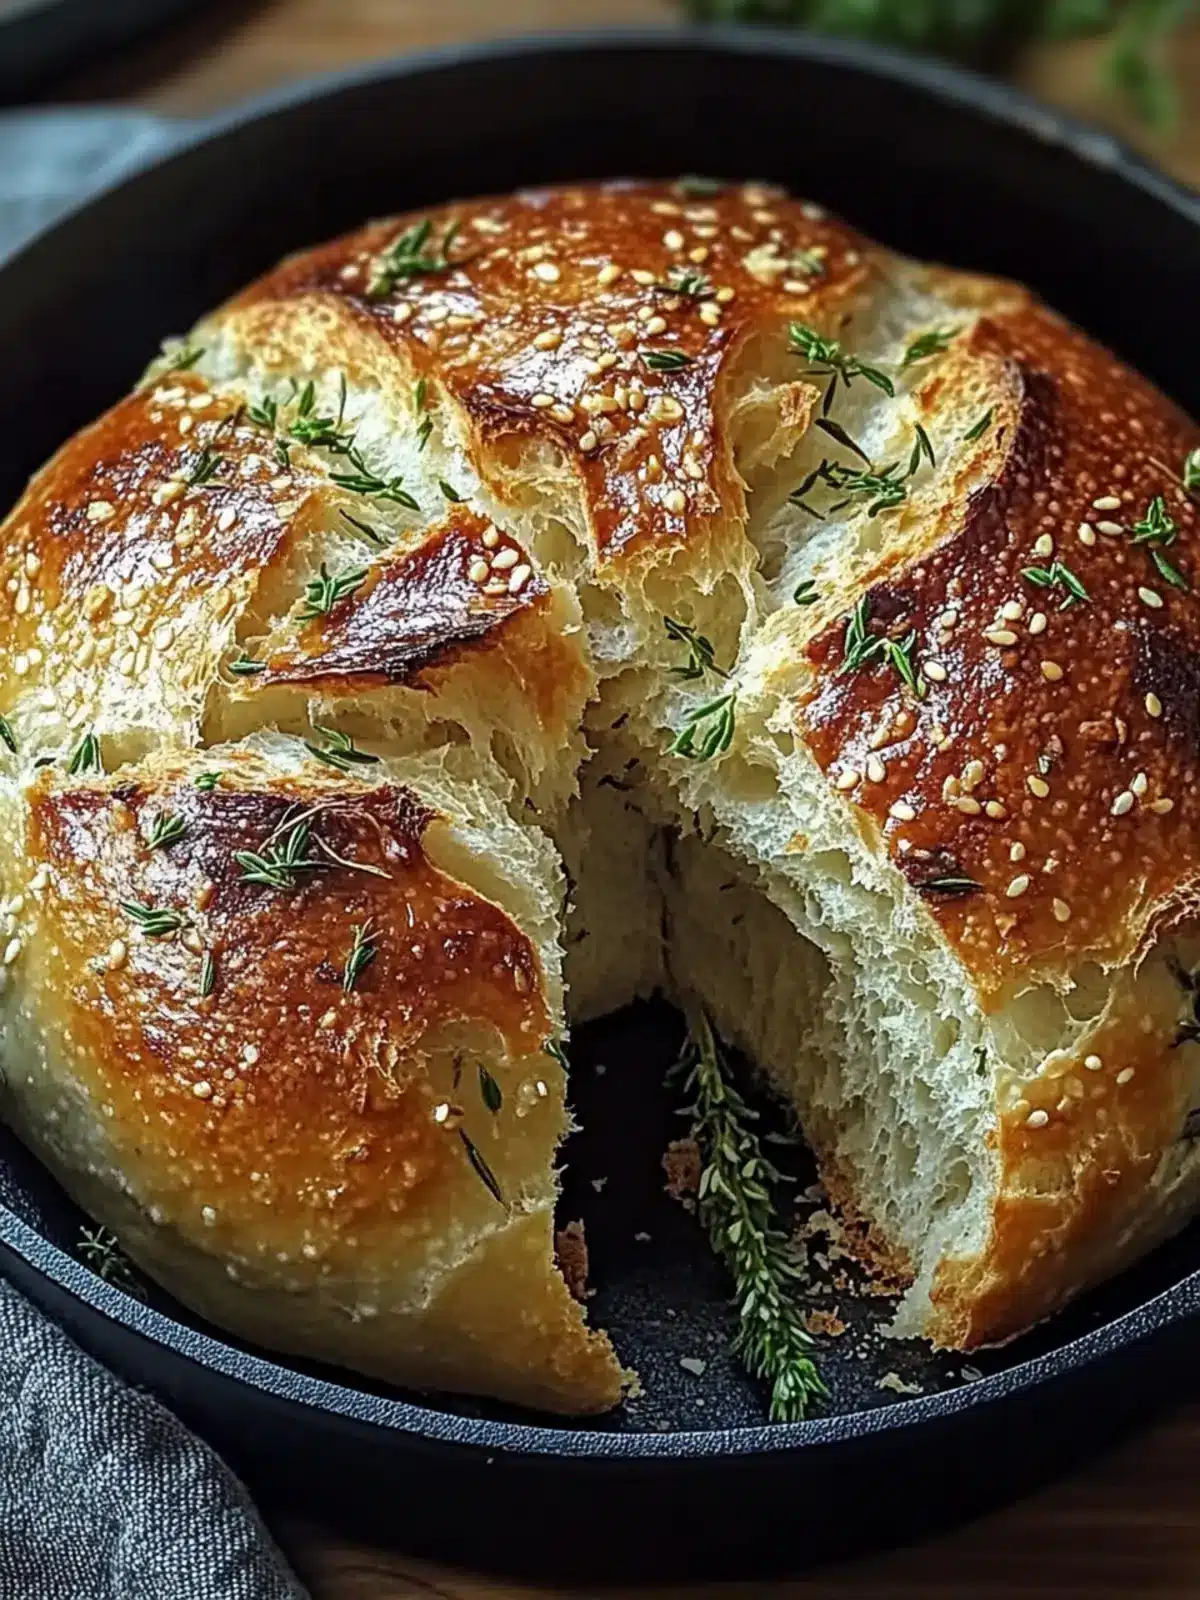
Expert Tips for Garlic Herb Dutch Oven Bread
• Hydration is Key: Ensure your water is warm, not hot. Too hot can kill the yeast, preventing your bread from rising properly.
• Long Rise Time: Don’t rush the 12 to 18-hour rise. This extended time helps develop deeper flavors in your Garlic Herb Dutch Oven Bread.
• Gentle Handling: When shaping the dough, be gentle to retain air bubbles. Too much handling can lead to denser bread—nobody wants that!
• Flour Generously: Use enough flour when dusting the surface and the loaf itself to prevent sticking. A sticky dough can spoil your baking experience.
• Dutch Oven Care: Preheat your Dutch oven thoroughly. This step is critical for achieving that beautiful crust that makes your bread sing with flavor.
Make Ahead Options
These Garlic Herb Dutch Oven Bread are perfect for busy cooks seeking to save time without sacrificing flavor! You can prepare the dough up to 24 hours in advance by following the initial mixing and rising steps; simply cover a bowl tightly and refrigerate it instead of leaving it at room temperature. For optimal flavor, remember to shape the loaf and let it rest for 1 to 2 hours just before baking. By making this bread ahead of time, you’ll enjoy fresh, crusty bread with minimal fuss, transforming your kitchen into a haven of delicious aromas as your family gathers around the table. Just bake and enjoy!
Garlic Herb Dutch Oven Bread Variations
Feel free to make this delightful bread your own with these fun variations and substitutions!
- Dairy-Free: Replace olive oil with coconut oil or avocado oil for a plant-based twist that maintains delicious flavor.
- Herb Blend: Experiment with different herbs like oregano, basil, or dill for a fresh take on the classic! A mix of your favorites can elevate the flavor profile.
- Cheesy Delight: Stir in half a cup of shredded cheese like parmesan or cheddar into the dough for a cheesy garlic bread experience. The cheese adds a delightful umami kick!
- Spicy Kick: Add crushed red pepper flakes to the dough for a subtle heat that balances beautifully with the garlic and herbs. Just a pinch can bring your bread to the next level!
- Whole Wheat: Swap half of the all-purpose flour for whole wheat flour for a heartier texture and added nutrition. This variation offers a nutty flavor that pairs well with the herbs.
- Sweet Twist: Incorporate a tablespoon of honey or maple syrup into the wet ingredients for a touch of sweetness—delicious with butter! This twist can surprise guests and elevate your bread game!
- Garlic Lover’s: Increase the garlic to 6 cloves for an extra punch of flavor. Ideal for those who can’t get enough of that aromatic goodness!
- Seed Topper: Before baking, sprinkle sesame or poppy seeds on top for added crunch and visual appeal. These seeds not only add texture but also deepen the flavor.
Customize your Garlic Herb Dutch Oven Bread and create your perfect loaf!
How to Store and Freeze Garlic Herb Dutch Oven Bread
Room Temperature: Allow the bread to cool completely before storing it in a paper bag for up to 3 days to maintain its crusty exterior.
Fridge: For an extended shelf life, wrap the bread in plastic wrap and store it in the fridge for up to 5 days, though this may soften the crust.
Freezer: Slice the Garlic Herb Dutch Oven Bread and place it in an airtight container or a freezer bag to freeze for up to 3 months. Make sure to label the date!
Reheating: To enjoy frozen slices, simply toast them directly from the freezer or warm them in the oven at 350°F (175°C) for about 10 minutes until heated through.
What to Serve with Garlic Herb Dutch Oven Bread?
Create an unforgettable culinary experience with these delectable pairings, perfect for enhancing your homemade loaf.
-
Creamy Tomato Soup: The rich and tangy flavors of tomato soup create a perfect contrast to the fragrant, chewy bread.
-
Caesar Salad: Crisp romaine and a zesty dressing add freshness, balancing the warm, inviting flavors of your bread beautifully.
-
Olive Oil Dip: A dish of high-quality olive oil drizzled with balsamic vinegar and a sprinkle of herbs makes an indulgent touch for dipping.
-
Roasted Garlic Butter: The classic combination of buttery, roasted garlic enhances the savory notes of the bread, making every bite unforgettable.
-
Savory Beef Stew: Hearty and comforting, a bowl of rich beef stew will soak into the bread, making for a satisfying meal.
-
Cheese Platter: A selection of soft cheeses, like Brie or goat cheese, paired with fresh fruits and nuts will elevate your dining experience.
-
Chardonnay: This crisp white wine offers a refreshing contrast to the bread’s warm flavors, providing a perfect sip for an elevated meal.
-
Chocolate Chip Cookies: For dessert, the warmth and gooeyness of cookies will have everyone reaching for a second slice of that fresh bread!
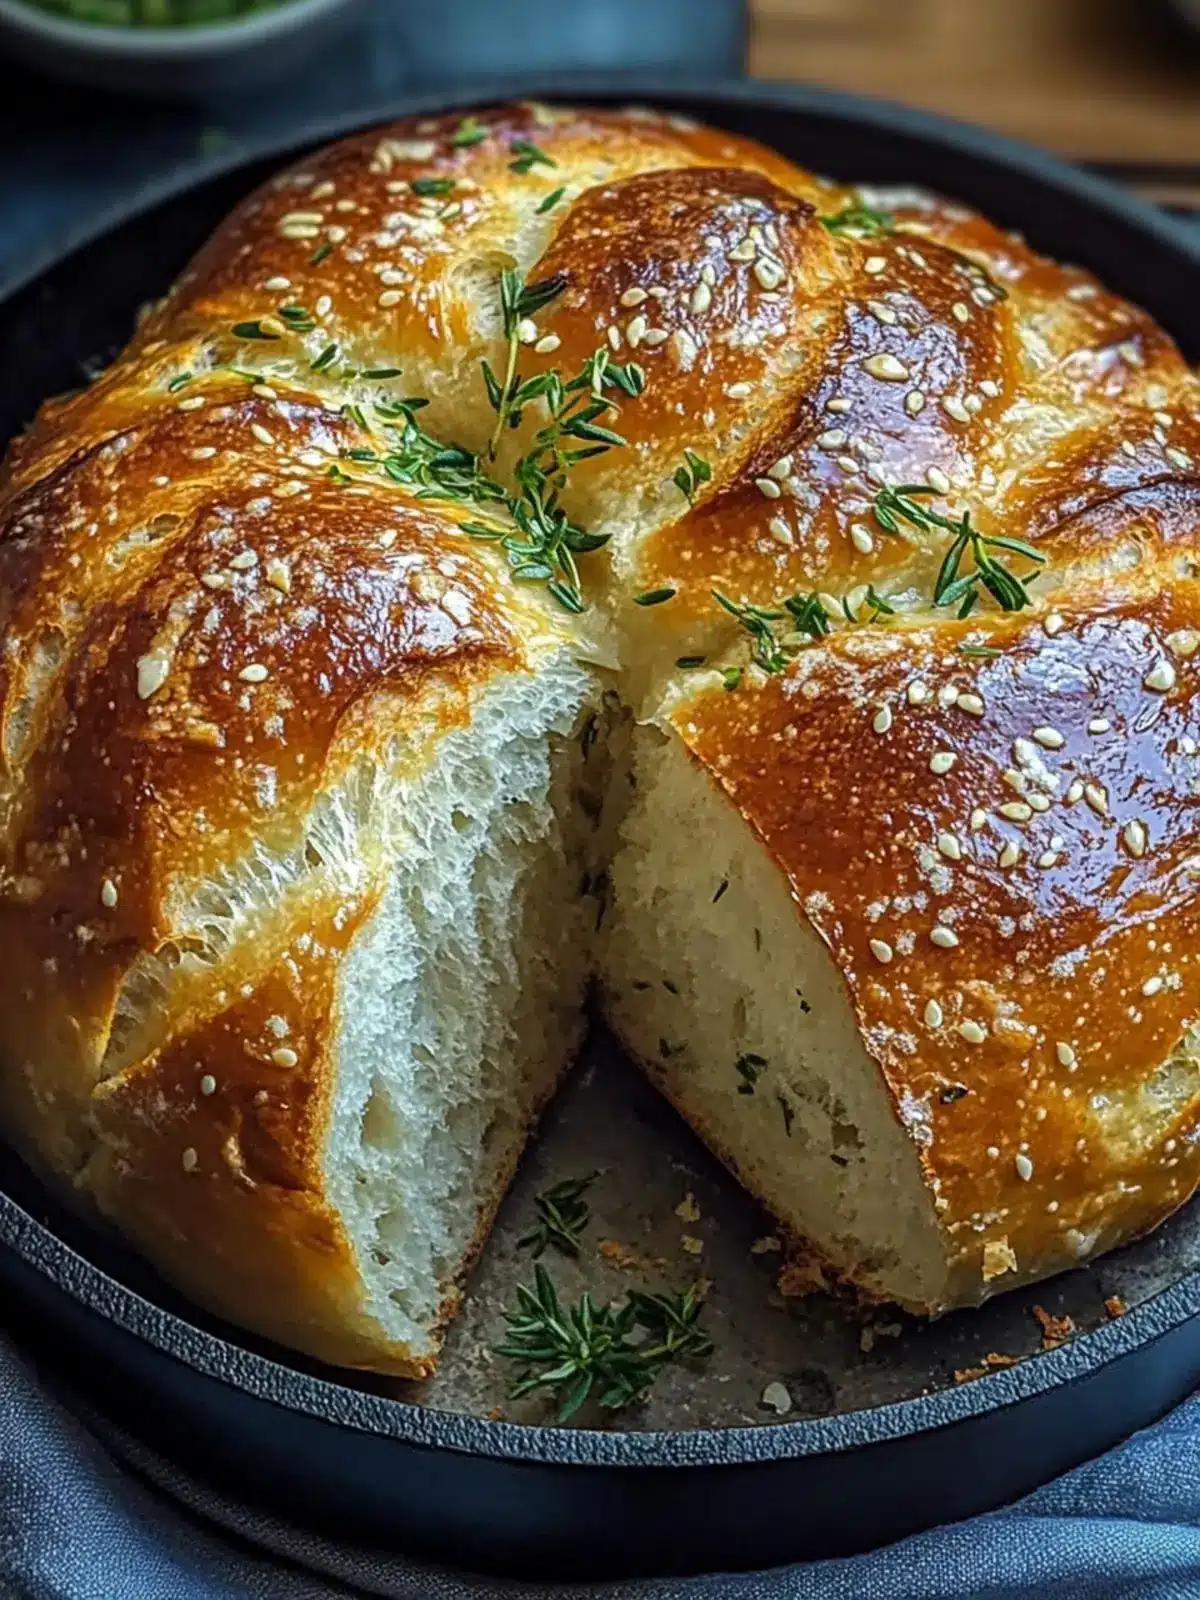
Garlic Herb Dutch Oven Bread Recipe FAQs
What kind of flour should I use for Garlic Herb Dutch Oven Bread?
Absolutely! While all-purpose flour works beautifully, using bread flour can add a chewier texture that many find delightful. If you happen to have whole wheat flour, you can substitute a portion of the all-purpose flour for a nuttier flavor. Just remember to adjust the water slightly, as whole wheat flour absorbs more moisture.
How should I store my Garlic Herb Dutch Oven Bread?
Once the bread has completely cooled, I recommend placing it in a paper bag to keep its crusty exterior for up to 3 days at room temperature. If you’re looking to prolong its freshness, wrap it tightly in plastic wrap and store it in the refrigerator for up to 5 days—though it may lose some of that beloved crustiness.
Can I freeze Garlic Herb Dutch Oven Bread?
Yes, you certainly can! I often slice the loaf before freezing it. Place the slices in a single layer on a baking sheet until frozen solid. Then transfer them to an airtight container or zipped freezer bag, labeling it with the date. Your bread will remain delicious for up to 3 months!
What if my dough doesn’t rise?
Very important! If your dough doesn’t rise after the 12 to 18 hours, ensure your yeast is fresh, as expired yeast can hinder rising. Additionally, yeast needs warmth; if your kitchen is too cold, try placing the bowl in a slightly warmer area, like near the oven while it’s preheating. Utilizing a warm, draft-free spot can make a world of difference!
Can I use dried herbs instead of fresh in this recipe?
Of course! Fresh herbs pack a punch, but if dried herbs are what you have on hand, you can substitute 1 teaspoon of dried herbs for each tablespoon of fresh. Just remember to include your personal touch—baking is as much about creativity as it is about following recipes!
Is this bread safe for my pets?
While the ingredients in Garlic Herb Dutch Oven Bread are generally safe for humans, it’s best to avoid sharing bread with pets. Ingredients like garlic can be toxic to dogs and cats in sufficient quantities. Always check for any ingredient that might pose a risk before sharing your delicious creations!
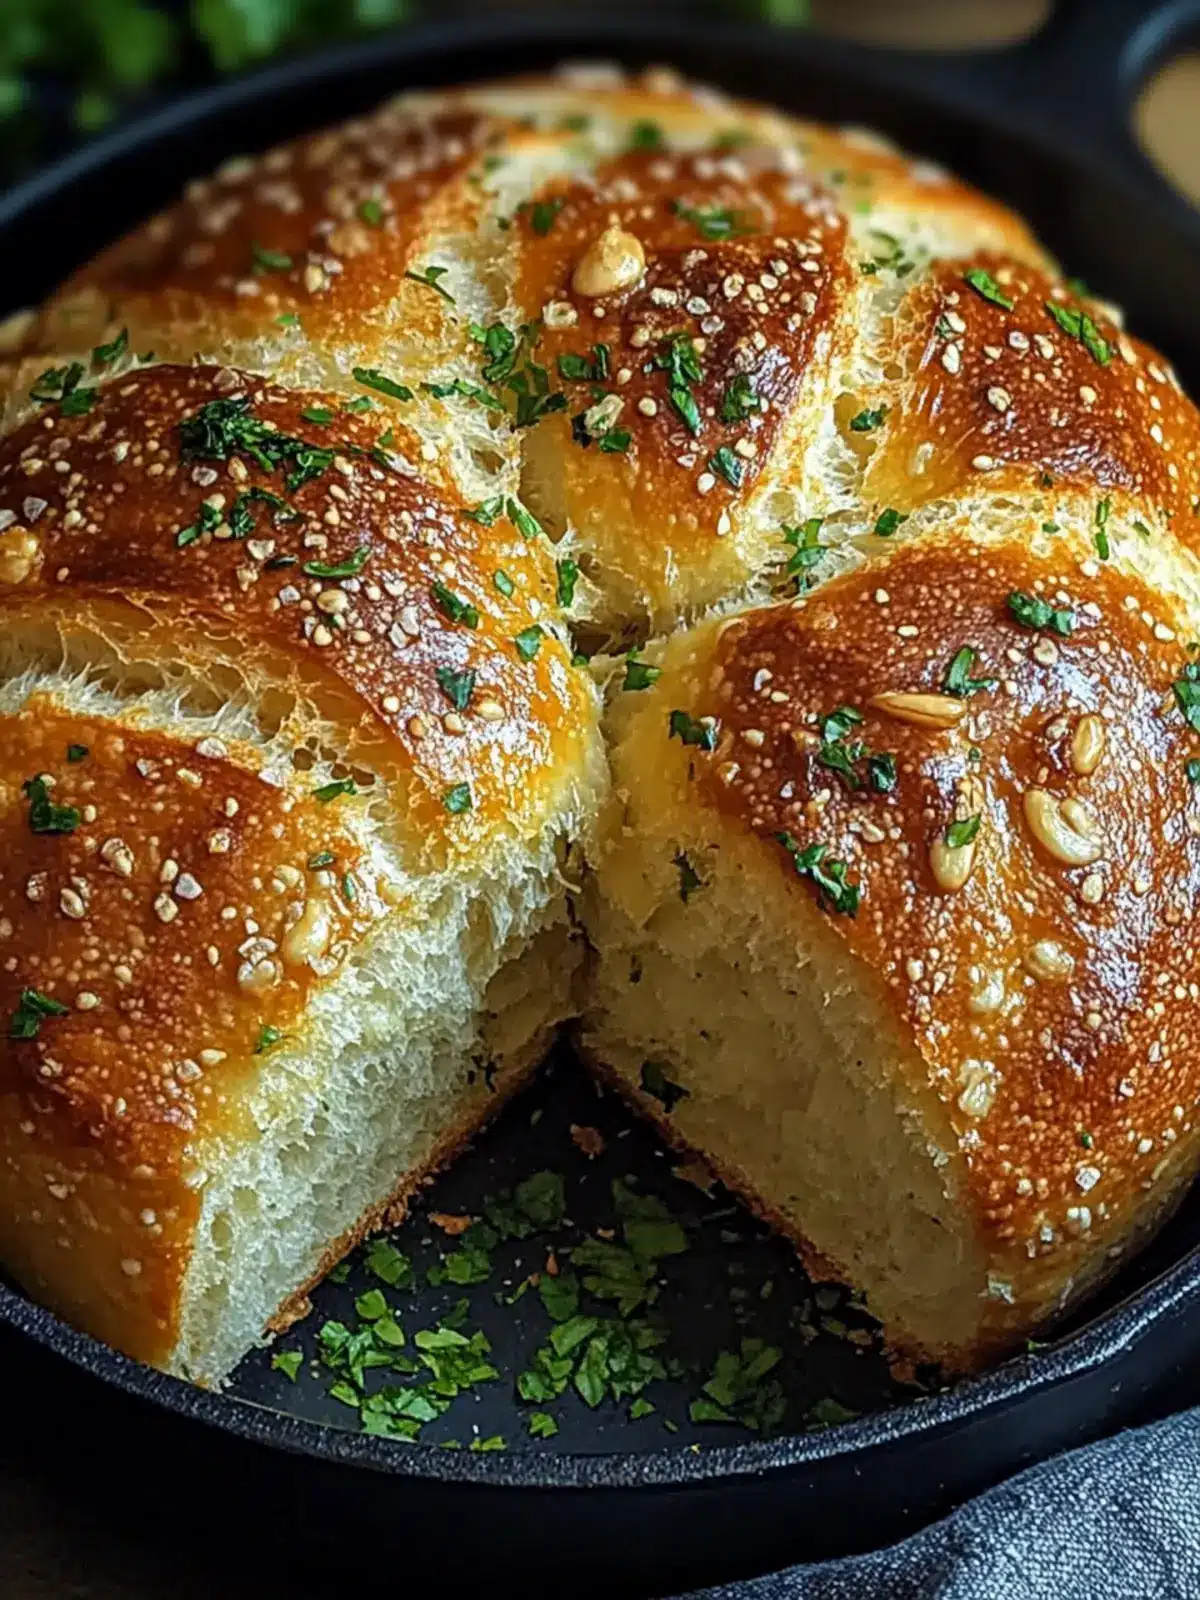
Irresistibly Easy Garlic Herb Dutch Oven Bread Recipe
Ingredients
Equipment
Method
- In a large mixing bowl, combine 3 cups of all-purpose flour, 1.25 teaspoons of salt, and 0.5 teaspoon of instant yeast. Stir until the mixture is well integrated.
- In a separate bowl, mix 1.5 cups of warm water, 4 cloves of minced garlic, 3 tablespoons of olive oil, and your chopped fresh herbs until everything is combined.
- Pour the wet mixture into the bowl with the dry ingredients. Mix gently until a shaggy dough forms.
- Cover the bowl tightly and let the dough rest at room temperature for 12 to 18 hours.
- Turn the risen dough onto a floured surface. Gently shape it into a round loaf.
- Dust the loaf with additional flour, cover it, and let it rest for another 1 to 2 hours.
- Preheat your Dutch oven to 450°F (230°C) for 30 minutes.
- Carefully place your round loaf in the hot Dutch oven, cover it with the lid, and bake for 30 minutes.
- After 30 minutes, remove the lid and continue to bake for an additional 15 to 20 minutes until the loaf is golden brown.
- Let the bread cool on a wire rack before slicing.