
The moment I took that first bite of the Grilled Chickpea Veggie Pita, I knew I had struck culinary gold. Imagine sinking your teeth into a perfectly grilled pita, warm and inviting, filled with a hearty blend of chickpeas, vibrant bell peppers, and aromatic herbs. It’s the kind of dish that not only satisfies hunger but also tickles your taste buds with a symphony of flavors that feel both comforting and exciting.
What I love most about this recipe is its versatility. Whether you’re whipping it up for a cozy weeknight dinner or serving a crowd at a weekend gathering, these pitas are sure to please even the pickiest eaters. Plus, the secret lies in the simple yet scrumptious yogurt sauce that complements the filling perfectly.
After I accidentally combined my leftover pantry treasures into this mouthwatering dish, it became an instant family favorite. So shake off the fast-food fatigue and join me in bringing wholesome, homemade magic back to your table with these delightful grilled chickpea veggie pitas!
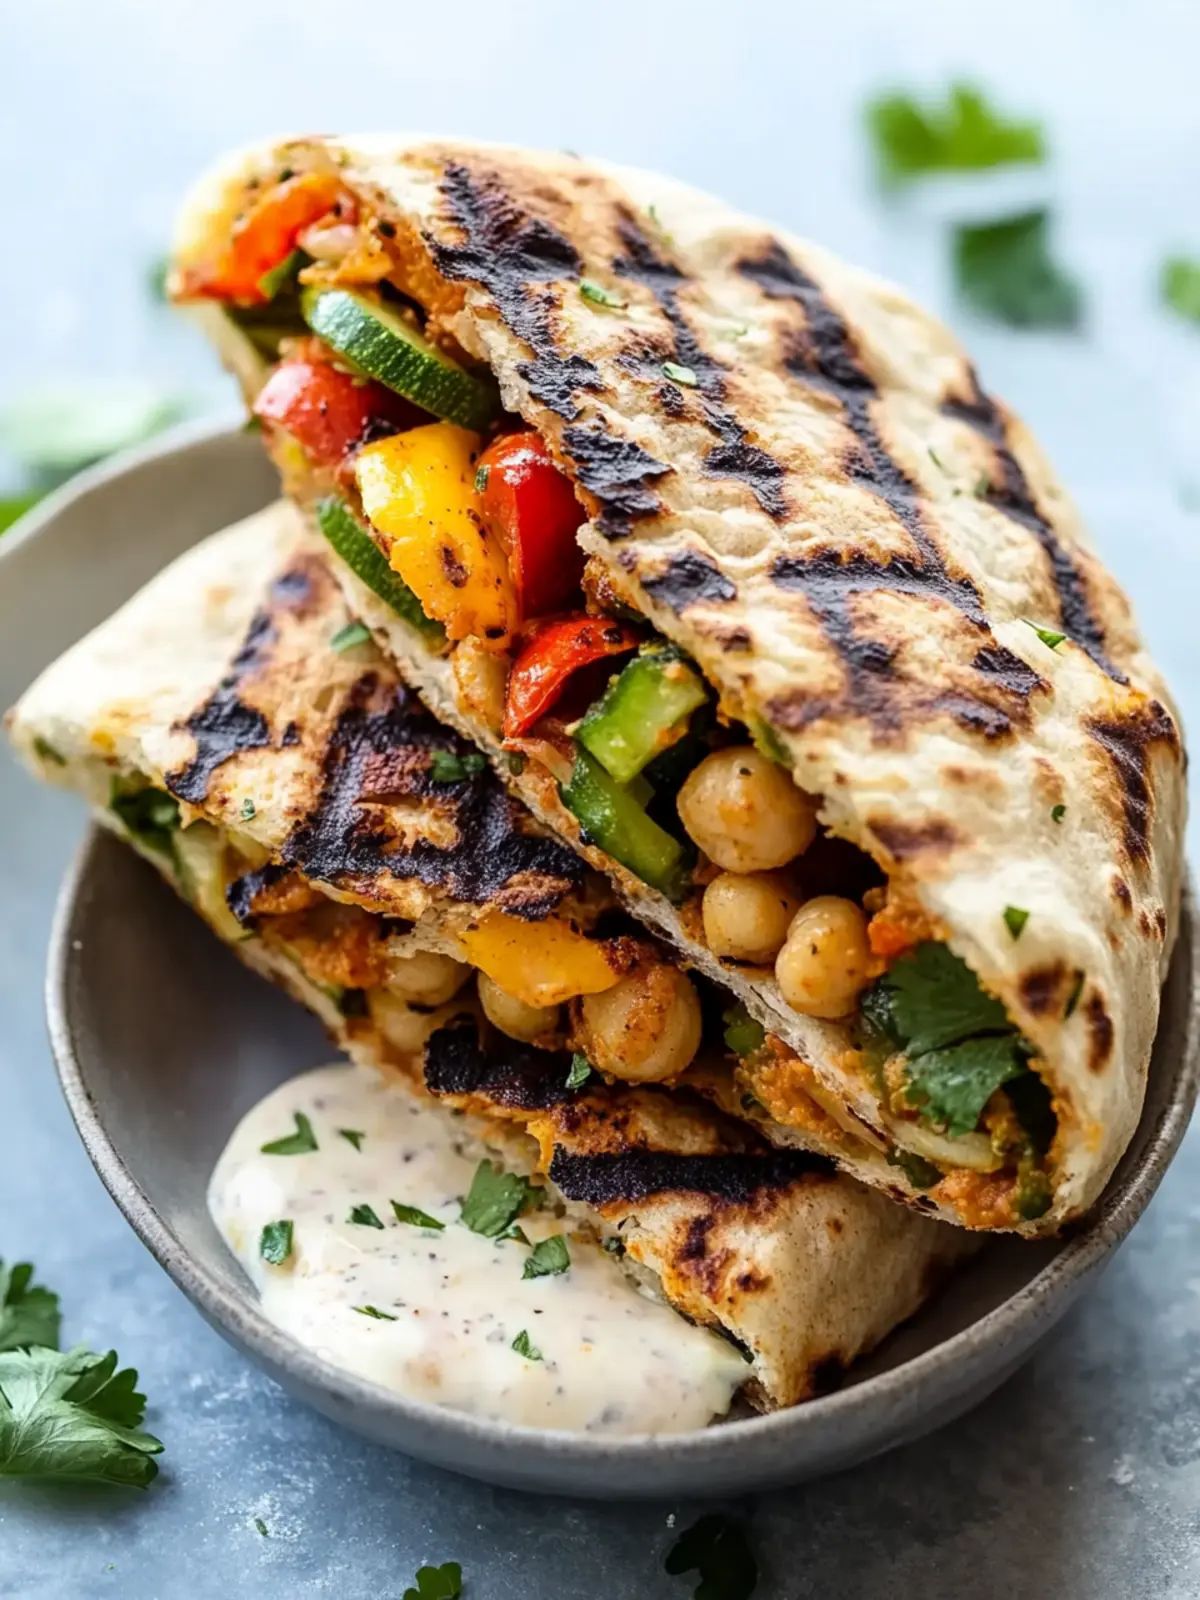
Why is this Grilled Chickpea Veggie Pita a must-try?
Simplicity at Its Best: This recipe is quick and easy, taking only 40 minutes from prep to plate.
Flavor Explosion: With a blend of chickpeas, herbs, and spices, each bite is bursting with flavor and satisfaction.
Healthy and Nutritious: Packed with plant-based protein and fiber, these pitas are a wholesome choice that doesn’t compromise on taste.
Crowd-Pleaser: Perfect for family dinners or gatherings, everyone can customize their pitas with their favorite toppings.
Versatile Dish: Whether served warm or room temperature, they’re delightful for both lunch boxes and meals on the go.
Looking for more tasty vegetarian ideas? Check out my post on creative veggie wraps.
Grilled Chickpea Veggie Pita Ingredients
For the Filling
- Avocado oil – Use this for grilling for a rich flavor and healthy fats.
- Chickpeas – Rinsed and drained, they’re the heart of this hearty filling!
- Yellow onion – Adds sweetness; finely diced for better caramelization.
- Red bell pepper – Sweet and crunchy; finely diced to mix well.
- Mushrooms – Finely diced for a meaty texture that compliments the chickpeas.
- Garlic – Minced or crushed for a punch of flavor in every bite.
- Tomato paste – Provides a rich depth of flavor; essential for the filling.
- Soy sauce or coconut aminos – A salty hint that enhances the umami profile.
- Za’atar – This spice blend brings an aromatic freshness to the dish.
- Ground cumin – Adds warmth and an earthy tone to the filling.
- Ground coriander – Complements the chickpeas beautifully with a citrus note.
- Fennel seeds – Just a hint for a sweet, licorice-like taste.
- Parsley – Fresh and vibrant, it lightens the filling’s richness.
- Salt and pepper – To taste, adjusting as per your preferences.
For the Pitas and Sauce
- Whole grain pitas – Choose these for a wholesome finish and added fiber.
- Vegan Greek-style yogurt – A creamy base for the sauce, keeping it dairy-free.
- Lemon juice – Freshly squeezed for a zesty brightness in the yogurt sauce.
- Garlic – Crushed or finely grated for that extra layer of flavor.
- Cilantro – Adds a fresh touch; finely minced for even distribution.
- Extra virgin olive oil (optional) – Drizzle for a rich, fruity flavor in the sauce.
Get ready to savor these Grilled Chickpea Veggie Pitas, a delightful meal that turns every mealtime into a joyful experience!
How to Make Grilled Chickpea Veggie Pita
-
Mash the chickpeas in a bowl using a fork until they’re roughly crumbled. This will help the filling have a cohesive texture. Set aside while you prepare the veggies.
-
Sauté the onion, bell pepper, and mushrooms in a sauté pan over medium heat with 1 tablespoon of avocado oil. Allow them to cook for 2-3 minutes until they release moisture, then sprinkle a pinch of salt and sauté until the liquid is mostly evaporated.
-
Add the garlic to the pan and sauté until it’s fragrant, about 1 minute. Then, stir in the tomato paste, mashed chickpeas, soy sauce, za’atar, cumin, coriander, and fennel seeds. Cook for another 2-3 minutes until everything is well combined and heated through.
-
Incorporate the parsley into the mixture. Taste your filling and adjust the salt and pepper seasoning as desired. Remove it from the heat and set aside to cool slightly.
-
Prepare your pitas by cutting each in half and opening them to create pockets. Carefully stuff each pita half with the chickpea filling, packing it until it’s overflowing. Brush the outside of the pitas with the remaining avocado oil.
-
Grill the stuffed pitas, filling side down, on a preheated griddle for about 3-4 minutes until grill marks appear. Flip and sear the other side for another 3 minutes. Repeat the process for the remaining pitas until all are grilled to perfection.
-
Mix the yogurt sauce by whisking together the yogurt, lemon juice, crushed garlic, cilantro, and seasoning with salt and pepper to taste. Serve your grilled pitas warm alongside this refreshing sauce and any additional fresh vegetables you love.
Optional: Drizzle with extra virgin olive oil for a richer flavor.
Exact quantities are listed in the recipe card below.
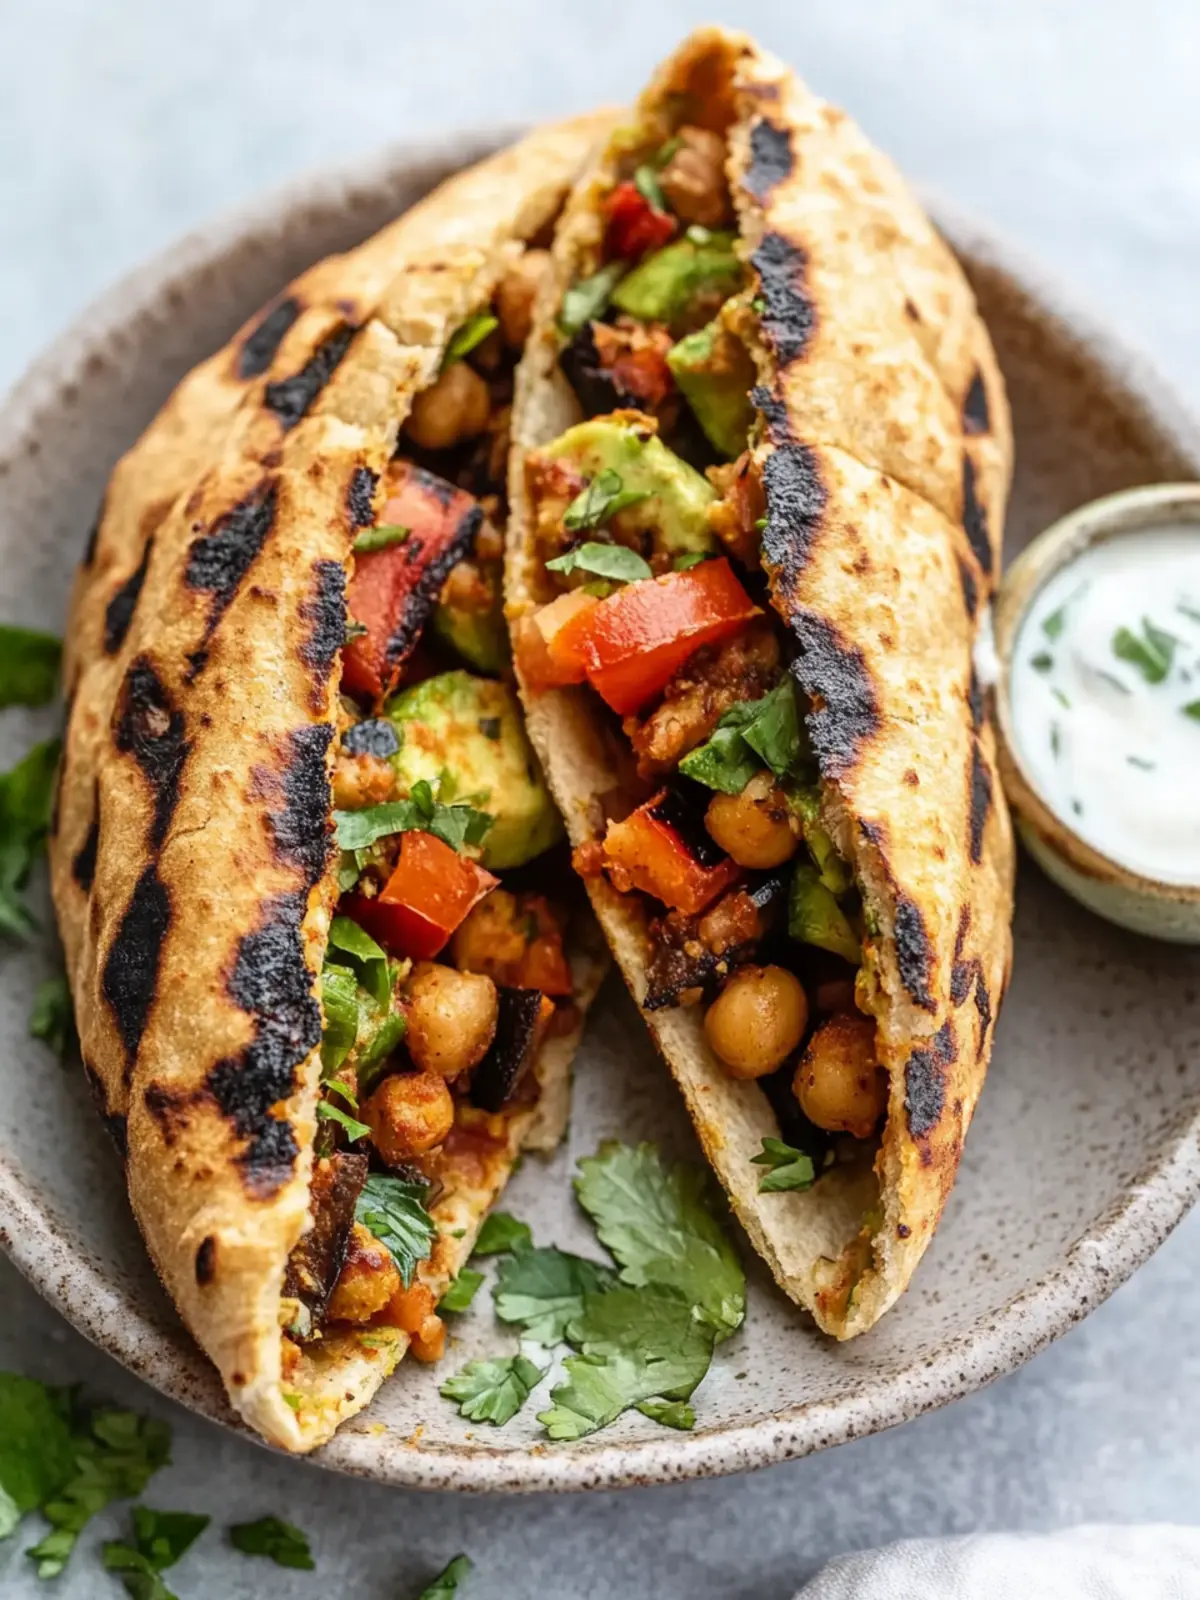
What to Serve with Grilled Chickpea Veggie Pita?
Transform your dining experience with these delightful pairings that elevate the flavors and textures of your meal.
-
Creamy Hummus: This rich dip adds a smooth contrast to the crunchy veggies in your pitas while enhancing the flavor with garlic and tahini notes.
-
Crispy Sweet Potato Fries: Their sweet, earthy flavor and satisfying crunch make for a perfect complement, bringing a delightful texture contrast to your meal.
-
Tzatziki Sauce: A refreshing Greek yogurt sauce that cools and adds a burst of flavor, making each bite of the grilled pitas even more vibrant.
-
Greek Salad: A mix of cucumbers, tomatoes, and olives gives a tangy, fresh flavor that balances the richness of the chickpea filling beautifully.
-
Grilled Veggies: Charred zucchini, bell peppers, and eggplant echo the filling’s flavors while adding smokiness, creating a harmonious dish.
-
Mint Lemonade: This refreshing drink brightens your palate and compliments the spices in your pitas, making for a joyous pairing on warm days.
Let your imagination run wild as you choose any of these delicious accompaniments, enhancing every moment gathered around the table!
How to Store and Freeze Grilled Chickpea Veggie Pita
Room Temperature: Enjoy these pitas fresh off the grill for the best flavor. If left out, they can be kept at room temperature for up to 2 hours.
Fridge: Store any leftovers in an airtight container in the fridge for up to 3 days. Reheat gently on a griddle or in a microwave to restore warmth and texture.
Freezer: For longer storage, individually wrap filled pitas in plastic wrap and freeze for up to 3 months. Thaw overnight in the fridge before reheating.
Reheating: When ready to eat, reheat grilled pitas in the oven or on a skillet for a few minutes until warm and crispy again. Enjoy that delightful taste of your Grilled Chickpea Veggie Pita!
Grilled Chickpea Veggie Pita Variations
Get ready to make this delicious recipe your own with fun twists and substitutions that enhance the flavor and nutrition!
-
Spicy Kick: Add diced jalapeños or crushed red pepper to the filling for a zesty heat. The warmth truly elevates each bite!
-
Different Beans: Swap chickpeas for black beans or white beans for an equally tasty filling. This not only changes the flavor but also adds variety to your meal planning.
-
Herbaceous Boost: Incorporate fresh herbs like dill or mint into the filling for an unexpected freshness that brings the dish to life. Just a handful adds a vibrant twist!
-
Gluten-Free: Use gluten-free pitas or lettuce wraps as an alternative for those avoiding gluten. These options make it easy to enjoy this delicious dish without compromising on flavor.
-
Veggie Additions: Toss in additional veggies like zucchini, spinach, or roasted eggplant to amp up the health factor. Each addition creates a delightful new texture and taste.
-
Creamy Options: Mix in some tahini to the yogurt sauce for an extra layer of creaminess and flavor. The nutty taste complements the chickpeas beautifully!
-
Citrus Zing: Add a splash of lime juice along with the lemon in the yogurt sauce for a refreshing brightness that livens everything up!
-
Cheesy Delight: If you’re not dairy-free, sprinkle some feta or goat cheese inside your pita for a rich, tangy addition that makes each bite extra special.
With these variations, you can easily customize your Grilled Chickpea Veggie Pita experience to match your cravings and dietary needs!
Expert Tips for the Best Grilled Chickpea Veggie Pita
-
Perfectly Mashed Chickpeas: Ensure you mash the chickpeas just enough to crumble them, leaving some texture for a hearty filling.
-
Sauté to Perfection: Don’t rush the sautéing process—let the veggies sit briefly to release moisture, enhancing their flavor.
-
Customize Your Spices: Feel free to adjust the spices according to your preference; just remember that za’atar is key for that authentic taste in your Grilled Chickpea Veggie Pita.
-
Avoid Overstuffing: While it’s tempting to fill those pitas to the brim, leave a little space to make grilling easier and prevent spills.
-
Grill with Care: Keep an eye on the grill to avoid burning; flipping them when the grill marks show ensures perfect crispiness.
-
Yogurt Sauce Balance: Taste the yogurt sauce while mixing; balance the flavors with lemon juice and salt for the best dipping experience!
Make Ahead Options
These Grilled Chickpea Veggie Pitas are perfect for meal prep enthusiasts looking to save time on busy weeknights! You can prepare the chickpea filling up to 3 days in advance, storing it in an airtight container in the refrigerator to maintain its flavor and freshness. Simply sauté the veggies and mix in the chickpeas as directed, then let it cool before refrigerating. When you’re ready to enjoy, stuff the filling into the pitas (which can also be pre-cut in advance), brush with oil, and grill them for about 6-8 minutes until heated through. This way, you’ll get restaurant-quality results with minimal effort and maximum convenience!
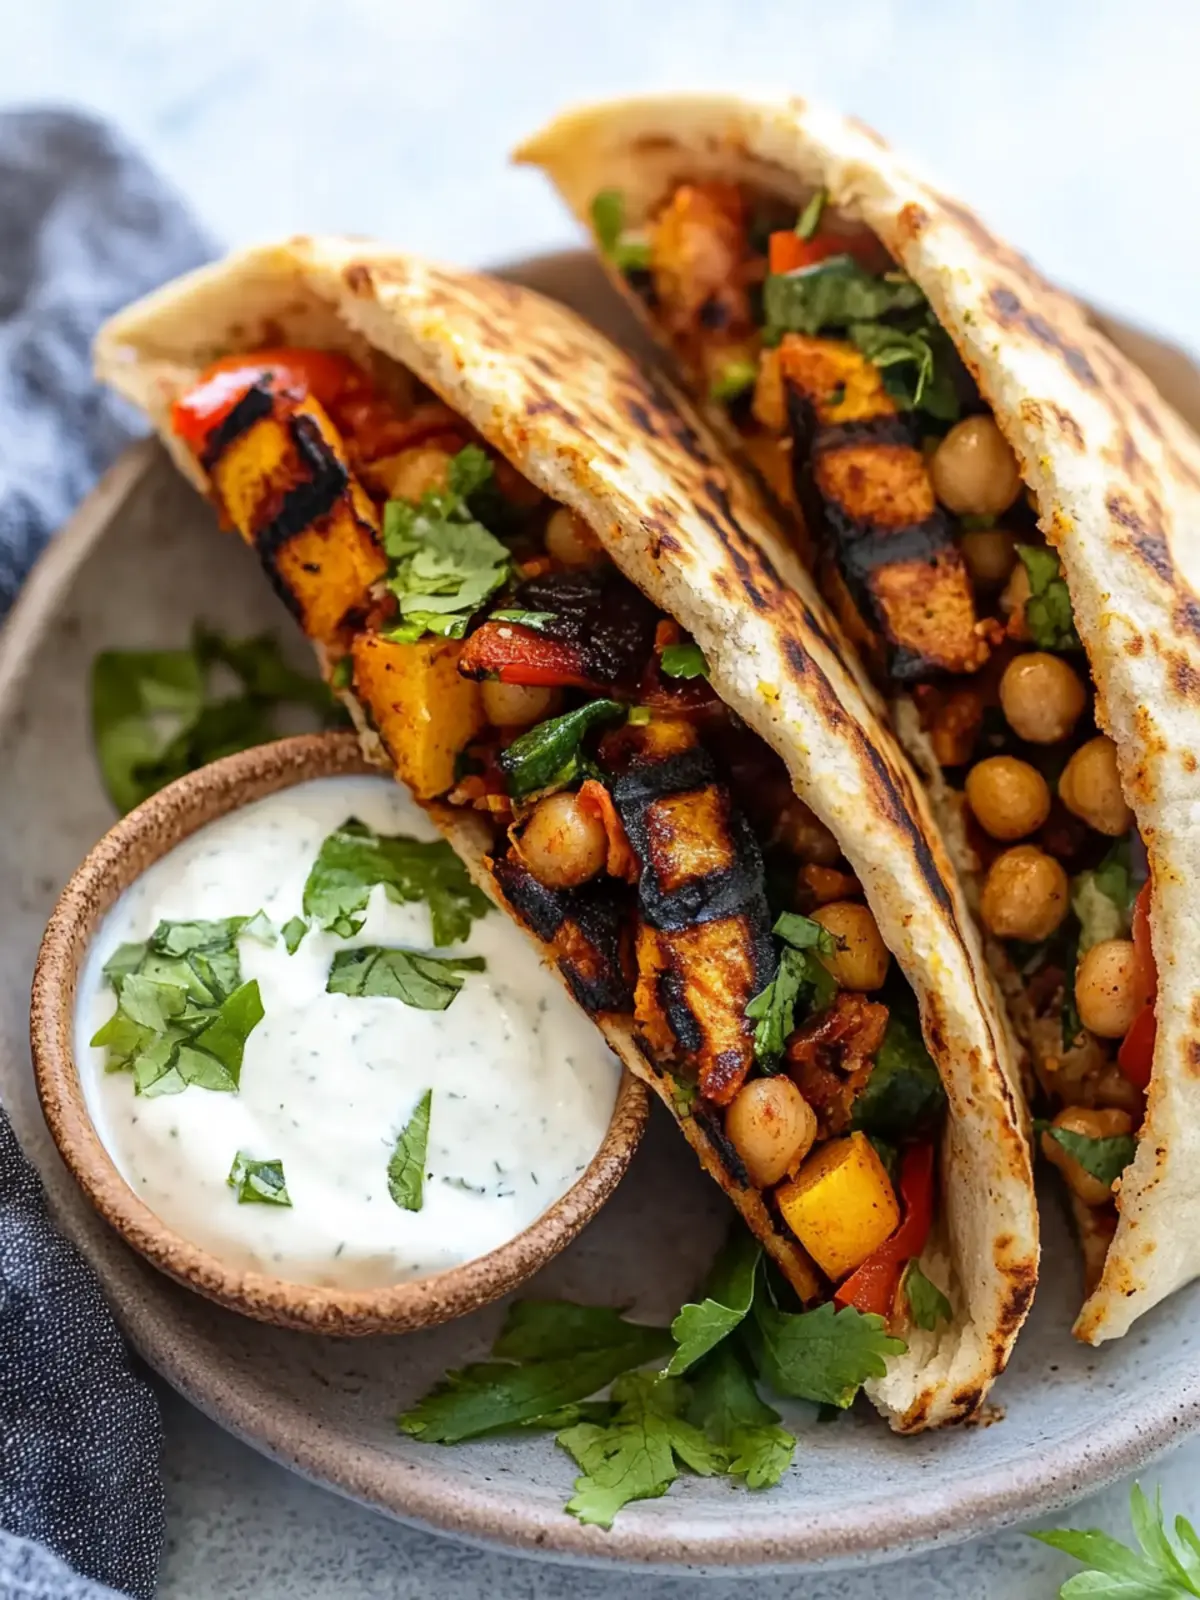
Grilled Chickpea Veggie Pita Recipe FAQs
How do I select the best chickpeas?
Absolutely! When choosing canned chickpeas, look for those with a low sodium content. The chickpeas should be smooth and firm, without any dark spots or damage on the surface. If you prefer, you can also use dried chickpeas; just soak them overnight and boil until tender for the best taste.
What’s the best way to store leftover pitas?
It’s very simple! Store any leftover grilled chickpea veggie pitas in an airtight container in the fridge for up to 3 days. When you’re ready to enjoy them again, reheat gently in a skillet or microwave—this will help restore their warm, delicious texture.
Can I freeze stuffed pitas?
Yes, indeed! To freeze your filled pitas, wrap each one tightly in plastic wrap, then place them in a freezer-safe bag. They can be stored in the freezer for up to 3 months. When you’re ready to eat, simply thaw them overnight in the fridge, then reheat as usual to get that lovely warm, crispy texture back.
What if my filling is too dry?
Don’t worry at all! If you find your chickpea filling is too dry, you can add a splash of vegetable broth or a little more olive oil to moisten it up. Stir gently and allow it to cook for a minute or two until added ingredients are heated through. This will help enhance the flavor and make a more cohesive mixture.
Can I adapt this recipe for dietary restrictions?
Very much so! This grilled chickpea veggie pita is naturally vegan and gluten-free if you use gluten-free pitas. Always check the labels for potential allergens. If you’re serving pets, remember that garlic and onion can be harmful—keep the filling and sauce separate for them, or serve them a pet-friendly alternative.
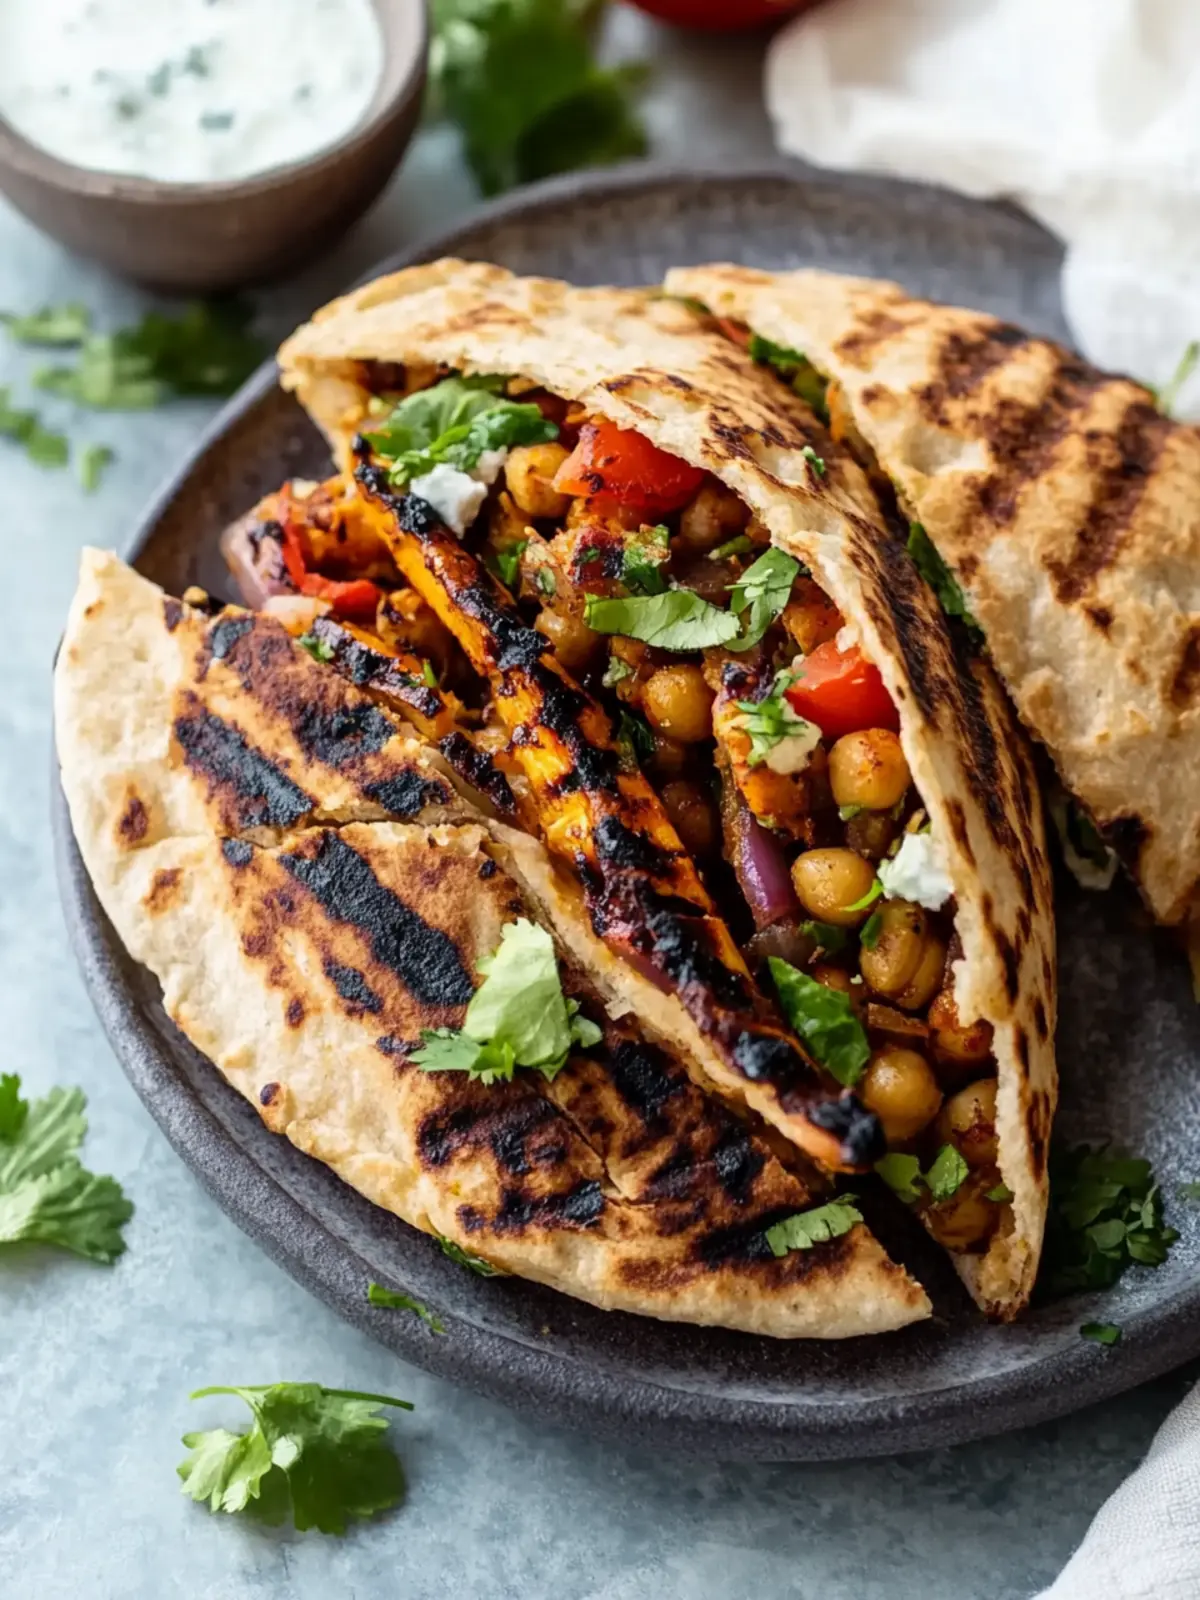
Delicious Grilled Chickpea Veggie Pita for Quick Home Feasts
Ingredients
Equipment
Method
- Mash the chickpeas in a bowl using a fork until they’re roughly crumbled.
- Sauté the onion, bell pepper, and mushrooms in a sauté pan over medium heat with avocado oil.
- Add the garlic to the pan and sauté until fragrant.
- Stir in the tomato paste, mashed chickpeas, soy sauce, za’atar, cumin, coriander, and fennel seeds.
- Incorporate the parsley and adjust salt and pepper to taste.
- Prepare your pitas by cutting each in half and opening them to create pockets.
- Stuff each pita half with the chickpea filling.
- Grill the stuffed pitas on a preheated griddle for 3-4 minutes until grill marks appear.
- Mix the yogurt sauce by whisking together yogurt, lemon juice, crushed garlic, cilantro, and seasoning.
- Serve grilled pitas warm alongside the yogurt sauce.