
There’s a certain joy that comes with recreating childhood favorites, and this Homemade Butterfingers recipe is a delicious step down memory lane. Picture this: you’re indulging in that satisfying crunch as your teeth sink into the creamy peanut butter, all wrapped up in a rich layer of chocolate. The best part? This version is not only easy to whip up, but it also uses wholesome ingredients you can feel good about.
I discovered this delightful treat while looking for a way to break free from the monotony of store-bought snacks. With just a handful of ingredients, you too can transform simple pantry staples into a crowd-pleasing treat that rivals any candy bar, all from the comfort of your kitchen. Whether you’re hosting friends for movie night or just in need of a sweet pick-me-up, these Homemade Butterfingers are bound to impress. So grab your apron, and let’s make some magic together!
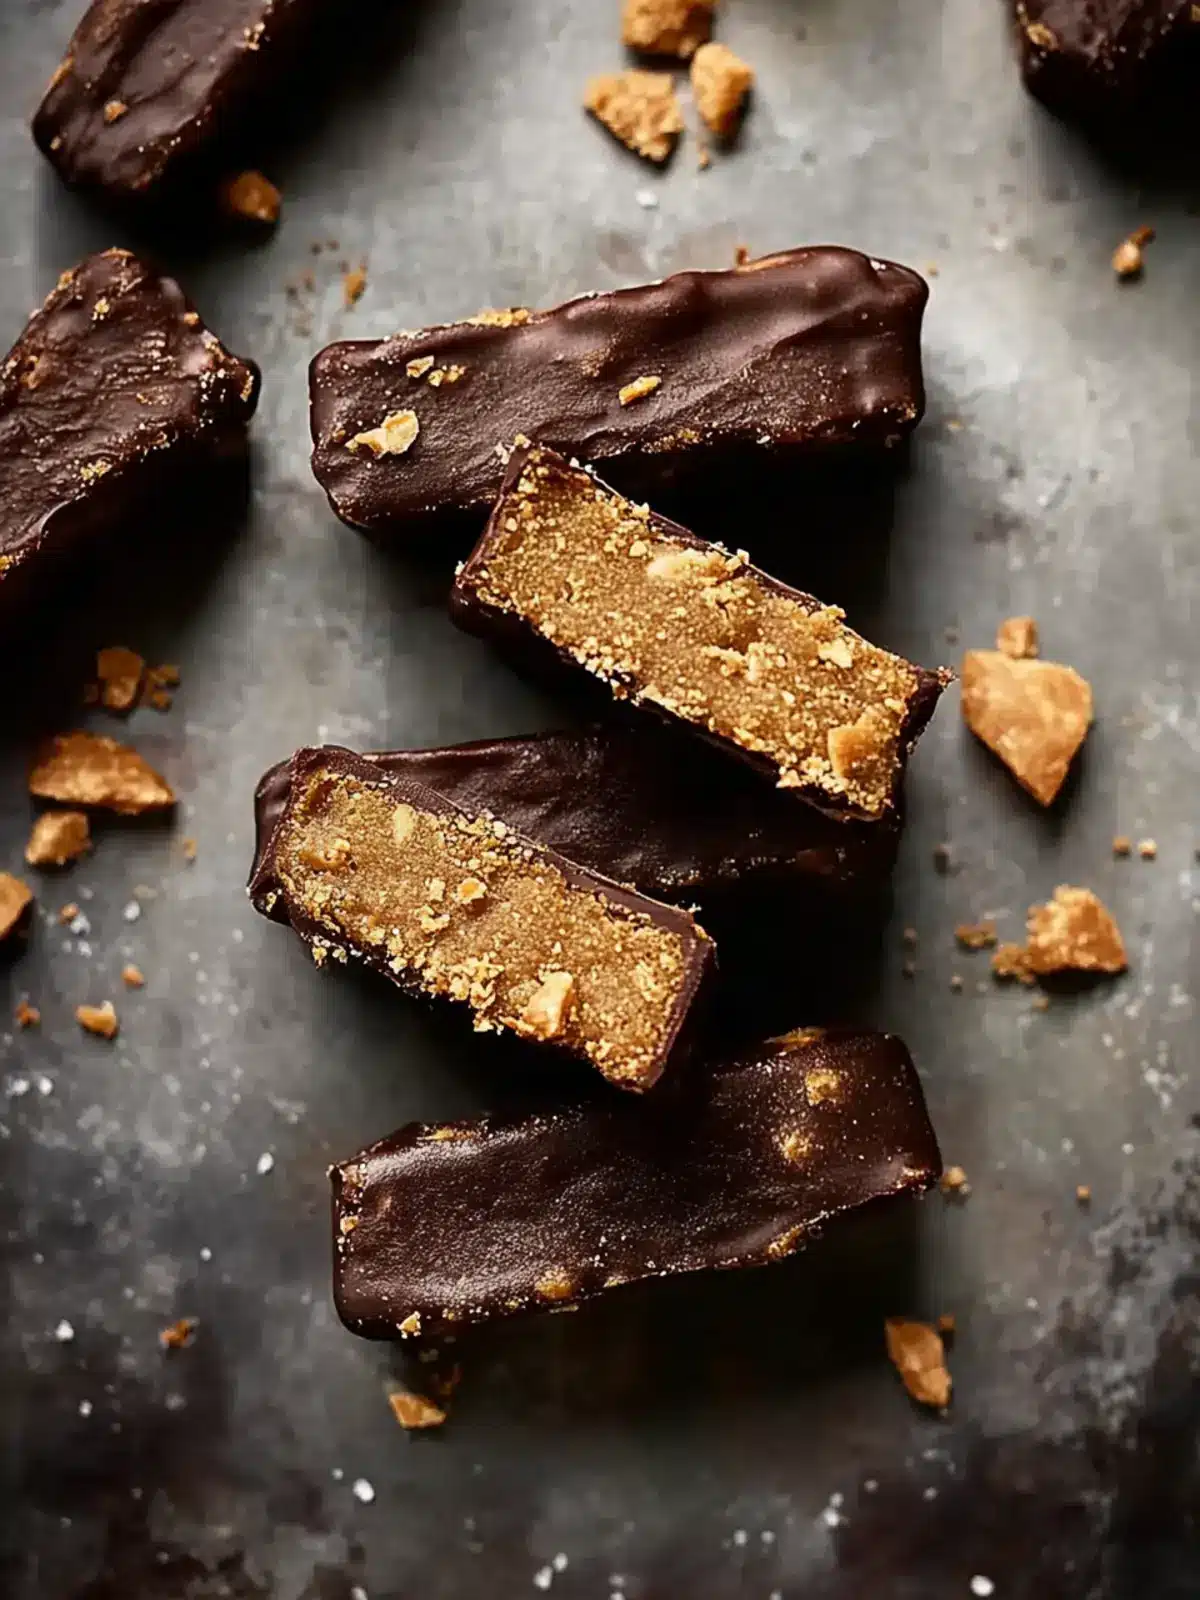
Why will you love these Homemade Butterfingers?
Simplicity: This recipe requires just a few simple ingredients and minimal effort, making it perfect for both novice and experienced home cooks.
Nostalgic Flavor: The combination of creamy peanut butter and rich chocolate delivers that classic candy bar taste, invoking warm memories of indulgence.
Quick Prep: With just 10 minutes of active prep time, you can quickly whip up a batch to satisfy your sweet tooth.
Healthier Twist: Unlike store-bought options, these Homemade Butterfingers are made with wholesome ingredients, so you can indulge guilt-free.
Crowd-Pleasing Treat: Perfect for parties or movie nights, these treats are sure to impress friends and family alike. Add a delicious touch to your gatherings with this easy recipe!
Homemade Butterfingers Ingredients
For the Butterfinger Mixture
• 1 cup peanut butter – Use creamy natural peanut butter for the best texture.
• 1/3 cup honey – Acts as a natural sweetener and helps bind the mixture.
• 1/2 tsp vanilla extract – Adds a warm, inviting flavor to the filling.
• 1/2 tsp sea salt – Enhances the sweetness of the peanut butter and honey.
• 1 + 3/4 cup cornflake cereal – Provides the essential crunch to mimic traditional Butterfingers.
For the Chocolate Coating
• 1 cup chocolate chips – Dark or milk chocolate works great for a rich coating.
• 1 tsp coconut oil – Helps the chocolate melt smoothly and makes the coating shiny.
Feel free to get creative with your ingredients in this Homemade Butterfingers recipe – enjoy the process!
How to Make Homemade Butterfingers
-
Heat: In a saucepan over medium-low heat, combine the peanut butter, honey, vanilla extract, and sea salt. Stir for about 2-4 minutes until fully heated and smooth, ensuring everything is nicely blended.
-
Mix: Pour the warm peanut butter mixture into a large mixing bowl. Add the cornflake cereal and stir gently until well-combined. Don’t be afraid to crush the cereal a bit to help coat it fully!
-
Form: With clean hands, shape the mixture into logs, making about 12-14 individual logs. Place them on a parchment-lined plate or baking sheet and freeze for 1 hour until firm.
-
Melt: After the logs are frozen, melt the chocolate chips and coconut oil together. You can do this in a microwave-safe bowl in short bursts or on the stove until silky smooth.
-
Dip: Take each frozen log and dip it into the melted chocolate, allowing any excess to drip off. Place the coated logs back onto the lined plate and return to the freezer until the chocolate sets, which should take about 10 minutes.
Optional: Garnish with a sprinkle of sea salt before serving for an extra flavor pop!
Exact quantities are listed in the recipe card below.
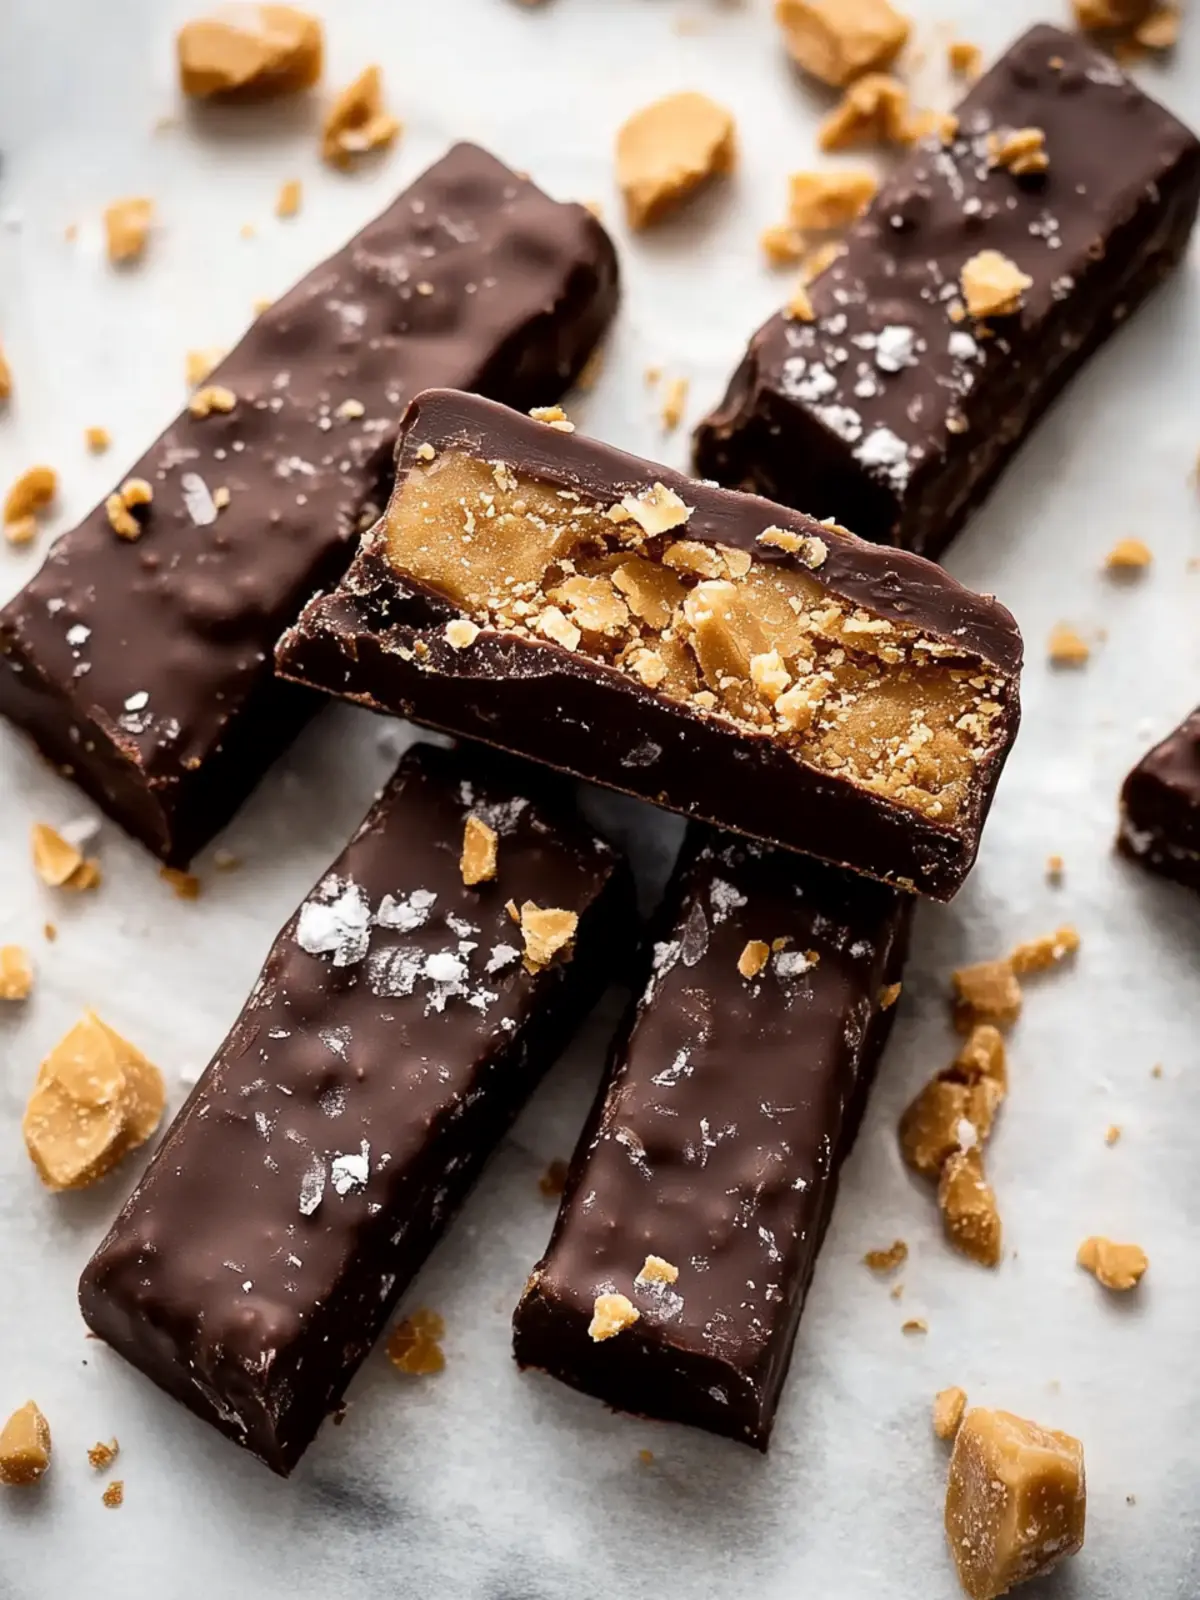
Make Ahead Options
These Homemade Butterfingers are perfect for meal prep enthusiasts! You can prepare the peanut butter mixture (steps 1 and 2) and shape it into logs up to 24 hours in advance; just be sure to refrigerate them if you’re not freezing right away to maintain their quality. Once ready to finish, simply freeze the logs for an hour (as instructed in step 3) before dipping them into the melted chocolate (steps 4 and 5). If you prefer, you can also dip them in chocolate and store them in the refrigerator up to 3 days before serving. This way, you can enjoy a delicious treat that’s just as delightful without all the last-minute fuss!
How to Store and Freeze Homemade Butterfingers
Fridge: Keep your Homemade Butterfingers in an airtight container for up to 1 week. This will help retain their crunch and flavor while preventing them from drying out.
Freezer: For longer storage, place the butterfingers in a freezer-safe container, separating layers with parchment paper. They can last up to 2 months in the freezer!
Thawing: To enjoy, simply remove them from the freezer and let them sit at room temperature for about 10-15 minutes before indulging, allowing the chocolate to soften slightly.
Reheating: If you find them a bit too hard from the freezer, you can microwave them for 10-15 seconds to bring back their delightful texture.
Expert Tips for Homemade Butterfingers
-
Choose Quality Peanut Butter: Always go for creamy natural peanut butter. It provides the best texture and flavor for your Homemade Butterfingers.
-
Avoid Overheating: Be cautious when heating the peanut butter mixture. Overheating can cause separation, making it difficult to combine with the cereal.
-
Don’t Skip Freezing: Freezing the formed logs is crucial for achieving the right firmness before chocolate dipping. This helps maintain their shape.
-
Chocolate Consistency Matters: Ensure your chocolate is melted smoothly for an even coating. Use coconut oil to enhance shine and reduce thickening.
-
Experiment with Coatings: Try drizzling white chocolate or adding toppings like crushed nuts for variety in your Homemade Butterfingers.
Homemade Butterfingers Variations
Add a unique twist to your Homemade Butterfingers with these delightful variations that enhance flavor, texture, and dietary needs!
-
Nut-Free: Replace peanut butter with sun butter or almond butter for a delicious alternative everyone can enjoy. Both options maintain that creamy goodness without the nut concerns.
-
Crispy Treats: Swap out cornflake cereal for crushed rice cereal or use a combination of different cereals for added texture and crunch. This creates a fun and exciting mix in every bite!
-
Vegan: Substitute honey with maple syrup or agave nectar and use dairy-free chocolate chips to make these Homemade Butterfingers entirely plant-based without sacrificing taste.
-
Protein Boost: Mix in some protein powder or crushed nuts to the filling for a power-packed version. This not only amps up nutrition but also adds a satisfying bite to each log.
-
Spicy Kick: Add a pinch of cayenne pepper or a sprinkle of chili powder to the peanut butter mixture for a surprising spicy kick. The heat complements the sweet and balances the flavors beautifully!
-
White Chocolate Coating: Switch up the chocolate flavor by using white chocolate chips instead of dark or milk chocolate for a sweeter and creamier treat that tastes like an entirely different dessert.
-
Fun Toppings: After dipping in chocolate, roll the logs in crushed pretzels, shredded coconut, or chopped nuts for added flavor and crunch. Each topping brings its own delightful character to the Homemade Butterfingers!
-
Flavor Infusion: Incorporate different extracts like almond or coconut in the butterfinger mixture for a unique twist. Each extract you try informs a different experience that makes this treat uniquely yours.
What to Serve with Homemade Butterfingers?
Creating a delightful feast doesn’t have to end with just homemade treats—let’s explore pairings that will elevate your dessert experience.
-
Creamy Vanilla Ice Cream: The smooth, cold texture contrasts beautifully with the crunchy Butterfingers, making each bite a heavenly treat.
-
Rich Hot Chocolate: A warm cup of hot cocoa amplifies the chocolatey goodness of your Butterfingers, perfect for cozy movie nights.
-
Fresh Berries: The tartness of strawberries or raspberries balances the sweetness of the Butterfingers, adding a refreshing element to your dessert platter.
-
Salted Caramel Sauce: Drizzling a bit of salty caramel over your Butterfingers enhances their flavor while introducing a gooey texture that everyone loves.
-
Nutty Granola: Sprinkle some crunchy granola on the side for a delightful texture contrast, adding a wholesome touch to your indulgent dessert.
-
Nut Milk: Almond or cashew milk make for a creamy, plant-based twist that perfectly washes down the rich flavors of your homemade treats.
Each pairing is designed to create a delightful experience, allowing every bite of Homemade Butterfingers to shine even brighter!
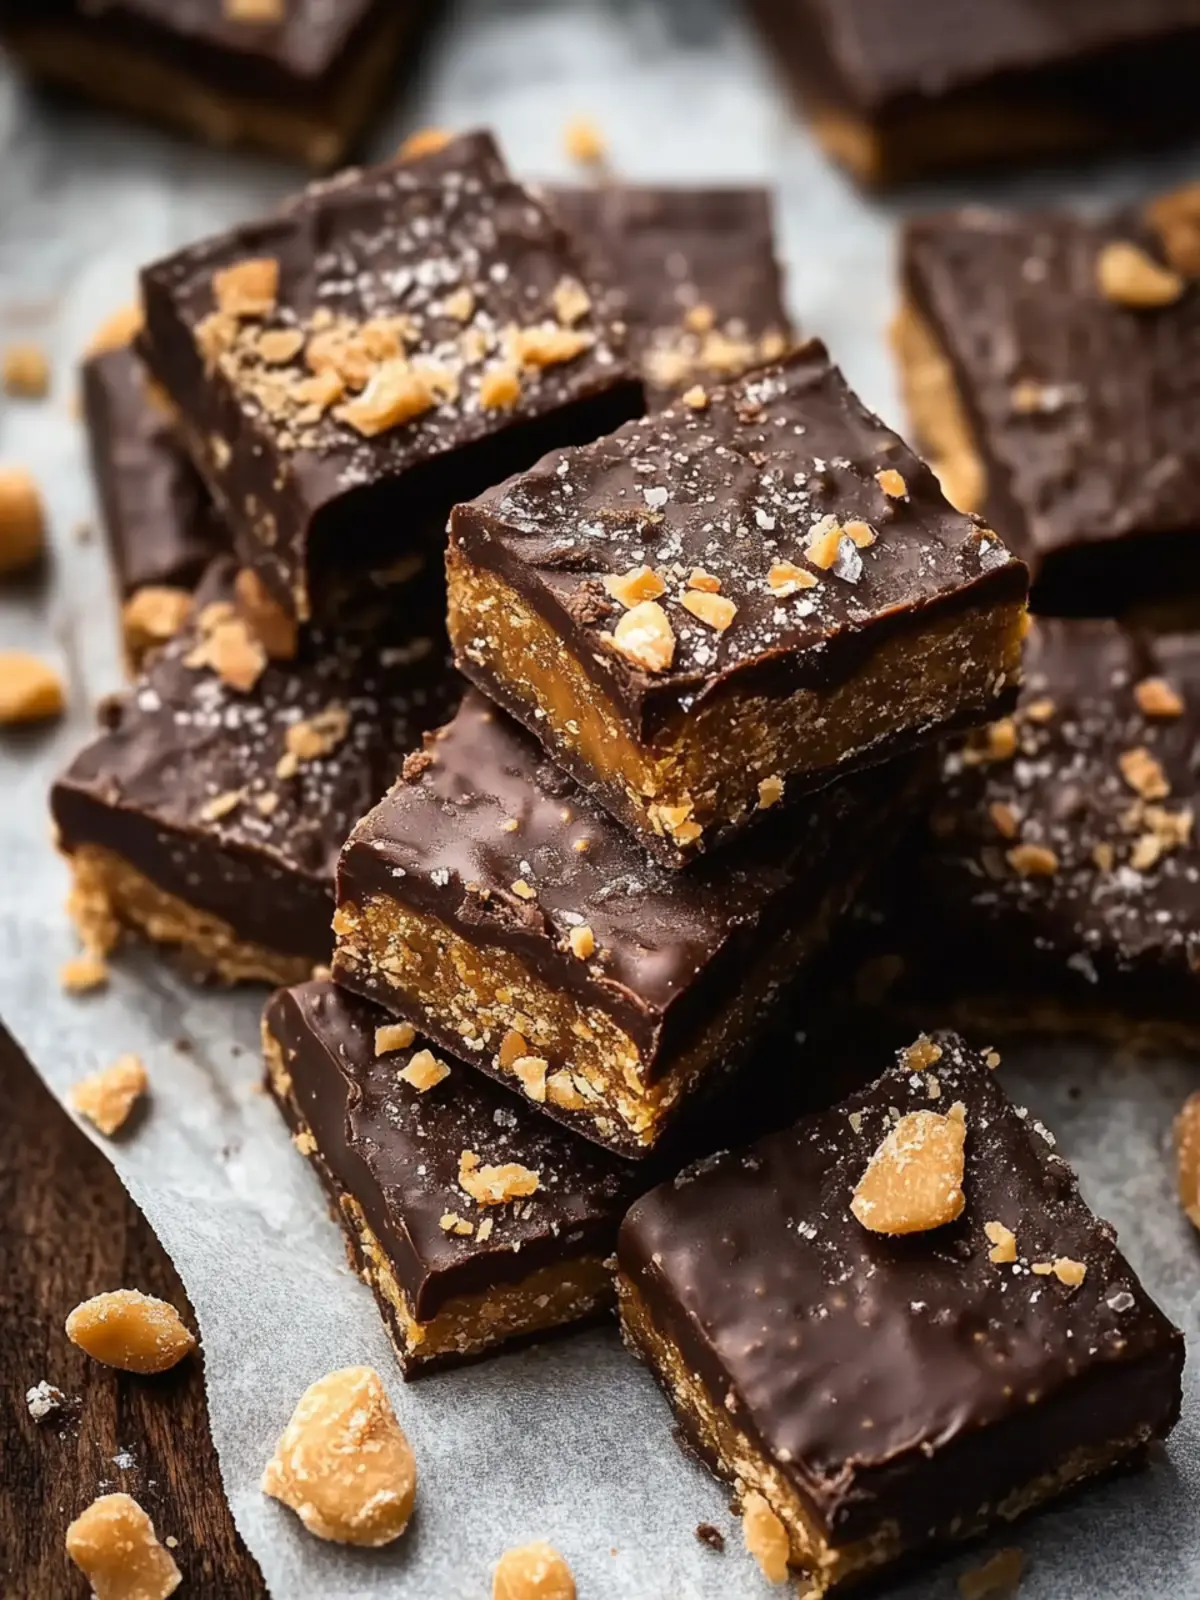
Homemade Butterfingers Recipe FAQs
What type of peanut butter is best for Homemade Butterfingers?
Absolutely, I recommend using creamy natural peanut butter. This type has the perfect texture and flavor that pairs beautifully with the other ingredients, ensuring your Homemade Butterfingers have that classic taste!
How should I store Homemade Butterfingers?
To keep your Homemade Butterfingers fresh, store them in an airtight container in the fridge for up to 1 week. Make sure to layer them with parchment paper to prevent sticking and maintain that delightful crunch!
Can I freeze Homemade Butterfingers, and how do I do it?
Very! To freeze your Homemade Butterfingers, place them in a freezer-safe container, separating the layers with parchment paper. They will stay fresh for up to 2 months. When you’re ready to enjoy, let them sit at room temperature for about 10-15 minutes to soften the chocolate a bit before indulging!
What should I do if the chocolate coating isn’t smooth?
If you find your chocolate coating isn’t smooth, try adding a teaspoon more of coconut oil while melting. This will help achieve a silky consistency. If it’s already too thick, gently reheat it in the microwave in short bursts, stirring in between until it reaches that perfect coating texture.
Are there any dietary considerations with this recipe?
Absolutely! If you have allergies, be cautious about the ingredients. This recipe contains peanut butter, which can be a common allergen. Always check labels for potential gluten or dairy cross-contamination, especially if you’re making these for guests. You can also try almond butter as a delicious alternative if you’re looking for variation or if peanuts are a concern.
How can I customize my Homemade Butterfingers?
Feel free to get creative! You can try drizzling white chocolate over the top for contrast or sprinkle some crushed nuts or sea salt for added texture and flavor. Experimenting with different coatings can turn these treats into something uniquely yours!
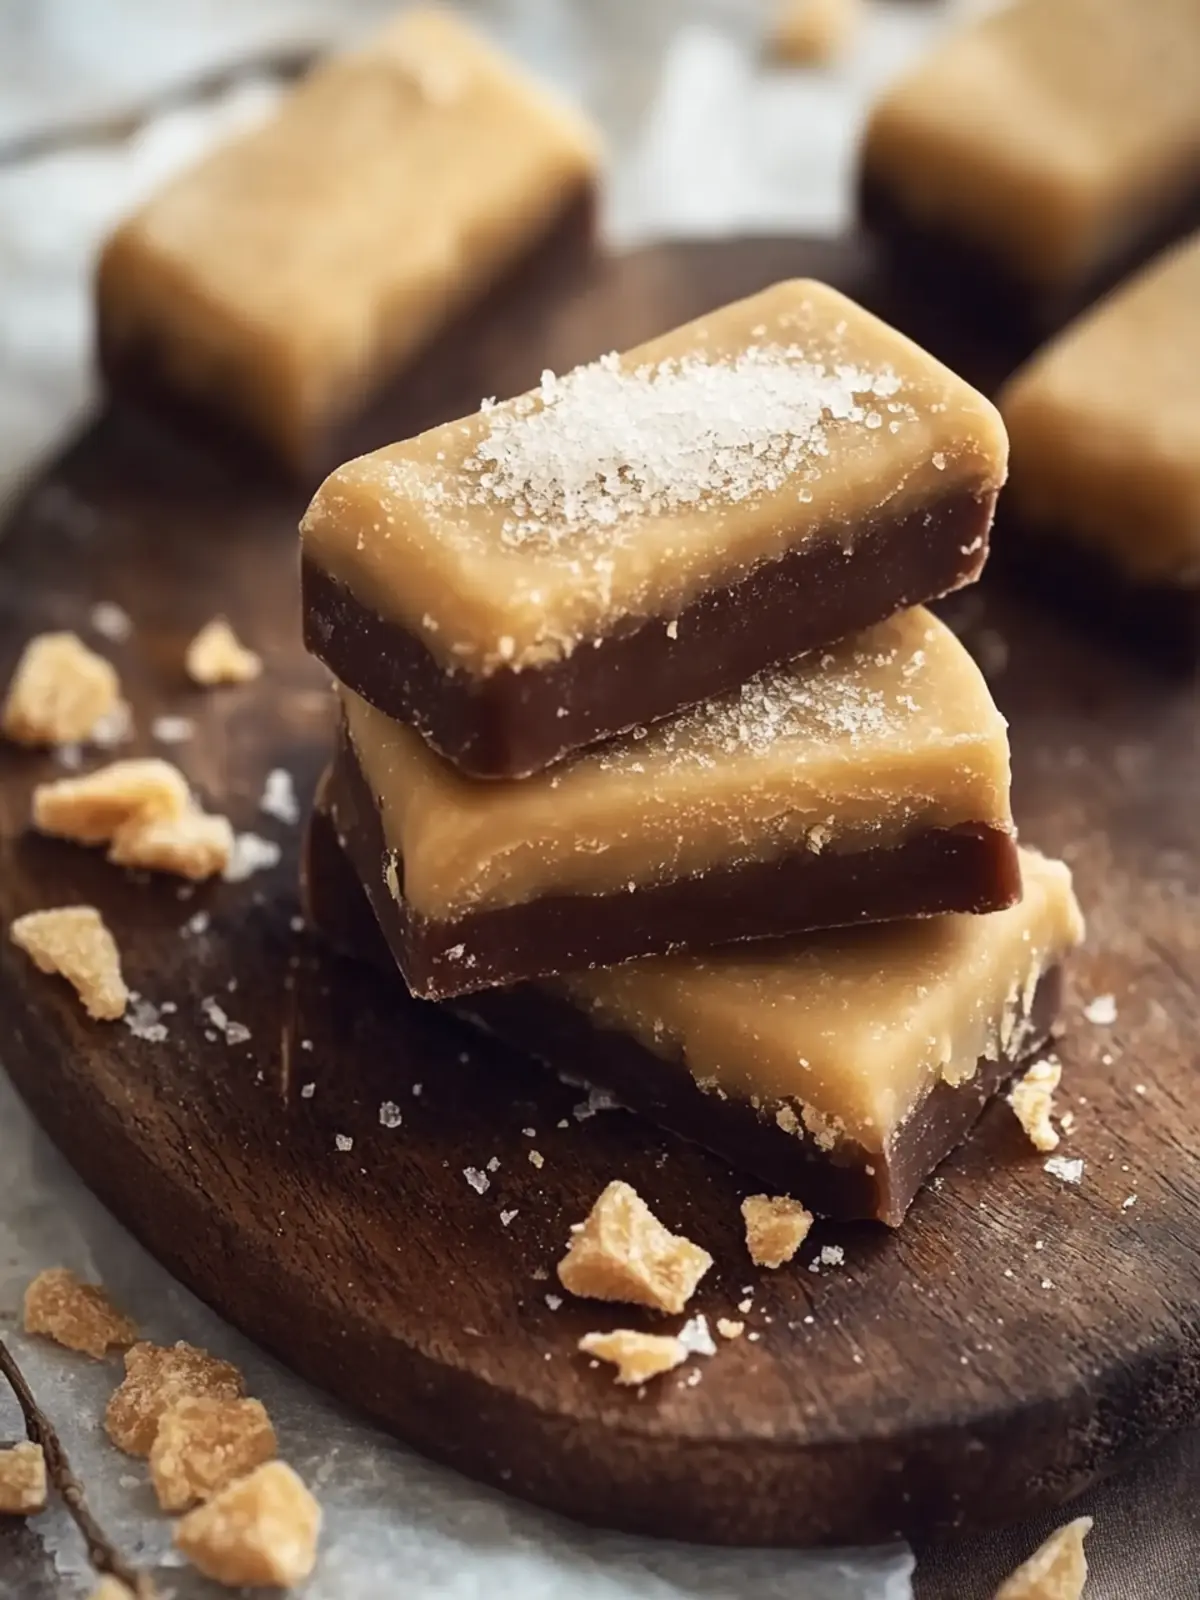
Homemade Butterfingers That Will Wow Your Taste Buds
Ingredients
Equipment
Method
- In a saucepan over medium-low heat, combine the peanut butter, honey, vanilla extract, and sea salt. Stir for about 2-4 minutes until fully heated and smooth.
- Pour the warm peanut butter mixture into a large mixing bowl. Add the cornflake cereal and stir gently until well-combined.
- With clean hands, shape the mixture into logs, making about 12-14 individual logs. Place them on a parchment-lined plate or baking sheet and freeze for 1 hour until firm.
- After the logs are frozen, melt the chocolate chips and coconut oil together until silky smooth.
- Take each frozen log and dip it into the melted chocolate, allowing any excess to drip off. Place the coated logs back onto the lined plate and return to the freezer until the chocolate sets, about 10 minutes.