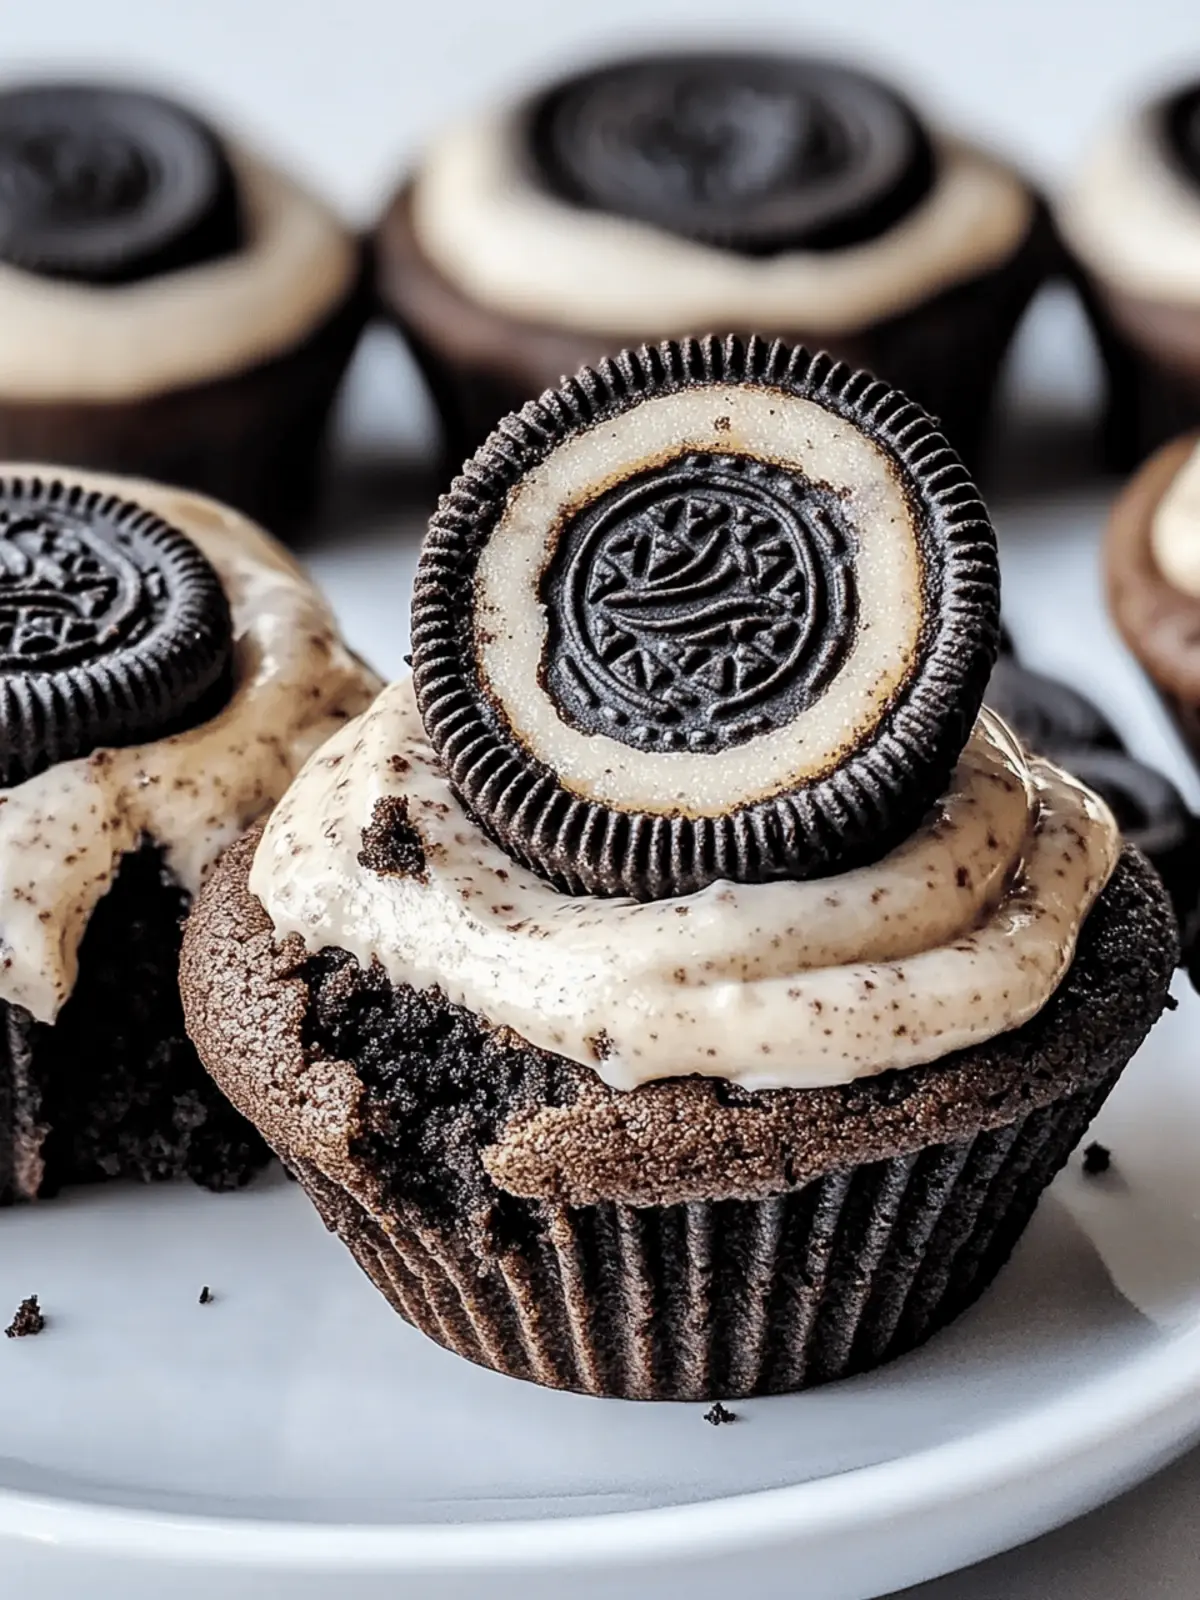
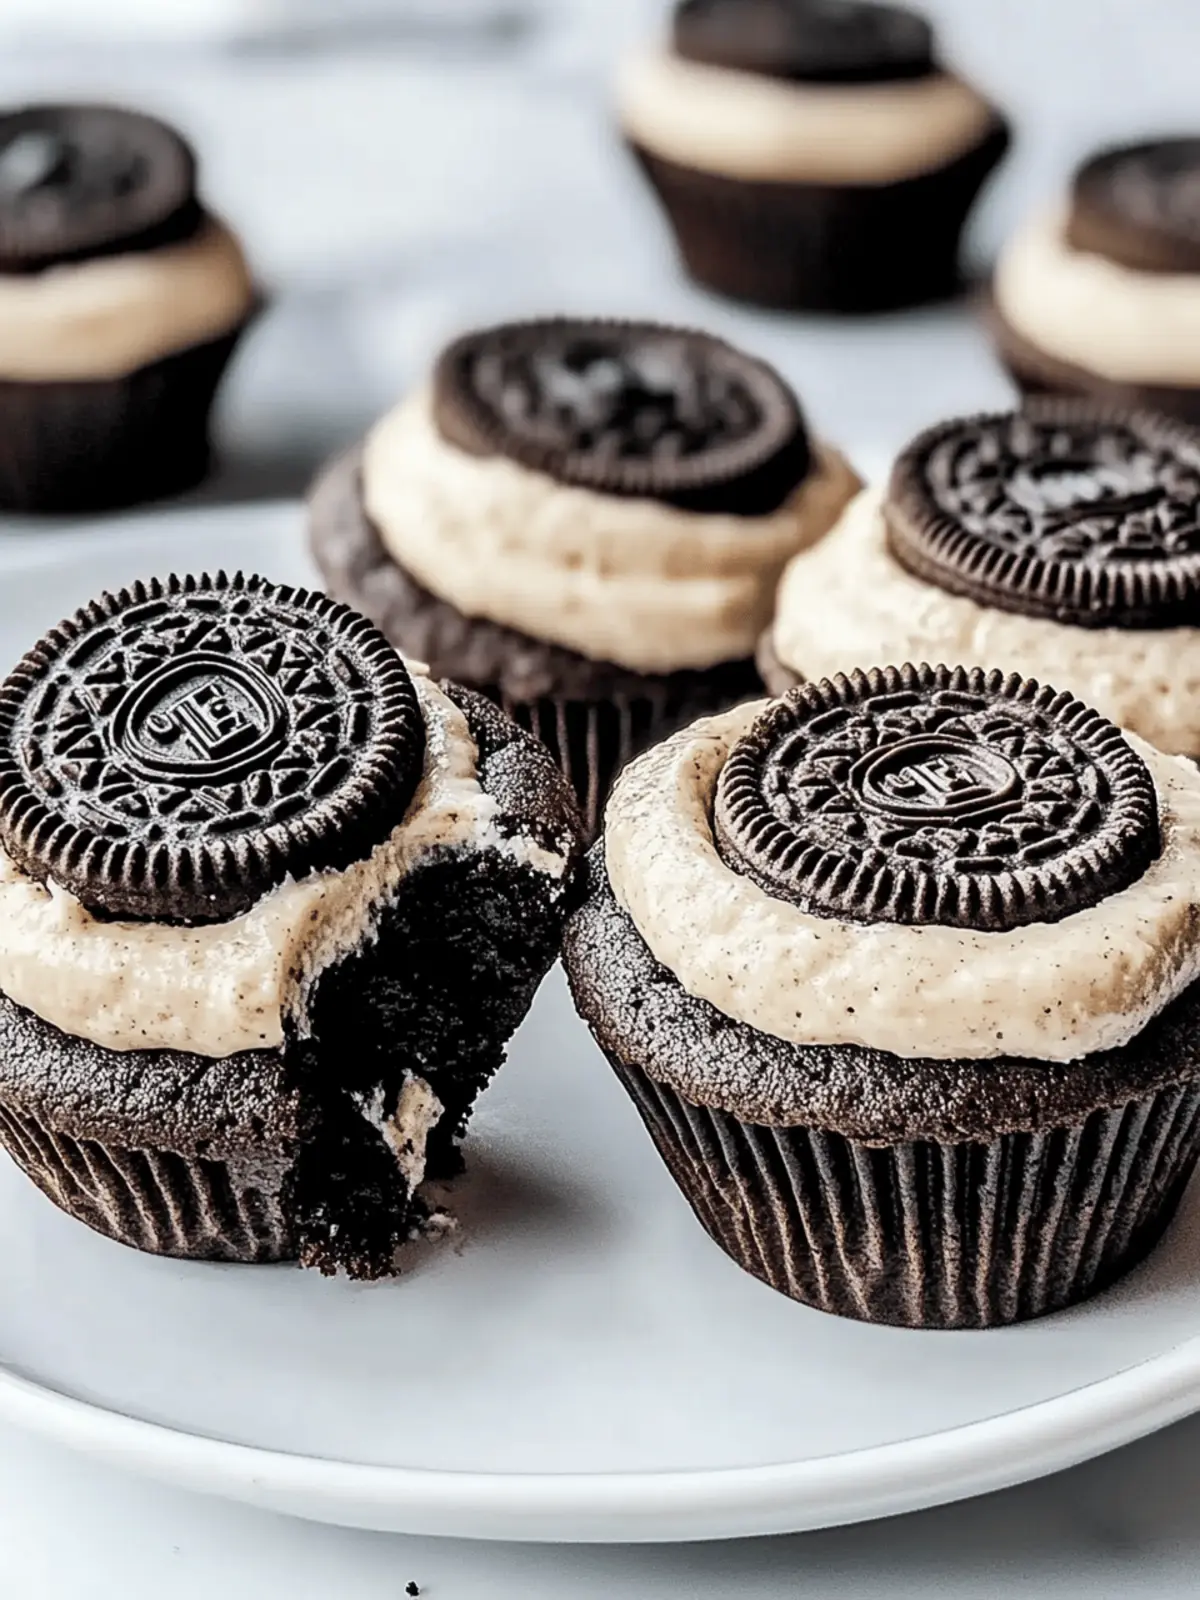
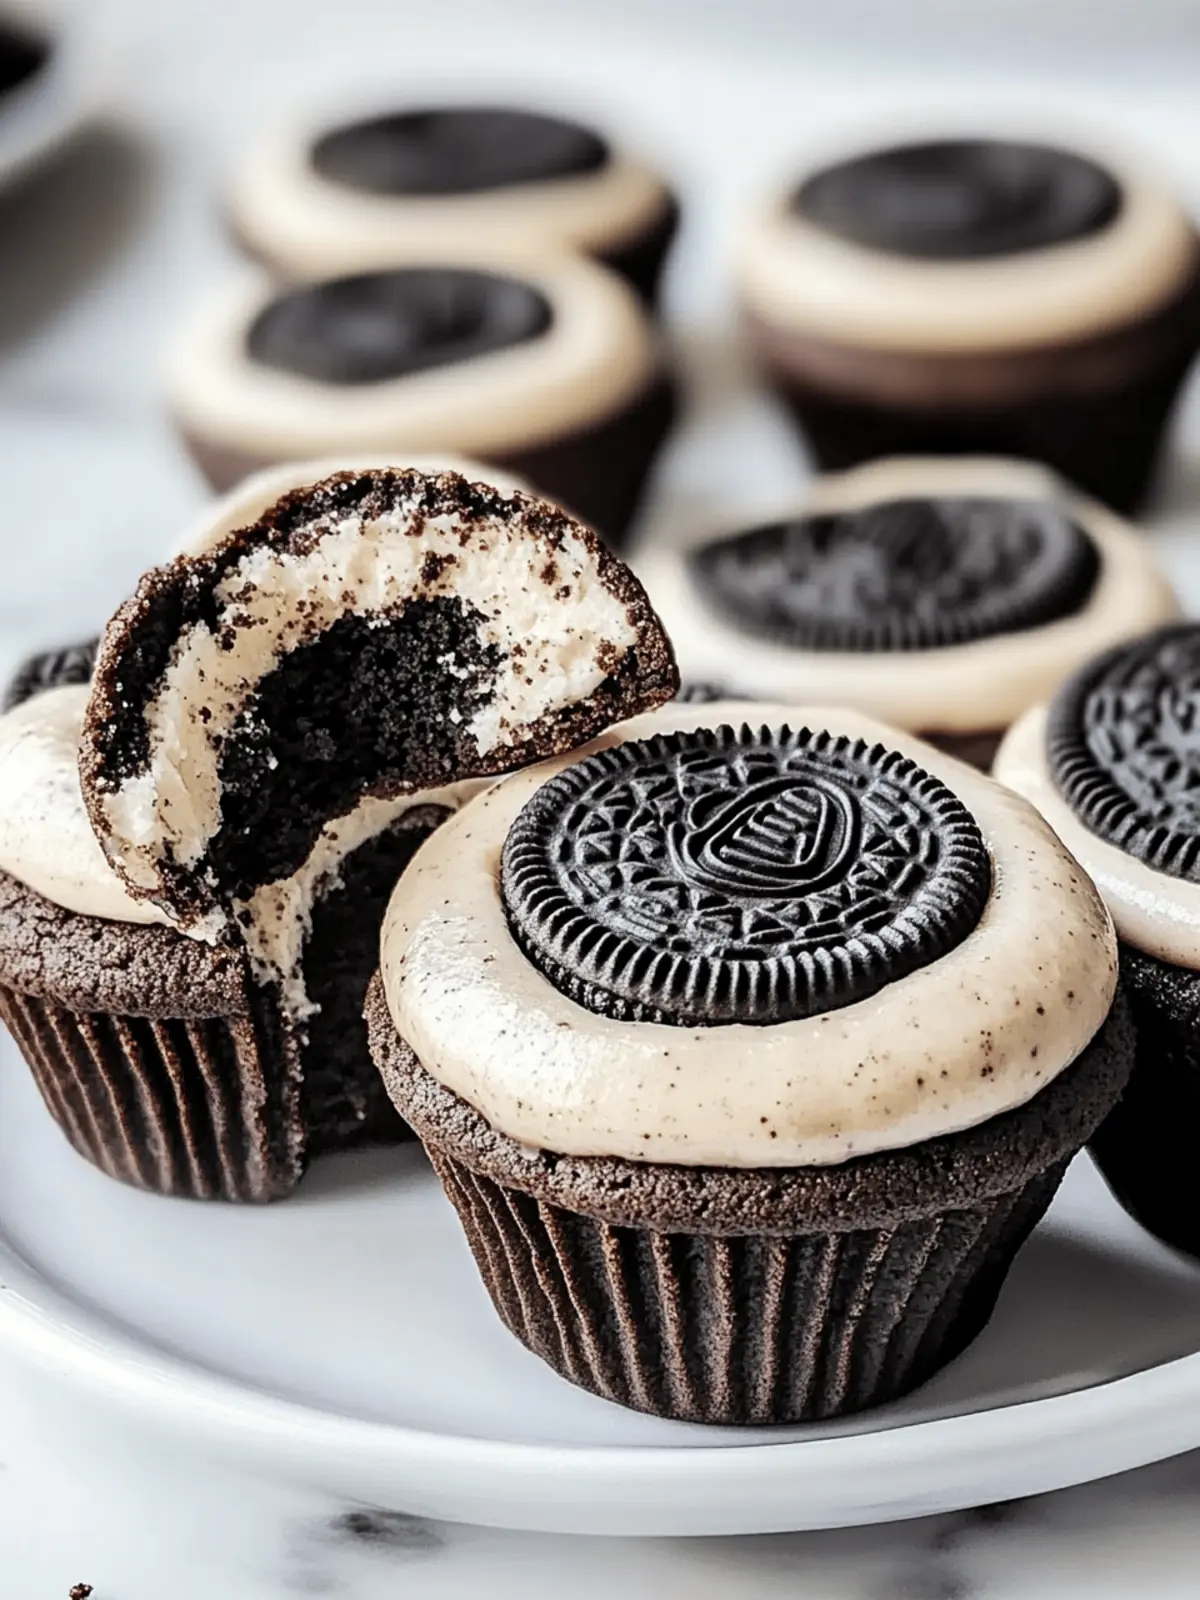
There’s a certain joy that comes from whipping up a dessert that feels both indulgent and effortlessly fun, and these Oreo Cheesecake Cookie Cups are just that! Picture this: a crunchy Oreo cookie crust cradling a luscious, creamy cheesecake filling—it’s the perfect bite-sized treat that satisfies even the most stubborn sweet tooth. With each spoonful, you’re greeted with a delightful blend of rich flavors and textures that make it hard to stop at just one.
I found myself in need of a simple yet jaw-dropping dessert for a gathering, and this recipe quickly became my go-to. What I love most is its versatility; you can play around with different cookies or cream cheese flavors, making it uniquely yours. Whether it’s the middle of summer or a chilly winter evening, these little cups of joy are best served chilled, ensuring a refreshing sweetness to brighten your day.
Ready to impress your family and friends? Let’s dive into this easy, no-bake recipe that will have everyone asking for seconds!
Why are Oreo Cheesecake Cookie Cups irresistible?
Decadent indulgence: Each bite is a perfect medley of creamy cheesecake and crunchy cookie.
Effortless fun: The no-bake aspect means minimal fuss for maximum taste.
Customizable flavors: Experiment with different cookies or cream cheese varieties to create your signature treat.
Crowd-pleaser: Perfect for gatherings or a cozy night in; these bite-sized desserts are sure to impress.
Easy to store: They keep well in the fridge, making them ideal for last-minute cravings or spontaneous gatherings.
Joyful experience: Making and sharing these dessert cups is bound to bring smiles to every sweet tooth around!
Oreo Cheesecake Cookie Cups Ingredients
For the Crust
• Oreo Cookies – Provides sweetness and structure for the crust; feel free to substitute with chocolate chip or peanut butter cookies for a twist.
• Unsalted Butter – Binds the cookie crumbs for the crust; no substitutions recommended to achieve the best results.
For the Filling
• Cream Cheese – Adds creaminess and richness to the filling; use full-fat for maximum flavor, or try flavored cream cheese for a unique touch.
• Granulated Sugar – Sweetens the cheesecake filling; consider reducing the quantity for a less sweet option.
• Sour Cream – Contributes to a smooth and tangy flavor; you can swap it with Greek yogurt for a lighter version.
• Mini Chocolate Chips – Optional for added texture and chocolate flavor; you might also use butterscotch or peanut butter chips if desired.
For the Topping
• Whipped Cream – Adds lightness and sweetness on top; you can opt for whipped topping to keep things non-dairy.
These Oreo Cheesecake Cookie Cups are deliciously easy to make, allowing room for creativity while ensuring an irresistible treat!
How to Make Oreo Cheesecake Cookie Cups
-
Preheat Oven: Begin by preheating your oven to 350°F (175°C). This step is crucial for creating the perfect crust for your Oreo Cheesecake Cookie Cups.
-
Prepare Crust: Crush 20 Oreo cookies into fine crumbs, and mix them with melted unsalted butter in a bowl. The mixture should resemble damp sand, holding together when pressed.
-
Form Cookie Cups: Line a muffin tin with cupcake liners, then press about one tablespoon of the Oreo mixture firmly into each liner. Aim for a solid base to hold the filling.
-
Mix Filling: In a separate bowl, beat the softened cream cheese with granulated sugar until fluffy and smooth. Then, add sour cream and continue mixing until there are no lumps.
-
Add Chocolate (Optional): Gently fold in mini chocolate chips for an extra burst of flavor and delightful texture, if desired!
-
Fill and Bake: Spoon the creamy cheesecake filling into each crust, filling them nearly to the top. Bake for 15-18 minutes, until they are set but slightly jiggly in the center.
-
Cool and Chill: Once baked, allow the cups to cool completely before placing them in the refrigerator. Chilling for at least two hours will enhance their flavor.
-
Top and Serve: Just before serving, pipe whipped cream on each cookie cup and sprinkle with crushed Oreos for that extra touch of sweetness.
Optional: Garnish with a drizzle of chocolate or fruit preserves for a unique twist.
Exact quantities are listed in the recipe card below.
Make Ahead Options
These Oreo Cheesecake Cookie Cups are perfect for busy home cooks looking to save time without sacrificing flavor! You can prepare the crust up to 24 hours in advance; simply crush the Oreo cookies and mix with melted butter, then store it in an airtight container in the fridge. The cheesecake filling can be made up to 3 days ahead—just mix the cream cheese, sugar, and sour cream, and store it in a sealed container. When you’re ready to serve, fill the pre-made crusts with the chilled filling, bake, cool, and top with whipped cream and crushed Oreos. This way, you can enjoy delicious treats with minimal last-minute effort, ensuring they taste just as delightful as when freshly made!
Expert Tips for Oreo Cheesecake Cookie Cups
-
Cream Cheese Consistency: Make sure to beat the cream cheese until completely smooth. This helps avoid any lumps in your cheesecake filling, ensuring a silky texture.
-
Flavor Boost: For a richer taste, always opt for full-fat cream cheese in your Oreo Cheesecake Cookie Cups. It creates a more luxurious mouthfeel and enhances flavor.
-
Baking Watch: Keep a close eye on your cookie cups; they should set around the edges but retain a slight jiggle in the center to achieve that creamy filling.
-
Chilling Time: Allow the cookie cups to cool completely before refrigerating. Chilling them for at least two hours not only improves flavor but also sets the filling perfectly.
-
Serving Suggestions: Consider adding a sprinkle of sea salt on top for a delightful contrast to the sweetness or a drizzle of chocolate ganache for extra indulgence.
Oreo Cheesecake Cookie Cups Variations
Let your creativity shine by customizing these delightful treats to suit your tastes and dietary needs.
-
Gluten-Free: Use gluten-free cookies to make a crust that everyone can enjoy without compromise. Blending flavor with dietary consideration is a win-win!
-
Vegetarian: These cookie cups are naturally vegetarian, but ensure all substitutes like whipped cream and yogurt are vegetarian-friendly. The choice of ingredients is key to keeping things delightful.
-
Nut-Free: Choose nut-free cream cheese and avoid nuts in your cookie crust to create a safe dessert for those with nut allergies. Everyone deserves to indulge!
-
Fruit Infusion: Mix in pureed fruit like strawberries or raspberries into the cheesecake filling for a refreshing twist. This fruity enhancement brightens the rich flavors beautifully.
-
Chocolate Lover’s Dream: Swap the cream cheese for chocolate cream cheese and add extra mini chocolate chips to the filling for an intense chocolate experience. Just imagine the rich decadence!
-
Coffee Kick: Incorporate instant coffee granules into the cheesecake filling to create a mocha flavor that pairs perfectly with the sweetness of the Oreos. Coffee lovers rejoice!
-
Caramel Drizzle: Top with a luscious caramel sauce instead of whipped cream for an excitingly sweet finish. The gooey caramel adds a delightful richness.
-
Savory Touch: For a surprising contrast, add a sprinkle of sea salt or crushed pretzels on top before serving. This twist plays beautifully with sweet elements for a divine balance.
Feel free to mix and match these variations to create your own masterpiece, surprising your guests and expanding your dessert horizons!
What to Serve with Oreo Cheesecake Cookie Cups?
Indulging in these delightful treats opens the door to a world of complementary flavors and textures to enhance your dessert experience.
- Fresh Berries: The tartness of strawberries or raspberries contrasts beautifully with the rich cheesecake, adding a refreshing burst of flavor.
- Chocolate Drizzle: A warm drizzle of chocolate ganache elevates the decadence, tying in with the cookie crust for an extra indulgent touch.
- Ice Cream: Serve with a scoop of vanilla or cookies and cream ice cream for a delightful cold treat that harmonizes wonderfully with the cheesecake cups.
- Coffee: A hot cup of coffee provides a bitter counterpoint to the sweetness of these cookie cups, making for a perfectly balanced dessert pairing.
- Mint Leaves: Adding a few fresh mint leaves on the side brightens the palate and adds a splash of color on the plate.
- Caramel Sauce: A drizzle of caramel adds a sweet, buttery dimension that perfectly complements the chocolate and cream cheese flavors.
- Whipped Cream: Complement the filling with an extra dollop of whipped cream; this maintains that light, fluffy texture everyone loves.
In the end, choose your favorite sides to create a memorable dessert experience that brings everyone together in sweet delight!
Storage Tips for Oreo Cheesecake Cookie Cups
- Fridge: Store your Oreo Cheesecake Cookie Cups in an airtight container in the refrigerator for up to 5 days, keeping them chilled and delicious for any sweet craving.
- Freezer: For longer storage, you can freeze the cookie cups without the whipped cream topping. Wrap tightly in plastic wrap and place them in an airtight container for up to 3 months.
- Thawing: To enjoy frozen cookie cups, simply transfer them to the fridge to thaw overnight before adding the whipped cream and serving.
- Serving Chilled: Remember that these delightful treats are best served chilled, enhancing the creamy texture and rich flavors of your Oreo Cheesecake Cookie Cups.
Oreo Cheesecake Cookie Cups Recipe FAQs
How do I choose the best ripeness for the ingredients?
Absolutely! For your Oreo Cheesecake Cookie Cups, make sure to choose fresh cream cheese that is smooth and not nearing expiration. Look for no lumps in your cream cheese; it should be easy to spread. The sour cream should also be fresh and creamy. As for the Oreos, opt for a package that isn’t crushed or stale, ensuring a perfect crunchy crust.
How should I store Oreo Cheesecake Cookie Cups, and how long will they last?
Store your Oreo Cheesecake Cookie Cups in an airtight container in the refrigerator for up to 5 days. Keeping them chilled will maintain their deliciousness, making them perfect for those spontaneous sweet cravings. If you need longer storage, they can be frozen for up to 3 months, but ensure they are wrapped expertly to avoid freezer burn.
Can I freeze Oreo Cheesecake Cookie Cups, and how do I do it?
Definitely! To freeze your Oreo Cheesecake Cookie Cups, first, allow them to cool completely. Then, without the whipped cream topping, wrap each cookie cup tightly in plastic wrap or foil. Place them in an airtight container or a resealable freezer bag. When you’re ready to enjoy, thaw them in the refrigerator overnight before adding the whipped cream—easy as pie!
What should I do if my cheesecake filling has lumps?
Oh no, lumps can happen! To prevent this, make sure you beat your cream cheese at room temperature until it’s completely smooth before adding sugar and sour cream. If you do notice lumps, you can try mixing with a hand mixer for a bit longer. If all else fails, use a fine wire strainer to push your filling through, which can help achieve that silky, creamy consistency.
Are there any dietary considerations for Oreo Cheesecake Cookie Cups?
Very! If you have dietary restrictions, consider using gluten-free Oreos to make the crust or non-dairy cream cheese and whipped topping for a lactose-free option. Always check ingredient labels for potential allergens, especially if you’re serving to guests with specific dietary needs. This way, you can ensure everyone enjoys these delightful treats!
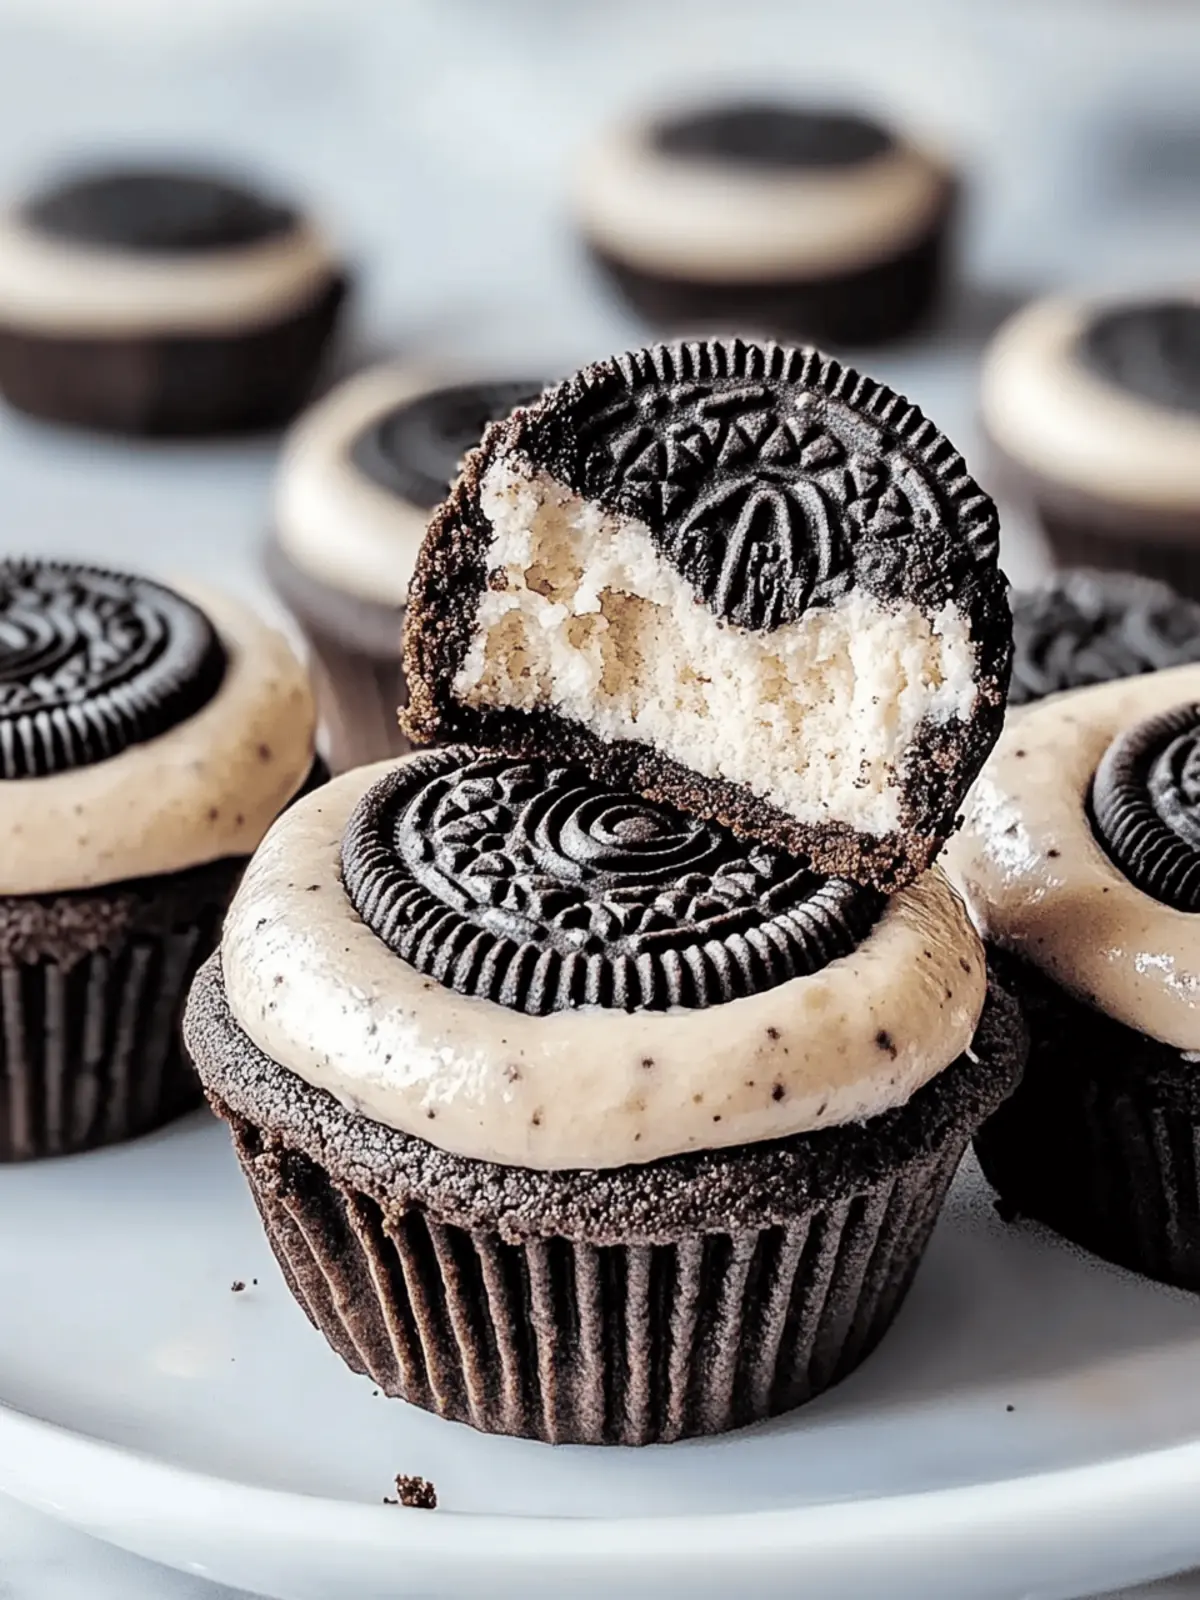
Irresistible Oreo Cheesecake Cookie Cups for Sweet Cravings
Ingredients
Equipment
Method
- Preheat your oven to 350°F (175°C).
- Crush 20 Oreo cookies into fine crumbs, and mix them with melted unsalted butter in a bowl.
- Line a muffin tin with cupcake liners, then press about one tablespoon of the Oreo mixture into each liner.
- In a separate bowl, beat the softened cream cheese with granulated sugar until fluffy. Add sour cream and mix until there are no lumps.
- Gently fold in mini chocolate chips for added flavor, if desired!
- Spoon the cheesecake filling into each crust, filling nearly to the top. Bake for 15-18 minutes until set but slightly jiggly.
- Allow the cups to cool completely before refrigerating. Chill for at least 2 hours.
- Pipe whipped cream on each cup and sprinkle with crushed Oreos before serving.

