
When the holiday season rolls around, the air fills with the sweet scent of peppermint and baked treats, instantly lifting our spirits. It was during one of those festive afternoons, filled with bustling kitchens and cheerful chatter, that I found myself craving something a little different. That’s when I concocted this No-Bake Peppermint Cheesecake. Imagine creamy layers of sweet cream cheese, infused with a refreshing hint of peppermint, all sitting atop a crunchy Oreo crust—pure bliss on a plate!
Not only is this cheesecake an absolute showstopper with its beautiful layers and delightful flavors, but it’s also a breeze to make. No need to fuss over an oven or complicated techniques! With just 15 minutes of prep and a few hours in the fridge, you’ll have a decadent dessert ready to impress family and friends. Let’s dive into this seasonal delight that perfectly balances rich and refreshing, making it an ideal pick for any gathering.
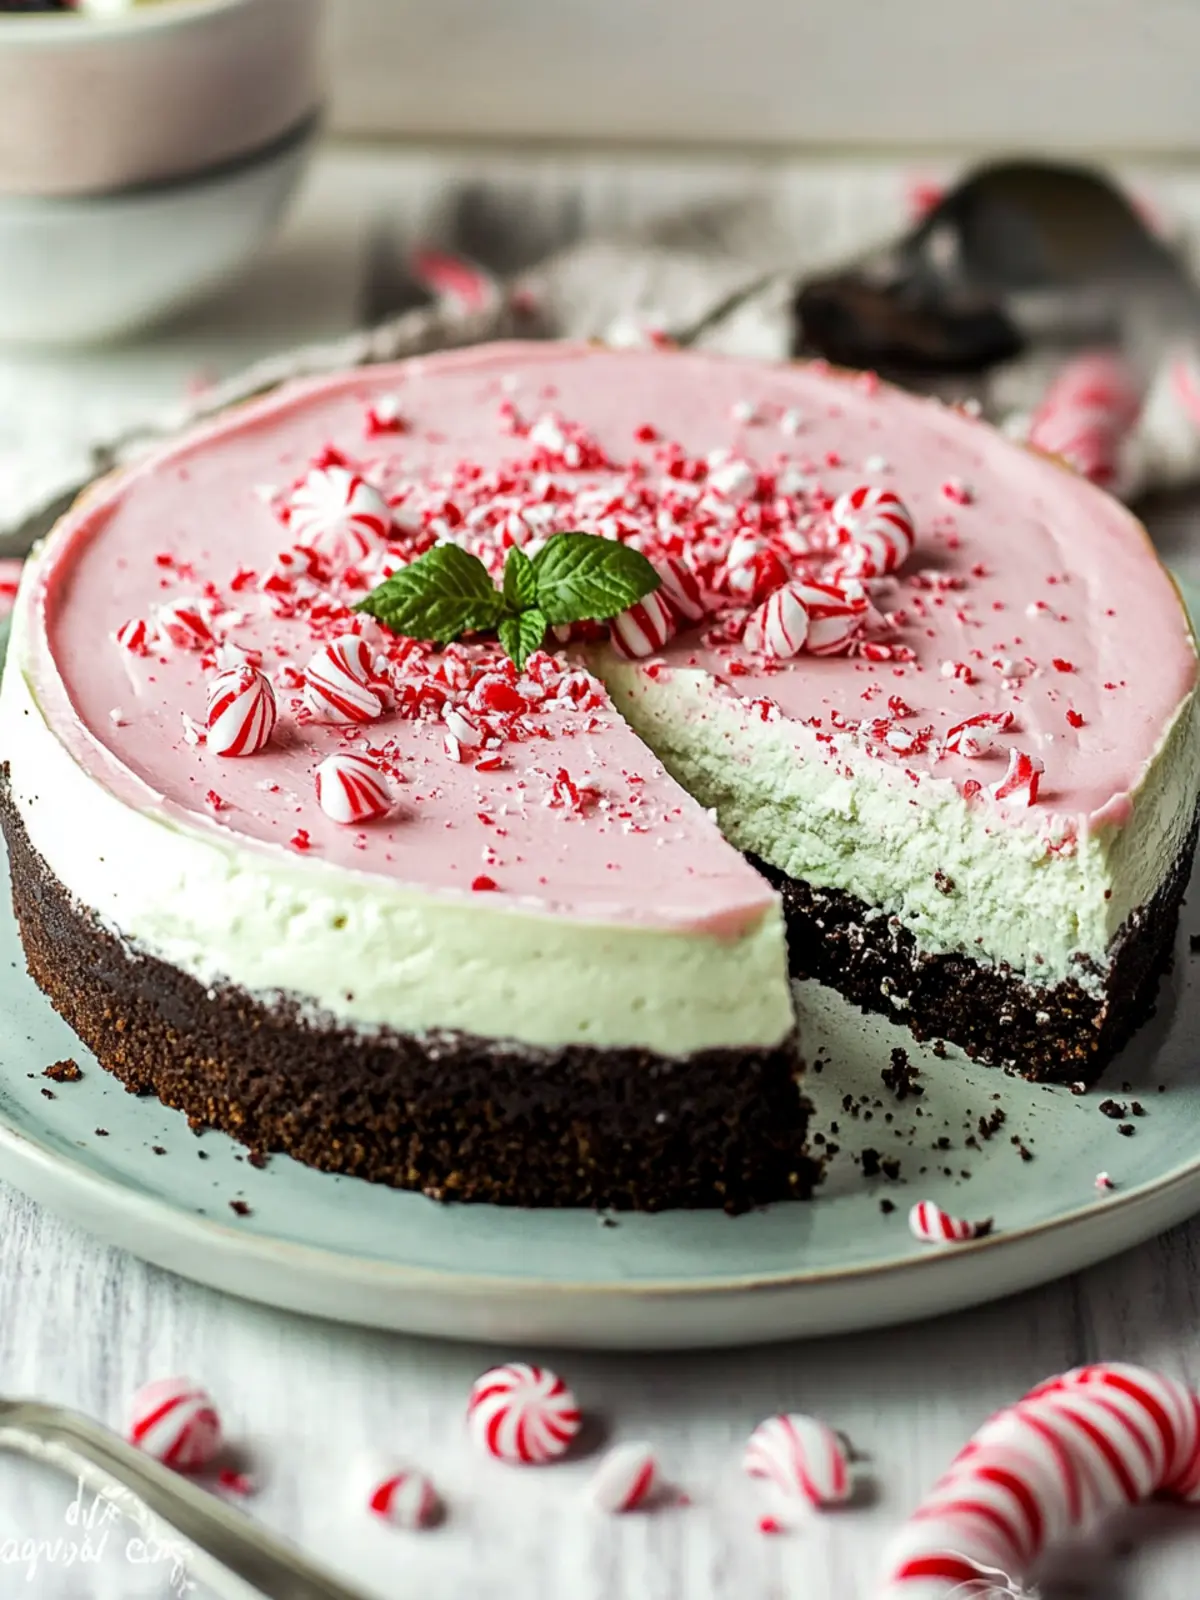
Why Will You Love This Peppermint Cheesecake?
Creating the perfect holiday dessert has never been easier! No-Bake Convenience: This recipe requires minimal effort with just 15 minutes of prep time. Irresistible Flavor: The blend of cream cheese and peppermint brings festive joy in every bite. Eye-Catching Presentation: Layered with chocolate and crushed candies, it’s an instant centerpiece. Versatile Delight: Perfect for any occasion, from family dinners to holiday parties. Crowd Favorite: Watch this cheesecake disappear faster than you can say “happy holidays!” For more delightful no-bake treats, check out our easy desserts.
Peppermint Cheesecake Ingredients
• Get ready for a festive delight!
For the Crust
• Oreo cookie crumbs – This creates a sweet and crunchy base that’s full of chocolaty goodness.
• Unsalted butter – Helps to bind the cookie crumbs together for a firm crust.
For the Cheesecake Layer
• Cream cheese – The star ingredient for a rich, creamy texture that balances the peppermint.
• Powdered sugar – Sweetens the cream cheese, ensuring a silky-smooth filling.
• Heavy whipping cream – Whipped to soft peaks for that light and airy essence in each bite.
• Peppermint extract – Infuses the cheesecake with a refreshing mint flavor, making this a true peppermint cheesecake.
• Vanilla extract – Adds a layer of warmth and depth to the dessert.
For the Chocolate Ganache
• Bittersweet chocolate – Delivers a rich, chocolatey layer that complements the minty flavor beautifully.
• Granulated sugar – Enhances the sweetness of the chocolate mixture.
• Heavy cream (¾ cup) – Used to create a smooth ganache that melts in your mouth.
Topping
• Crushed peppermint candies – Adds a festive touch and a delightful crunch on top of your cheesecake.
• Red food coloring (optional) – For those who want to add a splash of holiday color to their cheesecake!
Get ready to wow your loved ones with this show-stopping dessert!
How to Make Peppermint Cheesecake
-
Crush the Cookies: Finely crush the Oreo cookies in a food processor until you achieve a sandy texture. Add the melted butter and blend until moistened, creating the perfect crust.
-
Press and Chill: Firmly press the cookie mixture into the bottom of a lightly greased 9-inch springform pan. Pop it in the freezer while you prepare the filling.
-
Mix the Cream Cheese: In a medium bowl, mix the softened cream cheese and powdered sugar together until smooth and creamy. This base will bring richness to your cheesecake!
-
Whip the Cream: In a separate bowl, whip the heavy cream until soft peaks form. This will give your cheesecake that light and fluffy texture everyone loves.
-
Combine Mixtures: Gently fold the cream cheese mixture into the whipped cream on low speed, being careful not to deflate the whipped cream.
-
Add Flavors: Pour in peppermint extract, vanilla extract, and if desired, a few drops of red food coloring. Mix lightly until everything is beautifully combined.
-
Incorporate Candies: Stir in the crushed peppermint candies with a spatula for added crunch and festive flair.
-
Spread the Filling: Carefully spread the cheesecake filling over the chilled crust, smoothing the top to prepare for chilling.
-
Chill the Cheesecake: Refrigerate for at least 3-4 hours or until set, allowing the flavors to meld and the texture to firm up.
-
Make the Ganache: In a medium saucepan, stir together heavy cream, chopped chocolate, and granulated sugar over low heat. Stir until the chocolate melts and the mixture is smooth.
-
Cool and Finish: Allow the chocolate ganache to cool before pouring it over the chilled cheesecake. Sprinkle with additional crushed peppermint candies for that festive touch.
-
Serve and Enjoy: Slice your delightful peppermint cheesecake and serve it up, sharing the joy of the season with everyone.
Optional: Top with whipped cream for an extra touch of elegance!
Exact quantities are listed in the recipe card below.
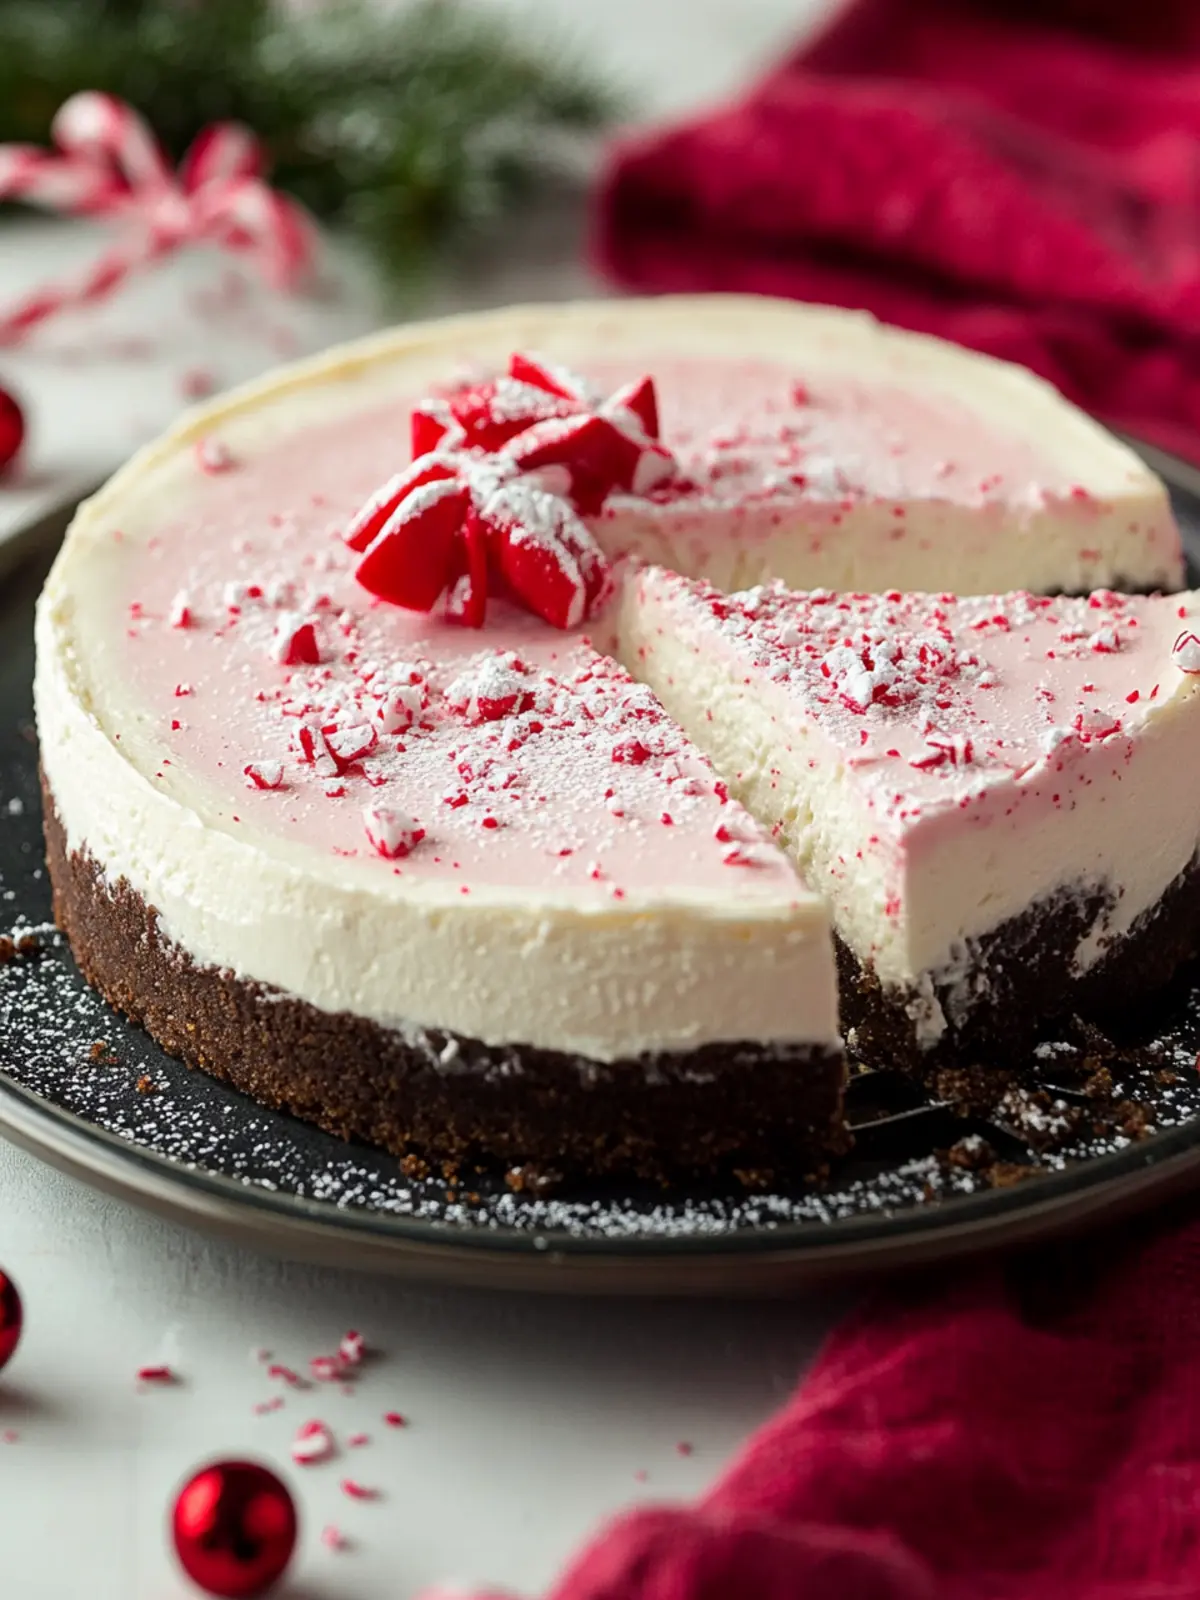
What to Serve with Peppermint Cheesecake?
Elevate your dessert experience with delicious accompaniments that will complement the rich and refreshing flavors of this festive cheesecake.
- Chocolate Drizzle: A warm chocolate sauce adds a decadent touch that harmonizes beautifully with the peppermint undertones.
- Fresh Whipped Cream: Light and airy, this adds a fluffy finish, balancing the rich cheesecake while making it look irresistible.
- Minty Fruit Salad: A refreshing mix of fruits like strawberries and kiwi tossed with a hint of mint brings a burst of freshness to every bite.
Pairing a warm drink can create a comforting experience.
- Peppermint Hot Cocoa: A rich, velvety cocoa with a hint of peppermint is the perfect warming complement, creating a cozy treat.
- Herbal Tea: Try a soothing chamomile or mint tea, enhancing the overall relaxation of your dessert experience.
- Coffee or Espresso: The deep flavors of coffee cut through the sweetness beautifully, making each bite of cheesecake even more indulgent.
For a delightful bite-sized treat, consider a little something sweet!
- Chocolate-Covered Pretzels: Crunchy and sweet with a hint of salt, these little snacks attractively balance the flavors of the cheesecake.
- Candy Cane Cups: A twist on traditional candies, these chocolate cups filled with peppermint cream can be a fun addition to your dessert spread.
Make Ahead Options
These No-Bake Peppermint Cheesakes are perfect for busy weeknights and holiday gatherings! You can prepare the crust and cheesecake filling up to 24 hours in advance. To do this, simply make the crust and press it into the pan, then store the prepared crust in the freezer. You can mix the cheesecake filling and refrigerate it in an airtight container. When you’re ready to serve, just spread the filling over the crust and let it set in the fridge for at least 3-4 hours. For the chocolate ganache, make it fresh before serving to ensure it’s silky smooth. This way, you’ll maintain the creamy texture and rich flavor of the Peppermint Cheesecake, keeping it just as delicious!
Peppermint Cheesecake Variations
Feel free to make this delightful dessert your own with some fun twists and swaps!
- Gluten-Free: Use gluten-free Oreo cookies for the crust and enjoy a gluten-free version of this seasonal treat.
- Less Sweet: Reduce the powdered sugar by half for a less indulgent cheesecake that still delivers on flavor.
- Nutty Surprise: Mix in crushed walnuts or almonds into the crust for an extra layer of texture and a hint of nutty flavor.
- Chocolate Lovers: Add mini chocolate chips to the cheesecake mixture for an extra chocolatey surprise that pairs wonderfully with peppermint.
- Vegan Option: Substitute cream cheese with vegan cream cheese and use coconut cream instead of heavy cream for a plant-based version.
- Minty Fresh: For an extra mint kick, add a handful of fresh mint leaves into the whipped cream before folding for a refreshing twist.
- Decadent Drizzle: Drizzle some caramel sauce over the ganache before serving for a luscious combination of flavors that guests will adore.
Every variation brings a unique twist to this classic dessert, making it an adventure for your taste buds!
Tips for the Best Peppermint Cheesecake
- Chill Well: Be patient and let your cheesecake chill for at least 3-4 hours, ensuring it sets properly and offers the perfect slice.
- Whip Cream Carefully: Avoid overwhipping the heavy cream, as it can turn into butter. Stop when soft peaks form for a light texture.
- Combine Gently: When folding the cream cheese mixture into the whipped cream, use a light hand to maintain the airy quality of the filling.
- Check the Ganache: Make sure the ganache has cooled enough before pouring over the cheesecake; this prevents melting the filling underneath.
- Layer Flavors: Don’t hesitate to adjust the peppermint extract to your taste; the key to a perfect peppermint cheesecake is finding that ideal balance!
How to Store and Freeze Peppermint Cheesecake
Fridge: Store leftover peppermint cheesecake in an airtight container in the refrigerator for up to 5 days to maintain its fresh flavor and creamy texture.
Freezer: If you want to enjoy your cheesecake later, you can freeze it for up to 2 months. Wrap individual slices or the whole cheesecake tightly in plastic wrap, then foil.
Thawing: When you’re ready to indulge, thaw the cheesecake overnight in the fridge before serving for the best texture.
Reheating: No reheating is required for this no-bake cheesecake, but serve cold for the ultimate refreshing experience!
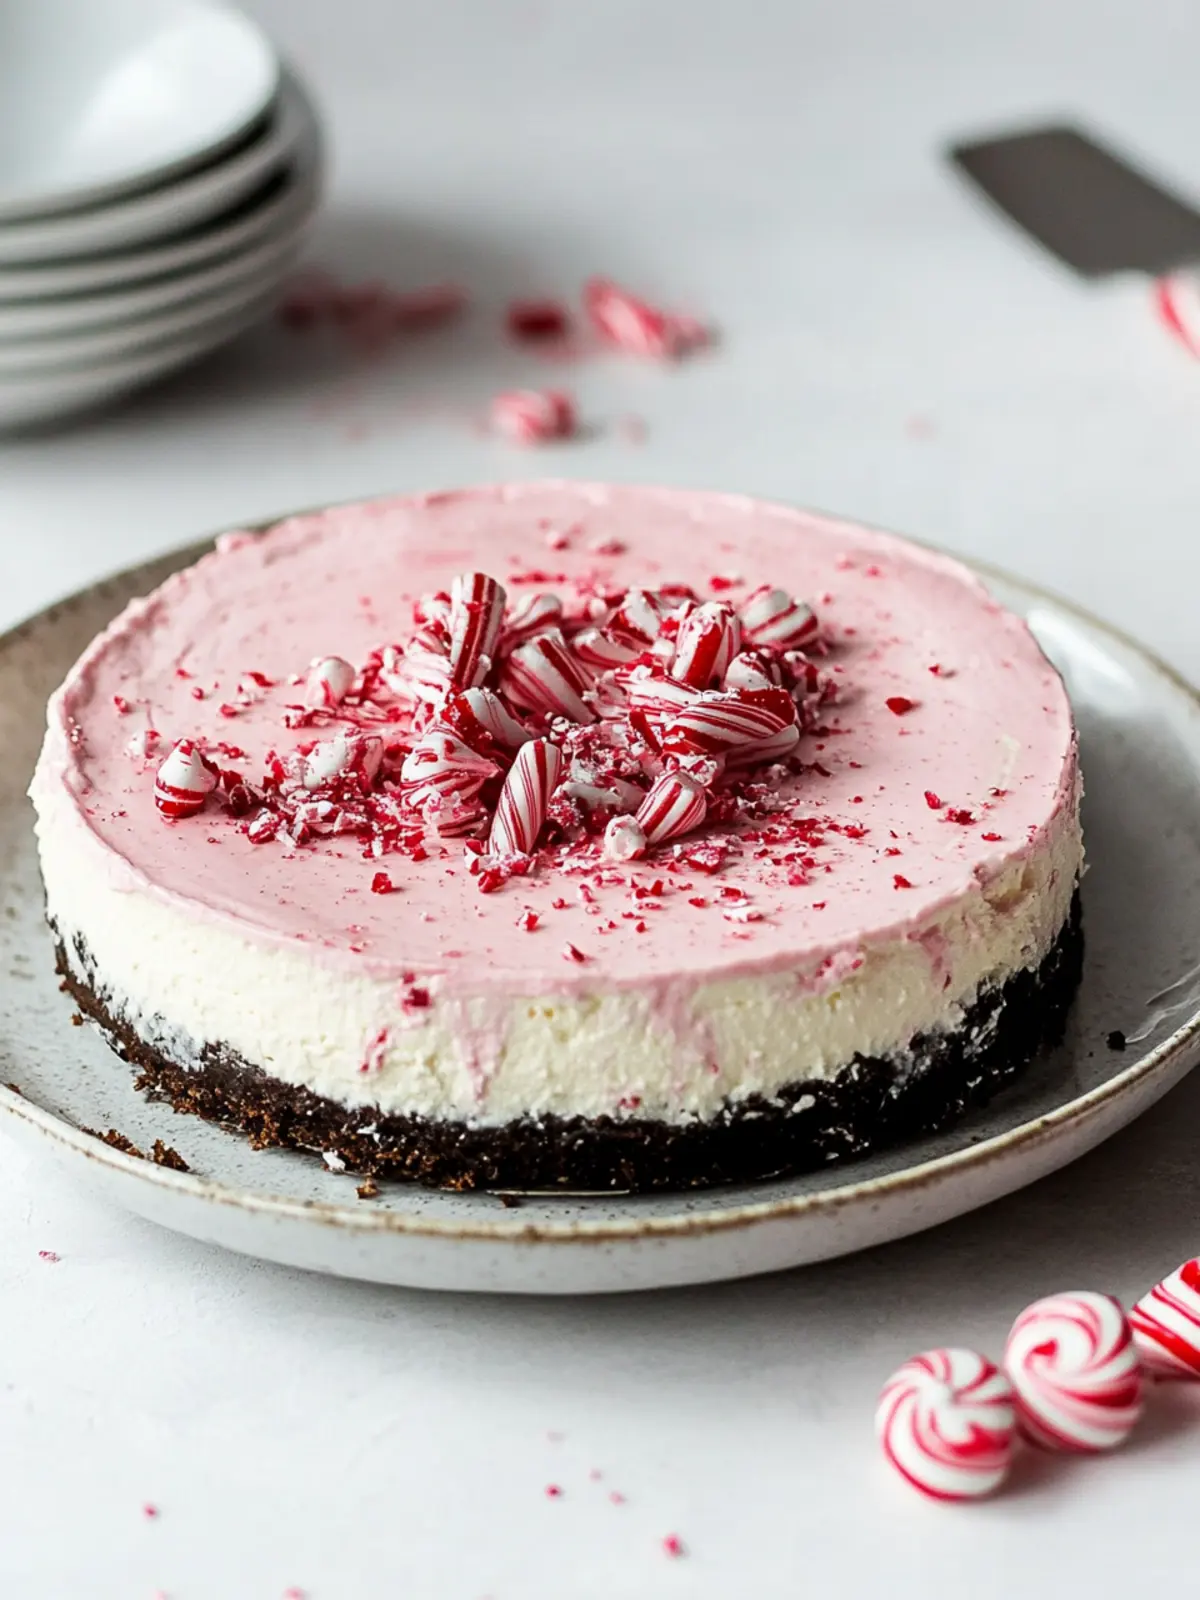
Peppermint Cheesecake Recipe FAQs
How do I choose the perfect peppermint candies?
When selecting peppermint candies, look for pieces that are fresh and vibrant in color. Avoid candies with dark spots or signs of moisture. It’s best to choose candies that are specifically labeled as “peppermint” rather than generic mint-flavored ones for that authentic holiday taste!
How should I store my leftover peppermint cheesecake?
Absolutely! After serving, make sure to cover the remaining peppermint cheesecake tightly with plastic wrap or store it in an airtight container. It can stay fresh in the refrigerator for up to 5 days. Just a tip: if you notice any dark spots or changes in texture, it’s best to discard it to enjoy the freshest flavors.
Can I freeze peppermint cheesecake?
Yes, you can! To freeze your peppermint cheesecake, wrap it tightly in plastic wrap, then in aluminum foil to prevent freezer burn. It will keep for up to 2 months. For individual slices, place parchment paper between each slice before wrapping, making it easy to grab just what you need!
What’s the best way to thaw frozen cheesecake?
Thawing is easy! When you’re ready to enjoy your frozen peppermint cheesecake, simply transfer it to the refrigerator the night before. Allow at least 8-10 hours to thaw completely for the best texture and taste. If you’re short on time, you can let it sit at room temperature for about 1-2 hours, but be cautious not to let it warm too much.
Can I make this cheesecake nut-free for allergies?
Very! The ingredients in this peppermint cheesecake are naturally nut-free. Just ensure any mix-ins, like toppings, are free from cross-contamination if you have severe allergies. Using certified nut-free brands for your ingredients will ensure a tasty and safe dessert for everyone.
What if my cheesecake doesn’t set properly?
No worries! If your cheesecake is not setting, it may be due to insufficient chilling time. Allow the cheesecake to chill for the recommended 3-4 hours; sometimes, a little extra time in the fridge can work wonders. Also, check if the whipped cream was over-whipped, which can affect the texture. If you find that it’s still too soft, consider chilling it longer and serving it in a parfait-style with the crust layered into cups!
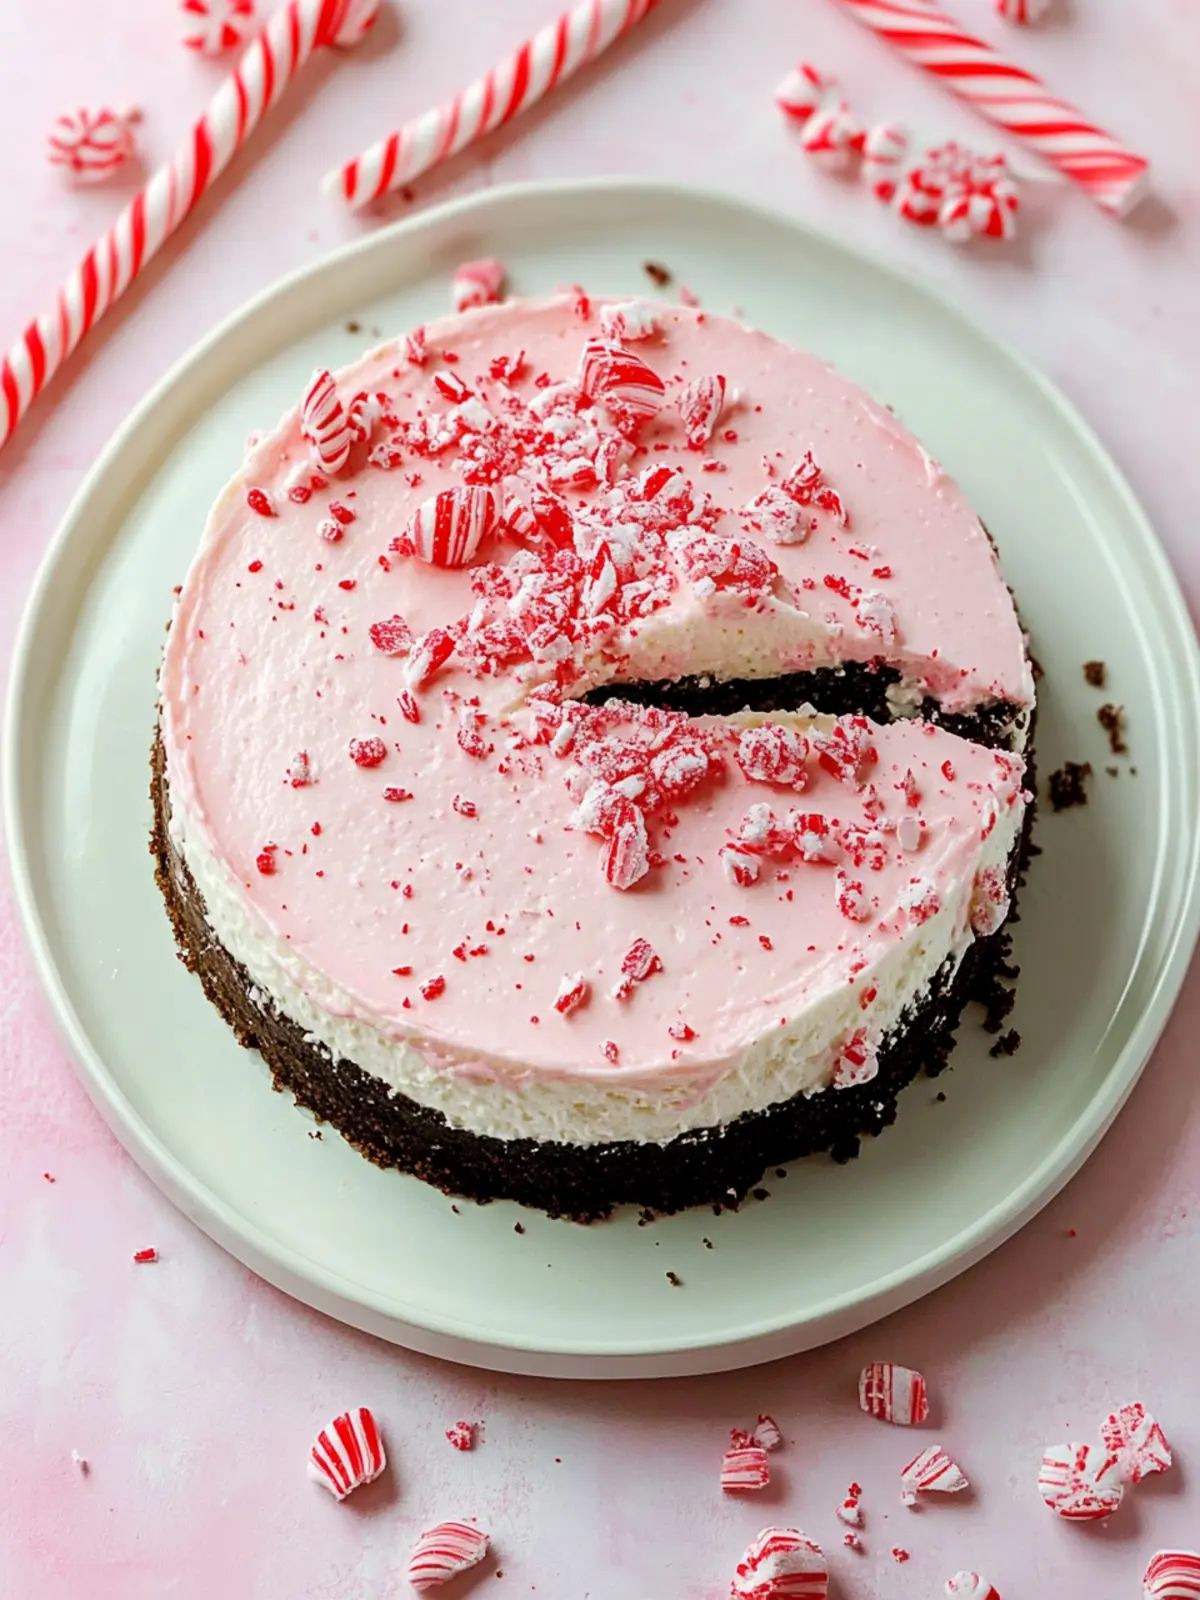
Decadent No-Bake Peppermint Cheesecake for Sweet Memories
Ingredients
Equipment
Method
- Finely crush the Oreo cookies in a food processor until you achieve a sandy texture. Add the melted butter and blend until moistened, creating the perfect crust.
- Firmly press the cookie mixture into the bottom of a lightly greased 9-inch springform pan. Pop it in the freezer while you prepare the filling.
- In a medium bowl, mix the softened cream cheese and powdered sugar together until smooth and creamy.
- In a separate bowl, whip the heavy cream until soft peaks form.
- Gently fold the cream cheese mixture into the whipped cream on low speed.
- Pour in peppermint extract, vanilla extract, and if desired, a few drops of red food coloring. Mix lightly until combined.
- Stir in the crushed peppermint candies with a spatula.
- Carefully spread the cheesecake filling over the chilled crust.
- Refrigerate for at least 3-4 hours or until set.
- In a medium saucepan, stir together heavy cream, chopped chocolate, and granulated sugar over low heat until melted and smooth.
- Allow the ganache to cool before pouring it over the chilled cheesecake. Sprinkle with additional crushed peppermint candies.
- Slice your peppermint cheesecake and serve it up, sharing the joy of the season.