
There’s nothing quite like the cheerful chill of winter to bring out the sweet spirit of baking, especially when it comes to desserts that dazzle. Imagine a rich, creamy peppermint cheesecake that not only pleases the palate but also wraps you in a cozy hug of holiday flavors. As the snow falls softly outside, a slice of this delightful cheesecake, with its luscious layers and crunchy Oreo crust, brings warmth and joy to any gathering.
I discovered this peppermint cheesecake recipe during a festive holiday get-together, where it quickly became the star of the dessert table. Not only does it showcase a harmonious balance of creamy, minty delights, but it also blends beautifully with various toppings—from crushed candy canes to decadent peppermint chocolates. This cheesecake is not just a treat for the taste buds; it’s a conversation starter and a sure-fire way to impress friends and family. So, let’s roll up our sleeves and whip up this delectable dessert that promises to light up your holiday celebrations!
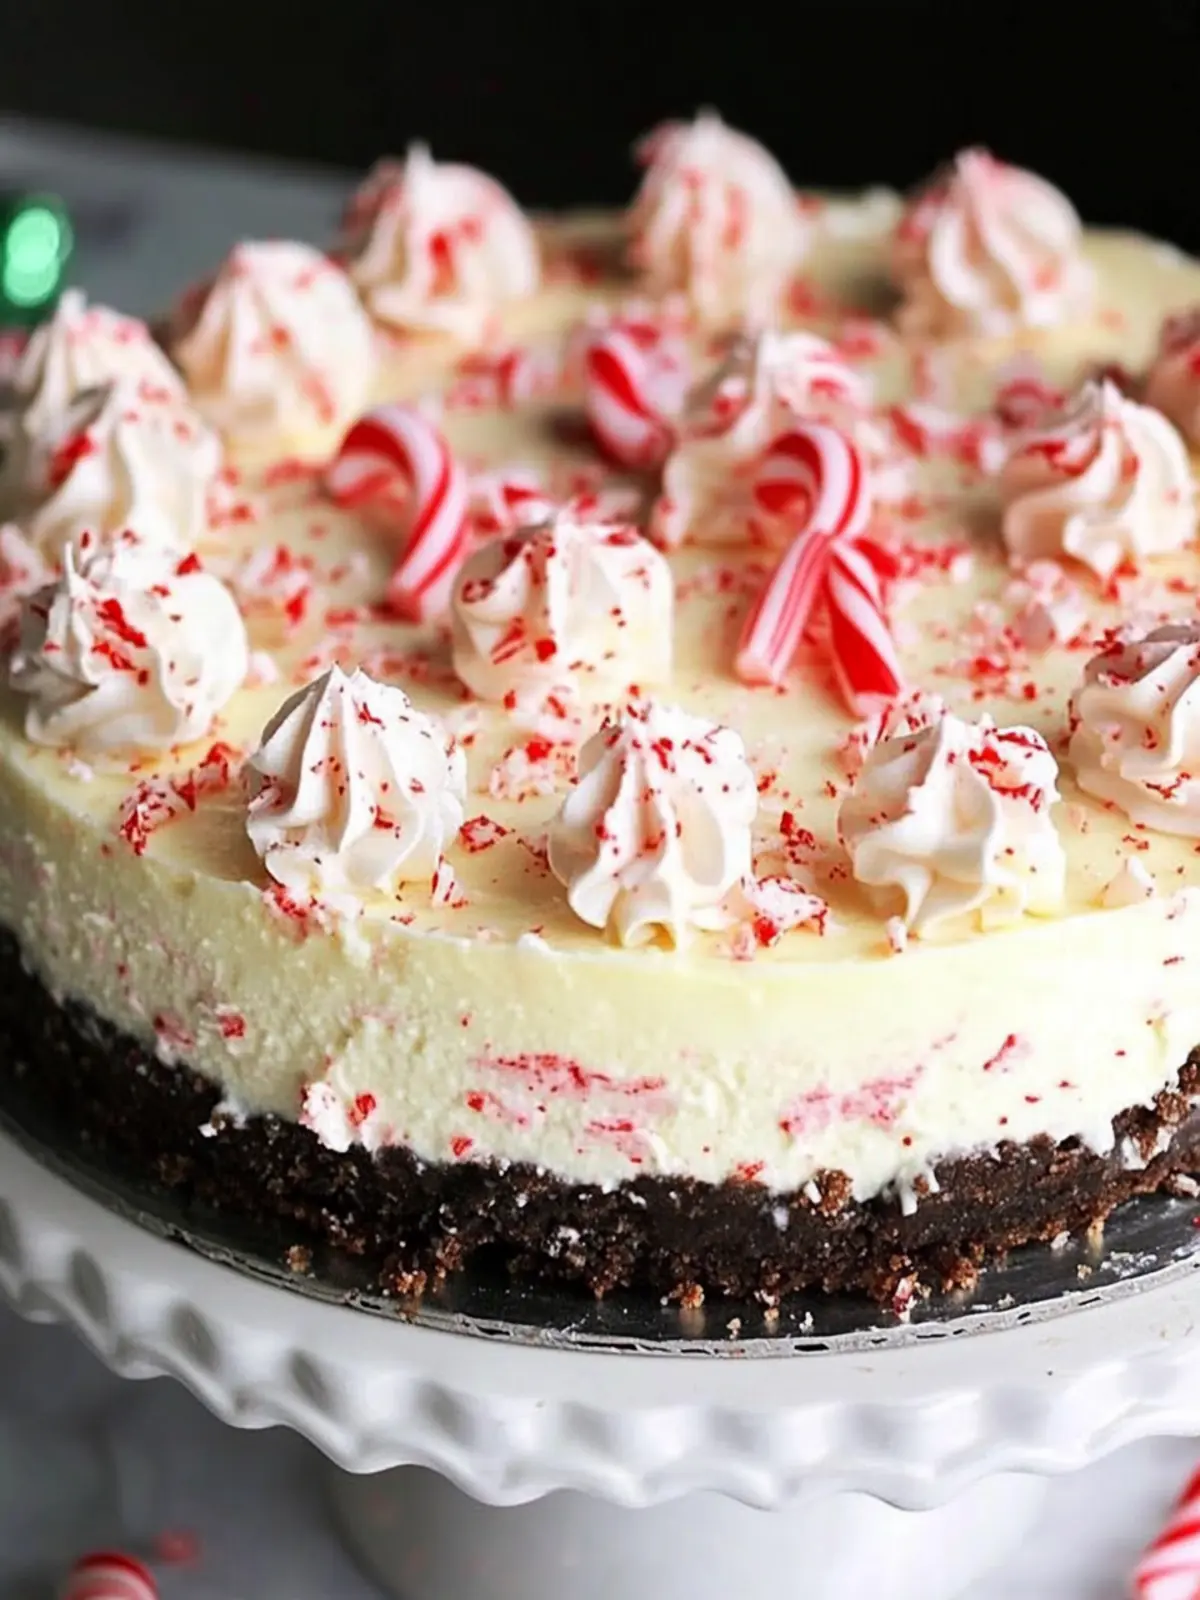
Why is Peppermint Cheesecake a Must-Try?
Indulgent flavors unite in this holiday masterpiece, featuring creamy layers of rich cream cheese and refreshing peppermint. Easy to prepare, this cheesecake allows bakers of all skill levels to shine. Festively decorated, with optional toppings like crushed candy canes or Ghirardelli chocolates, it’s a feast for the eyes as well. Perfect for gatherings, your friends and family won’t be able to resist asking for seconds! To elevate your dessert game even further, check out our guide on making perfect cheesecakes for more tips and tricks.
Peppermint Cheesecake Ingredients
Here’s everything you need to create this festive delight!
For the Crust
• 22 Oreo cookies – pulsed into crumbles for a rich, chocolatey base.
• 2 tbsp unsalted butter – melted to bind the cookie crumbs together.
For the Cheesecake Filling
• 24 oz full fat cream cheese – softened for a smooth and creamy texture.
• 1/2 cup white granulated sugar – adds sweetness to balance the minty flavor.
• 2 eggs – helps to set the cheesecake as it bakes.
• 2 tbsp sour cream – brings a hint of tanginess to the rich filling.
• 3/4 cup heavy whipping cream – adds lusciousness for a delightful mouthfeel.
• 2 tbsp cornstarch – ensures your cheesecake is perfectly firm and sliceable.
• 1 tsp vanilla extract – enhances the overall flavor profile beautifully.
• 1 tsp peppermint extract – infuses the cheesecake with refreshing minty goodness.
• 1 cup Andes peppermint crunch chips – adds delightful bites of mint and chocolate throughout.
For the Frosting
• 8 oz full fat cream cheese – softened for a creamy frosting base.
• 1/4 cup white granulated sugar – sweetens the frosting to perfection.
• 1/2 tsp peppermint extract – further brightens the flavor of the frosting.
• 8 oz whipped topping – lightens the texture for a fluffy finish.
• 1/2 cup Andes peppermint crunch chips – for a festive crunch in the frosting.
For Decorating
• Crushed candy canes – perfect for a festive touch on top.
• Ghirardelli Peppermint chocolates – a decadent addition for chocolate lovers.
• Lindt Peppermint Chocolate truffles – an elegant addition for a touch of luxury.
• Andes peppermint crunch thins or chips – extra minty flavor to impress.
• Peppermint bark – adds a delightful twist and texture to the presentation.
Now that you have all the ingredients ready, let’s dive into the magic of baking this exquisite peppermint cheesecake!
How to Make Peppermint Cheesecake
-
Preheat your oven to 325℉ and grease a 9-inch springform pan. Prepare a large roasting pan for later use; this will help create a water bath to keep your cheesecake moist.
-
Pulse the Oreo cookies in a blender until they become fine crumbs. This will form the delicious base of your cheesecake, providing a chocolatey contrast to the creamy filling.
-
Combine the cookie crumbs with the melted butter in a small bowl until evenly blended. The mixture should hold together when pressed, creating a perfect crust for your cheesecake.
-
Press the cookie crust mixture into the bottom and slightly up the sides of the springform pan. Make sure it’s packed tight to support the creamy filling without crumbling.
-
Beat the cream cheese and granulated sugar on medium-high speed in a mixing bowl until smooth, about 2 minutes. This step is crucial for achieving that rich and creamy texture!
-
Add the peppermint extract, vanilla extract, and sour cream, mixing until all ingredients are well combined. This will infuse the cheesecake with the delightful minty flavor.
-
Incorporate the eggs one at a time, beating well after each addition. Don’t forget to scrape the sides and bottom of the bowl to ensure everything is perfectly blended.
-
Reduce the mixer speed and add the cornstarch, mixing until just combined. This helps your cheesecake set beautifully while maintaining its creamy consistency.
-
Pour in the heavy cream slowly while mixing on medium-low speed. Continue until the batter is smooth and creamy, ensuring every bite will melt in your mouth.
-
Fold in the Andes peppermint crunch chips until they’re evenly distributed, adding delightful bursts of minty chocolate to every slice.
-
Pour the cheesecake batter into the prepared crust, spreading it evenly with a spatula. Look for a smooth surface for a beautiful finish!
-
Place the roasting pan into the oven and carefully set the springform pan inside it. Add hot water to the roasting pan until it reaches halfway up the side of the springform. This helps maintain a moist baking environment.
-
Bake the cheesecake for 70-75 minutes, or until the edges are set but the center still has a gentle jiggle. Turn off the oven, crack the door open slightly, and let it rest for about 10 minutes.
-
Cool the cheesecake at room temperature for 20 minutes. Gently run a greased butter knife around the edges to separate it from the sides of the pan for easy removal later.
-
Chill the cheesecake in the refrigerator for about an hour, then allow it to set for at least 4 hours or overnight. The longer, the better for rich, creamy indulgence!
-
Make the frosting by beating together the cream cheese, peppermint extract, and sugar until well combined. This will create a luxurious topping for your cheesecake.
-
Gently fold in the whipped topping until just combined, then fold in the peppermint crunch chips for added flavor and texture.
-
Spread a thin layer of frosting evenly over the cold cheesecake. Make sure to cover every corner for a delightful surprise in every slice.
-
Decorate the cheesecake using a piping bag filled with the remaining frosting, adding a personal touch with peppermint toppings to make it extra special.
Optional: Top with crushed candy canes for an extra festive crunch!
Exact quantities are listed in the recipe card below.
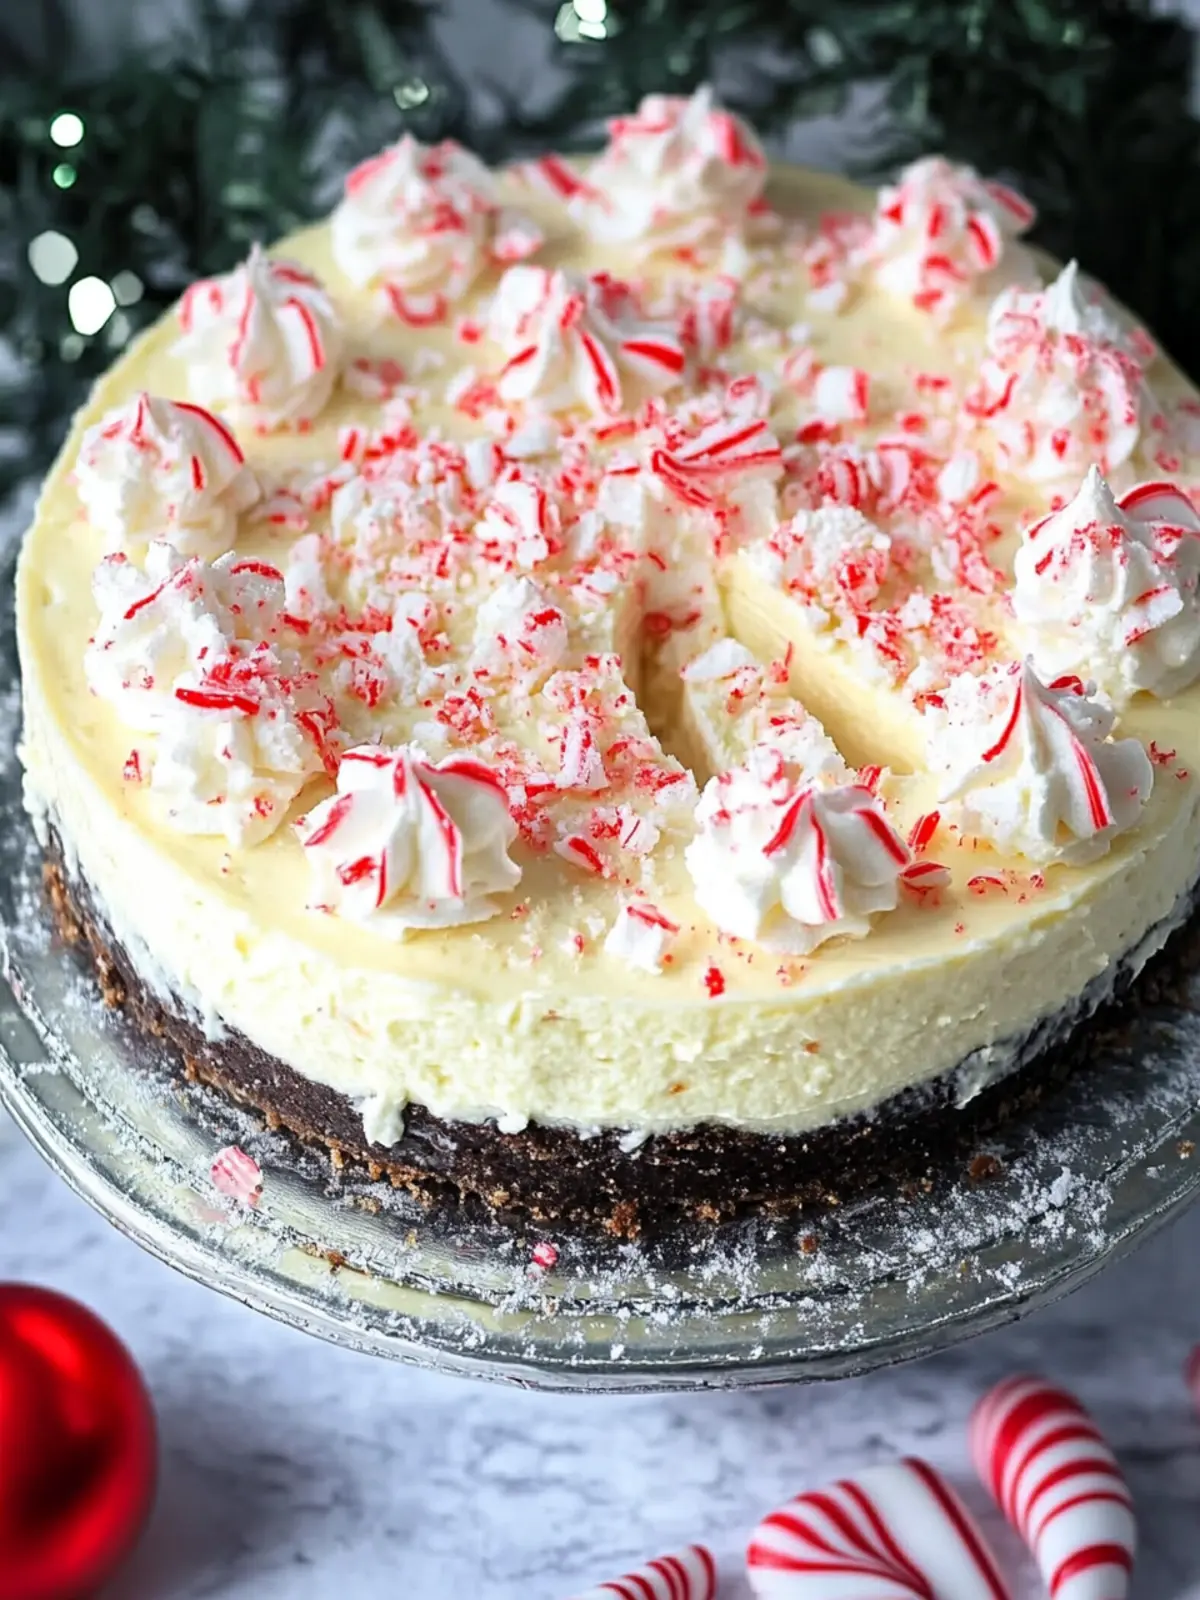
How to Store and Freeze Peppermint Cheesecake
Fridge: Store leftover peppermint cheesecake in an airtight container for up to 3 days. Be sure to keep it tightly covered to maintain its creamy texture and rich flavors.
Freezer: You can freeze peppermint cheesecake for up to 2 months. Wrap individual slices or the whole cheesecake in plastic wrap, then aluminum foil, to prevent freezer burn.
Thawing: To enjoy frozen peppermint cheesecake, transfer it to the fridge for several hours or overnight to thaw gently. This ensures the best flavor and texture upon serving.
Reheating: If desired, warm individual slices in the microwave on low power for about 10-15 seconds. This will slightly melt the creaminess, enhancing the experience without losing the peppermint essence.
Peppermint Cheesecake Variations
Feel free to switch things up and make this cheesecake your own with these creative options!
-
Vegan: Substitute cream cheese with cashew cream and use a vegan whipped topping for a dairy-free delight.
-
Gluten-Free: Use gluten-free Oreo cookies for the crust, and you’ll have a dessert everyone can enjoy!
-
Chocolate Lovers: Fold in extra chocolate chips or use chocolate graham crackers in place of Oreos for a rich twist that chocolate lovers will adore.
-
Minty Freshness: Swap in fresh mint leaves blended into the cheesecake batter for a more natural mint flavor that brightens the dessert beautifully.
-
Nutty Crunch: Add chopped nuts like walnuts or pecans to the crust for a delightful crunch that pairs perfectly with the creamy filling.
-
Fruity Flavor: Blend in some crushed raspberries or pureed strawberries into the cheesecake batter for a refreshing fruit twist and stunning color.
-
Spicy Kick: Add a pinch of cayenne pepper or cinnamon to the batter for a subtle heat that contrasts with the sweetness.
-
Layered Delight: Create a layered cheesecake using a chocolate layer just under the peppermint layer for a beautiful presentation that adds visual interest.
Let your imagination run wild with these variations, and don’t be afraid to mix and match!
Expert Tips for Peppermint Cheesecake
-
Use Room Temperature Ingredients: Ensure your cream cheese and eggs are at room temperature for a lump-free and smooth batter; this helps avoid common curdling mistakes.
-
Water Bath Magic: Baking your peppermint cheesecake in a water bath prevents cracking and keeps it wonderfully moist. Just remember to wrap your springform pan in foil to avoid water seepage.
-
Chill Time Matters: Allow your cheesecake to chill in the fridge for a minimum of 4 hours, but overnight is ideal. This time helps the flavors meld and improve the texture.
-
Decorate with Care: When topping your cheesecake, be gentle with crushed candy canes or chocolates to keep the presentation elegant and appealing.
-
Avoid Overmixing: When adding eggs, mix just until combined. Overmixing can lead to a dense cheesecake instead of the light fluffiness you desire.
With these expert tips, you’re on your way to creating the perfect Peppermint Cheesecake that’s sure to impress!
What to Serve with Peppermint Cheesecake?
Imagine the table set just right, your peppermint cheesecake positioned as the star, while other dishes weave a wondrous tapestry of flavor and delight.
-
Festive Fruit Salad: A bright mix of seasonal fruits like pomegranate and tangerines adds a refreshing, vibrant contrast to the rich, creamy cheesecake.
-
Chocolate Peppermint Bark: Enhance the minty flavor of your dessert with a crunchy, chocolatey treat that’s easy to make and complements every bite.
-
Warm Gingerbread Cookies: The spiced warmth of gingerbread cookies provides a cozy pairing, creating holiday memories with every delicious mouthful.
-
Whipped Cream: A dollop of fresh, lightly sweet whipped cream not only elevates the aesthetics but marries perfectly with the cheesecake’s richness.
-
Hot Cocoa or Peppermint Mocha: Serve alongside a steaming cup of hot cocoa or a peppermint mocha to create an indulgent dessert experience, warming the hearts of all guests.
-
Stollen or Panettone: For a delightful touch of tradition, consider a slice of stollen or panettone, bringing flavors of dried fruit and spice that beautifully contrast the freshness of peppermint.
-
Espresso Martini: For an elegant adult pairing, serve up an espresso martini—its rich coffee notes will balance the sweetness, making for a sophisticated finish.
-
Crushed Candy Canes: Sprinkle some crushed candy canes on top of your cheesecake slices for an added festive flair that also brings a delightful crunch.
With these pairings, the spotlight remains on your peppermint cheesecake, while complementing flavors and textures weave an unforgettable dining experience.
Make Ahead Options
These Peppermint Cheesecake wonders are perfect for busy home cooks looking to save time during the festive season! You can prepare the cheesecake batter up to 24 hours in advance; simply cover it tightly and refrigerate before pouring it into the crust. Additionally, the crust can be made and stored in a sealed container at room temperature for up to 3 days, keeping its crunchy texture intact. When you’re ready to bake, just pour the chilled batter into the pre-made crust and proceed with the baking instructions. To maintain the cheesecake’s deliciousness, allow it to chill for at least 4 hours or overnight after baking, ensuring it’s cold and creamy when served. Enjoy exceptional holiday flavors with minimal effort!
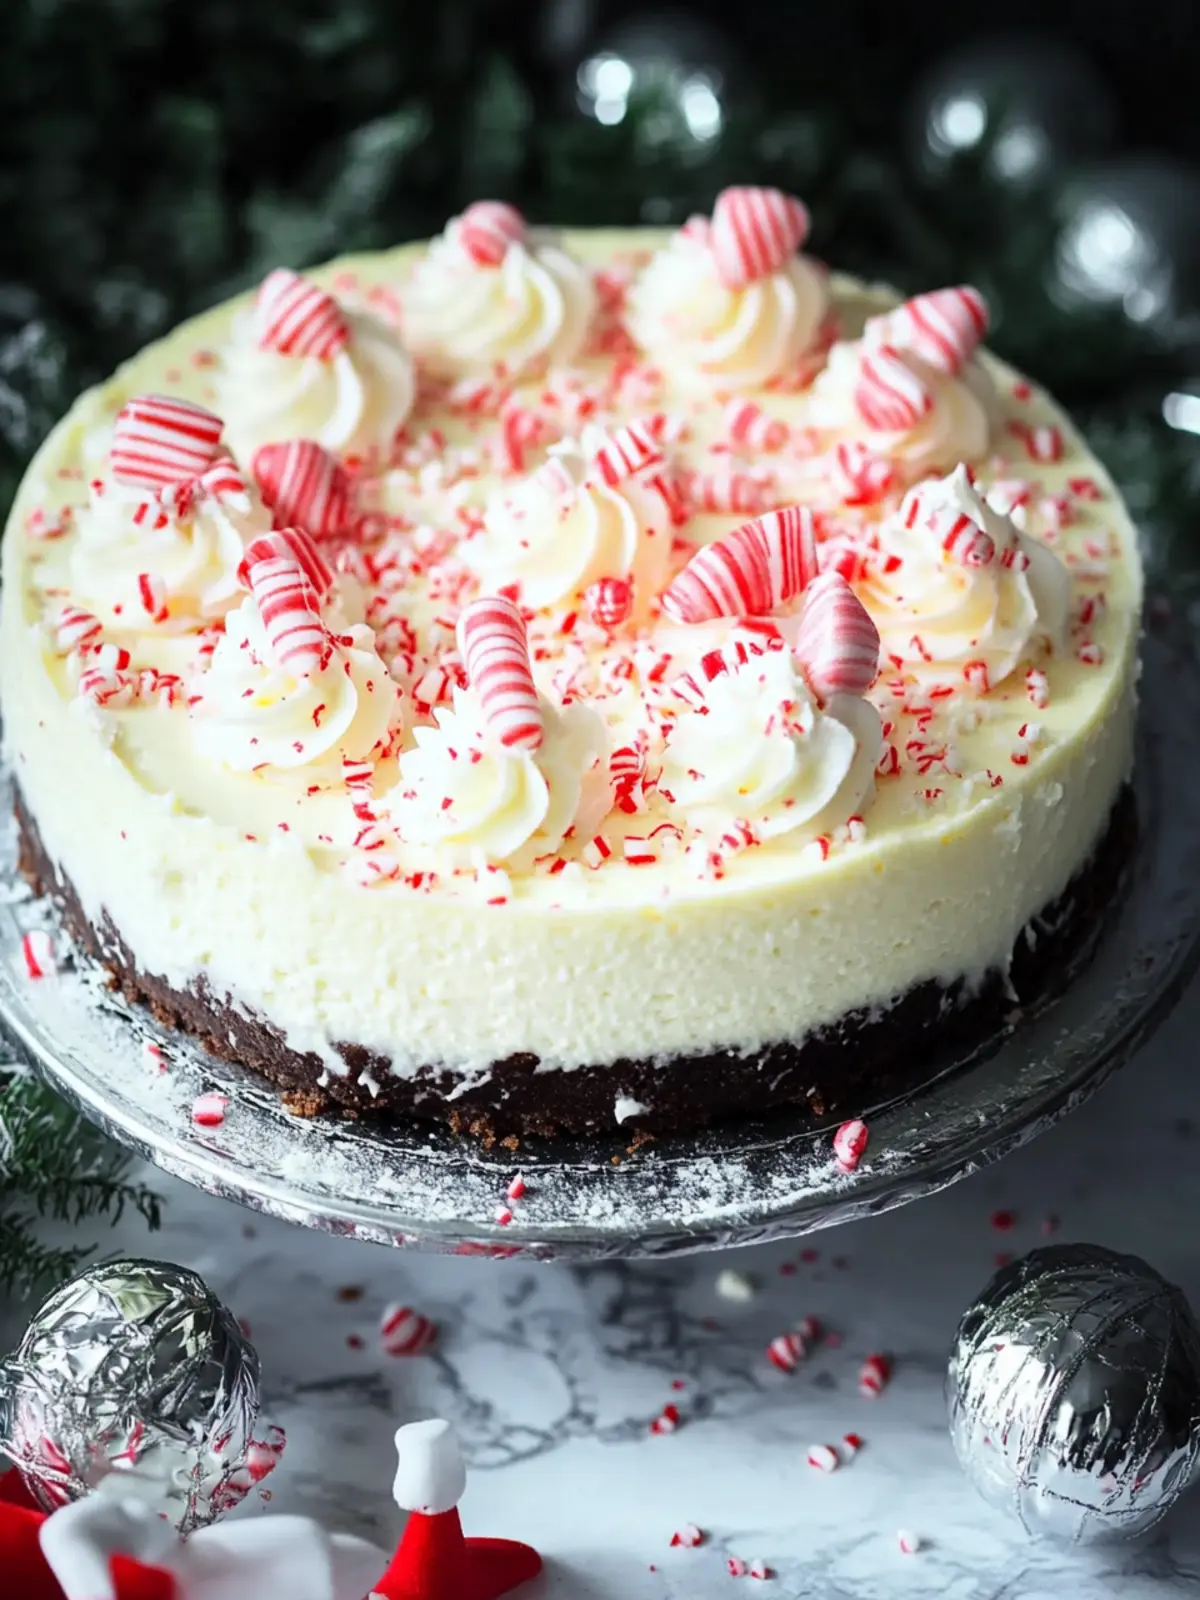
Peppermint Cheesecake Recipe FAQs
What type of Oreo cookies should I use for the crust?
Absolutely! You can use regular or double-stuffed Oreo cookies; both will work beautifully. For a twist, try using mint-flavored Oreos for an extra burst of minty goodness in your crust.
How should I store leftover peppermint cheesecake?
Store leftover peppermint cheesecake in an airtight container in the refrigerator for up to 3 days. Make sure it’s tightly covered to maintain its rich flavors and creamy texture, ensuring each bite remains delicious!
Can peppermint cheesecake be frozen?
Very much! You can freeze peppermint cheesecake for up to 2 months. Wrap it well in plastic wrap and aluminum foil to prevent freezer burn. I often slice it into individual pieces before freezing, which makes it easier for serving later.
What should I do if my cheesecake cracks while baking?
Don’t worry if the surface cracks! This sometimes happens; keep your mixer speed low when incorporating the eggs, and consider using a water bath to maintain moisture while baking. If cracks do occur, you can always cover them with frosting or toppings for a beautiful presentation!
Can I make this cheesecake gluten-free?
Absolutely! You can substitute the regular Oreo cookies with gluten-free Oreos. Just make sure to check the other ingredients for any hidden gluten, particularly your whipped topping, before you start your bake.
How can I tell if my cheesecake is done baking?
The cheesecake should be set around the edges but still have a slight jiggle in the center when you remove it from the oven. This gentle jiggle shows that it will continue to firm up during cooling, leaving you with a light, creamy texture to enjoy.
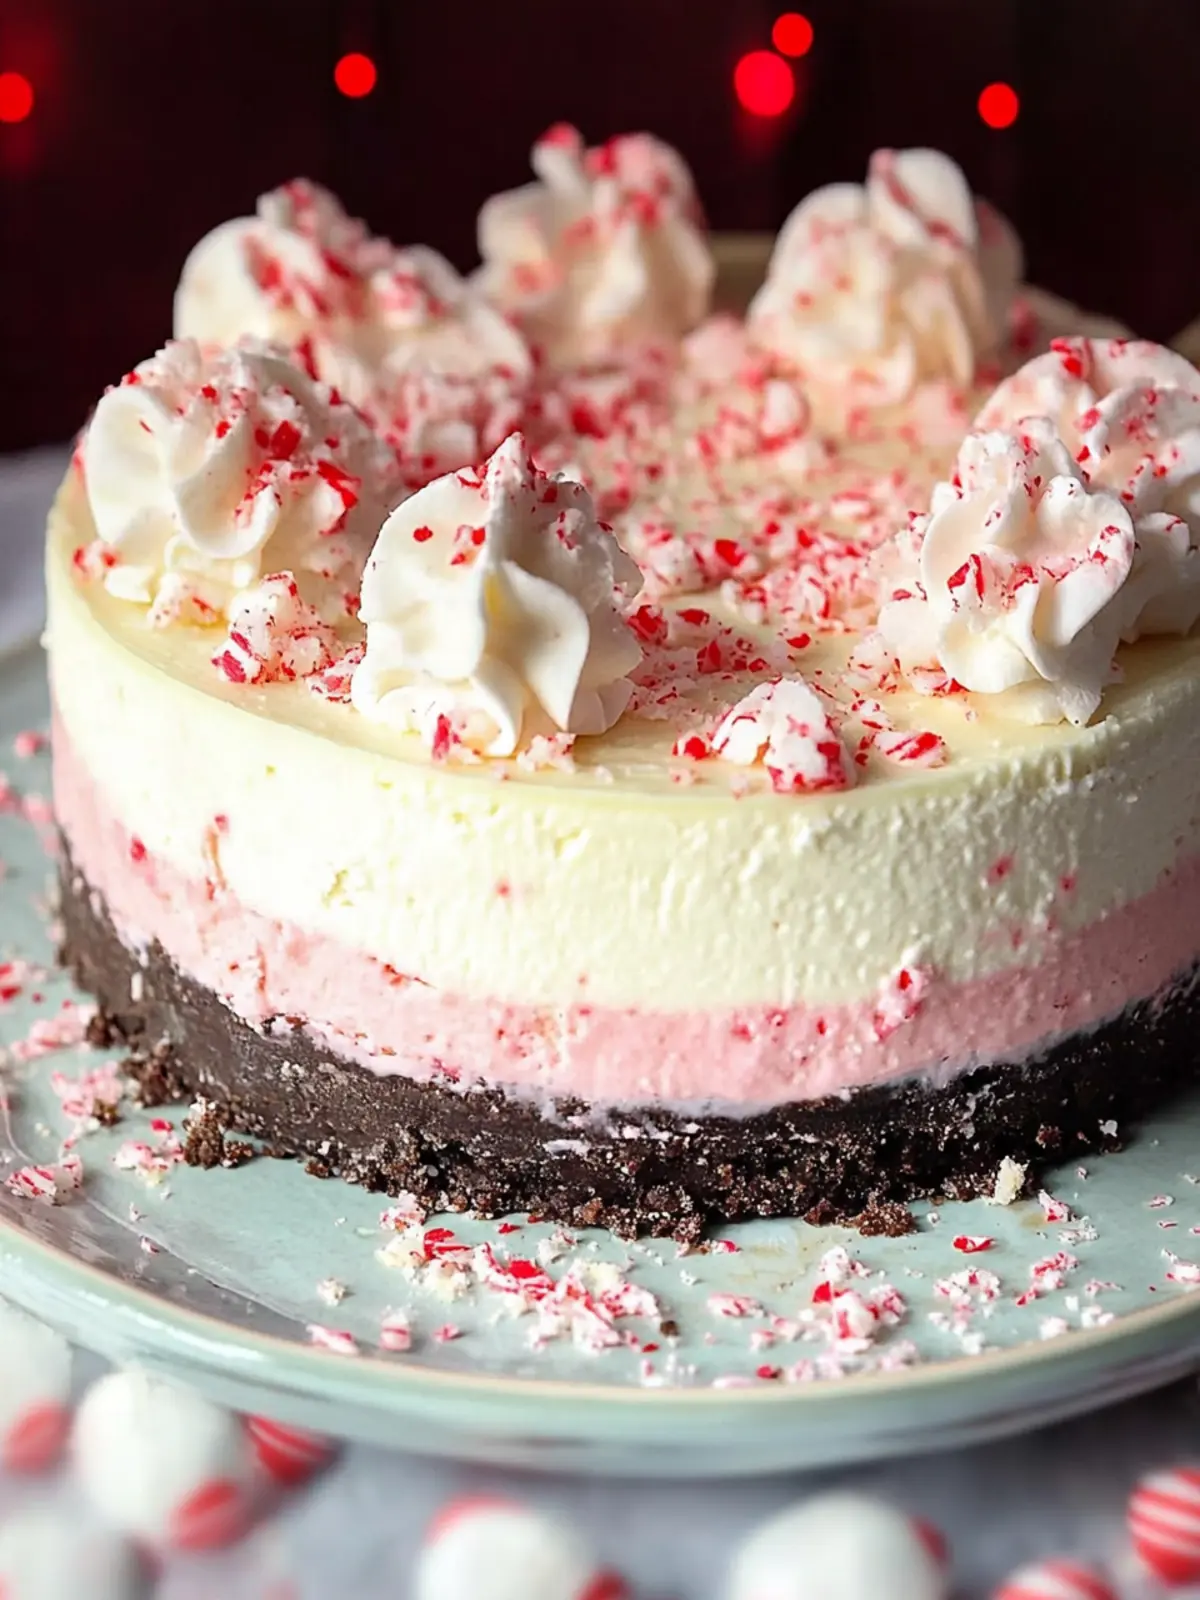
Decadent Peppermint Cheesecake to Brighten Your Holidays
Ingredients
Equipment
Method
- Preheat your oven to 325℉ and grease a 9-inch springform pan. Prepare a large roasting pan for later use.
- Pulse the Oreo cookies in a blender until they become fine crumbs.
- Combine the cookie crumbs with the melted butter in a small bowl until evenly blended.
- Press the cookie crust mixture into the bottom and slightly up the sides of the springform pan.
- Beat the cream cheese and granulated sugar on medium-high speed until smooth, about 2 minutes.
- Add the peppermint extract, vanilla extract, and sour cream, mixing until well combined.
- Incorporate the eggs one at a time, beating well after each addition.
- Reduce the mixer speed and add the cornstarch, mixing until just combined.
- Pour in the heavy cream slowly while mixing on medium-low speed.
- Fold in the Andes peppermint crunch chips until they’re evenly distributed.
- Pour the cheesecake batter into the prepared crust, spreading it evenly with a spatula.
- Place the roasting pan into the oven and carefully set the springform pan inside it.
- Bake the cheesecake for 70-75 minutes, or until the edges are set but the center still has a gentle jiggle.
- Cool the cheesecake at room temperature for 20 minutes.
- Chill the cheesecake in the refrigerator for about an hour, then allow it to set for at least 4 hours or overnight.
- Make the frosting by beating together the cream cheese, peppermint extract, and sugar until well combined.
- Gently fold in the whipped topping until just combined, then fold in the peppermint crunch chips.
- Spread a thin layer of frosting evenly over the cold cheesecake.
- Decorate the cheesecake using a piping bag filled with the remaining frosting, adding a personal touch with peppermint toppings.