
There’s something truly enchanting about the velvety swirl of red and cream that beckons from a slice of Red Velvet Cheesecake. The moment you lift a forkful, the rich, cream cheese-laden goodness melts in your mouth, leaving a lingering taste of buttery Oreos and a hint of chocolate. I first discovered this show-stopper at a friend’s gathering, where it stole the spotlight from all the other desserts.
Fast forward to today, and I’ve honed this recipe into a luxurious creation perfect for any occasion—from brunches to birthdays, or simply as a sweet treat for yourself after a long week. With layers of delectable red velvet cheesecake resting on a crunchy Oreo crust, it’s both a feast for the eyes and the taste buds.
This cheesecake is surprisingly easy to make, and I promise it’ll be the star of your dessert table. So, roll up your sleeves and follow me into the world of indulgent dessert-making—your next favorite recipe awaits!
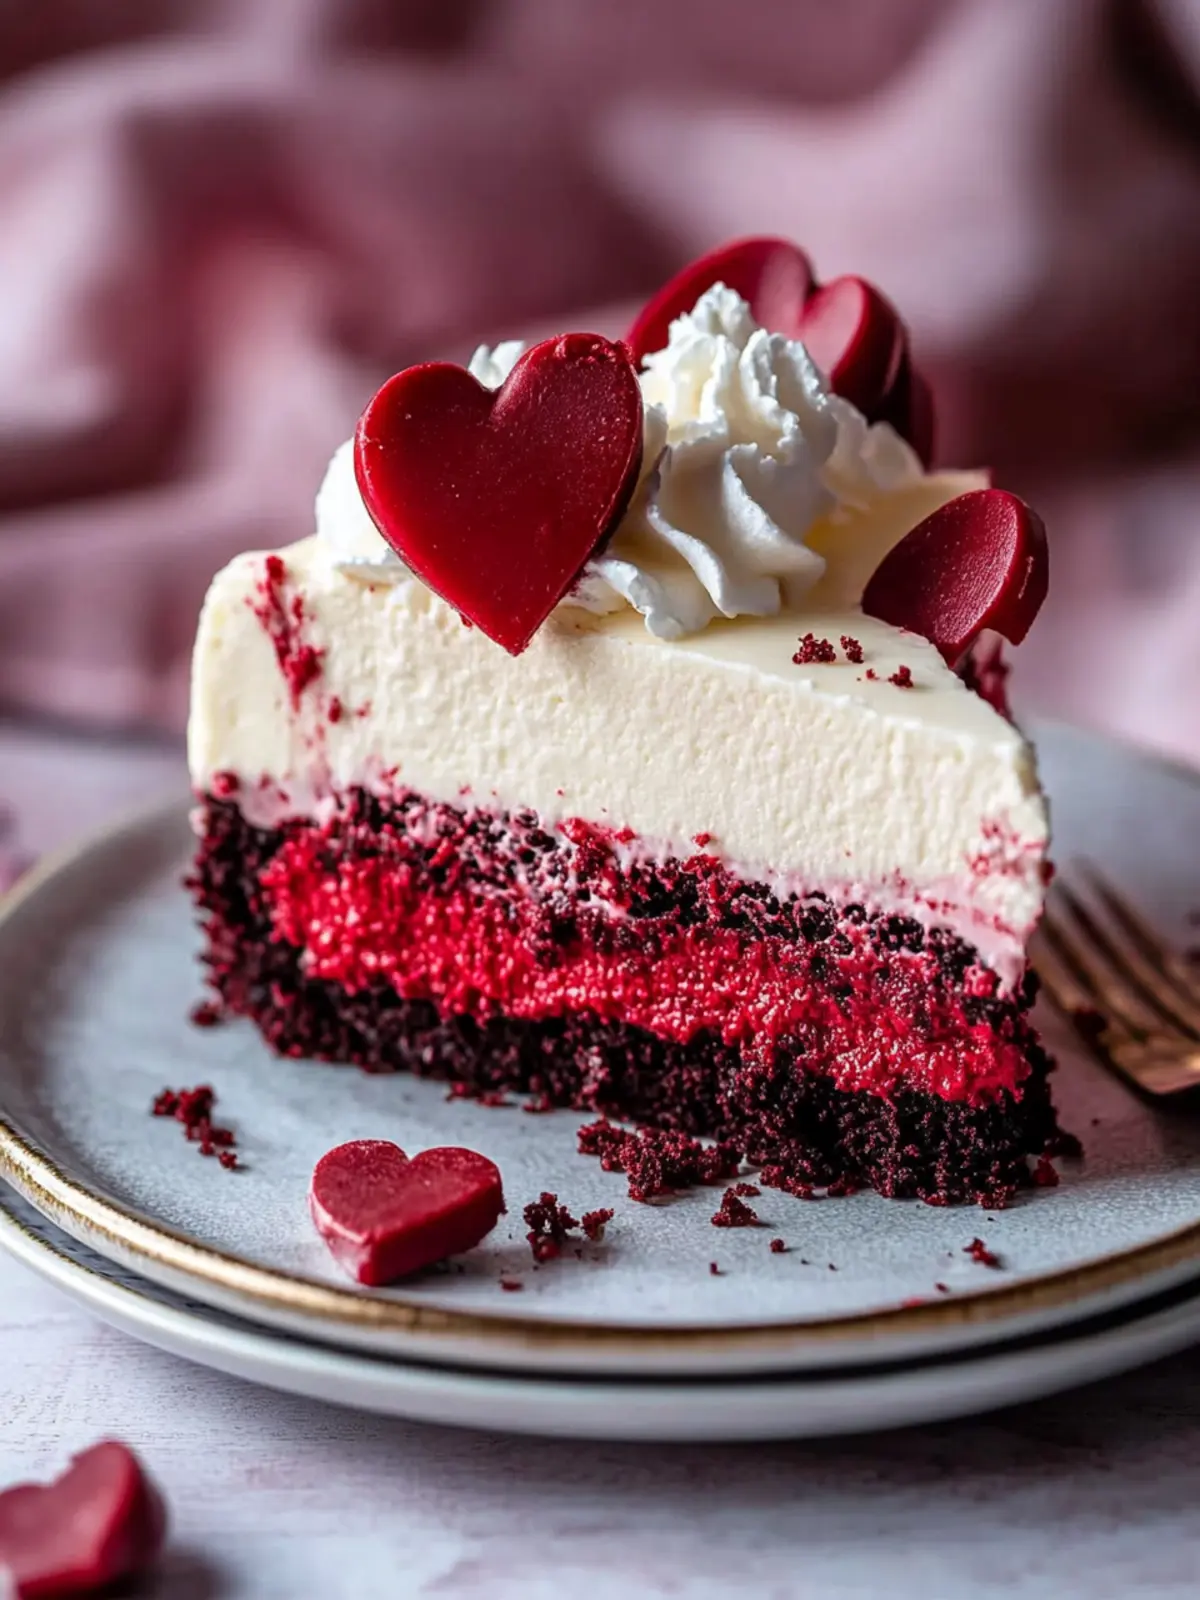
Why is Red Velvet Cheesecake a Must-Try?
Irresistible visual appeal: The striking red and white layers make this cheesecake a stunning centerpiece for any gathering.
Decadent flavors: The combination of rich cream cheese and the subtly chocolatey flavor from cocoa creates a taste explosion.
Easy to prepare: Despite its impressive presentation, this cheesecake is straightforward, making it perfect for home bakers of any skill level.
Crowd-pleaser: Whether it’s for a birthday or just a weekend treat, everyone will be raving about this dessert.
Versatile serving options: Serve it as is, or elevate your cheesecake with fresh berries or a drizzle of chocolate sauce, making it adaptable for every occasion!
Red Velvet Cheesecake Ingredients
For the Crust
• Oreos – finely crushed for a rich, chocolatey base.
• Unsalted butter – melted to bind the Oreo crumbs together.
For the Cheesecake Filling
• Cream cheese – brings creamy texture; make sure it’s at room temperature for easy mixing.
• White granulated sugar – adds sweetness to balance the tang of the cream cheese.
• Sour cream – if you’re looking for a lighter option, Greek yogurt works well here too.
• Heavy cream – enhances richness; using it at room temperature gives the best results.
• Pure vanilla extract – adds depth of flavor to the cheesecake.
• Large eggs – ensure they are at room temperature for a smoother batter.
• Egg yolk – thickens the filling, contributing to a creamy finish.
• Unsweetened cocoa powder – provides that luscious chocolate flavor without added sweetness.
• Red food gel dye – gives that iconic red hue to your Red Velvet Cheesecake.
For the Whipped Topping
• Heavy cream – use cold cream for the best whipped texture.
• Powdered sugar – sifted helps to create a smooth, sweet topping; adjust to taste.
• Pure vanilla extract – a splash enhances the flavor of the whipped cream.
This delightful Red Velvet Cheesecake will quickly become a cherished favorite in your home!
How to Make Red Velvet Cheesecake
-
Preheat: Start by preheating your oven to 325℉. This step ensures your cheesecake bakes evenly and beautifully. Spray a 9-inch springform pan with baking spray and line the bottom with parchment paper for easy removal later.
-
Blend: In a food processor, blend the Oreos into a fine crumb; remember to keep the fillings intact! In a small bowl, combine the crumb mixture with melted butter until fully coated, creating a rich crust.
-
Form Crust: Pour the crust mixture into the prepared pan. Press it halfway up the sides and compact the bottom with the bottom of a measuring cup. This will give your cheesecake a solid base.
-
Bake Crust: Bake the crust for 11 minutes. The crust should be firm and lightly set. This will be the perfect foundation for your creamy filling!
-
Beat Cream Cheese: Using a mixer, beat the cream cheese and sugar together on high speed for about 2 minutes until smooth. This incorporates air and ensures a fluffy texture.
-
Combine Ingredients: Add the sour cream, heavy cream, and vanilla to the cream cheese mixture, mixing on medium speed until everything is well combined. Then add the eggs and egg yolk, mixing on low speed until just combined—be careful not to overmix!
-
Color Batter: Pour about 1/3 of the batter into a separate bowl. In the bowl with the remaining 2/3, mix in the cocoa powder and red food gel dye until fully combined—this will create that iconic red velvet look.
-
Layer Batter: Spread the red velvet cheesecake batter over the baked crust evenly. Then dollop the regular cheesecake batter on top and spread it gently with an offset icing spatula.
-
Prepare Water Bath: Set up a water bath by placing the springform pan in a 10-inch cake pan. Fill the outer roasting pan with hot water halfway up the cake pan, which helps keep the cheesecake moist during baking.
-
Bake Cheesecake: Bake for 75-85 minutes. The edges should be set, and the center will have a slight jiggle. This ensures a creamy texture once chilled.
-
Cool Gradually: Turn off the oven, crack open the door, and let the cheesecake cool inside for 30 minutes. Carefully remove it from the water bath and place it on a cooling rack to cool completely.
-
Chill: Wrap the cooled cheesecake in foil and refrigerate for at least 6 hours or overnight. This waiting period is crucial for the flavors to meld beautifully.
-
Whip Cream: In a metal bowl with a whisk attachment, beat the heavy cream, powdered sugar, and vanilla on high speed until medium peaks form—this will be your delightful topping.
-
Decorate: Once chilled, remove the cheesecake from the pan and parchment paper. Spread the whipped cream generously over the top, creating a stunning finish.
Optional: Garnish with fresh berries or a chocolate drizzle for an extra special touch!
Exact quantities are listed in the recipe card below.
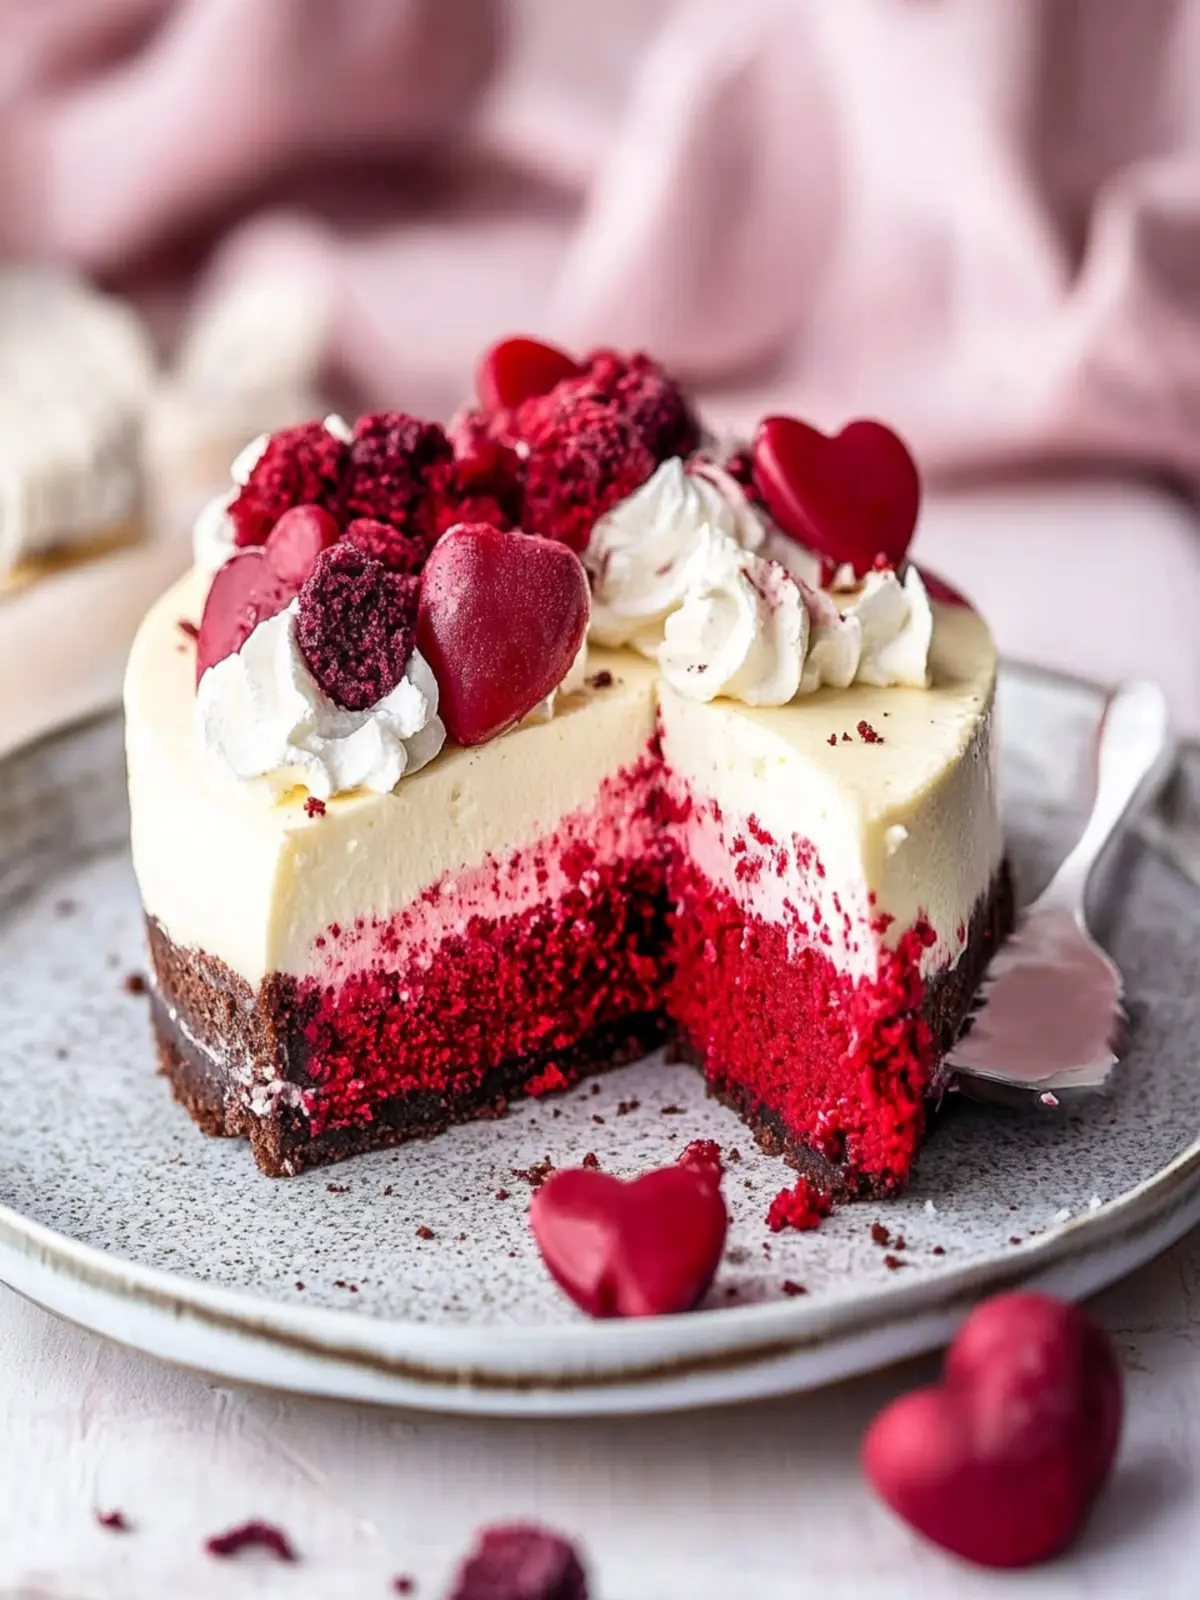
Red Velvet Cheesecake Variations
Discover different ways to personalize your delightfully decadent Red Velvet Cheesecake, making it even more special!
-
Gluten-Free: Substitute Oreos with gluten-free cookies like chocolate sandwich cookies to create an equally scrumptious crust.
-
Nutty Crunch: Add 1 cup of crushed walnuts or pecans to the crust for an appealing crunch that complements the softness of the cheesecake.
-
Chocolate Lovers: Increase the unsweetened cocoa powder to 1/2 cup for an extra chocolatey flavor. The added depth will make your cheesecake irresistibly rich!
-
Fruity Twist: Swirl in some raspberry or strawberry puree into the cheesecake batter before baking for a fresh and vibrant flavor contrast.
-
Cream Cheese Alternative: Try using mascarpone cheese instead of cream cheese for a lighter, creamier texture—simply gorgeous!
-
Spice It Up: Add 1 teaspoon of cinnamon or nutmeg to the batter to give your cheesecake a warm, spiced flavor that’s perfect for cozy gatherings.
-
Caramel Drizzle: Drizzle caramel sauce on top of the whipped cream for an indulgent touch that’s sure to delight everyone’s sweet tooth.
-
Savory Switch: Swap the sweet vanilla extract for a touch of almond extract for a uniquely nutty flavor that brings a new dimension to this cheesecake.
Make Ahead Options
These Red Velvet Cheesecake squares are perfect for meal prep enthusiasts! You can prepare the crust and cheesecake filling up to 24 hours in advance; simply store them separately in the refrigerator. To prep ahead, make the Oreo crust and pour it into the springform pan, then cover it tightly with plastic wrap. Also, mix the cream cheese filling and pour it into the pan over the crust just before baking. When you’re ready to bake, just remove the wrap, set up your water bath, and pop it in the oven. This way, you’ll save time and still enjoy a cheesecake that’s just as delicious and fresh! Enjoy a stress-free dessert experience!
How to Store and Freeze Red Velvet Cheesecake
Fridge: Keep your Red Velvet Cheesecake tightly covered with plastic wrap or in an airtight container to maintain freshness; it lasts for up to 5 days.
Freezer: For longer storage, wrap the cheesecake in aluminum foil and freeze. It can last for up to 3 months; just remember to thaw it in the fridge overnight before serving.
Reheating: If you prefer it slightly warmed, place individual slices in the microwave for 10-15 seconds, but avoid overheating to maintain the creamy texture.
Serving After Freezing: Allow the thawed cheesecake to sit out for about 30 minutes to bring back its rich flavors and creamy consistency before indulging!
Expert Tips for Red Velvet Cheesecake
Use Room Temperature Ingredients: Ensure all your ingredients, especially cream cheese and eggs, are at room temperature for a smooth, lump-free batter.
Don’t Overmix: When adding eggs, mix just until combined to prevent a dense cheesecake. Overmixing can incorporate too much air, causing cracks.
Water Bath Method: Using a water bath keeps your cheesecake moist and helps prevent cracking. Be sure to tightly wrap the pan if you’re not using a standard method.
Cool Gradually: Allow the cheesecake to cool in the oven with the door cracked. This helps prevent sudden temperature changes that can lead to cracks.
Plan Ahead: Refrigerate the cheesecake overnight for the best flavor and texture. This allows the cheesecake to firm up beautifully for serving.
Layer Smartly: Pour the red velvet and cream cheese layers carefully for distinct layers, ensuring a beautiful presentation when sliced!
What to Serve with Red Velvet Cheesecake?
The perfect slice of red velvet cheesecake deserves delightful companions to elevate your dessert experience.
-
Fresh Berries: The tartness of strawberries, raspberries, or blueberries adds a refreshing contrast to the rich, creamy cheesecake, enhancing each decadent bite.
-
Whipped Cream Delight: A dollop of freshly whipped cream complements the sumptuous texture, creating a light and airy finish to the indulgence.
-
Chocolate Sauce Drizzle: A rich chocolate drizzle not only enhances the chocolate flavor but also adds a luxurious touch, making every slice even more tempting.
-
Coffee or Espresso: The robust flavor of coffee or a shot of espresso cuts through the sweetness, offering a perfect palate cleanser between bites of cheesecake.
-
Vanilla Ice Cream: A scoop of creamy vanilla ice cream provides a delightful temperature contrast while seamlessly blending with the cheesecake flavors.
-
Mint Leaves: A few fresh mint leaves as a garnish not only brighten the presentation but also introduce a refreshing element that balances the richness.
-
Sparkling Rosé: Pairing each slice with a glass of bubbly rosé creates a fun celebration of flavors that’s ideal for special occasions.
Indulging in red velvet cheesecake is an experience best shared with these delicious accompaniments!
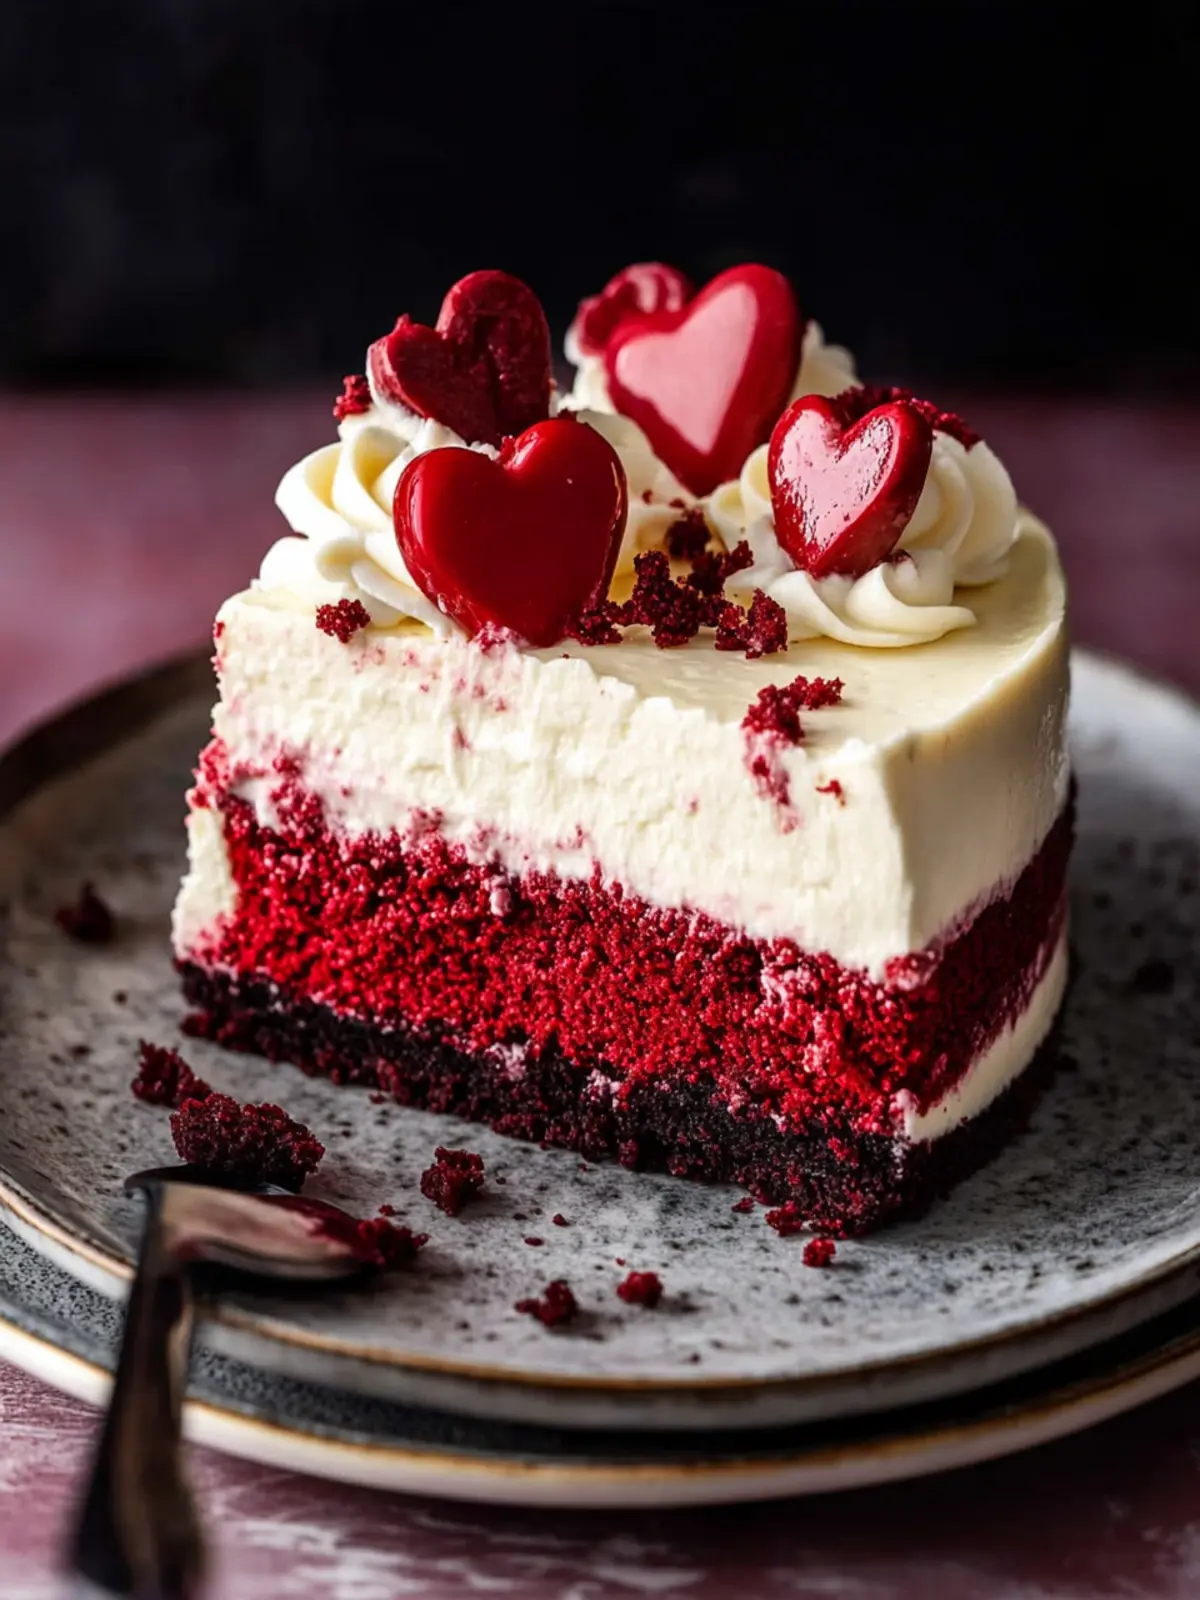
Red Velvet Cheesecake Recipe FAQs
How do I choose the right Oreos for the crust?
Absolutely! Opt for classic Oreos to make the best crust. Ensure they are not stale, as fresh ones will yield a more flavorful and crunchy base. Look for Oreos with no damage, as this will make your crust blend more smoothly.
How long can I store my Red Velvet Cheesecake in the fridge?
Your Red Velvet Cheesecake can be stored in the fridge for up to 5 days. Be sure to cover it tightly with plastic wrap or place it in an airtight container to maintain its freshness. This way, you can enjoy a slice whenever that sweet tooth strikes!
Can I freeze my Red Velvet Cheesecake? How?
Yes, you can freeze your cheesecake! First, wrap it tightly in aluminum foil and then place it in a freezer-safe container. It’s best to freeze it for up to 3 months. When you’re ready to enjoy it, simply thaw the cheesecake in the fridge overnight. For serving, allow it to sit at room temperature for about 30 minutes to bring back its creamy texture.
What should I do if my cheesecake is cracking while baking?
Very common! If your cheesecake cracks, it’s usually due to overmixing or sudden temperature changes. To avoid this, mix just until combined when adding eggs. Also, remember to bake it in a water bath to maintain humidity and gradual temperature adjustments. If it cracks, don’t worry too much—it’ll still taste incredible!
Can I make this cheesecake with dietary restrictions in mind?
Absolutely, the versatility of this recipe allows adjustments! For a gluten-free version, use gluten-free Oreos or a nut-based crust. You can substitute regular cream cheese with vegan cream cheese for a dairy-free option. Just ensure that any substitutions are also at room temperature for the best results.
What can I use if I don’t have red food gel dye?
If you don’t have red gel dye, you can use regular liquid food coloring, just be aware that the results might vary slightly in color intensity. Alternatively, for a natural option, you can try beet juice for a similar shade, although the flavor might change slightly—experiment to see what you like best!
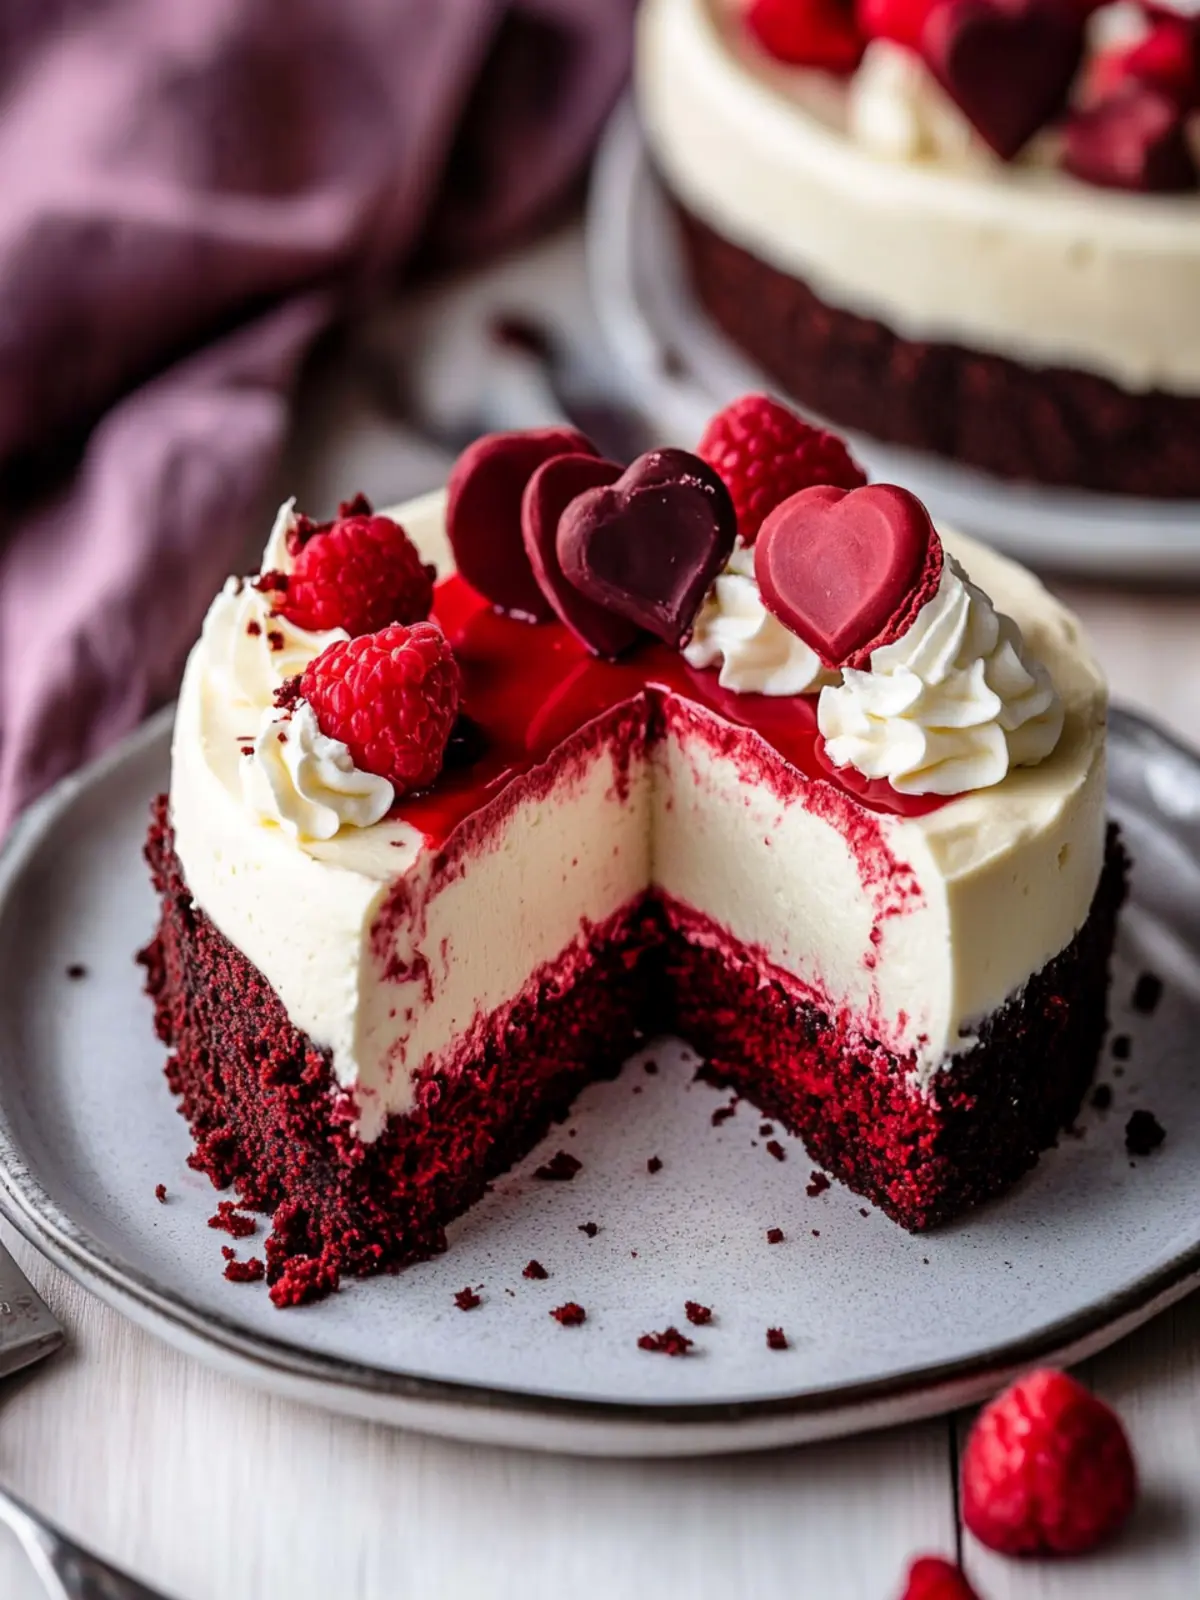
Indulge in Rich Red Velvet Cheesecake Bliss at Home
Ingredients
Equipment
Method
- Preheat your oven to 325℉. Spray a 9-inch springform pan with baking spray and line with parchment paper.
- In a food processor, blend the Oreos into fine crumbs. Combine with melted butter in a small bowl.
- Press the crust mixture halfway up the sides of the pan and compact the bottom.
- Bake the crust for 11 minutes until firm and set.
- Beat the cream cheese and sugar on high speed for about 2 minutes until smooth.
- Add sour cream, heavy cream, and vanilla; mix on medium speed until well combined.
- Add eggs and egg yolk and mix on low speed until just combined.
- Divide the batter; mix cocoa powder and red dye into 2/3 of the batter.
- Spread red velvet batter over the baked crust, dollop the plain batter on top.
- Set up a water bath and fill the outer pan halfway with hot water.
- Bake the cheesecake for 75-85 minutes until edges are set and center jiggles.
- Cool the cheesecake in the oven for 30 minutes with the door cracked.
- Chill the cheesecake wrapped in foil for at least 6 hours or overnight.
- Beat heavy cream, powdered sugar, and vanilla in a chilled bowl until medium peaks form.
- Spread whipped cream over the cooled cheesecake.