
When the craving for something sweet hits, there’s nothing quite like the rich, velvety indulgence of homemade Red Velvet Fudge. As I stood over the stove, stirring together sugar and cocoa, the warm aroma mingled with the velvety red hue of the food coloring, instantly elevating my mood. This delightful treat not only brings a pop of color to your dessert table but also satisfies that longing for a decadent treat without the endless waiting of traditional baking.
I first tried making this fudge during a cozy winter evening, wanting to create something special that would brighten up our family gathering. Each silky square promises to melt in your mouth, combining the sweetness of buttermilk with a hint of cocoa that will have everyone reaching for seconds—or even thirds! The best part? It only takes 40 minutes from start to finish, making it the perfect answer to your last-minute dessert dilemmas. Join me as we dive into this delightful and quick recipe that’s sure to impress!
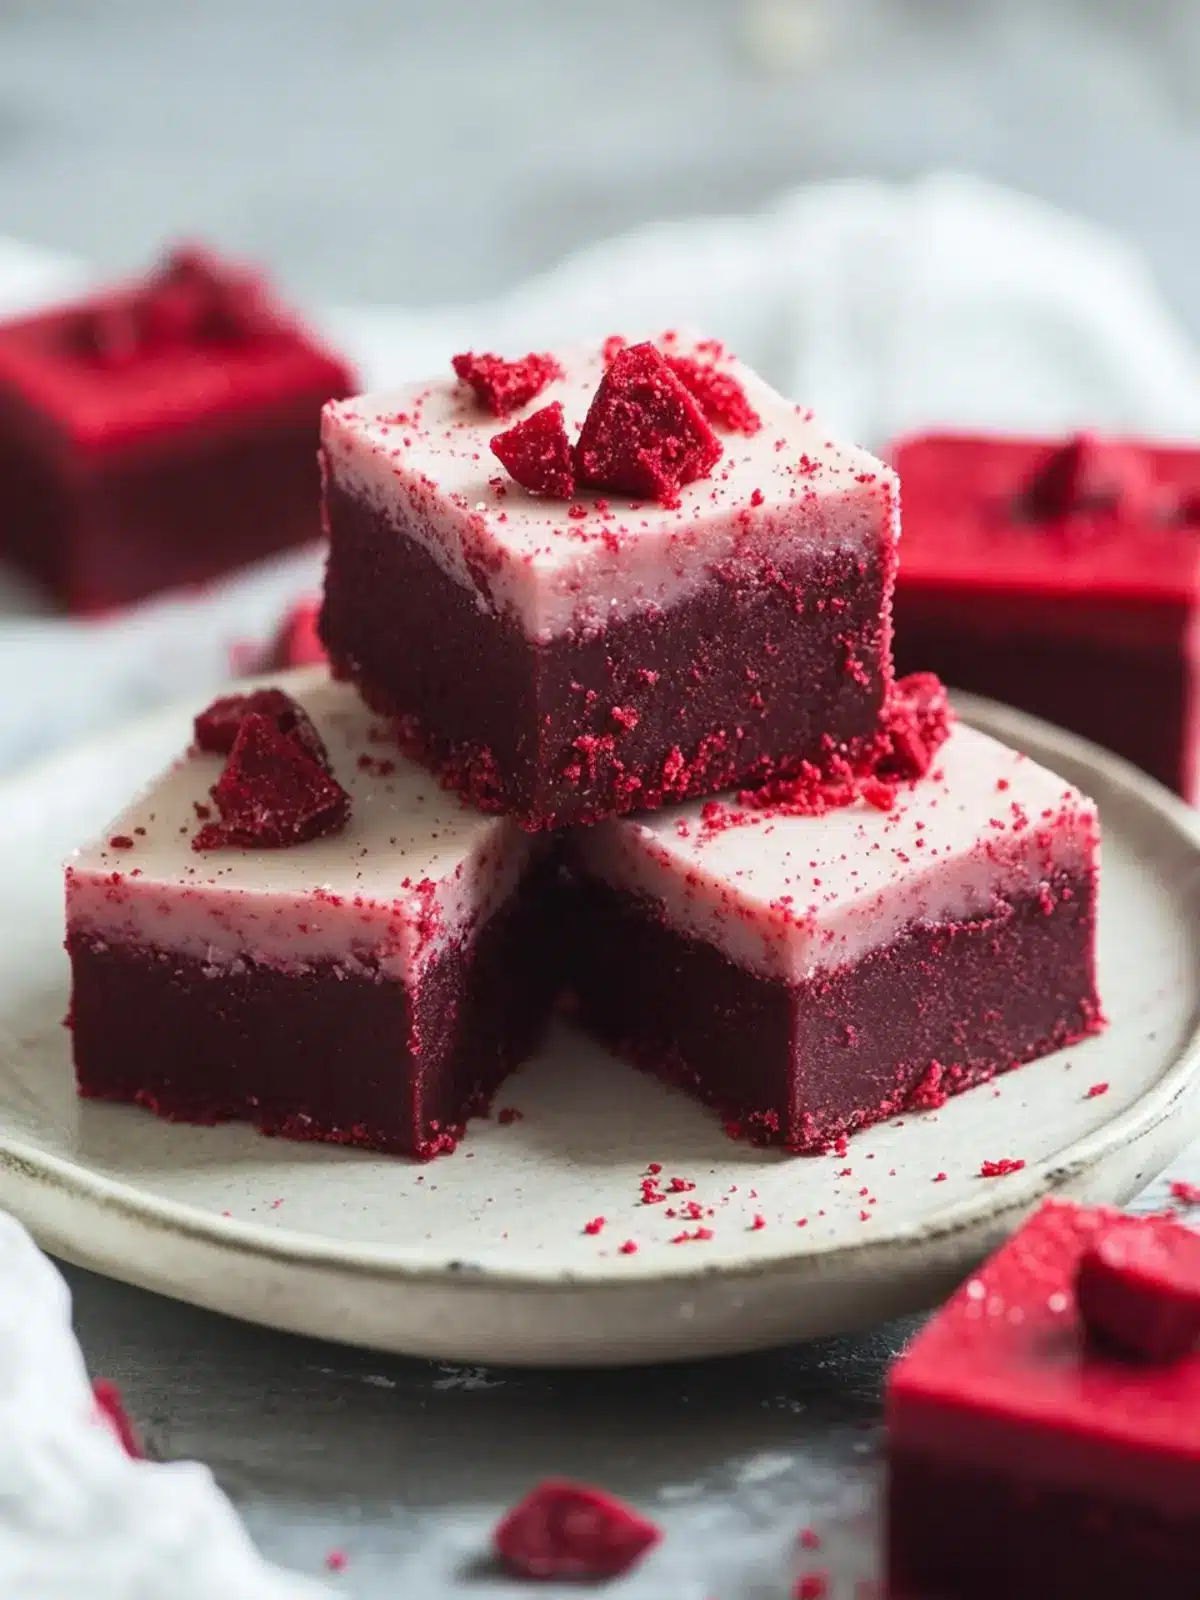
Why is Red Velvet Fudge a Must-Try?
Irresistible Sweetness: Each bite of this Red Velvet Fudge delivers a luscious sweetness that will wow your taste buds and have your guests begging for the recipe.
Quick to Make: In just 40 minutes, you can whip up this delectable treat without hassle, perfect for unexpected gatherings.
Eye-Catching Color: The vibrant red hue not only looks stunning but also adds a festive touch to any occasion.
Unique Flavor Blend: With a mix of buttermilk and cocoa, you’ll enjoy a delightful flavor that sets this fudge apart from ordinary desserts.
Crowd-Pleaser: Whether it’s a holiday party or a simple family dinner, this fudge is bound to impress and satisfy everyone’s sweet cravings.
Explore more delicious options like this one in your journey of sweet indulgence!
Red Velvet Fudge Ingredients
For the Fudge Base
- White sugar – This sweet foundation adds the perfect molasses-like sweetness to your Red Velvet Fudge.
- Cocoa – A touch of cocoa elevates the chocolatey goodness, balancing the sweetness beautifully.
- Buttermilk – This dairy ingredient adds a rich creaminess and tang that brings the fudge to life.
- Butter – A bit of butter enriches the texture, making each bite perfectly creamy.
- Vanilla – This brings a warm, aromatic note that enhances all the flavors in the fudge.
- Red gel food coloring – Essential for that signature color, it makes your fudge visually stunning!
Feel free to get creative with your ingredients! This delightful Red Velvet Fudge is a canvas for your culinary artistry.
How to Make Red Velvet Fudge
-
Prepare the Pan: Line a 5×9 pan with wax parchment or wax paper, leaving extra hanging over all sides for easy removal. This will help you lift the fudge out easily once it’s set.
-
Combine Ingredients: In a non-stick pan, combine white sugar, cocoa, buttermilk, and red food coloring. Stir gently to mix, then bring the mixture to a boil, stirring constantly to prevent burning.
-
Monitor Temperature: Use a candy thermometer to check the fudge; it should reach 238°F. This is crucial for achieving that perfect fudge texture!
-
Simmer: Reduce the heat, allowing the fudge to simmer without stirring. Let it bubble gently for several minutes until it thickens slightly.
-
Cool Then Add Flavor: Once it cools to 110°F, add in the butter and vanilla. Stir gently to incorporate, infusing rich flavors into the fudge.
-
Beat the Mixture: Using a wooden spoon or electric mixer, beat the fudge until it loses its glossy sheen. This step is essential for the right texture!
-
Set the Fudge: Pour the fudge into your prepared pan and spread it evenly. Let it cool for 1-2 hours until firm, and then it’s ready to cut into delightful squares!
Optional: Drizzle with melted white chocolate for extra flair!
Exact quantities are listed in the recipe card below.
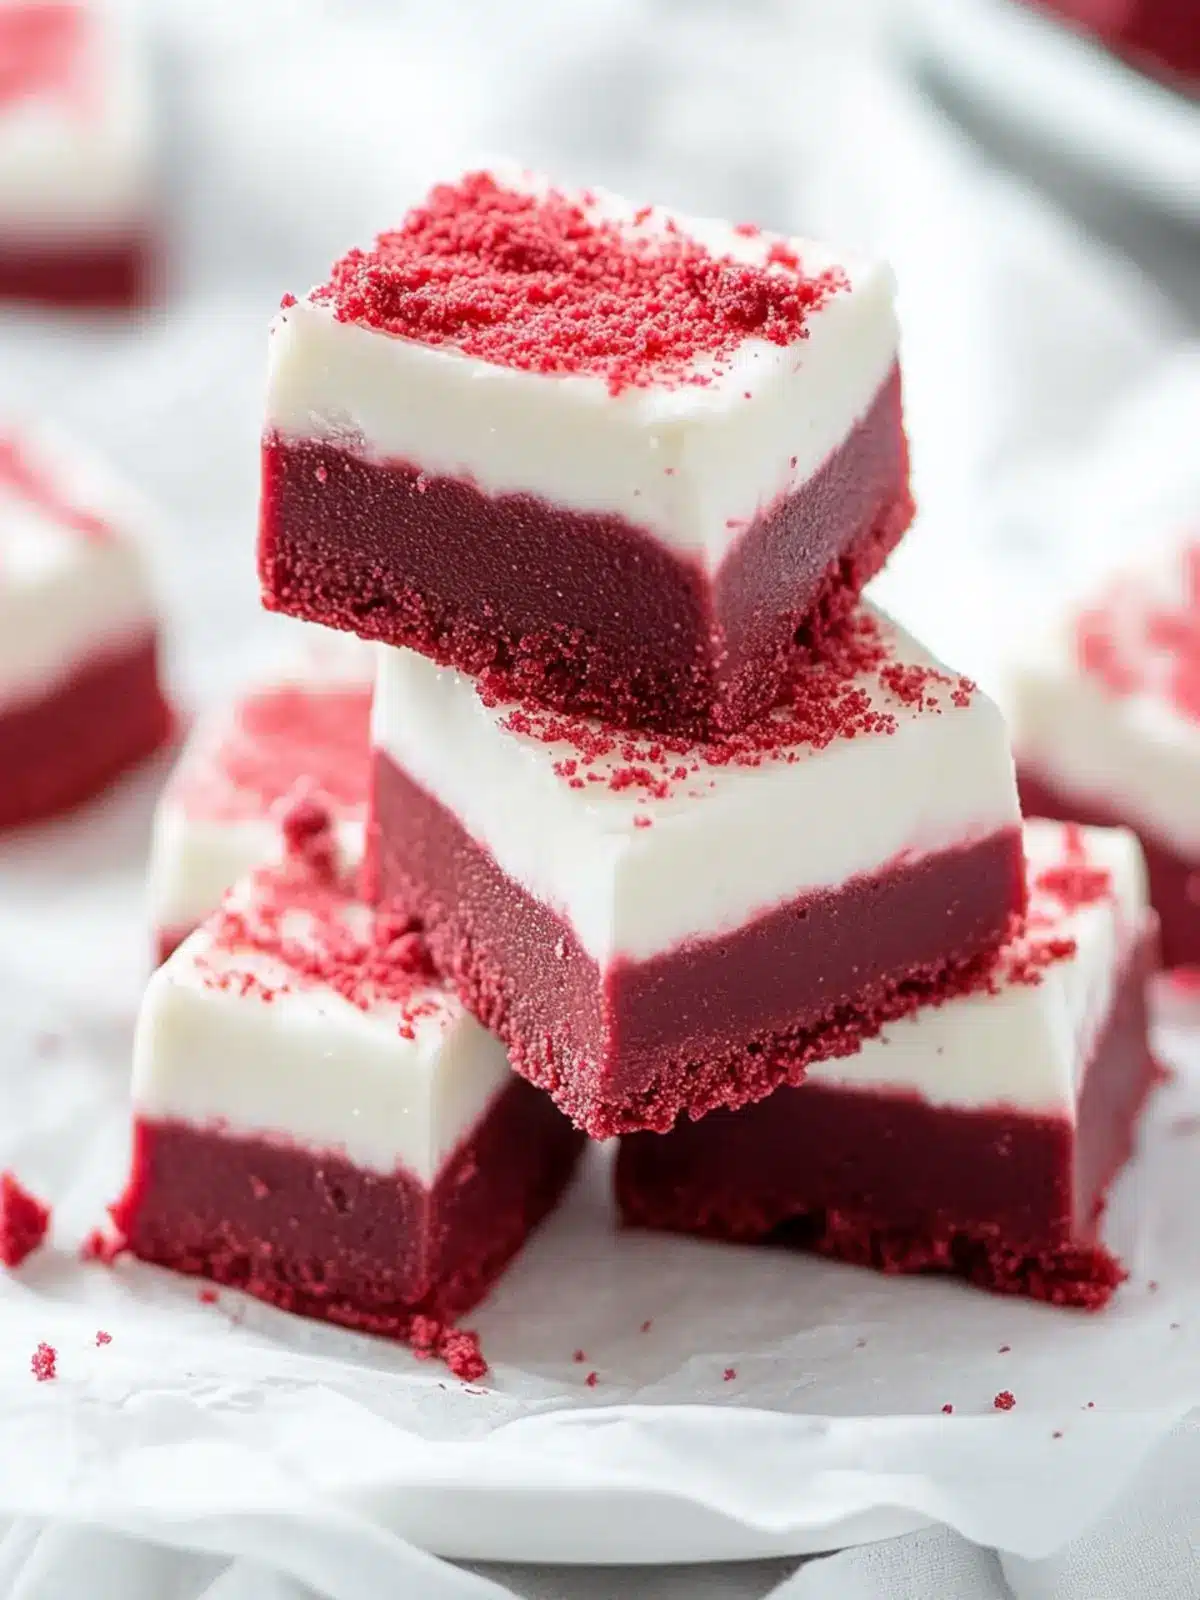
Red Velvet Fudge Variations
Get ready to add your personal touch to this delightful fudge recipe—it’s more versatile than you might think!
-
Nutty Addition: Stir in 1/2 cup of chopped walnuts or pecans for an added crunch. The nuttiness beautifully contrasts with the creamy texture.
-
Minty Twist: Add 1 teaspoon of peppermint extract for a refreshing minty flavor. This holiday-inspired variation is perfect for festive gatherings!
-
Spicy Kick: Incorporate a pinch of cayenne pepper or cinnamon to give your fudge a delightful warmth. Just a hint will elevate the taste without overwhelming the sweetness.
-
Chocolate Boost: Fold in 1/2 cup of chocolate chips before pouring into the pan. Each bite bursts with extra richness and adds a fun texture surprise.
-
Dairy-Free Delight: Substitute buttermilk with almond milk mixed with a teaspoon of vinegar. This keeps your fudge creamy without dairy while still tasting fantastic.
-
Colorful Sprinkles: Top your set fudge with colorful sprinkles for a festive touch. Each square becomes a celebration, ideal for parties and special occasions!
-
Classic Vanilla: For a smoother flavor, swap the cocoa with white chocolate chips, creating a creamy vanilla fudge. This twist is rich and decadent on its own.
-
Fruit Infusion: Mix in dried cherries or cranberries for a fruity addition. These provide a chewy texture and a delightful tartness that complements the sweetness beautifully.
With these variations, there’s no need to settle for the ordinary—let your creativity bloom in every bite!
How to Store and Freeze Red Velvet Fudge
Room Temperature: Keep the fudge at room temperature in an airtight container for up to 3 days—perfect for quick treats at home!
Fridge: For longer freshness, store in the fridge in an airtight container for up to 1 week. Just let it come to room temperature before serving for the best texture.
Freezer: Freeze wrapped pieces of fudge tightly in plastic wrap and then place them in a freezer-safe bag for up to 3 months. Thaw in the fridge when you’re ready to enjoy again!
Reheating: If you want to soften the fudge slightly, you can microwave it in 5-second intervals, ensuring you don’t melt it completely—just warm enough to enjoy that glorious velvety bite!
Expert Tips for Red Velvet Fudge
-
Temperature Check: Always use a candy thermometer to ensure your fudge reaches 238°F. This is crucial for achieving the right texture!
-
Avoid Scraping: When boiling the mixture, avoid scraping down the sides of the pan. This prevents sugar crystals from forming and ensures a smooth fudge.
-
Cooling Time: Be patient while cooling the fudge to 110°F before adding butter and vanilla. Rushing this step can lead to a gritty texture.
-
Proper Beating: Whether by hand or with an electric mixer, beat the fudge until it loses its sheen for that perfect velvety finish.
-
Lift with Ease: Line your pan generously with wax paper. This small detail makes removing the fudge easier and neater for serving.
Remember, these helpful tricks will help you create the best Red Velvet Fudge that wows your guests!
What to Serve with Red Velvet Fudge?
Indulging in homemade sweets like this fudge opens the door to delightful pairings that enrich the experience.
-
Ice Cream: A scoop of vanilla ice cream provides a refreshing contrast to the rich, sweet flavor of the fudge. The creamy texture balances the fudge’s density beautifully.
-
Fresh Berries: Juicy strawberries or raspberries pop with tartness, complementing the sweetness of the fudge while adding a vibrant color to your dessert spread.
-
Coffee or Espresso: The roasted notes of coffee or espresso cut through the fudge’s sweetness, enhancing its flavors with every sip. It’s the perfect way to elevate your dessert moment!
-
Whipped Cream: A dollop of freshly whipped cream adds a light and fluffy texture, creating a delightful contrast with the dense fudge.
-
Chocolate Drizzle: A drizzle of dark chocolate sauce on top takes fudge indulgence to a whole new level, making it extra decadent and visually enticing.
-
Nutty Toppings: Chopped pecans or walnuts sprinkled on top contribute crunch and a lovely nutty flavor that pairs wonderfully with the fudge’s creaminess.
-
Sparkling Wine: A glass of sparkling wine or prosecco adds a festive touch, making it an excellent pairing for celebrations or special gatherings.
Each pairing not only enhances the experience but also adds an element of fun to your dessert table!
Make Ahead Options
These delectable Red Velvet Fudge squares are a perfect treat to prepare in advance, making them ideal for busy weeknights or unexpected guests! You can prepare the base fudge mixture up to 24 hours ahead of time; just follow the steps until the mixture cools to 110°F, then cover it tightly and store it in the refrigerator to prevent drying out. When you’re ready to finish, allow it to come to room temperature before adding the butter and vanilla. Simply beat the mixture to achieve the right texture, pour it into the prepared pan, and let it set before serving. This way, you’ll have your sweet indulgence ready to impress without the last-minute rush!
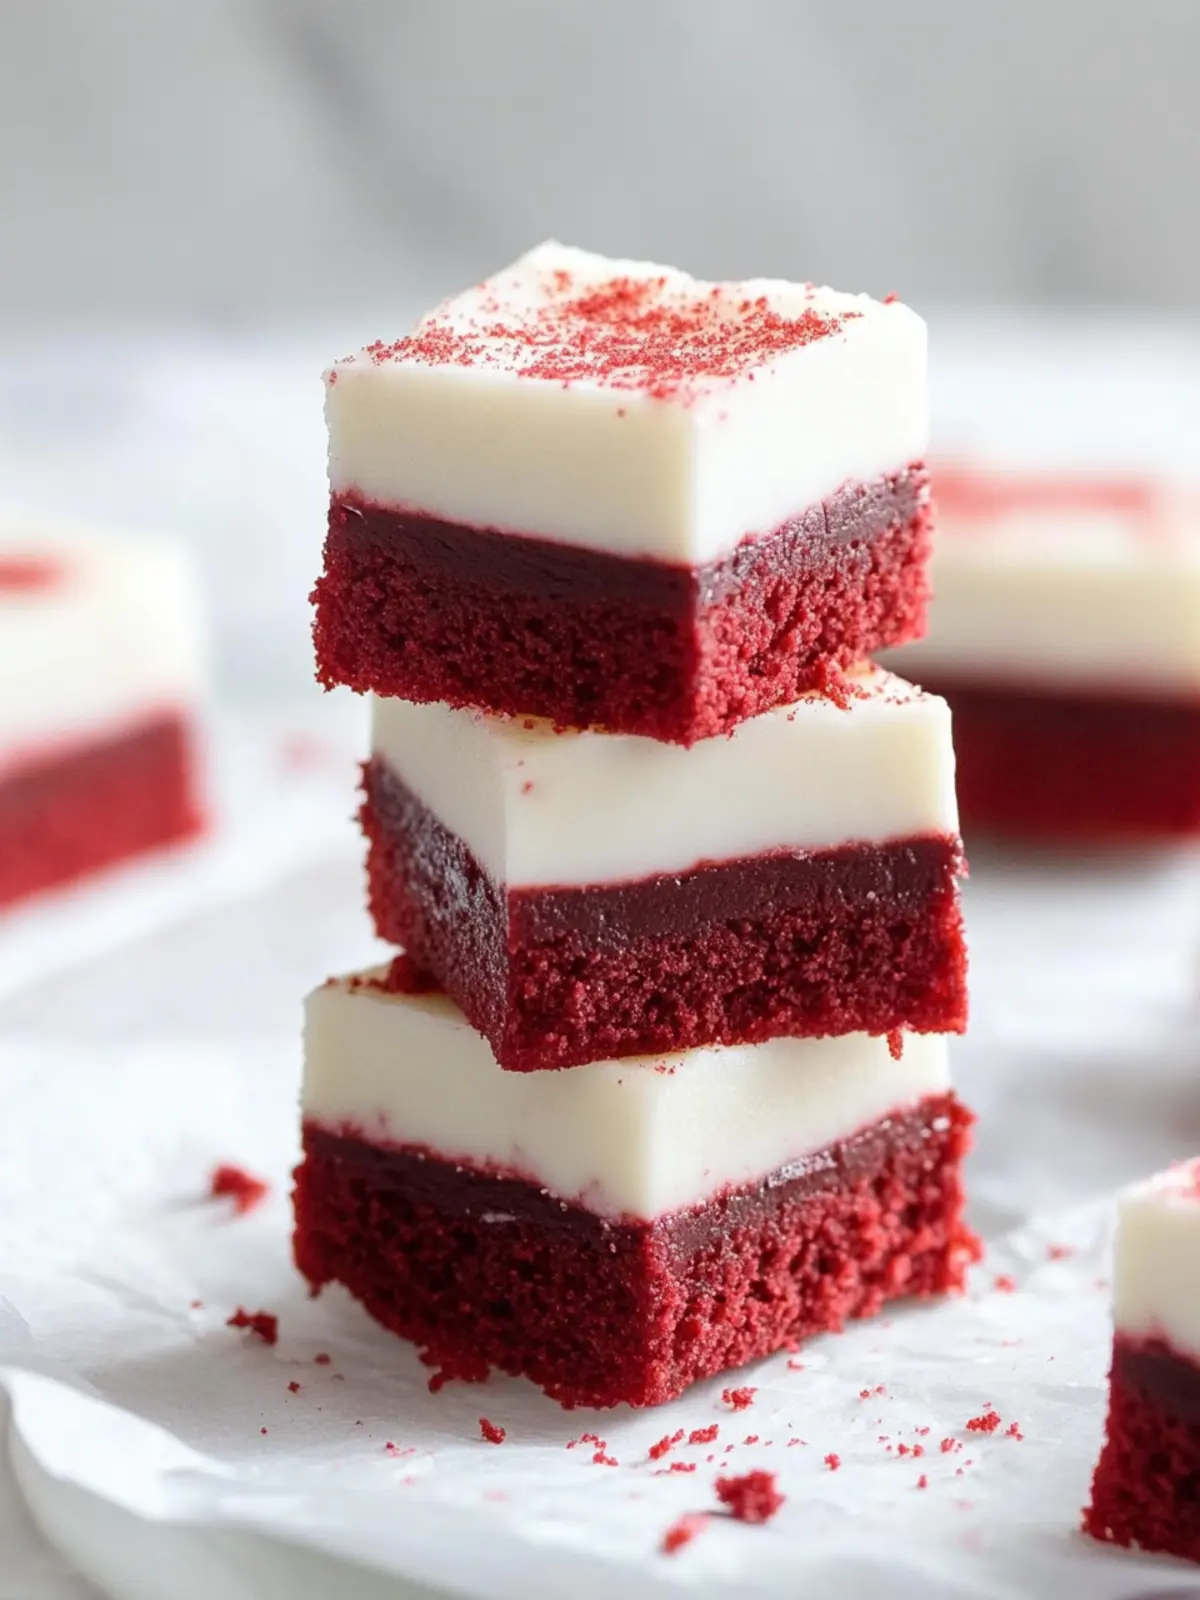
Red Velvet Fudge Recipe FAQs
How do I select the right redding gel food coloring?
Absolutely! For the best results, choose a high-quality red gel food coloring as it provides the richest color without adding too much liquid to your fudge. Look for brands labeled “gel” or “paste,” as they are more concentrated compared to liquid food coloring, ensuring that your fudge has that vibrant red hue without compromising texture.
How should I store leftover Red Velvet Fudge?
Very! To keep your fudge fresh, store it at room temperature in an airtight container for up to 3 days. If you’d like it to last longer, you can refrigerate it, where it will keep for about 1 week. Just be sure to let it return to room temperature before serving to maintain that delightful, creamy texture!
Can I freeze Red Velvet Fudge?
Absolutely! To freeze, wrap individual pieces of fudge tightly in plastic wrap and then place them in a freezer-safe bag. You can enjoy your Red Velvet Fudge for up to 3 months. When you’re ready to indulge again, simply thaw it in the refrigerator overnight, and it will be just as delicious as the day you made it!
What should I do if my fudge turns out grainy?
No worries! If your fudge ends up grainy, it usually means it wasn’t cooked to the right temperature. To avoid this in the future, make sure to use a candy thermometer and bring the mixture to 238°F without scraping down the sides. If you find yourself with grainy fudge, you can gently reheat the fudge over low heat while stirring until it melts back together, then let it cool again before beating.
Are there any dietary considerations when making Red Velvet Fudge?
Absolutely! If you or your guests have dietary restrictions, consider using non-dairy milk to replace buttermilk and a dairy-free butter alternative for a vegan version. Just keep an eye on the ingredients in the food coloring to ensure it aligns with dietary needs. Always double-check that none of the ingredients pose allergies for those you’re serving!
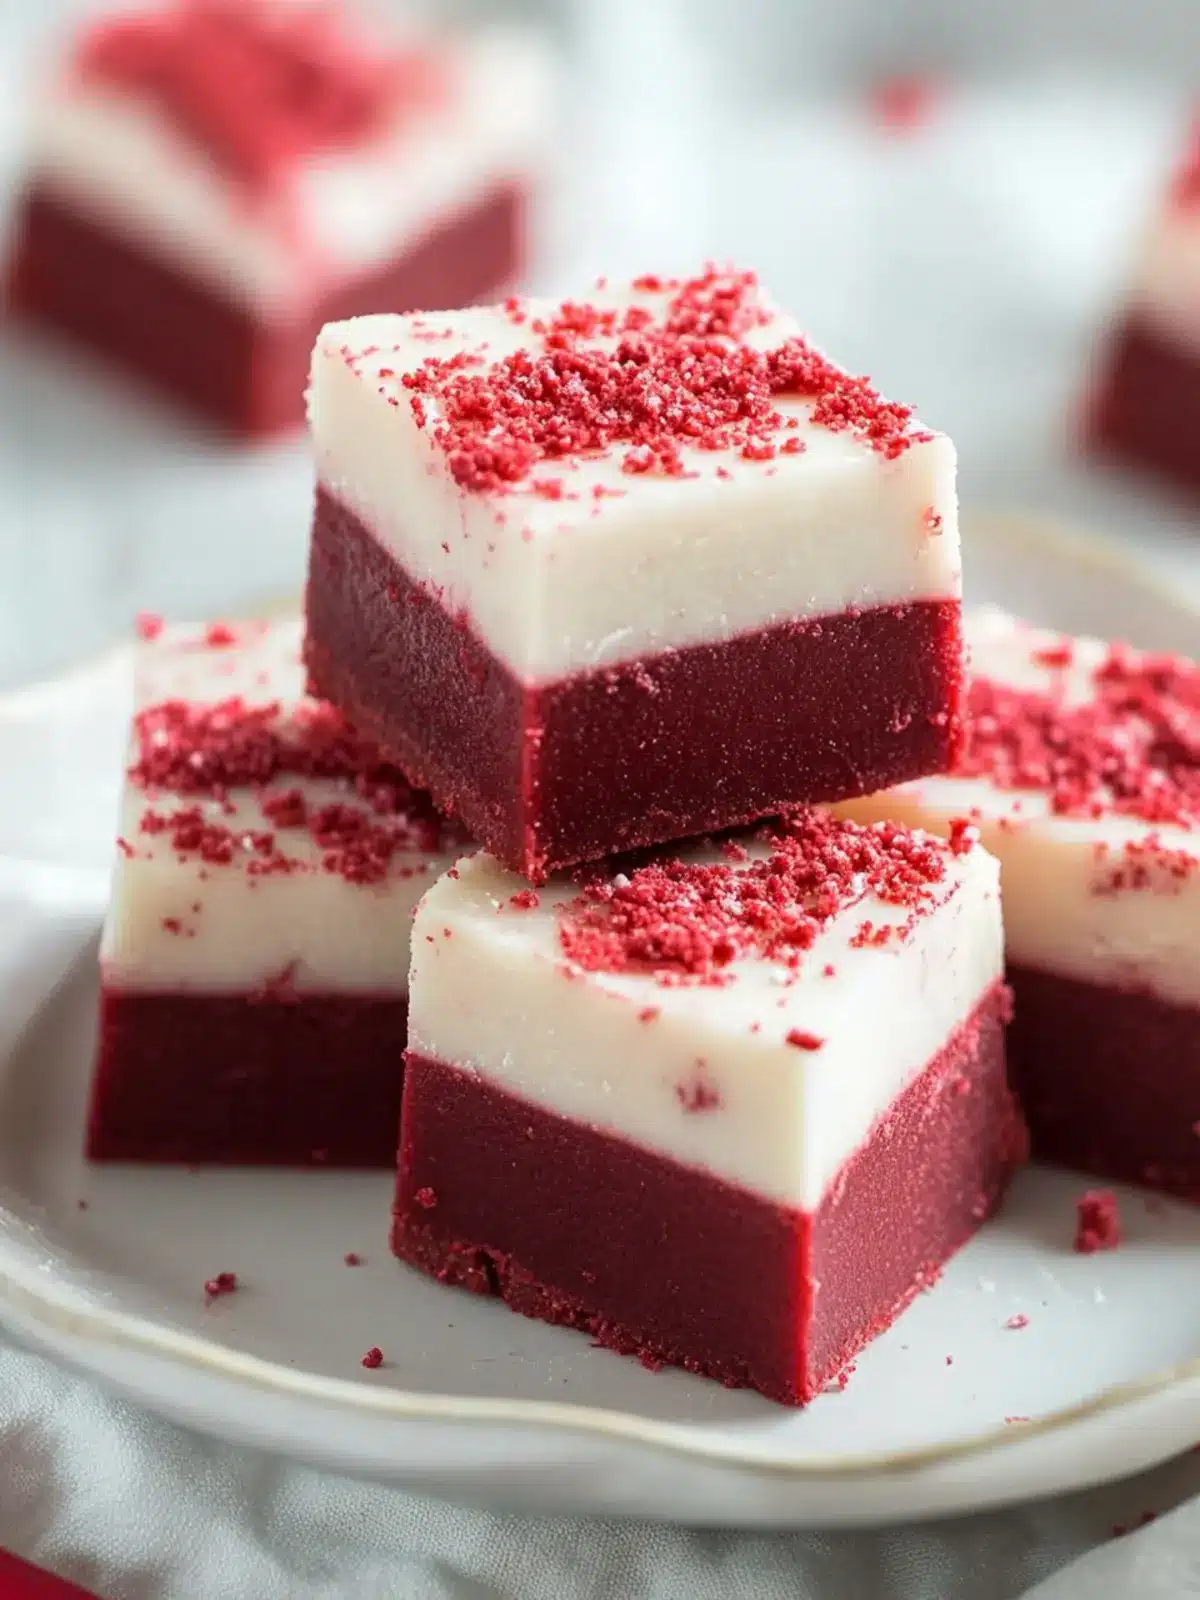
Decadent Red Velvet Fudge That Will Wow Your Guests
Ingredients
Equipment
Method
- Line a 5×9 pan with wax paper, leaving extra for easy removal.
- In a non-stick pan, combine sugar, cocoa, buttermilk, and food coloring. Bring to a boil, stirring constantly.
- Check the fudge temperature with a candy thermometer; it should reach 238°F.
- Reduce heat and let fudge simmer without stirring until it thickens slightly.
- Once it cools to 110°F, add butter and vanilla, stirring gently.
- Beat the fudge until it loses its glossy sheen.
- Pour the fudge into the prepared pan and let it cool for 1-2 hours until firm.