
The moment I first tasted a Red Velvet Oreo Cake, I knew I had stumbled upon something truly special. Picture this: an irresistible combination of rich red velvet layers infused with crushed Oreos, smothered in a creamy, dreamy frosting. Each slice is a delightful whirlwind of flavor and texture, evoking memories of childhood treats while adding a gourmet twist that’s perfect for any gathering.
After a long week, I often crave something more than just a quick dessert to satisfy my sweet tooth. That’s when this vibrant cake becomes my go-to recipe. It’s surprisingly easy to make, yet it impresses everyone from family to dinner guests. Whether you’re celebrating a special occasion or simply indulging in a well-deserved treat, this Red Velvet Oreo Cake will be the star of the show.
So, let’s preheat that oven and dive into creating a cake that’s as beautiful as it is delicious. Trust me, this recipe will transform any ordinary day into a sweet celebration!
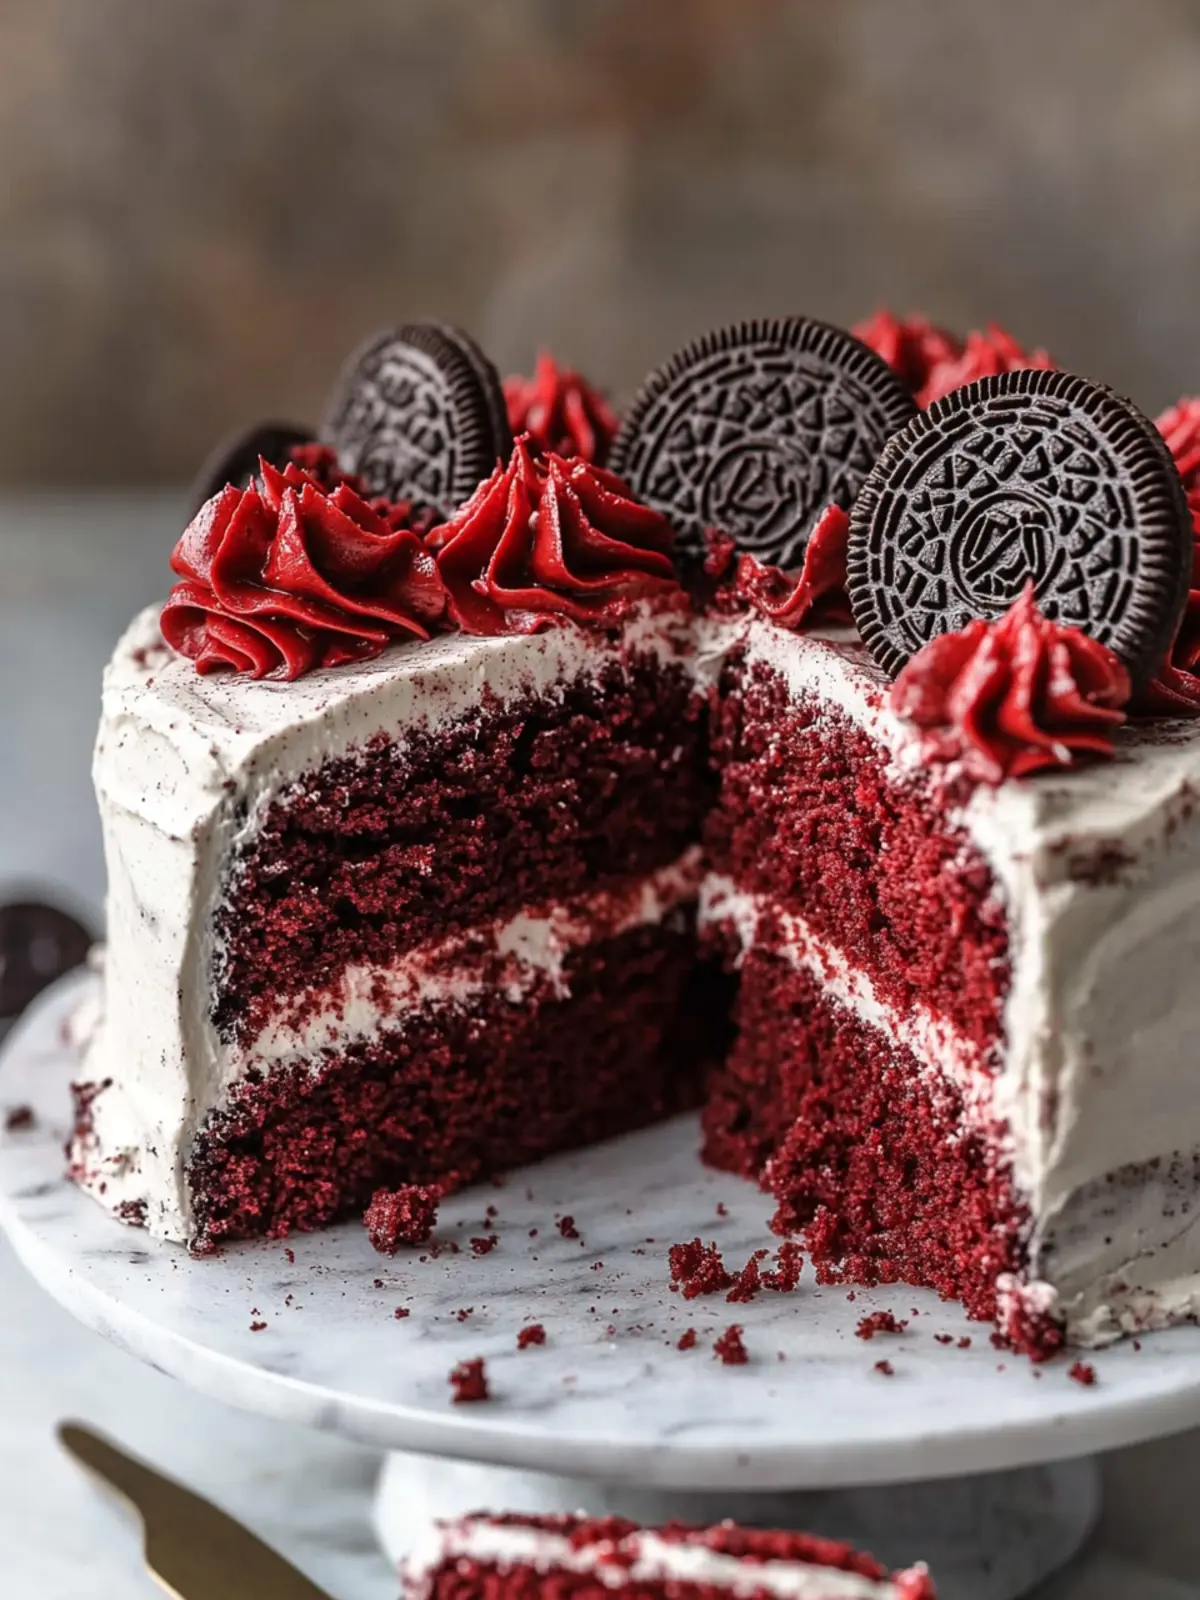
Why is Red Velvet Oreo Cake so special?
Indulgence at Its Finest: This cake combines rich red velvet and crushed Oreos, making every bite a delightful surprise.
Quick and Easy: With straightforward steps, you can whip this up in no time, perfect for busy weeknights.
Showstopper Appearance: Its stunning layers and vibrant color make it an eye-catching centerpiece for any occasion.
Crowd Pleaser: It’s a guaranteed hit at parties, appealing to both kids and adults alike.
Versatile Treat: Enjoy it as a birthday cake or simply as a weekend dessert to satisfy your cravings! For more delicious dessert ideas, check out my amazing cake recipes.
Red Velvet Oreo Cake Ingredients
Ready to whip up a heavenly treat? Here’s everything you’ll need!
For the Cake
• 300 grams all purpose flour – This forms the cake’s structure, ensuring it rises beautifully.
• 300 grams granulated sugar – Sweetens the cake and contributes to its moist texture.
• 45 grams cocoa powder – Adds a subtle chocolate flavor that complements the red velvet.
• ¾ teaspoon baking powder – Helps the cake rise for a light and fluffy texture.
• ¾ teaspoon baking soda – Balances acidity from the buttermilk, enhancing the cake’s rise.
• 1 teaspoon salt – Enhances all the flavors, making each bite more delicious.
• 225 grams buttermilk – Adds richness and moisture; don’t substitute with regular milk!
• 180 grams sour cream – Provides an irresistible creaminess and tang that elevates the cake.
• 186 grams oil – Keeps the cake moist and tender; feel free to use vegetable or canola oil.
• 3 large eggs – Brings richness and binds all ingredients together for a cohesive batter.
• 1 teaspoon white vinegar – Reacts with the baking soda to help the cake rise properly.
• 2 teaspoons vanilla extract – Adds a beautiful aroma and enhances sweetness.
• 1 teaspoon red gel food coloring – Gives that signature vibrant hue; avoid liquid food coloring as it can alter the batter consistency.
• 14 crushed Oreos – Infuses the cake with an irresistible cookie crunch.
For the Frosting
• 454 grams full fat cream cheese – Provides a rich base for the frosting, ensuring it’s creamy and flavorful.
• 226 grams salted butter – Adds flavor and creaminess to balance the sweetness of the frosting.
• 907 grams powdered sugar – Sweetens the frosting while creating a smooth texture.
• 12 crushed Oreos – For an extra touch of cookie goodness in your frosting; perfect for a delightful crunch!
Now you’re set to create this show-stopping Red Velvet Oreo Cake that everyone will adore. Happy baking!
How to Make Red Velvet Oreo Cake
-
Preheat the oven to 350°F (180°C). Line two 8-inch cake pans with parchment paper so your cakes won’t stick, making them easy to remove after baking.
-
Whisk together flour, sugar, cocoa powder, baking powder, baking soda, and salt in a large mixing bowl until well combined. This dry mix is the foundation of your fluffy cake.
-
Combine buttermilk, sour cream, oil, eggs, vinegar, and vanilla in a separate bowl; whisk until smooth. Add food coloring and stir to achieve a rich, vibrant red hue.
-
Pour the wet ingredients into the dry ingredients, whisking slowly until smooth and lump-free. Gently fold in the crushed Oreos; you’ll love the bits of cookie throughout the cake!
-
Divide the cake batter evenly between the two prepared pans. Bake for 27-32 minutes until a toothpick inserted in the center comes out clean—your kitchen will smell heavenly!
-
Cool the cakes for 10 minutes in the pans, then carefully remove them and let them cool completely on a wire rack before frosting. This prevents the frosting from melting.
-
Beat cream cheese and butter in the bowl of a stand mixer on medium-high speed until creamy. This forms the base of your deliciously rich frosting.
-
Gradually add powdered sugar on low speed, one cup at a time, until well combined. Make sure to scrape the sides of the bowl to incorporate everything evenly.
-
Fold in pulverized Oreos on low speed until mixed well. Get ready for scrumptious bites of cookie flavor in your frosting!
-
Layer one cake layer on a cake board or stand and spread ¾ cup of frosting on top. Place the second layer on top, flat side up, for a beautifully even cake.
-
Crumb coat the entire cake with a thin layer of frosting and chill in the refrigerator for 20 minutes; this will help seal in the crumbs for a clean finish.
-
Frost the cake generously with a thick layer of frosting, and decorate with piping, additional Oreos, and pieces for that extra decadence—make it your masterpiece!
-
Slice into pieces and enjoy! Each bite is a delightful blend of flavors, perfect for sharing with loved ones.
Optional: Add a sprinkle of crushed Oreos on top for extra crunch!
Exact quantities are listed in the recipe card below.
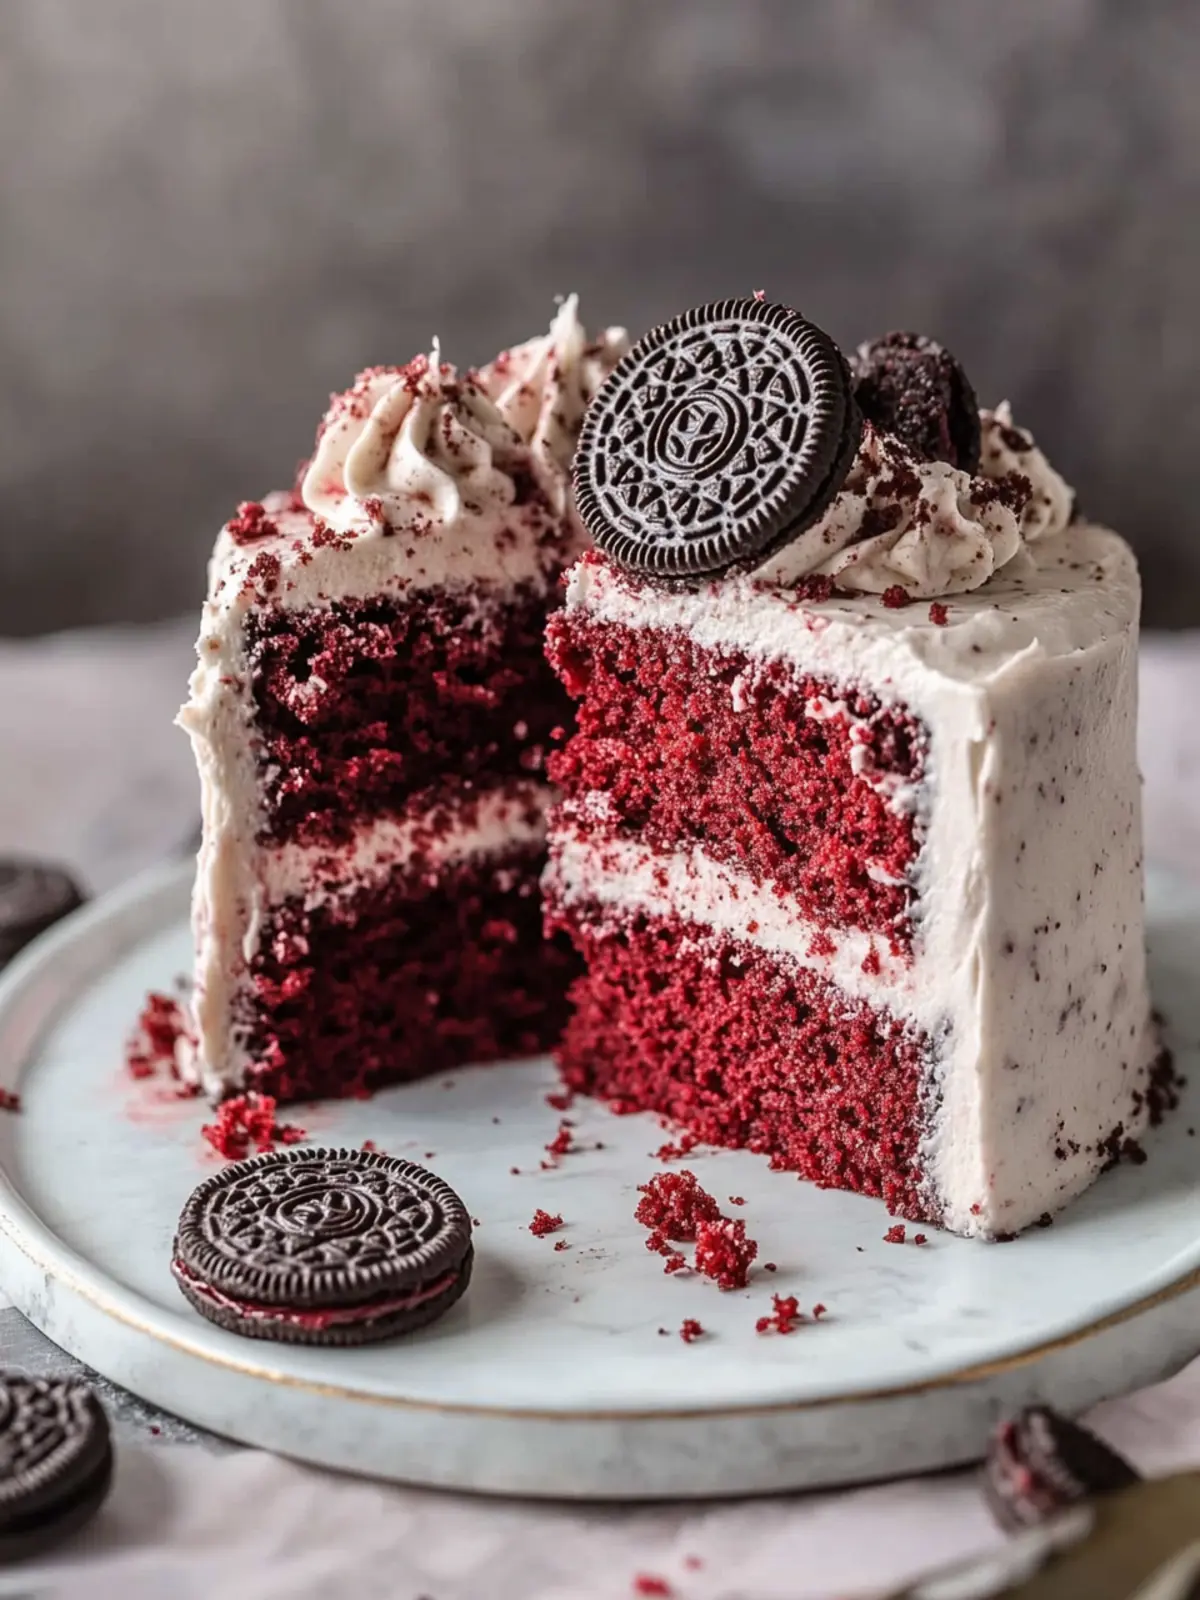
Tips for the Best Red Velvet Oreo Cake
-
Perfecting the Color: Use red gel food coloring for a vibrant hue. Liquid coloring can dilute the batter and impact the bake.
-
Moisture Matters: Don’t skip the buttermilk and sour cream. They are key to keeping your cake moist and rich!
-
Cool Completely: Let the cakes cool completely before frosting. This prevents melting and sliding, ensuring a beautifully layered cake.
-
Frosting Technique: Apply a crumb coat first to lock in crumbs before adding a thicker layer; this creates a smooth and polished finish.
-
Oreo Crumbles: For an extra treat, pulsate some Oreos into fine crumbs and mix them into your frosting; it adds delightful texture to every slice!
Red Velvet Oreo Cake Variations
Feel free to get creative with this delightful Red Velvet Oreo Cake and customize it to suit your taste!
-
Gluten-Free: Substitute all-purpose flour with a 1:1 gluten-free flour blend for a tasty gluten-free version.
-
Dairy-Free: Use almond milk mixed with lemon juice instead of buttermilk and a dairy-free cream cheese alternative in the frosting.
-
Chocolate Lovers: Add an extra 30 grams of cocoa powder for a richer chocolate flavor, making it even more indulgent.
-
Nutty Crunch: Fold in chopped walnuts or pecans for added texture and a delightful nutty flavor in each bite.
-
Minty Fresh: Incorporate mint extract into the frosting for a refreshing twist that pairs surprisingly well with chocolate!
-
Spicy Kick: Add a dash of cayenne pepper to the cake batter for a subtle warmth that surprises the palate.
-
Seasonal Fun: For a festive touch, try adding pumpkin spice in the fall or peppermint extract during the winter holidays.
-
Layered Delight: Transform this into a glorious layered trifle by layering cake pieces with frosting and whipped cream in a large glass dish.
These variations are sure to keep your Red Velvet Oreo Cake exciting and delicious for every occasion!
What to Serve with Red Velvet Oreo Cake?
Elevate your dessert experience by pairing this luscious cake with delightful sides, creating a memorable feast for all to enjoy.
-
Vanilla Ice Cream: The classic pairing of warm, rich cake with creamy vanilla ice cream provides a delightful contrast in texture and temperature.
-
Fresh Berries: Juicy strawberries or raspberries offer a bright tartness that balances the sweetness of the cake beautifully, adding a pop of color.
-
Chocolate Ganache: Drizzling a silky chocolate ganache over the cake enhances its decadence, making each bite even more indulgent and luxurious.
-
Coffee or Espresso: A steaming cup of coffee or espresso allows the rich flavors of the cake to shine, creating a comforting experience perfect for gathering around the table.
-
Whipped Cream: Light and airy whipped cream is the ultimate topping choice for a slice of Red Velvet Oreo Cake, adding a touch of elegance and a creamy finish.
-
Sparkling Fruit Mocktail: A refreshing mocktail made with sparkling water and citrus fruits not only cleanses the palate but also adds a festive touch to your dessert table.
-
Chocolate-Covered Strawberries: Dipped in rich chocolate, these sweet treats are an excellent accompaniment, providing a delightful flavor explosion alongside the cake.
-
Cheesecake Bites: Small cheesecake bites enhance the dessert experience, allowing guests to explore different textures and flavors while enjoying the cake.
Make Ahead Options
These Red Velvet Oreo Cake components are perfect for meal prep enthusiasts! You can prepare the cake layers up to 3 days in advance. Simply bake the cakes, allow them to cool completely, then wrap them tightly in plastic wrap and refrigerate. For the frosting, make it ahead and store it in an airtight container in the fridge for up to 5 days. To maintain quality, let both the cake and frosting sit at room temperature for about 30 minutes before assembling; this will ensure everything spreads beautifully. When you’re ready to enjoy, simply frost the chilled layers, decorate, and serve for delicious results with minimal last-minute effort!
How to Store and Freeze Red Velvet Oreo Cake
Room Temperature: Keep the cake in an airtight container at room temperature for up to 3 days to maintain its moisture and flavor.
Fridge: If not consumed within 3 days, refrigerate the cake in an airtight container for up to 1 week to keep it fresh.
Freezer: You can freeze slices or the whole cake tightly wrapped in plastic wrap and foil for up to 3 months; just thaw in the fridge overnight before serving.
Reheating: If you prefer your cake warm, pop a slice in the microwave for 10-15 seconds; top with whipped cream or a drizzle of chocolate sauce for extra indulgence!
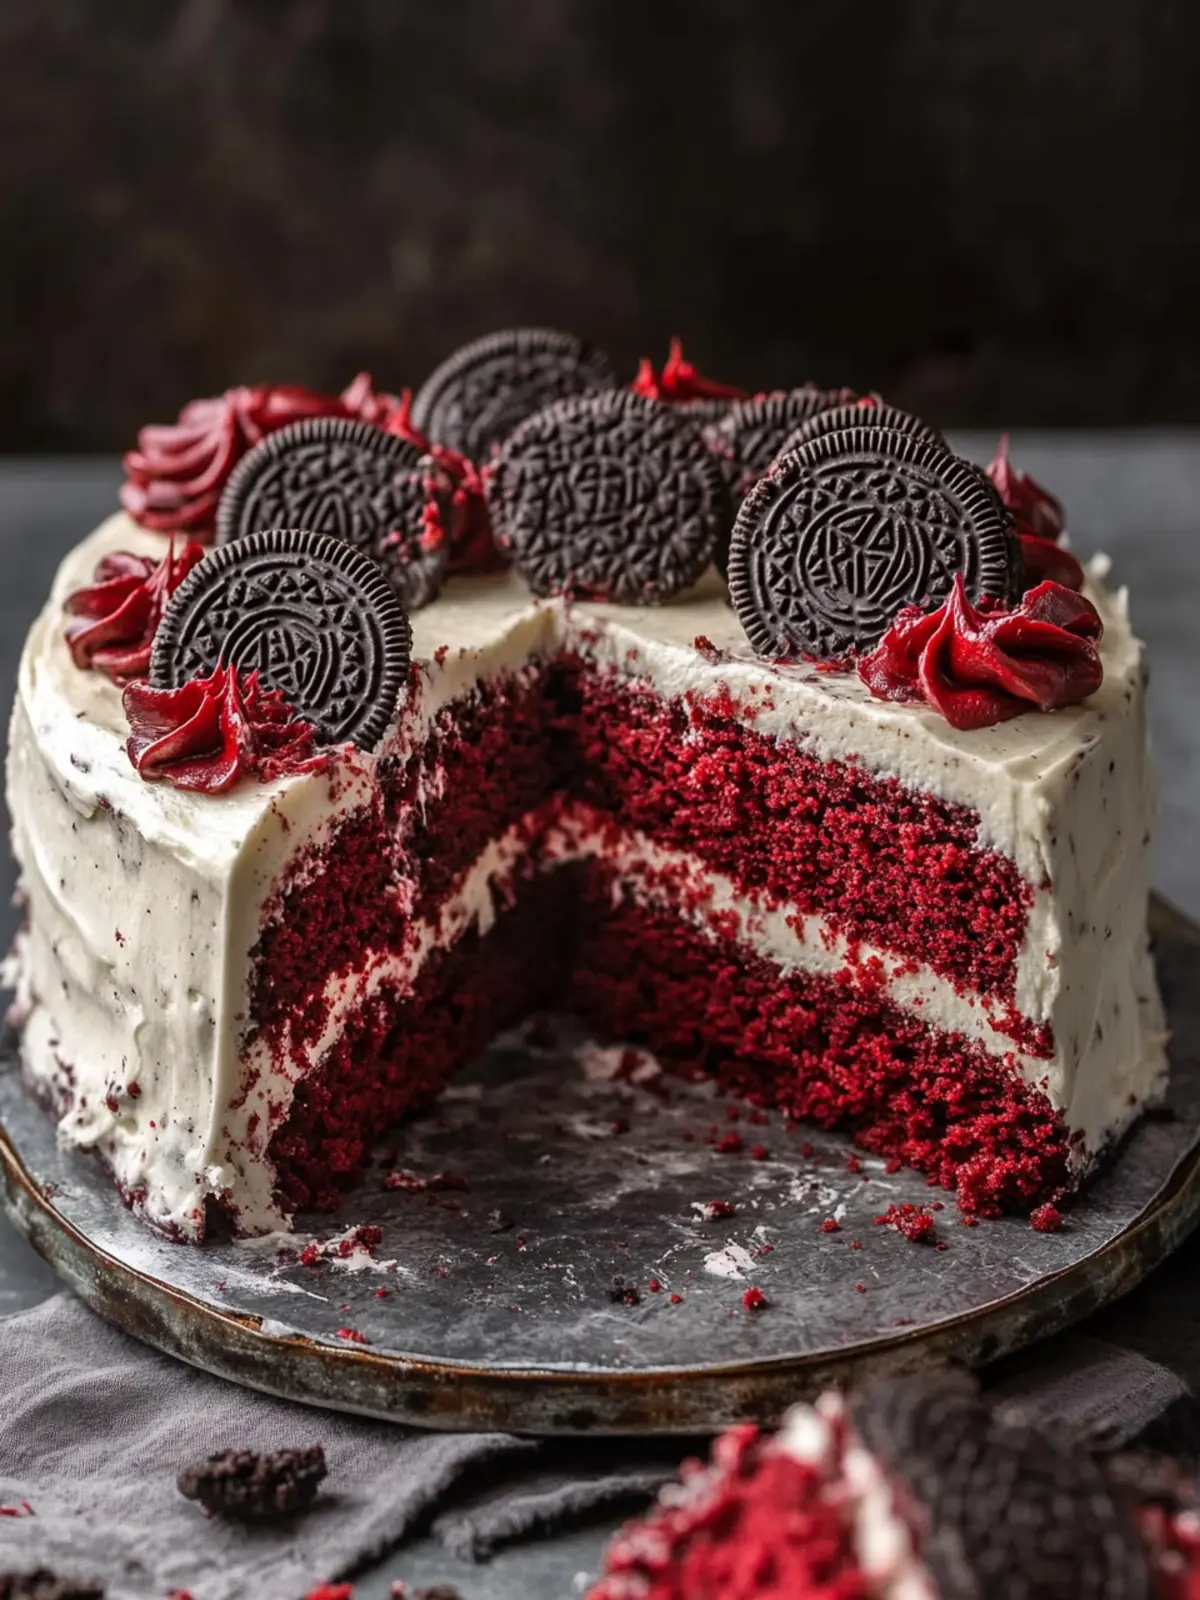
Red Velvet Oreo Cake Recipe FAQs
How do I choose ripe ingredients for my Red Velvet Oreo Cake?
Absolutely! For the best flavor and texture, use room temperature eggs as they whip better, creating a lighter cake. Opt for fresh buttermilk; if you notice any sour smell or dark spots on the container, it’s best to avoid using it. Your butter should be softened but not melted; this helps incorporate air into the frosting, giving it that creamy consistency.
What’s the best way to store my Red Velvet Oreo Cake?
Very good question! To keep your cake fresh, store it in an airtight container at room temperature for up to 3 days. If you haven’t devoured it by then, refrigerate it in the same container for up to 1 week. Always allow it to reach room temperature before serving to regain its moistness and rich flavor!
Can I freeze my Red Velvet Oreo Cake?
Certainly! To freeze, wrap slices of the cake or the whole cake tightly in plastic wrap, then in aluminum foil to prevent freezer burn. It can last up to 3 months in the freezer. When you’re ready to enjoy, simply thaw it in the fridge overnight. For an extra treat, warm a slice in the microwave for 10-15 seconds before serving.
What if my cake turns out dry?
No worries! Dry cake can happen due to overbaking or incorrect measurements. If you find your cake isn’t as moist as expected, consider using a simple syrup (equal parts sugar and water, heated until dissolved) to soak the layers before frosting. This adds moisture and richness, bringing your delicious Red Velvet Oreo Cake back to life!
Is the Red Velvet Oreo Cake safe for people with allergies?
Absolutely! This cake is not gluten-free due to flour and contains dairy and eggs, which could pose issues for those with lactose intolerance, egg allergies, or gluten sensitivity. For a fun twist, you could try substituting with gluten-free flour and a dairy-free yogurt in place of buttermilk and sour cream, but the texture may vary slightly.
How long can I keep leftover icing?
Great question! If you have leftover frosting, store it in an airtight container in the fridge for up to 1 week. Before using it again, let it sit at room temperature for about 30 minutes, then give it a good stir to fluff it back up. It goes perfectly on cupcakes or even as a dip for cookies!
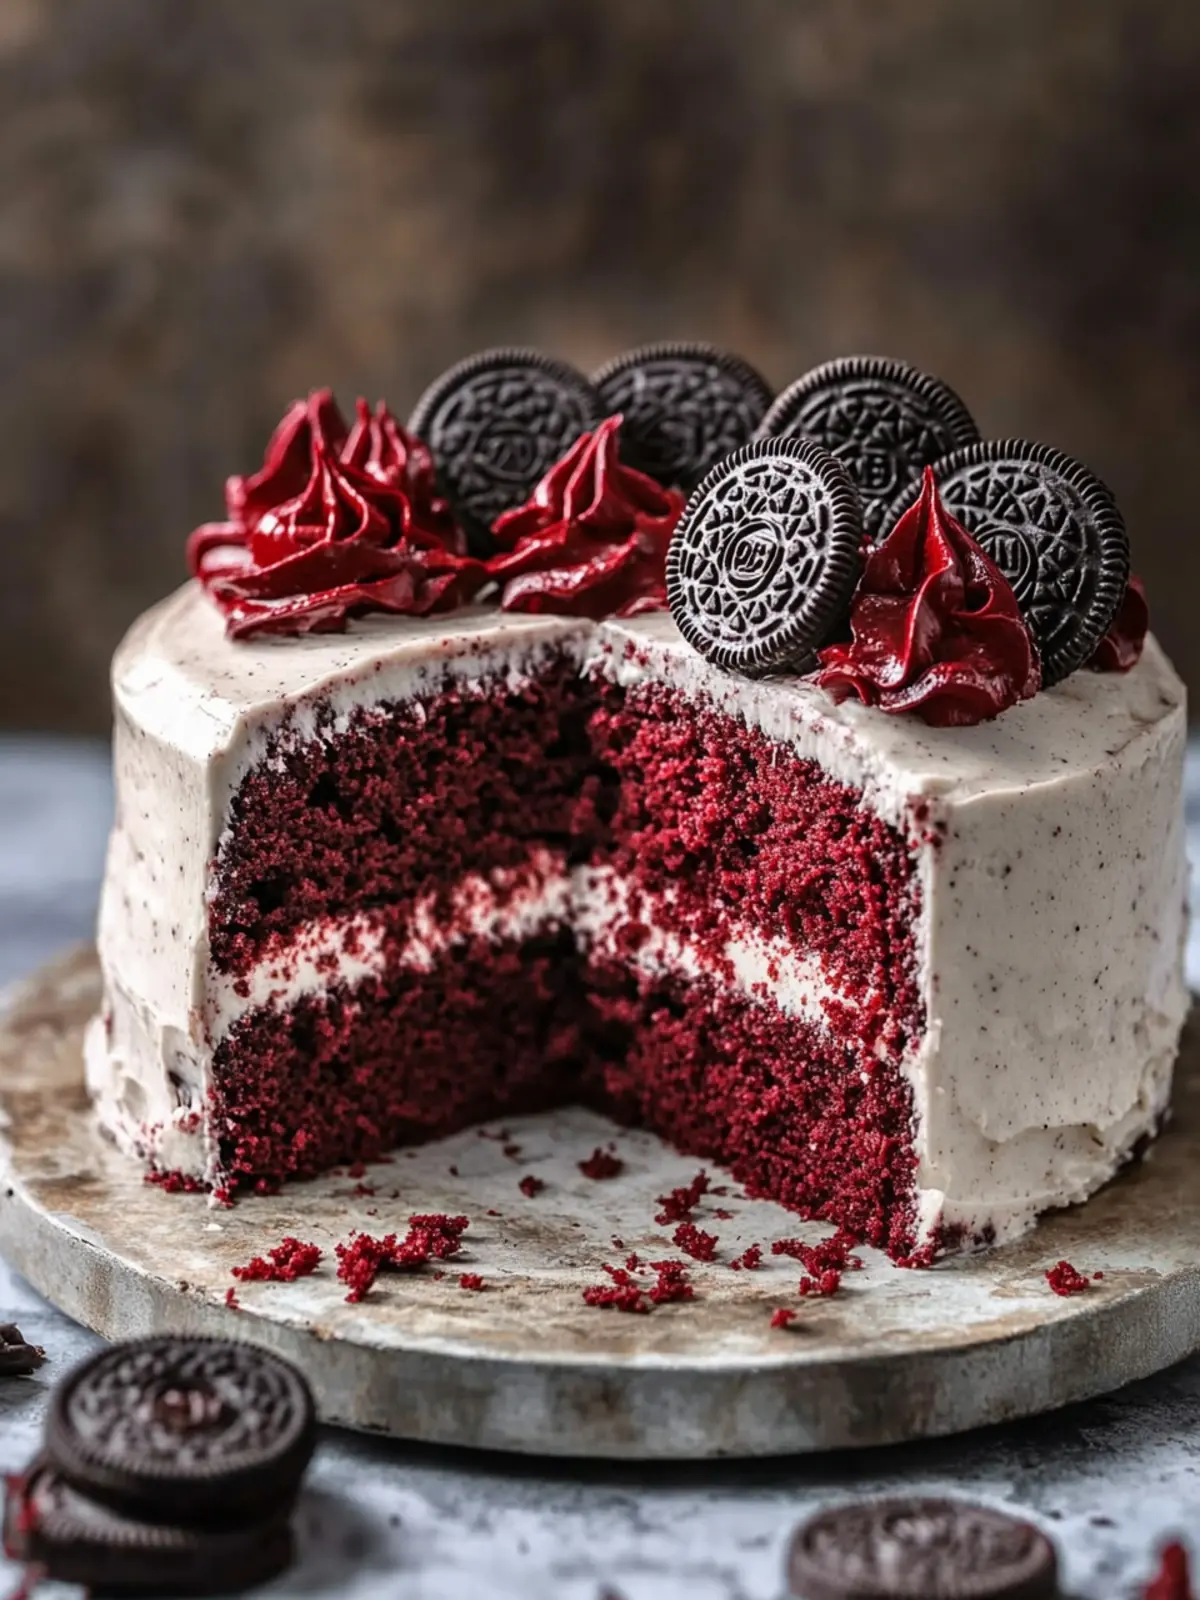
Indulge in Decadence with Red Velvet Oreo Cake Magic
Ingredients
Equipment
Method
- Preheat the oven to 350°F (180°C) and prepare the cake pans.
- Whisk together flour, sugar, cocoa powder, baking powder, baking soda, and salt in a bowl.
- Combine buttermilk, sour cream, oil, eggs, vinegar, and vanilla in another bowl and whisk until smooth.
- Add food coloring and stir to achieve a red hue.
- Pour the wet ingredients into the dry ingredients and whisk until smooth. Fold in crushed Oreos.
- Divide batter between pans and bake for 27-32 minutes until cooked through.
- Cool the cakes for 10 minutes, then remove from pans to cool completely.
- Beat cream cheese and butter until creamy.
- Gradually add powdered sugar and scrape the bowl to combine.
- Fold in pulverized Oreos.
- Layer one cake on a board, spread frosting and top with the second layer.
- Crumb coat the cake, chill for 20 minutes, then frost generously.
- Decorate as desired and enjoy!