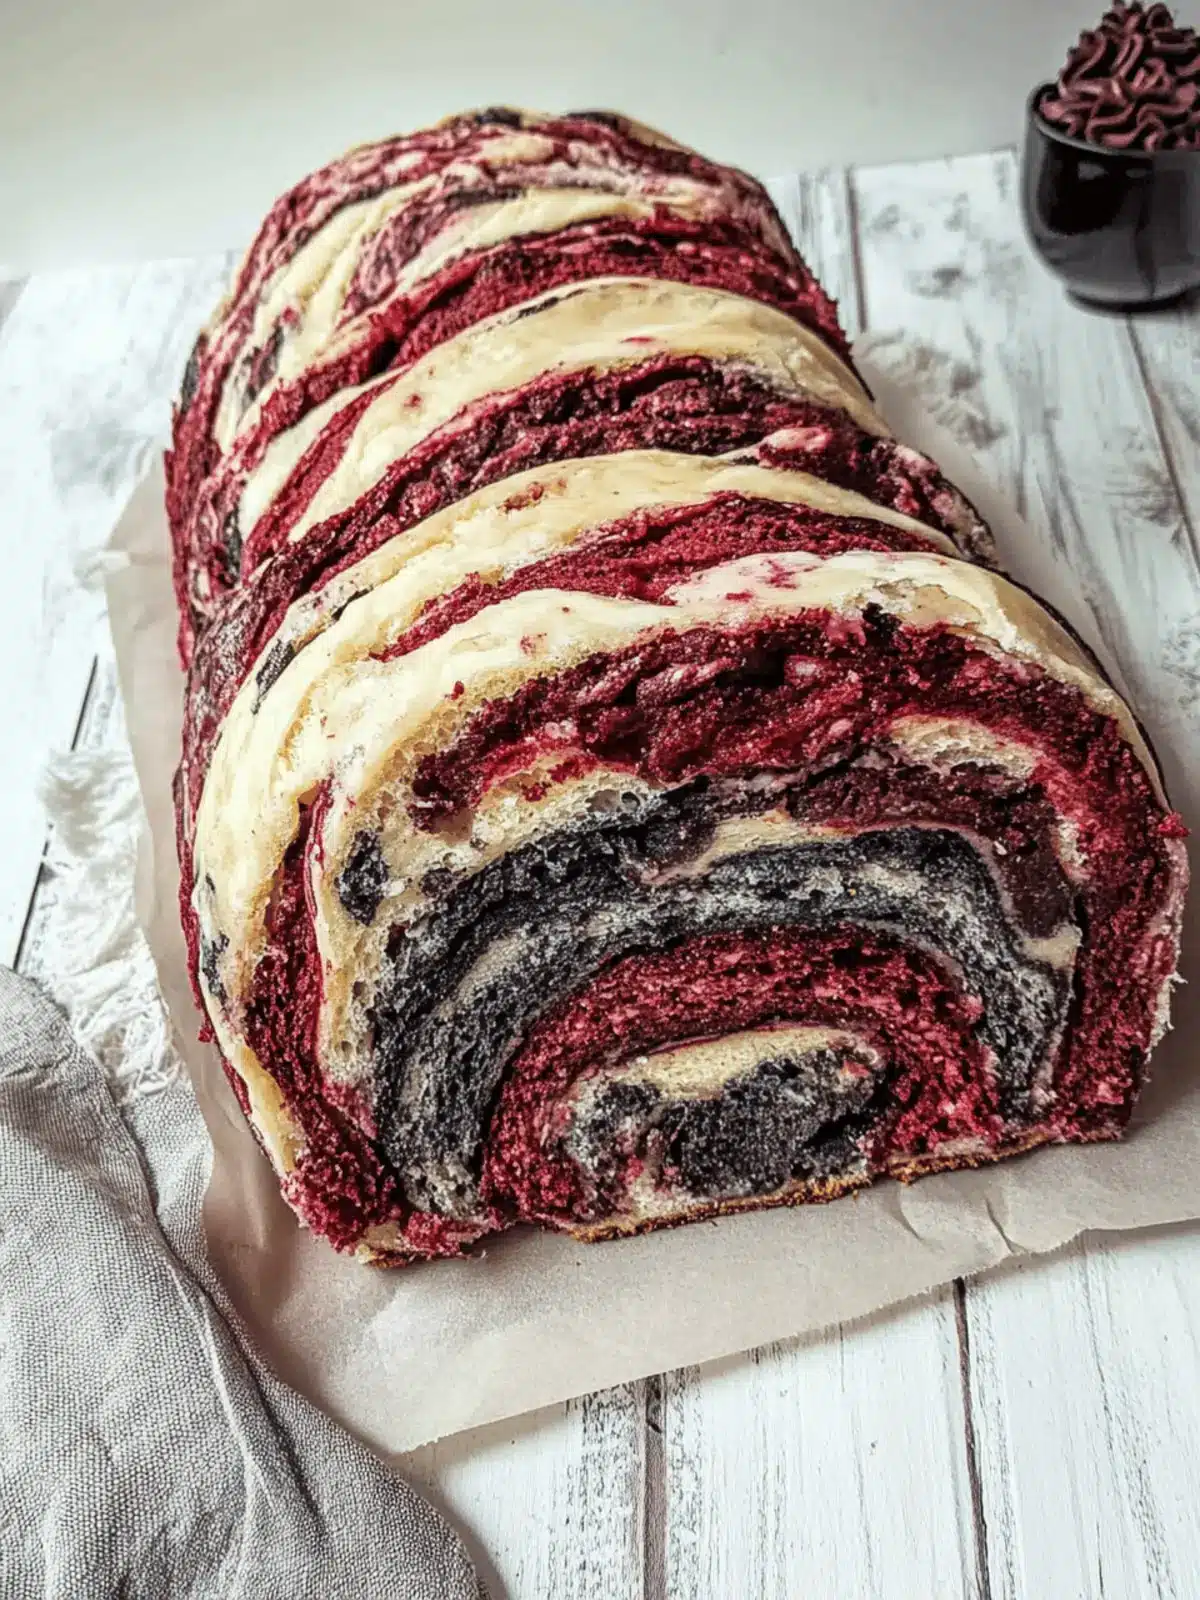
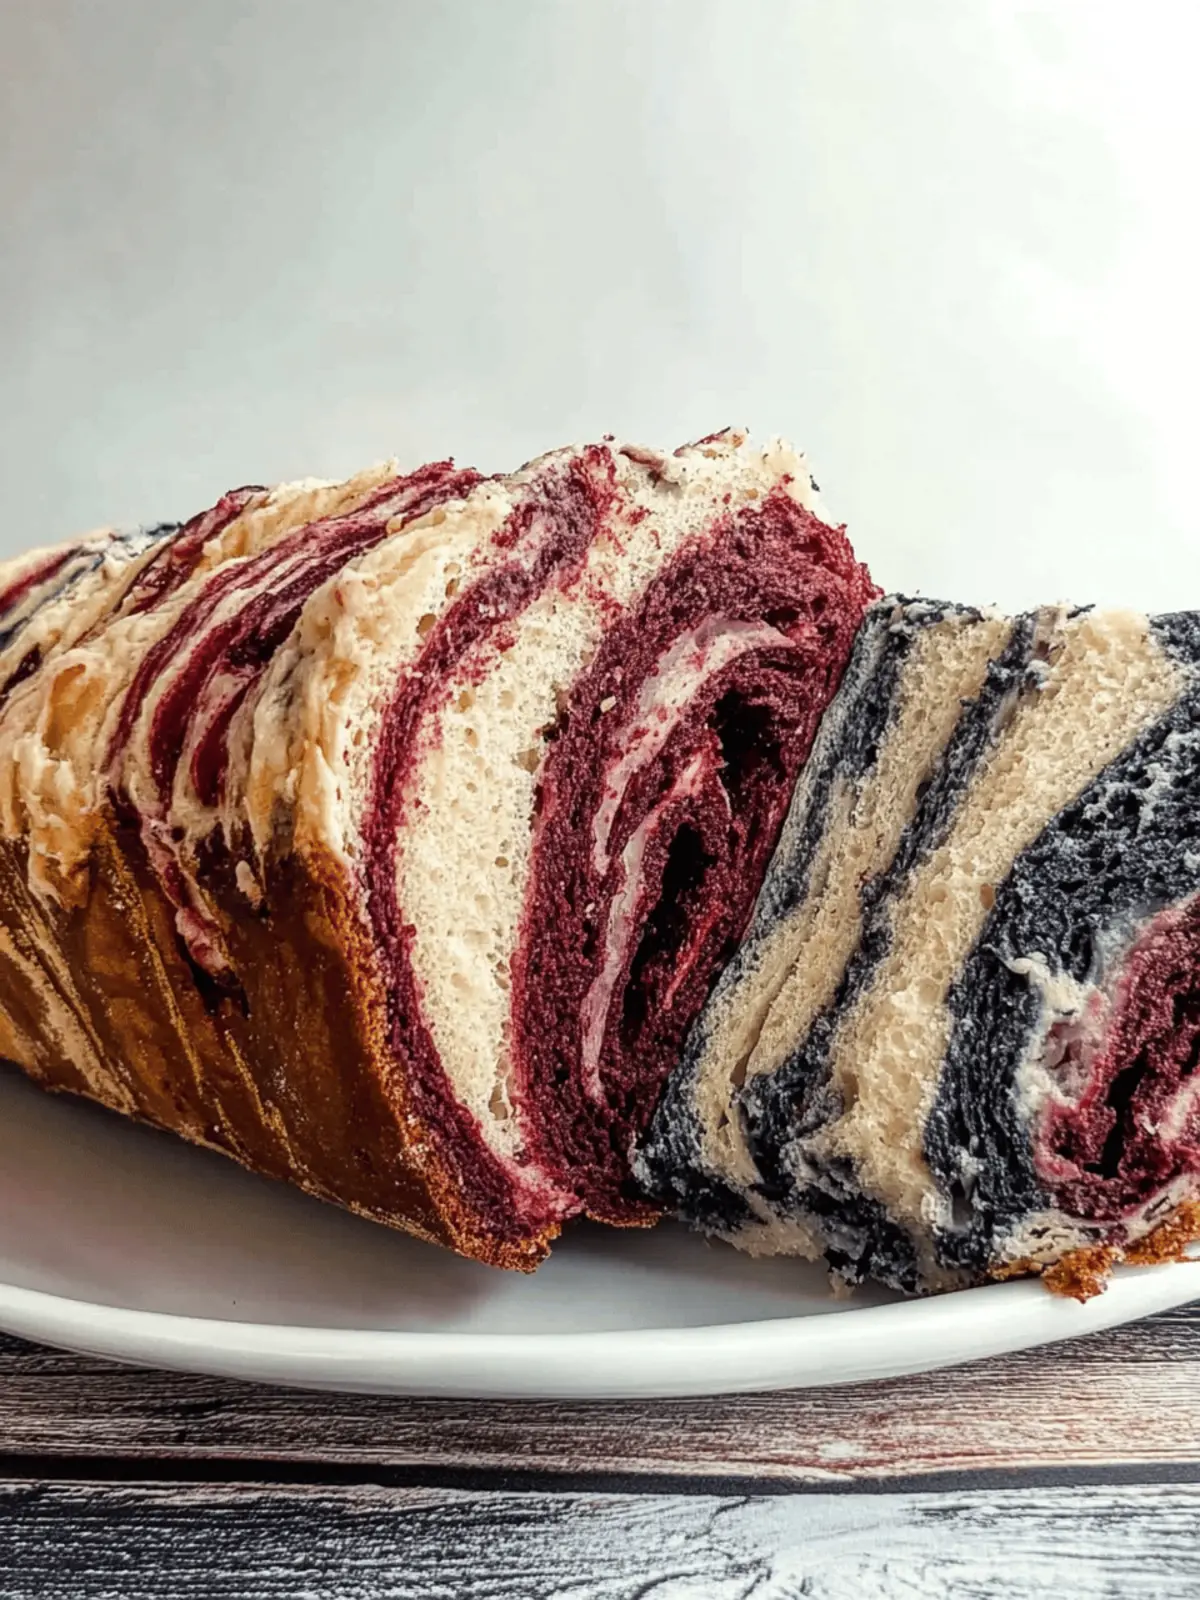
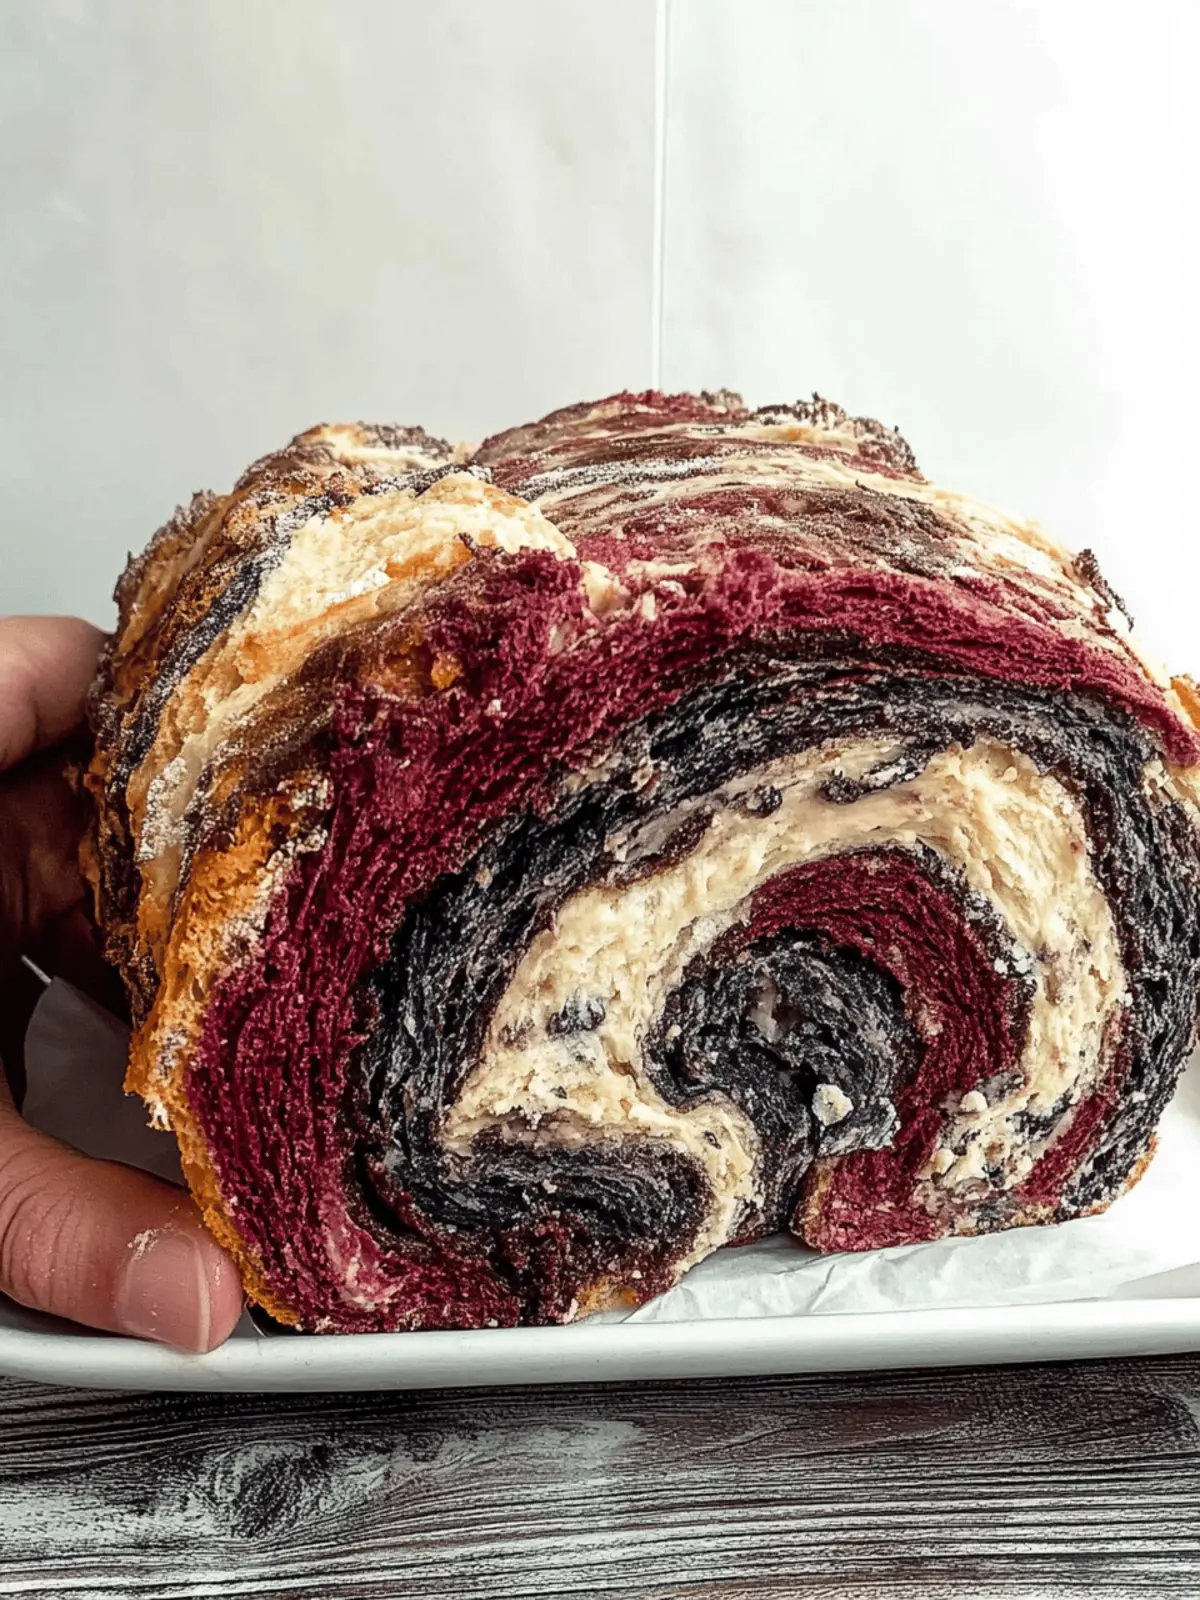
As October rolls in and the air turns crisp, my kitchen transforms into a cauldron of creativity, fueled by the excitement of Halloween. This year, I found a delightful recipe that’s as enchanting as it is delicious—Vampire Bread! Imagine slicing into a loaf that boasts deep, swirled colors of red and black, instantly capturing the spirit of the season. The moment it emerges from the oven, the warm aroma lures everyone to the kitchen, and the fluffy texture promises a heavenly bite.
What’s even more thrilling is how effortlessly this bread pairs with everything from spooky spreads to your favorite soups, making it a versatile addition to any Halloween gathering. Plus, it’s a low-fat, vegetarian treat that the whole family will adore—no garlic involved! So, ready your baking pans and get ready to impress your guests with this surprisingly easy, show-stopping creation. Let’s dive into the steps to conjure up this spooktacular delight!
Why is Vampire Bread Perfect for Halloween?
Captivating Colors: The stunning red and black swirl creates an eye-catching loaf that’s sure to be the star of your Halloween table.
Wholesome Goodness: Made with simple, wholesome ingredients, this bread is low in fat and vegetarian.
Kid-Friendly Appeal: Its playful appearance makes it appealing to kids, turning mealtime into a fun, spooky experience.
Versatile Delight: Perfectly pairs with eerie spreads like black bean hummus or your favorite soup, adding festivity to any dish!
Easy to Make: With straightforward steps, even novice bakers can whip up this enchanting treat—no culinary magic required!
For more festive ideas, check out our post on Halloween-themed recipes.
Vampire Bread Ingredients
For the Dough
• All-purpose flour – This provides the structure and texture; opt for whole wheat for added nutrients.
• Baking powder – A key leavening agent; ensure it’s fresh for the best rise.
• Salt – Enhances the bread’s flavor; substitute with sea salt for a unique taste.
• Sugar – Brings a hint of sweetness; consider honey or maple syrup for a natural option.
• Milk or plant-based milk – Adds moisture; almond milk or oat milk works wonderfully here.
• Butter or vegan alternative – Contributes moisture and taste; use coconut oil for a dairy-free version.
• Food coloring (red and black) – Creates the spooky appearance; gel colorings yield the most vibrant hues.
For a delightful Halloween treat, this Vampire Bread is perfect for any gathering!
How to Make Vampire Bread
-
Prepare the Dough: In a large bowl, combine all-purpose flour, baking powder, salt, and sugar. Mix well until no lumps remain—this is your dry base for a fluffy texture.
-
Add Wet Ingredients: Pour in the milk and melted butter (or vegan alternative). Stir until the mixture is smooth and well combined, creating a rich, creamy dough.
-
Color the Dough: Divide the dough into two even portions. Color one half with red food coloring and the other with black, mixing well for vibrant colors.
-
Swirl the Dough: Gently knead the colored doughs together, allowing them to swirl without fully blending. Aim for a marbled effect that captures the Halloween spirit.
-
Shape and Rest: Form the dough into a loaf shape, tucking the ends under for a nice finish. Let it rest for 2.5 hours to rise; this helps create fluffiness.
-
Bake: Preheat your oven to 350°F (175°C). Bake the loaf for approximately 30 minutes, until it’s golden brown and a skewer inserted comes out clean.
-
Cool and Slice: Allow the bread to cool for a few minutes on a wire rack. Once slightly cool, slice and serve to enjoy that fluffy, spooky wonder!
Optional: Serve with a spread of black bean hummus for a creepy twist!
Exact quantities are listed in the recipe card below.
How to Store and Freeze Vampire Bread
Room Temperature: Store your Vampire Bread in a cool, dry place wrapped in a kitchen towel or parchment paper for up to 3 days to keep it fresh.
Fridge: For extended freshness, place the bread in an airtight container and refrigerate it for up to a week. Reheat gently in the toaster or oven to restore its texture.
Freezer: Slice the bread and wrap each piece tightly in plastic wrap and aluminum foil before freezing for up to 3 months. This preserves the delightful flavors of your Vampire Bread.
Reheating: To enjoy a slice of the bread after freezing, simply toast it directly from frozen or warm it in the oven for a few minutes to regain its fluffiness!
Make Ahead Options
These delightful Vampire Bread loaves are perfect for busy home cooks looking to save time during Halloween preparations! You can prepare the dough up to 24 hours in advance by following the initial steps—combine the dry ingredients and incorporate the wet ingredients, then color the dough. Cover it tightly with plastic wrap and refrigerate to maintain its fluffiness. When it’s time to bake, simply remove the dough from the fridge, let it rest for about 30 minutes to come to room temperature, then swirl and shape it before the final rise. This ensures your Vampire Bread comes out just as delicious, ready to impress with minimal effort!
Expert Tips for Vampire Bread
-
Fresh Ingredients: Ensure your baking powder is active; expired leavening agents can lead to a dense loaf instead of the fluffy texture you want in your Vampire Bread.
-
Gentle Kneading: Knead the colored dough carefully to maintain the vibrant swirls. Overmixing will blend the colors too much, losing that striking, marbled effect.
-
Consistency Control: If your dough feels too sticky while preparing, add small amounts of flour gradually until you reach the perfect balance—sticky dough can lead to uneven baking.
-
Cooling Time: Patience is key! Allow the bread to cool before slicing to maintain its structure and ensure clean, perfect slices that showcase its spooky appearance.
-
Color Tips: For a bolder look, use gel food coloring, especially for the black hue, as it provides a more vivid result compared to liquid coloring.
Vampire Bread Variations
Feel free to sprinkle your own magic into this recipe with these imaginative twists!
-
Colorful Swaps: Experiment with other Halloween hues, like vibrant orange or spooky green, for a festive touch.
-
Gluten-Free Option: Replace all-purpose flour with a gluten-free blend to cater to dietary restrictions, ensuring everyone can enjoy this treat.
-
Sweet Spice: Add a dash of cinnamon or nutmeg to the dough for a warm autumn flavor that’ll make it even more inviting.
-
Cheesy Delight: Fold in shredded cheese before baking for a savory surprise and a delightful cheesy pull in every slice.
-
Herbed Infusion: Incorporate fresh herbs, like rosemary or thyme, into the dough for an elevated flavor profile that balances sweetness and savory.
-
Dairy-Free Twist: Use coconut yogurt or a nut-based alternative in place of butter for a light, creamy texture that’s completely plant-based.
-
Sweet Add-ins: Enhance the dough with mini chocolate chips or dried cranberries for bursts of sweetness that pair beautifully with the bread’s flavor.
-
Spicy Kick: Add a pinch of cayenne pepper or crushed red pepper flakes for those who enjoy a bit of heat in their Halloween fare.
What to Serve with Vampire Bread?
Elevate your Halloween feasts with delicious pairings that highlight the playful charm of this spooktacular loaf.
-
Black Bean Hummus: A spooky dip that complements the flavors and adds a creamy texture to each slice. Serve it with a garnish of olive oil and paprika for extra flair.
-
Pumpkin Soup: This hearty and warming option enhances the sweet notes of Vampire Bread while keeping the Halloween spirit alive—perfect for a chilly night!
-
Creepy Cheese Platter: Mix eerie cheeses like brie and blue with dark fruits like figs for a visually intriguing and flavorful pairing that intrigues the senses.
-
Garlic Herb Butter: Spread a touch of this buttery concoction over warm slices to elevate the taste experience, providing a comforting balance to the sweet bread.
-
Spooky Salad: Toss together dark leafy greens with a pop of orange from roasted pumpkin seeds, adding both color and texture that perfectly matches the bread’s aesthetic.
-
Chilled Apple Cider: A delightful drink that captures the essence of fall, providing a crisp, sweet contrast to the fluffy loaf with every sip.
These ideas ensure your Vampire Bread shines as the star of your Halloween gathering while creating a memorable meal for family and friends!
Vampire Bread Recipe FAQs
What type of flour is best for Vampire Bread?
I recommend using all-purpose flour as it provides the best texture and structure for the bread. However, if you’re looking for a healthier option, whole wheat flour can be substituted for added nutrition and a nutty flavor. Just keep in mind that it may slightly alter the texture and rise.
How should I store leftover Vampire Bread?
To keep your Vampire Bread fresh, store it wrapped in a kitchen towel or parchment paper at room temperature for up to 3 days. If you’d like to extend its shelf life, place it in an airtight container and store it in the refrigerator for up to a week. Reheat gently for the best results!
Can I freeze Vampire Bread?
Absolutely! For freezing, slice the bread first, then wrap each piece tightly in plastic wrap followed by aluminum foil. You can store the wrapped slices in the freezer for up to 3 months. When you’re ready to enjoy a slice, you can toast it directly from frozen or warm it in the oven for a few minutes to restore its delightful fluffiness.
What if my dough is too sticky?
If your dough feels too sticky while kneading, don’t worry! Gradually incorporate small amounts of flour—1 tablespoon at a time—until you achieve a manageable consistency. It’s crucial to find the right balance to avoid a dense loaf. Remember, the goal is a dough that holds together but isn’t too dry.
Is Vampire Bread safe for kids with allergies?
This recipe is vegetarian and low in fat, making it a kid-friendly option. However, if you’re catering to specific allergies, consider substituting ingredients. For example, use gluten-free flour for a gluten-free version, or opt for a dairy-free milk and butter substitute if lactose intolerance is a concern. Always double-check labels for any allergen information!
How do I get vibrant colors in my Vampire Bread?
To achieve those eye-catching, spooky colors, I suggest using gel food colors as they provide a more intense hue than liquid dyes. Mix the coloring in thoroughly to ensure even coloration throughout the dough. For the best results, start with a small amount and gradually add more until you reach your desired brightness!
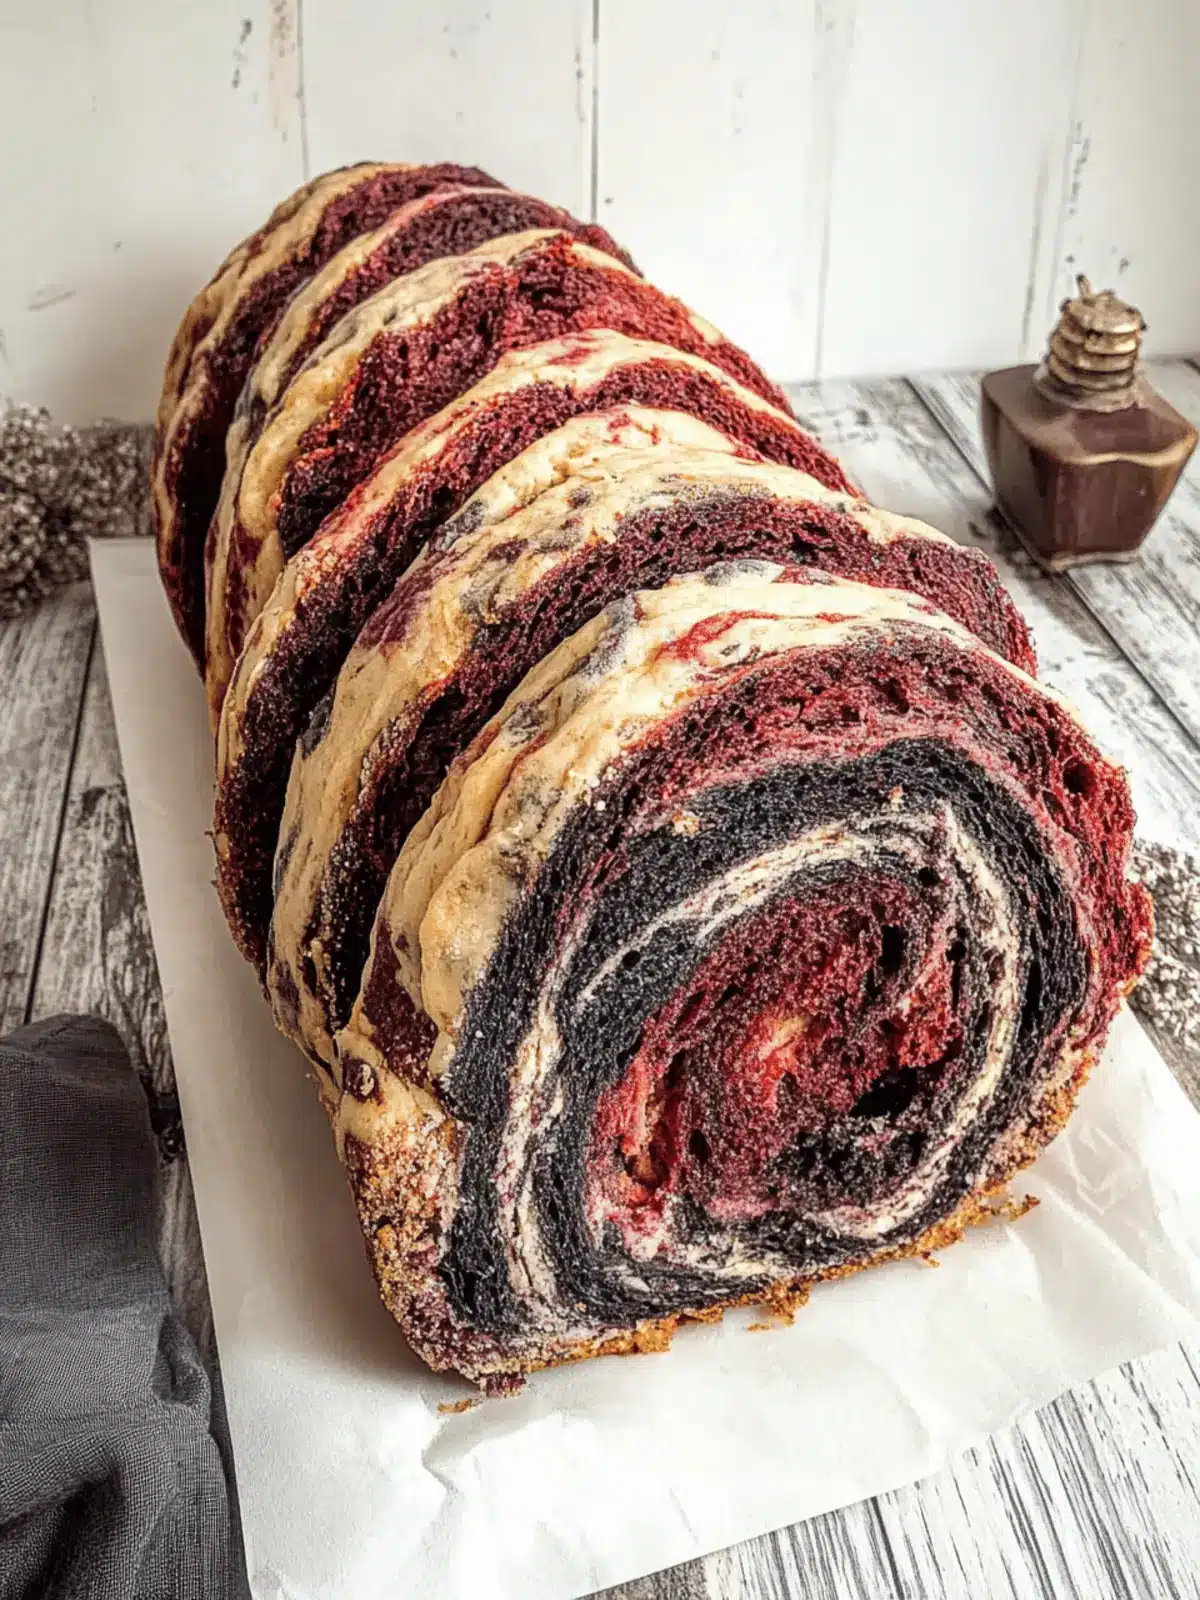
Vampire Bread: A Wholesome Treat That’s Spookily Delicious
Ingredients
Equipment
Method
- In a large bowl, combine all-purpose flour, baking powder, salt, and sugar. Mix well until no lumps remain.
- Pour in the milk and melted butter (or vegan alternative). Stir until the mixture is smooth and well combined.
- Divide the dough into two even portions. Color one half with red food coloring and the other with black.
- Gently knead the colored doughs together, allowing them to swirl without fully blending.
- Form the dough into a loaf shape, tucking the ends under. Let it rest for 2.5 hours to rise.
- Preheat your oven to 350°F (175°C). Bake the loaf for approximately 30 minutes, until golden brown.
- Allow the bread to cool for a few minutes on a wire rack. Once slightly cool, slice and serve.

