
As Halloween approaches, the excitement for spooky treats fills the air, and I can’t help but reminisce about a time when my friends and I gathered for frightful fun. One of the highlights was always the food, particularly the memorable Zombie Brain Dirt Cups that wowed everyone. Their eerie appearance and delicious strawberry flavor made them a crowd-pleaser, and the best part? They’re incredibly easy to whip up!
With just a handful of simple ingredients, including creamy strawberry pudding swirled with raspberry jam, you’ll create a visually stunning dessert that is guaranteed to spark conversations—especially once those delightful gummy brain candies are perched on top. Ideal for gatherings or a fun family project, these cups combine the thrill of Halloween with playful culinary creativity. So, gather your ingredients, and let’s dive into a recipe that will not only satisfy your cravings but also bring a bit of frightful delight to your next gathering!
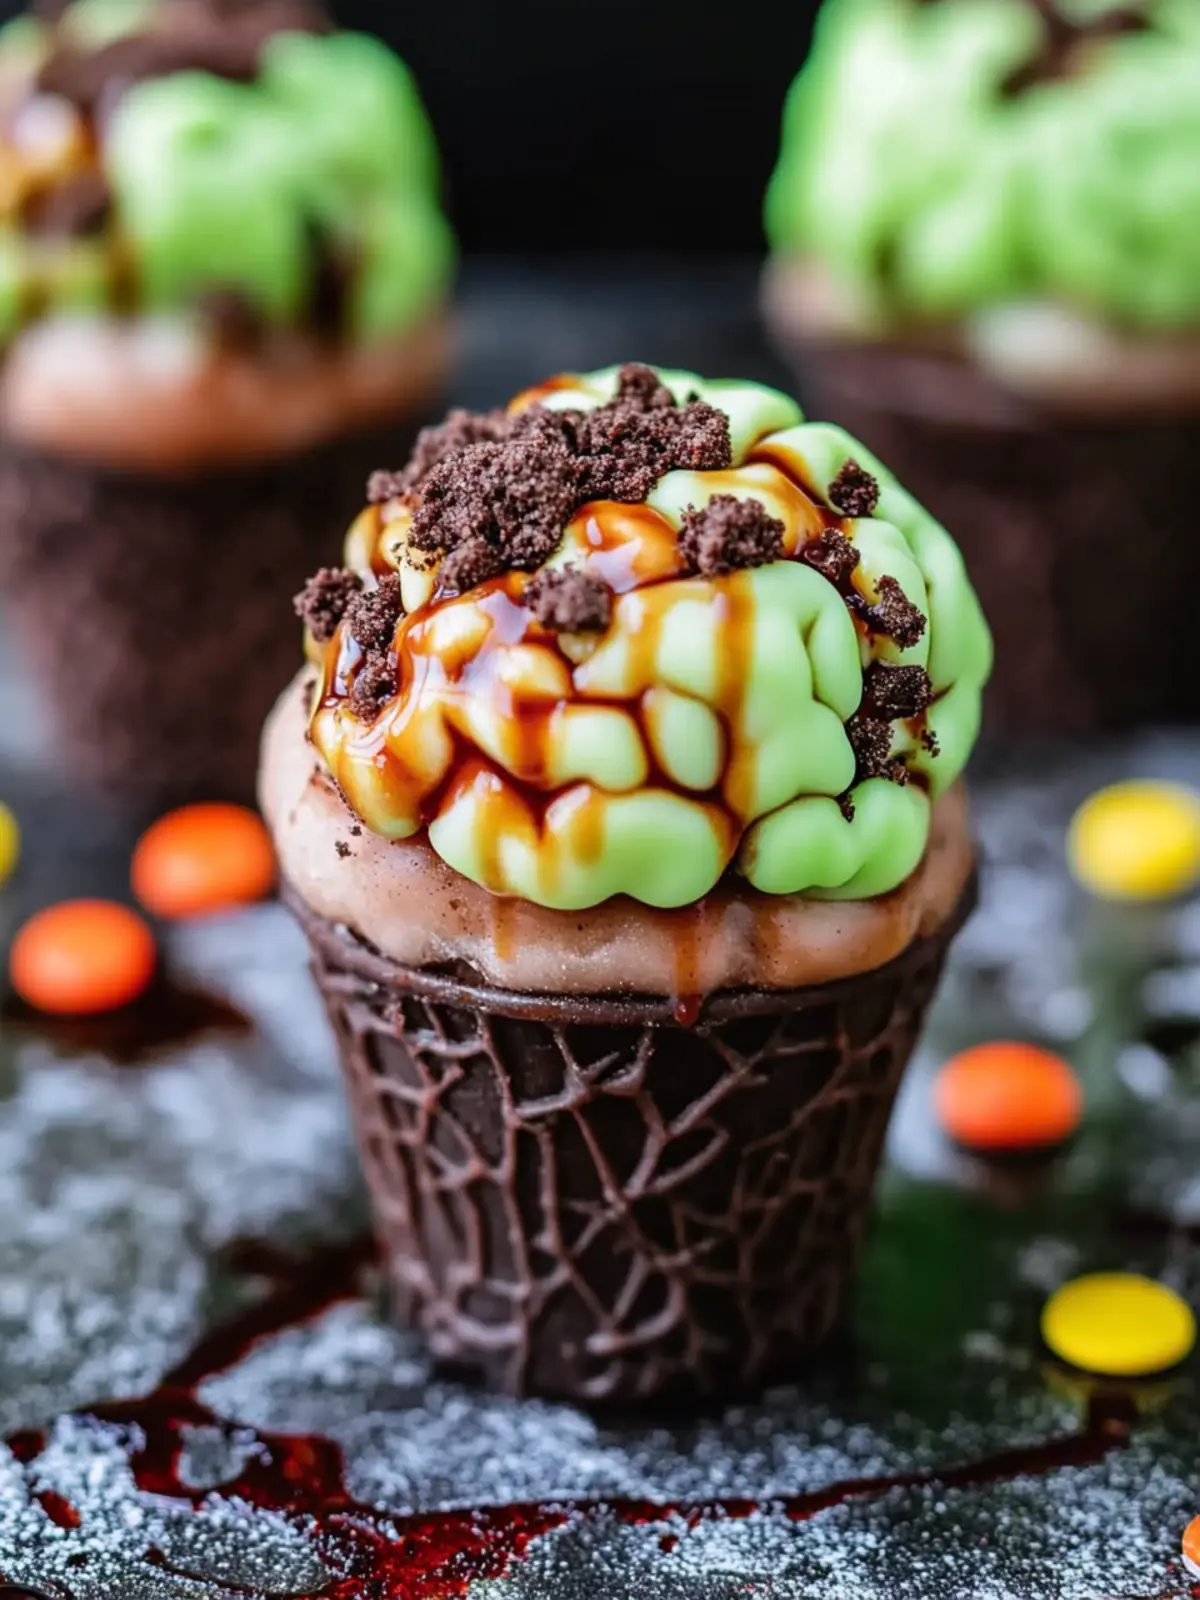
Why are Zombie Brain Dirt Cups a must-try?
Halloween Fun: These treats add a spooky twist to any Halloween gathering, delighting kids and adults alike.
Easy to Make: With minimal effort, you can create a dessert that looks dramatically intricate!
Colorful Appeal: The vibrant pink pudding swirled with raspberry jam is visually exciting, spark intrigue and laughter.
Versatile Serving: Perfect for parties, school events, or family nights—everyone loves a fun dessert!
Memorable Impressions: Watch guests’ faces light up when they see and taste these creepy cups, making your gathering unforgettable.
Create memorable moments as you make these delicious cups, perfect for impressing friends and family!
Zombie Brain Dirt Cups Ingredients
For the Pudding
• Strawberry instant pudding – this base provides a creamy and sweet flavor that pairs perfectly with the spooky theme.
• Cold milk – use whole or 2% milk for a richer, creamier consistency in your pudding.
• Pink food coloring – adds an eerie, brain-like hue essential for the themed look.
For the Swirl
• Raspberry jam – this fruity spread not only adds flavor but creates a beautifully marbled effect reminiscent of veined brains.
For the Dirt Topping
• Chocolate sandwich cookies – crush these to create a “dirt” layer that adds texture and a delightful chocolate flavor contrast.
For the Finishing Touch
• Gummy brain candies – these playful candies are a fun surprise and tie the theme together perfectly.
• Clear cups – showcasing the layers is key, making clear cups the perfect choice for serving these creepy delights!
With these ingredients ready, you’re all set to bring your Zombie Brain Dirt Cups to life!
How to Make Zombie Brain Dirt Cups
-
Prepare the pudding: In a large bowl, whisk together the strawberry instant pudding and cold milk until well combined, about 2 minutes. Add a few drops of pink food coloring and mix until you achieve a brain-like hue.
-
Add the swirl: Carefully drizzle the raspberry jam into the pudding mixture. Gently swirl it in to create a marbled effect, but avoid overmixing to preserve those beautiful veins, just like in a real brain.
-
Chill until set: Cover the bowl with plastic wrap and place it in the refrigerator. Allow the pudding to chill for at least 30 minutes or until it’s firmly set.
-
Crush the cookies: While the pudding sets, place the chocolate sandwich cookies in a zip-top bag and crush them into fine crumbs. This “dirt” topping adds texture and a delightful crunch to your cups.
-
Layer the pudding: Once the pudding is set, take clear cups and begin layering the marbled pudding mixture into them. Fill each cup about halfway, showcasing the beautiful swirls.
-
Sprinkle with crumbs: Generously sprinkle the crushed cookie crumbs on top of the pudding layer. This will create a lovely “dirt” surface for your creepy creations.
-
Top with gummy brains: Finish off each cup with a gummy brain candy, placing it right in the center. This playful touch is sure to steal the show!
-
Serve with a smile: Present your Zombie Brain Dirt Cups to your guests, and watch their faces light up with excitement and surprise. They’ll never forget this spooky treat!
Optional: Garnish with extra raspberry jam drizzles for an even more gruesome effect!
Exact quantities are listed in the recipe card below.
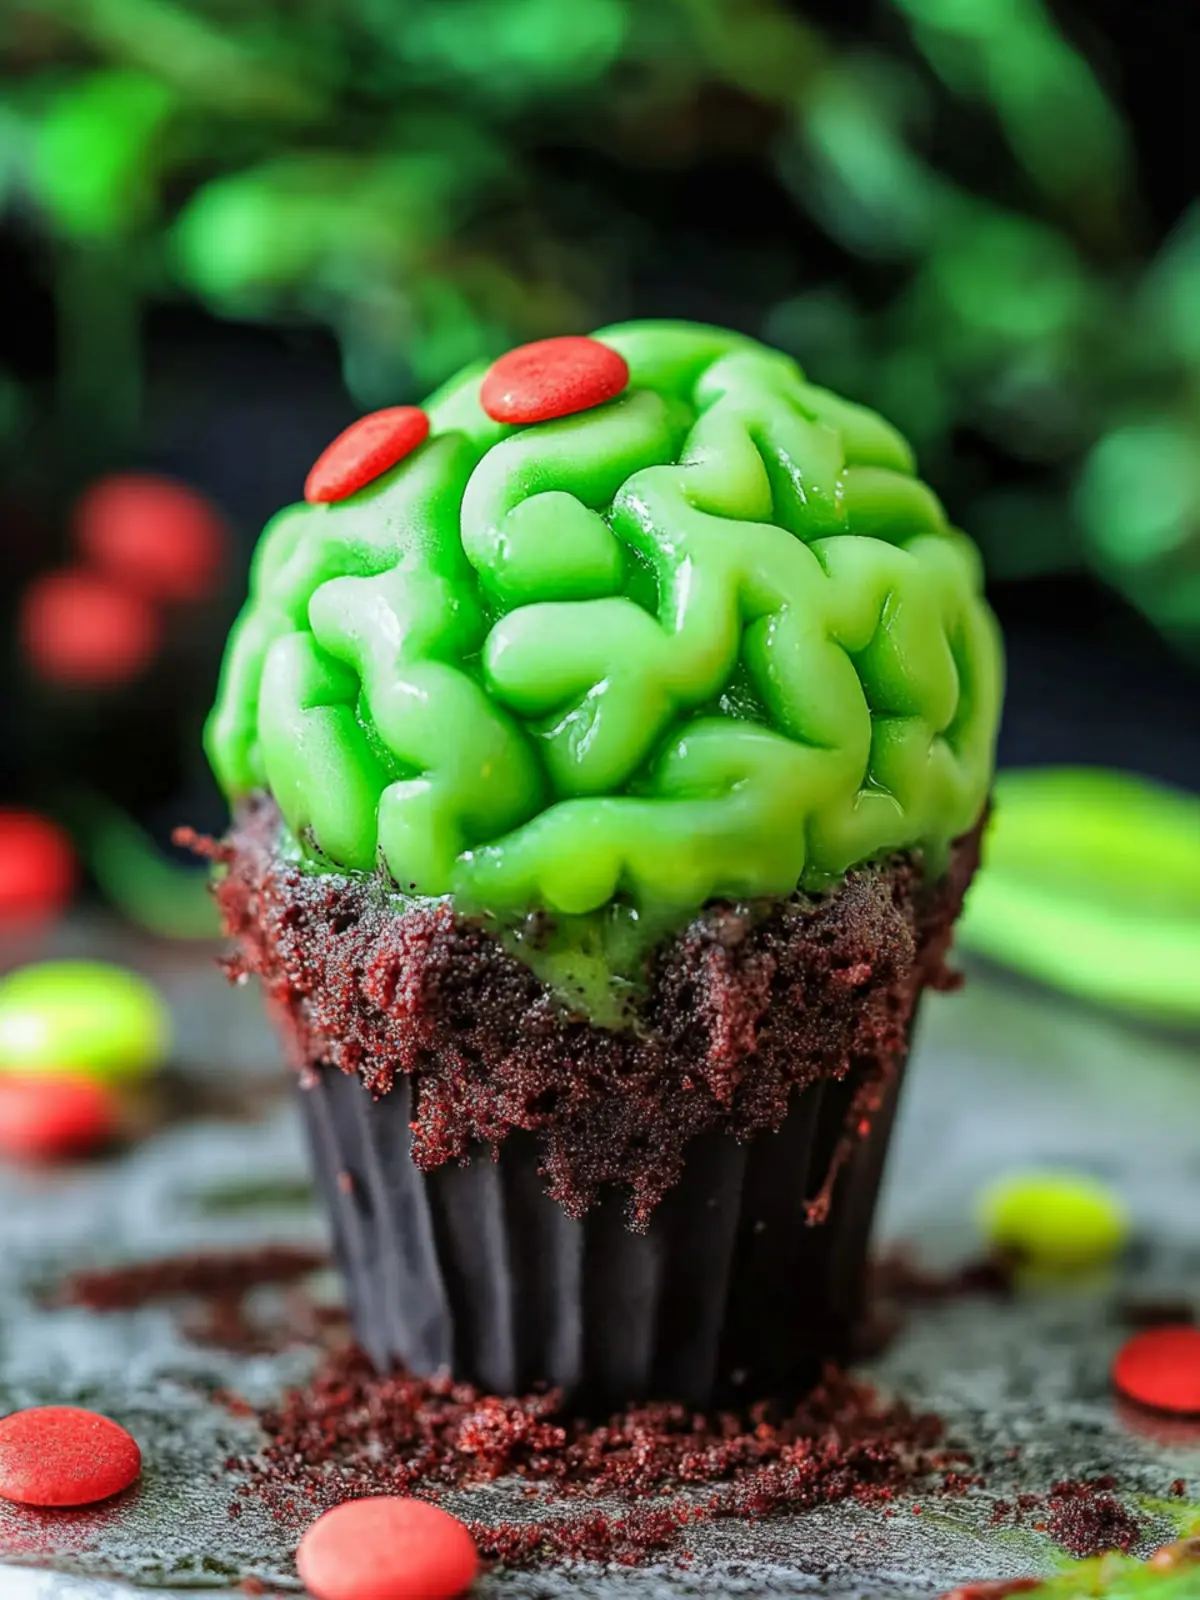
What to Serve with Zombie Brain Dirt Cups?
Elevate your spooky gathering with delightful accompaniments that will tie your creepy theme together.
-
Witch’s Brew Punch: A fizzy, fruity drink that adds a fun and refreshing element to your Halloween party. Consider adding floating gummy worms for an extra fright!
-
Ghostly Mini Sandwiches: Cream cheese and cucumber finger sandwiches cut into spooky shapes make a savory contrast to the sweetness of the cups. They’re finger-friendly and fun!
-
Creepy Veggie Platter: Carve out bell peppers to create jack-o’-lantern faces and pair them with a tangy dip. This fresh, crunchy option balances the dessert’s sweetness while keeping the theme alive.
-
Spooky Cheese Board: Include a variety of cheeses, crackers, and cured meats arranged in a ghostly shape—perfect for a sophisticated touch among the spooky treats.
-
Chocolate Cauldron Cake: A rich, gooey chocolate cake, perhaps with a melting center, creates a delightful experience for guests. Its deep chocolate flavor beautifully complements the strawberry sweetness of the dirt cups.
-
Halloween Fruit Skewers: Thread assorted fruits like grapes, strawberries, and melon balls onto skewers, and add a splash of fun with edible eyes for a quirky touch!
-
Bloody Berry Sauce: Drizzle a tart fruit sauce over the cups or alongside for an additional flavor experience, reminiscent of Halloween’s spookiness.
-
Creepy Cupcake Cones: Ice cream cone cupcakes with ghastly decorations are a nostalgic twist. They offer a playful, interactive dessert for guests to enjoy while mingling!
With these pairings, your Halloween feast will be a spook-tacular success that guests will never forget!
Make Ahead Options
These Zombie Brain Dirt Cups are perfect for time-strapped cooks looking to enjoy festive fun without the last-minute rush! To prep ahead, you can make the strawberry pudding mixture and add pink food coloring up to 24 hours in advance—just remember to cover it tightly to maintain its creamy texture and vibrant color. Additionally, you can crush the chocolate sandwich cookies for the dirt topping and store them in an airtight container for up to 3 days to preserve their crunch. When it’s time to serve, simply layer the pudding into clear cups, sprinkle with cookie crumbs, and top them off with gummy brain candies for a delightful spooky treat that’s just as delicious as if you had made them fresh!
How to Store and Freeze Zombie Brain Dirt Cups
Fridge: Store uneaten Zombie Brain Dirt Cups in an airtight container in the refrigerator for up to 3 days. This keeps them fresh and ready for a quick sweet fix!
Freezer: While it’s best to enjoy these cups fresh, you can freeze the pudding mixture (without the toppings) in airtight containers for up to 1 month. Thaw in the fridge before assembling.
Reheating: If you’ve added any toppings or want to serve them warm, simply remove them before microwaving the pudding mixture for about 20 seconds. Reassemble and enjoy!
Wrapping: To maintain the integrity of the layers, cover the cups with plastic wrap if they are stored separately or keep them sealed until serving.
Expert Tips for Zombie Brain Dirt Cups
-
Perfect Pudding: Make sure to whisk the pudding vigorously for a smooth, lump-free consistency. This ensures a delightful texture in your Zombie Brain Dirt Cups.
-
Avoid Overmixing: When swirling in the raspberry jam, be gentle! Overmixing can muddy the beautiful marbling you want for that brain effect.
-
Chill Time: Don’t rush the chilling process. Allow at least 30 minutes for the pudding to set properly before layering in cups, ensuring a perfect shape.
-
Cookie Crumbs: For best results, use a food processor to crush chocolate sandwich cookies into fine crumbs. This provides an even “dirt” layer on your cups.
-
Fun Garnishing: Get creative! Add an extra drizzle of raspberry jam on top of each cup for a gruesome look that enhances both flavor and presentation.
-
Serving Size: Use smaller clear cups for portion control; they’re perfect for parties and allow guests to try multiple spooky treats without overindulging.
Zombie Brain Dirt Cups Variations
Feel free to get creative—these spooky treats can easily be tailored to suit your taste and dietary needs!
- Dairy-Free: Substitute regular milk with almond or coconut milk, and use dairy-free pudding mix for a creamy, vegan-friendly version.
- Fruit Swirl: Replace raspberry jam with blueberry or strawberry jam for a fruity flavor twist that still looks festive and fun!
- Chocolate Pudding: Swap the strawberry pudding for chocolate instant pudding for a darker, more decadent treat that will entice chocoholics.
- Crunchy Toppings: Add crushed nuts or granola on top for an extra layer of crunch—great for adding texture and surprise to every bite!
- Gummy Alternative: Use gummy worms or spooky-shaped candies instead of gummy brains for a different creepy effect; kids will love the surprise!
- Spicy Twist: Mix in a dash of cinnamon or cayenne pepper to the cookie crumbs for a surprising heat that will tingle the taste buds!
- Healthier Option: For a lighter take, you can use Greek yogurt instead of pudding. It adds protein without compromising the delicious flavor!
- Layered Parfaits: Create a more elaborate dessert by layering homemade whipped cream, fresh fruit, and other toppings to enhance both flavor and presentation.
Embrace your culinary creativity while crafting these delightfully eerie Zombie Brain Dirt Cups!
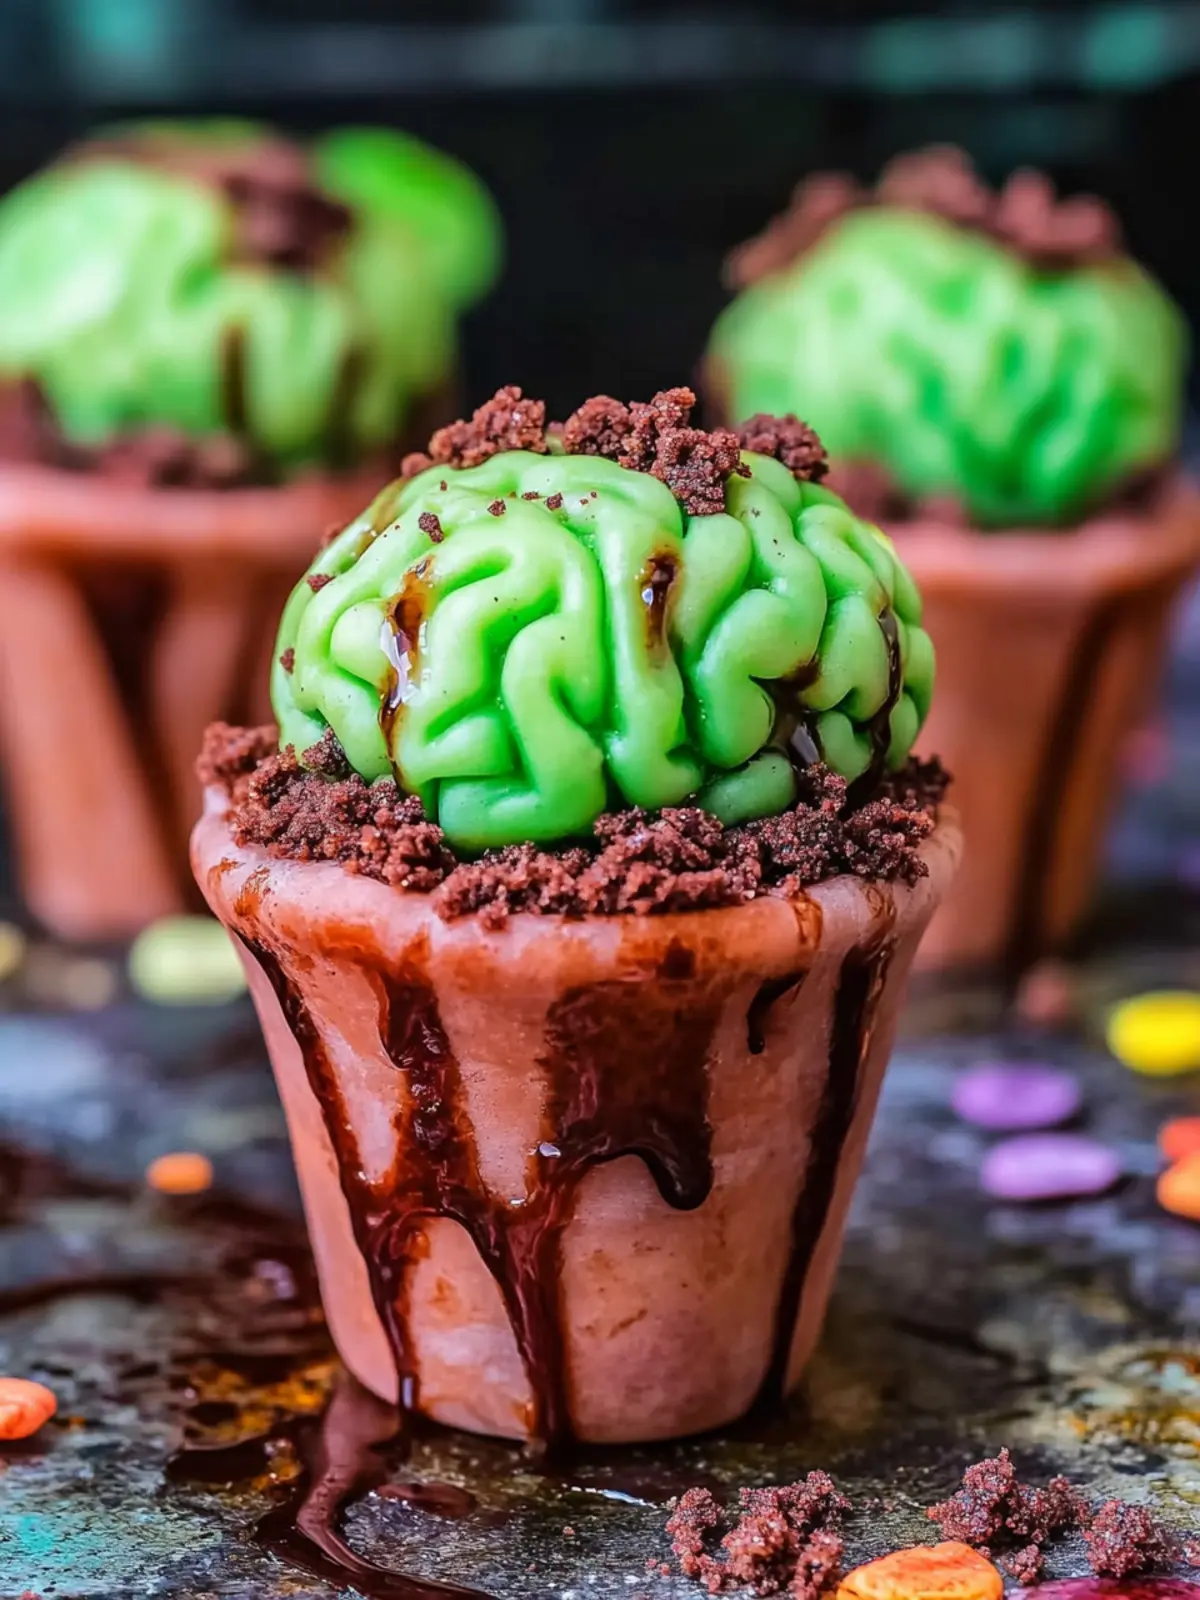
Zombie Brain Dirt Cups Recipe FAQs
What type of milk should I use for the pudding?
I recommend using whole or 2% milk for a richer and creamier texture in your pudding. The milk will blend seamlessly with the strawberry pudding mix, resulting in a delightful mouthfeel that is essential for these treats!
How long can I store Zombie Brain Dirt Cups in the refrigerator?
You can keep any uneaten Zombie Brain Dirt Cups stored in an airtight container in your refrigerator for up to 3 days. This ensures they stay fresh, delicious, and ready for you to enjoy during those spooky sweet cravings!
Can I freeze the pudding for later use?
Absolutely! You can freeze the pudding mixture (without the toppings) in airtight containers for up to 1 month. When you’re ready to enjoy, simply thaw the pudding overnight in the refrigerator. Once it’s fully thawed, layer it in cups with your dirt topping and gummy brains.
What should I do if my pudding doesn’t set properly?
If your pudding doesn’t seem to set after chilling, make sure to check that you followed the instructions for mixing the pudding powder and milk correctly. It’s crucial to whisk vigorously for at least 2 minutes until it thickens. If you’ve done that and it still isn’t firming up, try letting it chill for another 15-20 minutes in the fridge to achieve the perfect consistency.
Are there any dietary considerations for pets or allergies?
Yes, when serving Zombie Brain Dirt Cups, be cautious about common allergens. The pudding contains dairy, and gummy candies may include gelatin or other allergens. Always check labels if serving to someone with allergies, especially if you plan to share with furry friends—these treats are definitely not for pets!
Can I use other flavors for the pudding?
While the strawberry instant pudding is key to achieving that iconic brain color and taste, feel free to experiment! Vanilla or banana pudding could work as alternatives. Just be sure to add some pink food coloring and follow the same steps for swirling in the raspberry jam for that spooky effect!
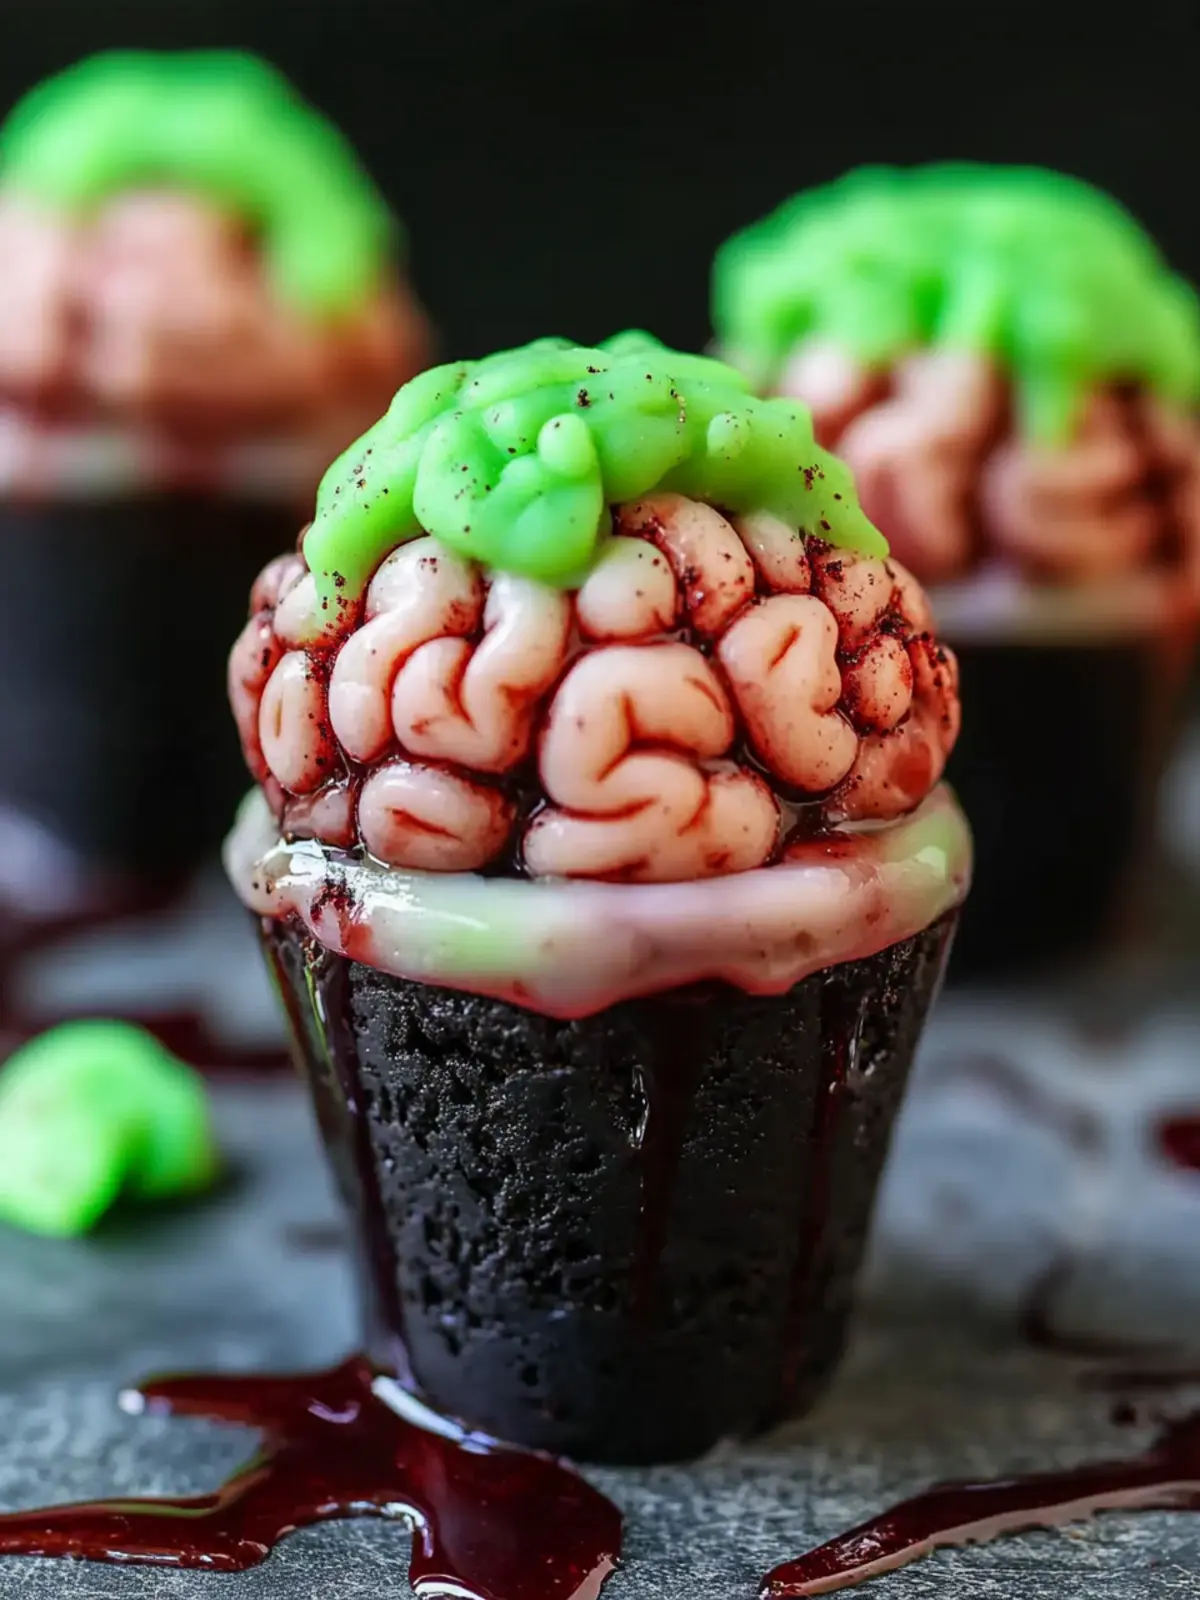
Zombie Brain Dirt Cups That Will Thrill Your Halloween Bash
Ingredients
Equipment
Method
- In a large bowl, whisk together the strawberry instant pudding and cold milk until well combined, about 2 minutes. Add a few drops of pink food coloring and mix until you achieve a brain-like hue.
- Carefully drizzle the raspberry jam into the pudding mixture. Gently swirl it in to create a marbled effect, but avoid overmixing.
- Cover the bowl with plastic wrap and place it in the refrigerator. Allow the pudding to chill for at least 30 minutes or until it’s firmly set.
- Place the chocolate sandwich cookies in a zip-top bag and crush them into fine crumbs.
- Once the pudding is set, take clear cups and begin layering the pudding mixture into them, filling each cup about halfway.
- Generously sprinkle the crushed cookie crumbs on top of the pudding layer.
- Finish off each cup with a gummy brain candy, placing it right in the center.
- Present your Zombie Brain Dirt Cups to your guests and enjoy their excited reactions!