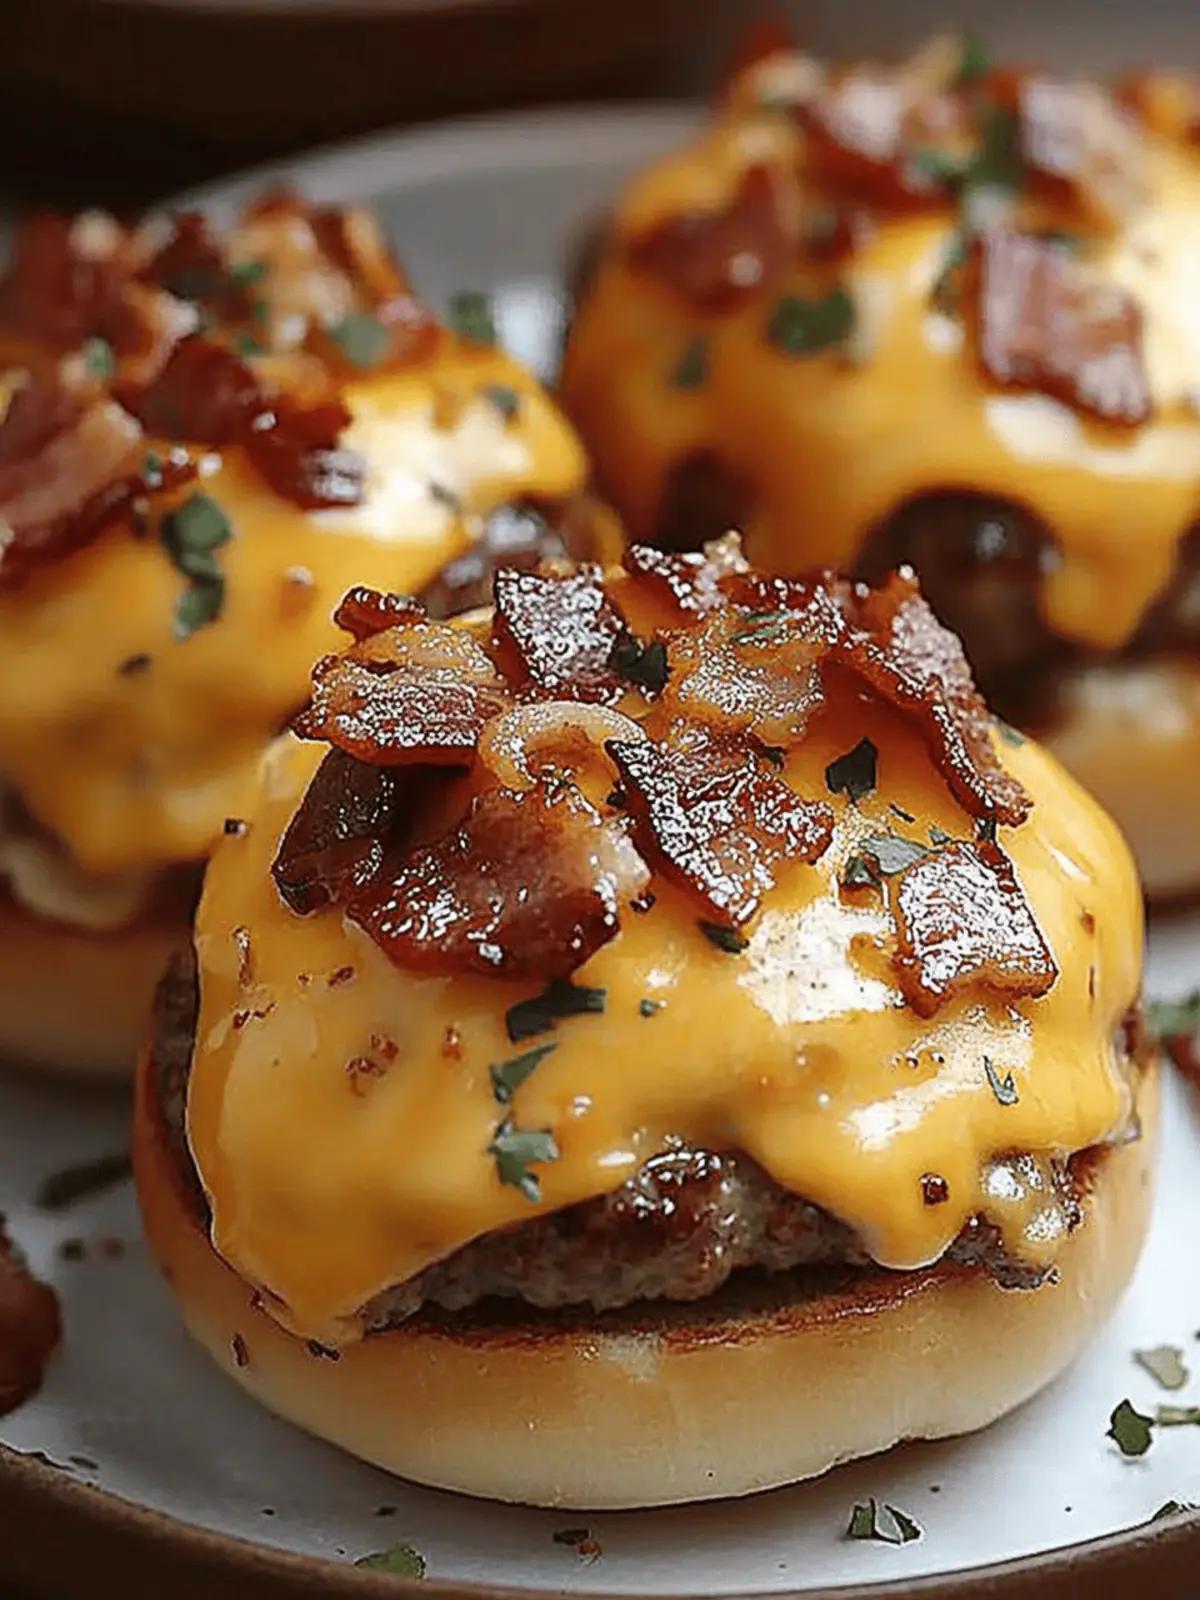
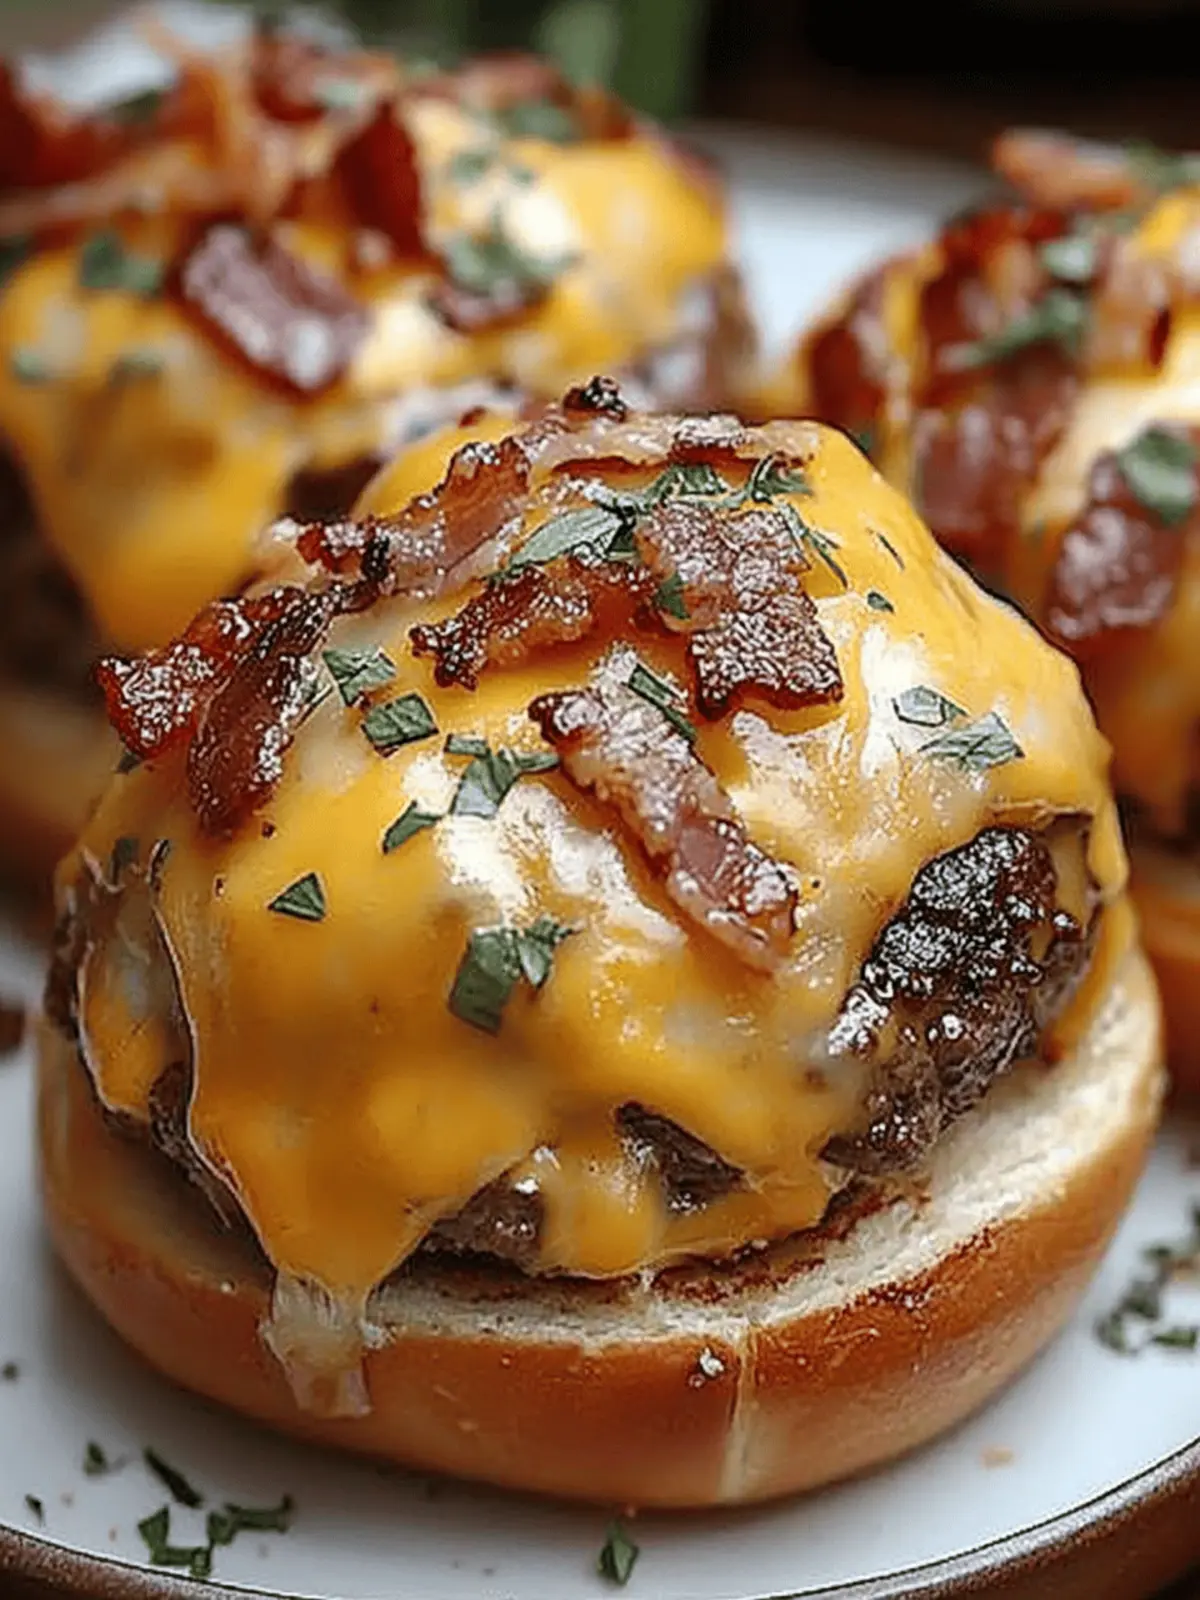
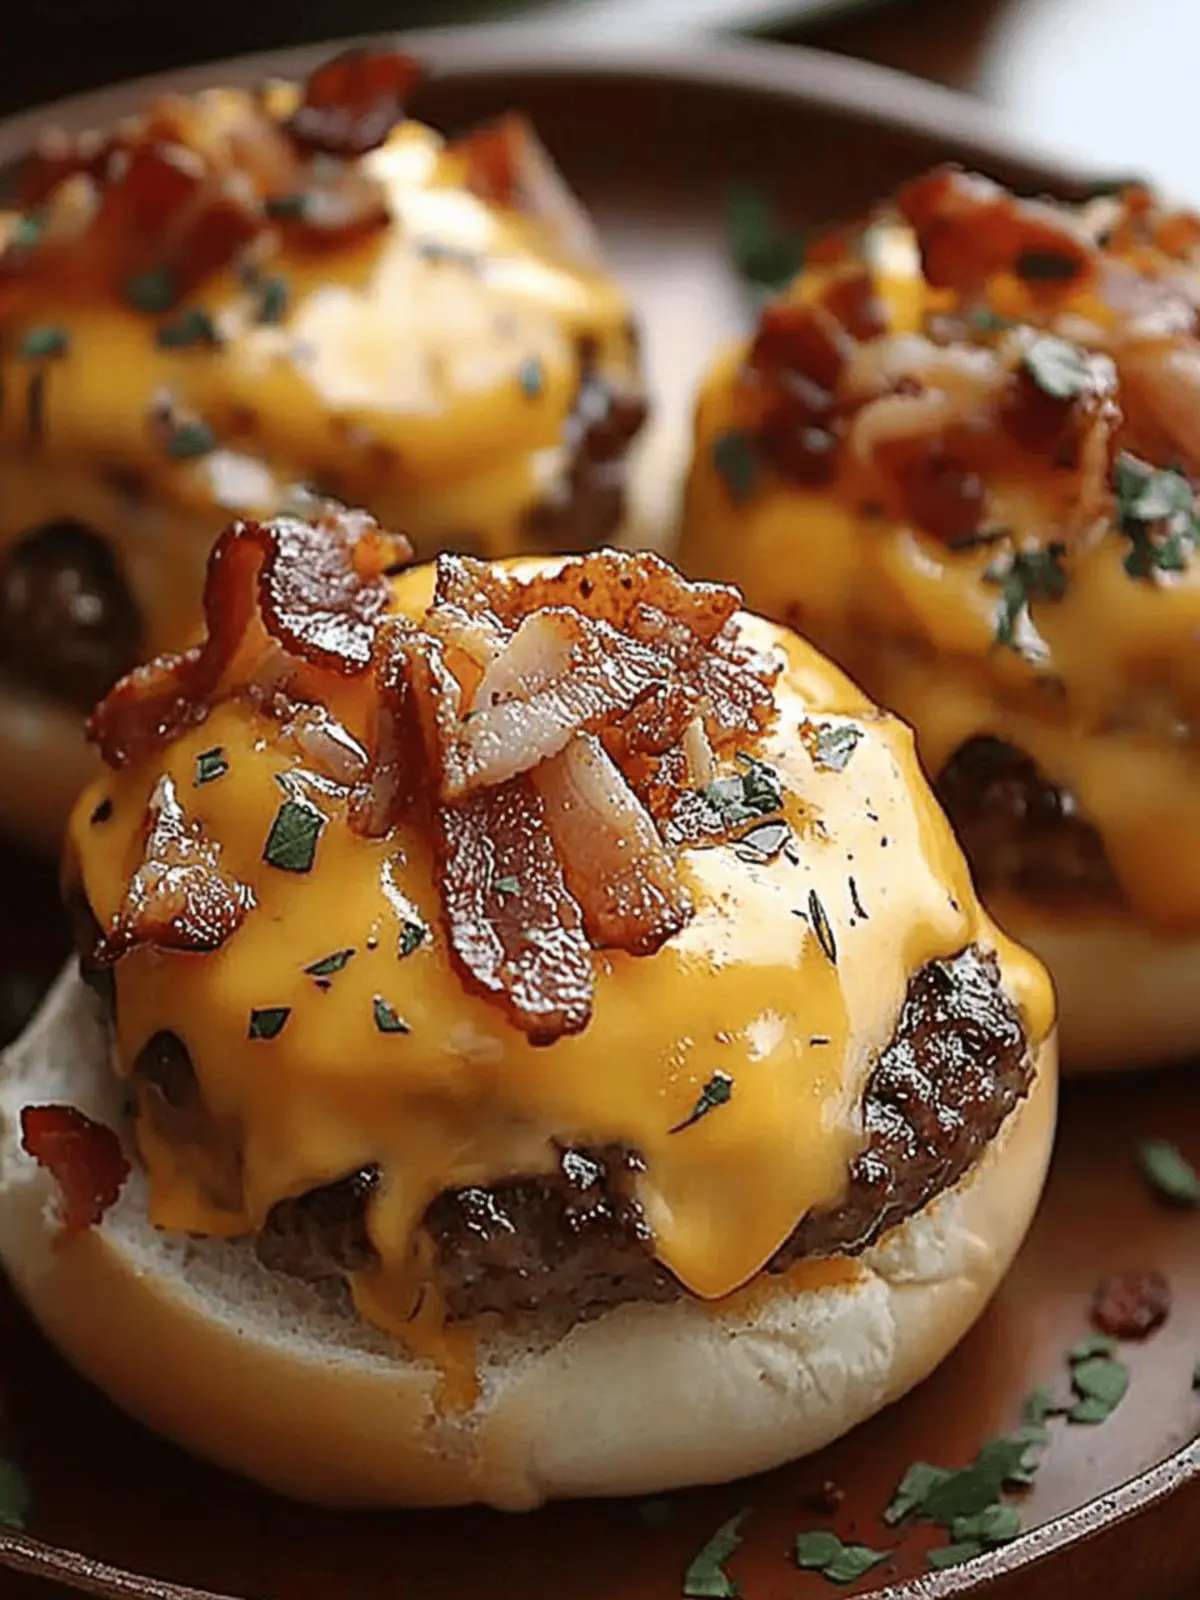
There’s something thrilling about the first bite of a juicy cheeseburger, and I’ve found a way to capture that delight in a bite-sized treat: Crispy Bacon Cheeseburger Bombs! Picture this: a flaky, golden crust cradling a savory blend of seasoned beef, crispy bacon, and melty cheddar cheese. Each bomb delivers a burst of flavor that’s bound to impress at your next tailgate or family gathering.
The best part? These little treasures are incredibly customizable, allowing you to swap in your favorite ingredients or add your unique twist. Whether you choose to keep things classic or spice it up with some jalapeños or tangy pickles, these bombs are the perfect solution for anyone looking to shake up their snack game. Ready to turn your kitchen into a flavor-packed haven? Let’s dive into this delicious recipe!
Why Are These Bacon Cheeseburger Bombs Irresistible?
Flavor Explosion: The medley of crispy bacon and gooey cheddar in every bite creates a delightful taste sensation that you’ll crave again and again.
Customizable Goodness: Feel free to personalize your bombs with different meats or cheese, making them perfect for everyone’s palate.
Quick & Easy: With just a handful of ingredients and straightforward assembly, you can whip up these treats in no time, perfect for last-minute parties.
Crowd-Pleasing Snack: Ideal for game day or family gatherings, these delicious bites are sure to wow your guests and keep them coming back for more.
Make-Ahead Friendly: Prep them in advance for stress-free entertaining; just freeze, then bake whenever you want a warm, cheesy treat!
Bacon Cheeseburger Bombs Ingredients
For the Filling
- Ground Beef – The hearty base providing flavor and juiciness; use an 80/20 fat ratio for optimal taste.
- Bacon – Adds a smoky, crispy texture that enhances richness; cook until crispy for best results.
- Worcestershire Sauce – Infuses umami depth into the beef mixture, enriching the flavor profile.
- Garlic Powder – Provides aromatic flavor without the hassle of fresh garlic, making it convenient.
- Onion Powder – Adds sweetness and savory notes, enhancing the overall flavor of the filling.
- Salt – Essential for seasoning and enhancing all flavors, ensuring each bite is tasty.
- Black Pepper – Adds warmth and a touch of heat, complementing the other ingredients.
- Ketchup – Introduces sweetness and acidity, balancing flavors in the filling nicely.
- Mustard – Offers an earthy flavor that contrasts with the sweetness of ketchup for complexity.
For the Dough
- Refrigerated Biscuits – Serves as the dough, making assembly incredibly quick and easy.
For the Cheese
- Shredded Cheddar – Gives that classic cheeseburger melty goodness; choose sharp for more flavor.
- Parmesan Cheese (optional) – Adds an extra layer of savory flavor if you’re looking for a twist.
For Finishing Touches
- Egg – Used for the egg wash to achieve a golden-brown finish when baked.
- Water – Mixed with egg for the egg wash to create a nice, glossy surface.
- Chopped Parsley (for garnish) – Aesthetic garnish to enhance presentation and a hint of freshness.
How to Make Bacon Cheeseburger Bombs
-
Preheat your oven to 375°F and line a baking sheet with parchment paper. This sets the stage for baking your delicious bombs to golden perfection.
-
Cook bacon in a cold skillet over medium heat until crispy, which usually takes about 8-10 minutes. Once done, transfer it to a plate lined with paper towels to remove excess grease.
-
Brown ground beef in the leftover bacon grease in the same skillet. Break it apart and cook for about 4-6 minutes until no longer pink. Drain any excess grease from the pan.
-
Combine crumbled bacon, Worcestershire sauce, garlic powder, onion powder, salt, black pepper, ketchup, and mustard with the ground beef in a mixing bowl. This mixture creates a flavorful filling that’s bursting with classic cheeseburger taste.
-
Roll out each refrigerated biscuit to roughly a 4-inch circle. This will hold all your tasty filling!
-
Spoon filling (2-3 tbsp) onto the center of each biscuit, ensuring to press some shredded cheese into the meat. This keeps the cheese melty and gooey inside the bomb.
-
Seal the biscuits by folding the edges over the filling and pinching tightly to form balls. Be sure to give them a good pinch to avoid any leakage during baking.
-
Place the sealed bombs seam-side down on the prepared baking sheet, spacing them about 1 inch apart for even cooking.
-
Brush tops with the egg wash (beaten egg mixed with a little water) and sprinkle with Parmesan cheese if desired, adding an extra layer of flavor on top.
-
Bake for 15-20 minutes until they turn golden brown, rotating the baking sheet halfway through to ensure even cooking.
-
Cool for 5 minutes on the baking sheet and then serve warm with your favorite dipping sauces.
Optional: Serve with ranch, BBQ, or spicy ketchup for that extra zing!
Exact quantities are listed in the recipe card below.
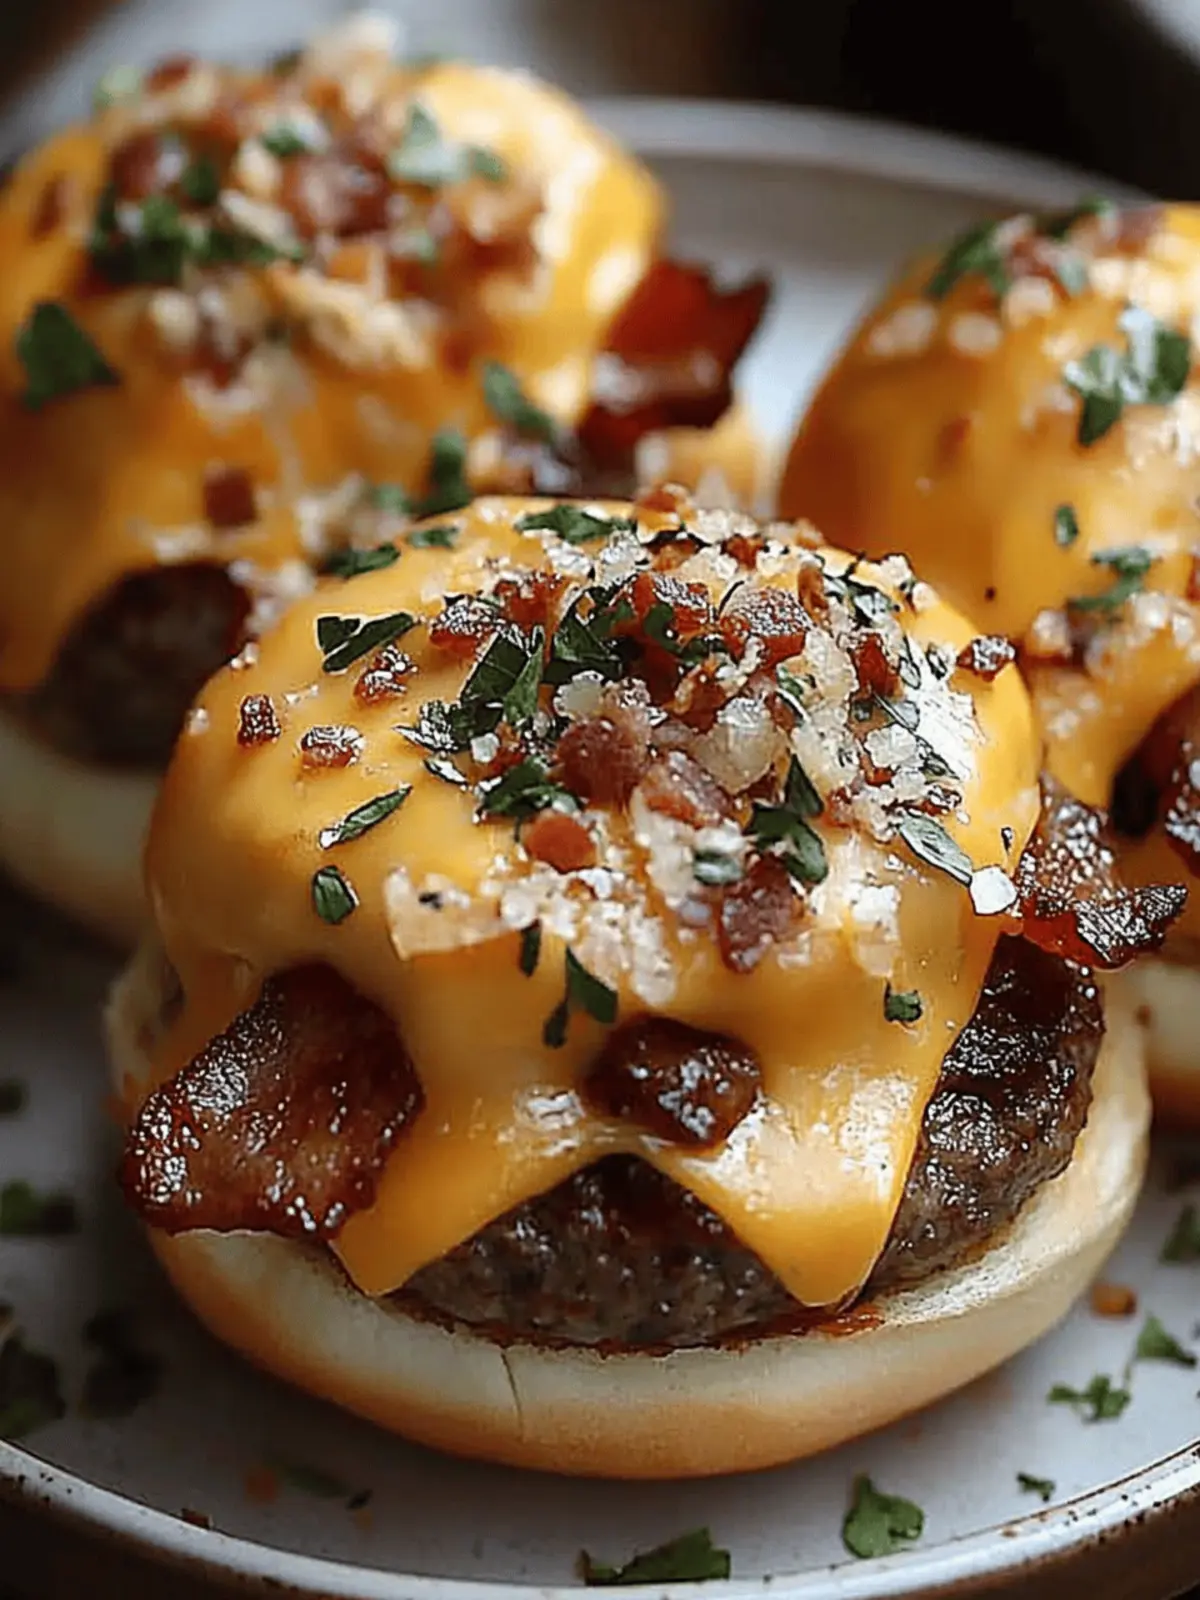
Storage Tips for Bacon Cheeseburger Bombs
Room Temperature: Store any leftovers in an airtight container at room temperature for up to 2 hours if they haven’t been touched.
Fridge: Refrigerate in an airtight container for 3-4 days to keep your Bacon Cheeseburger Bombs fresh and delicious.
Freezer: For longer storage, freeze unbaked bombs for up to 1 month or baked bombs for up to 2 months. Make sure they are well-wrapped to prevent freezer burn.
Reheating: When ready to enjoy, reheat baked bombs in the oven at 350°F for about 10 minutes until warmed through and crispy.
What to Serve with Bacon Cheeseburger Bombs?
Create a delightful spread to complement these handheld delicacies and wow your guests.
-
Crispy Sweet Potato Fries: Their natural sweetness and crunchy texture pair perfectly with the savory bombs, adding a fun twist to your meal.
-
Classic Coleslaw: A refreshing coleslaw offers a cool, crunchy counterpoint to the rich flavors of the bombs, adding a burst of freshness.
-
Garlic Parmesan Breadsticks: Soft and cheesy, these breadsticks provide an indulgent side that complements the cheeseburger flavors beautifully.
-
Tangy Dipping Sauces: Offer a trio of dipping options, like ranch, BBQ, and spicy ketchup, allowing guests to enhance their bites with zesty flavors.
-
Refreshing Cucumber Salad: Light and crisp, a cucumber salad provides a refreshing contrast to the hearty bombs, balancing out the meal perfectly.
-
Ice-Cold Beer or Lemonade: Pair your snacks with an ice-cold beverage, like a pale ale or homemade lemonade, enhancing the festive atmosphere at gatherings.
Make Ahead Options
These Bacon Cheeseburger Bombs are perfect for meal prep enthusiasts! You can assemble the bombs and freeze them unbaked for up to 1 month, ensuring a delicious snack is always at your fingertips. Just make sure to wrap each bomb tightly in plastic wrap or place them in a freezer-safe container to prevent freezer burn. When you’re ready to enjoy them, bake straight from frozen, adding an extra 5-10 minutes to the baking time for the best results. Alternatively, you can prep the filling and refrigerate it for up to 3 days; simply stuff the biscuits and bake when you’re ready. By prepping ahead, you’ll have these crowd-pleasing Bacon Cheeseburger Bombs ready with minimal effort on busy weeknights!
Bacon Cheeseburger Bombs Variations
Get ready to have fun customizing your delicious bites!
- Spicy Kick: Add finely chopped jalapeños to the beef mixture for a fiery flavor that will tantalize your taste buds.
- Cheese Lovers: Combine cheddar with pepper jack for a melty, spicy twist that elevates the cheeseburger experience.
- Veggie Delight: Mix in chopped bell peppers or even sautéed mushrooms for added texture and flavor, giving a hearty touch to these little bombs.
- Sweet & Savory: Incorporate caramelized onions and a touch of brown sugar into the filling for a delightful sweet-savory balance.
- Healthier Option: Try turkey or chicken instead of beef for a leaner, yet equally satisfying version while retaining classic flavors.
- Pickled Perfection: Add diced dill pickles to the filling for that signature cheeseburger tang that enhances the overall experience.
- Herb Infusion: Mix in fresh or dried herbs like thyme or parsley with the beef to introduce a burst of freshness and aroma.
- Extra Crispy: Brush the tops with a mixture of garlic powder and extra Parmesan for an irresistible crunchy topping after baking.
Tips for the Best Bacon Cheeseburger Bombs
-
Crispy Bacon is Key: Ensure your bacon is fully cooked and crispy before mixing it with the beef for optimal flavor and texture.
-
Pinch Tightly: When sealing the biscuits, pinching them tightly is crucial to prevent any filling from leaking out during baking.
-
Customize with Care: Feel free to swap ingredients, but avoid adding too much liquid, which can make the filling soggy and impact the overall integrity of the bacon cheeseburger bombs.
-
Baking Sheet Spacing: Leave at least 1 inch between the bombs on the baking sheet to promote even cooking and browning.
-
Egg Wash Benefits: Don’t skip the egg wash—this step gives your bombs a beautiful golden-brown color and a delightful sheen.
Bacon Cheeseburger Bombs Recipe FAQs
What kind of ground beef should I use for Bacon Cheeseburger Bombs?
I recommend using an 80/20 fat ratio for ground beef, as it provides the perfect balance of flavor and juiciness. Leaner beef might dry out, so stick with this for juicy, flavorful bombs.
How should I store leftover Bacon Cheeseburger Bombs?
To keep your leftovers tasty, store them in an airtight container in the refrigerator for up to 3-4 days. If you want to keep them longer, consider freezing—unbaked bombs can last up to 1 month, while baked ones can be kept for 2 months.
Can I freeze Bacon Cheeseburger Bombs?
Absolutely! To freeze, assemble the bombs and place them in a single layer on a baking sheet. Once frozen solid, transfer them to a freezer bag, ensuring to remove as much air as possible. They’ll stay good for up to one month. When you’re ready to bake, go straight from the freezer to the oven—just add a few extra minutes to the cooking time.
What if the biscuits leak filling during baking?
If you find that your bombs are leaking filling, it could be because they weren’t sealed tightly enough. It’s essential to pinch the edges well after folding over the filling to create a tight seal. Additionally, make sure not to overfill; 2-3 tablespoons of the mixture should be perfect!
Are there any dietary concerns I should consider?
Definitely! If you’re cooking for guests with dietary restrictions, consider using turkey or chicken instead of beef for a lighter option. Also, ensure that everyone is okay with the specific cheeses and toppings being used, especially if allergies are a concern.
How can I make these Bacon Cheeseburger Bombs spicier?
For those who enjoy a bit of heat, you can easily customize the filling by adding diced jalapeños or swapping in pepper jack cheese instead of cheddar. These small adjustments can give that delightful kick while keeping the integrity of the classic cheeseburger flavor!
Mouthwatering Bacon Cheeseburger Bombs for Game Day Fun
Ingredients
Equipment
Method
- Preheat your oven to 375°F and line a baking sheet with parchment paper.
- Cook bacon in a cold skillet over medium heat until crispy, about 8-10 minutes.
- Brown ground beef in the leftover bacon grease for 4-6 minutes until no longer pink.
- Combine crumbled bacon, Worcestershire sauce, garlic powder, onion powder, salt, black pepper, ketchup, and mustard with the ground beef in a mixing bowl.
- Roll out each refrigerated biscuit to roughly a 4-inch circle.
- Spoon 2-3 tbsp of filling onto the center of each biscuit and press some shredded cheese into the meat.
- Seal the biscuits by folding the edges over the filling and pinching tightly.
- Place the sealed bombs seam-side down on the baking sheet, spacing them about 1 inch apart.
- Brush tops with the egg wash and sprinkle with Parmesan cheese if desired.
- Bake for 15-20 minutes until golden brown, rotating halfway through.
- Cool for 5 minutes on the baking sheet before serving warm.

